
In brief: Tomato anchors provide optimum support when installed directly while planting and screwed at least 20-30 cm into the ground. Guide the main stem through the spiral regularly and use the anchor to improve air circulation, prevent disease and maximize your yield.
Every gardener dreams of it: heavy, sun-ripened tomatoes picked straight from the plant and popped into your mouth. But getting there is often a challenge. Heavy trusses of fruit bend the stems, leaves rest on damp soil and become targets for fungal diseases. Simple bamboo canes or strings soon reach their limits.
The solution is as simple as it is sturdy. It provides stability, promotes plant health and maximizes your yield. We are talking about professional plant supports. With the right tricks, you can turn a good tool into a guarantee of a plentiful harvest.
The star of the show is the : Tomato anchors, 2-piece set. Forget wobbly structures. This galvanized steel anchor is screwed deep into the ground like a screw and provides unwavering support even for fully grown plants carrying a heavy crop. The plant grows up along the spiral, receiving light and air from all sides, while you harvest the fruits of your work—not the consequences of broken stems.
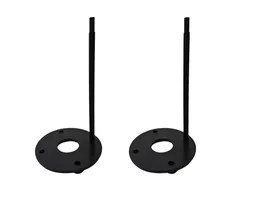
Table of contents
- Trick 1: The right time—When is the best time to install a tomato anchor?
- Trick 2: How deep should a tomato anchor go into the soil?
- Trick 3: The training technique—How to guide your tomato plant correctly
- Trick 4: Why is anchor positioning crucial for yield?
- Trick 5: More than just tomatoes—Versatile ways to reuse it
Trick 1: The right time—When is the best time to install a tomato anchor?
The secret to many successful gardening tasks lies in timing. Tomato anchors are no exception. The biggest mistake is waiting too long. You may think the plant is still small and does not need support. That is a misconception that can cost you valuable time later and potentially affect your plant’s health.
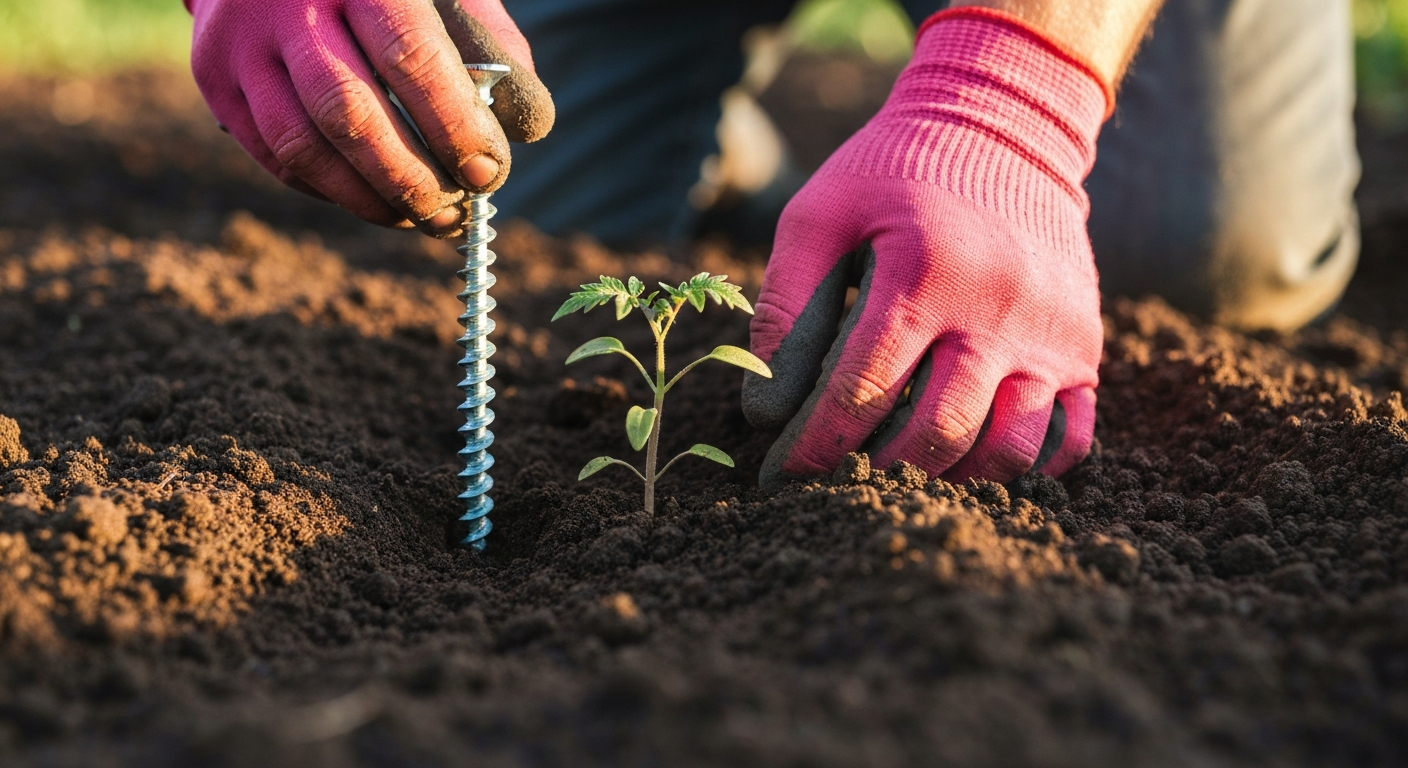
Install the tomato anchor as soon as you plant your young tomato plant. Position the young plant in the planting hole and screw the anchor into the soil right next to it. It should be about 5 to 10 centimeters from the stem. This gives the root ball enough space to spread out undisturbed.
The advantage of this early method is immense. You do not disturb the delicate root system as it develops over the coming weeks. Screwing the anchor in later, once the root system is established, inevitably causes damage. This stress weakens the plant, makes it more susceptible to disease and can temporarily slow its growth.
Important note
Always screw the anchor into the soil instead of simply pushing it in. The spiral design is made to grip firmly in the ground. Pushing it in compacts the soil, which harms the roots and reduces the anchor’s stability.
Trick 2: How deep should a tomato anchor go into the soil?
A tomato anchor is only as stable as its ground anchorage. A tomato plant laden with fruit can become surprisingly heavy. Add wind and rain, and enormous leverage forces act on the support. If the anchor is too shallow, it will tip over in the first strong gust and take the plant with it.
A good rule of thumb is to screw the anchor at least 20 to 30 centimeters into the soil. The ground is usually more compact at this depth and provides sufficient resistance. However, the exact depth depends on your soil type.
- Sandy, loose soil: You need to go deeper here. Aim for 30 to 40 centimeters to ensure a secure hold. Sandy soil offers less resistance, so the anchor needs more contact area at depth.
- Loamy, firm soil: In heavy soil, just 20 centimeters is often enough for a rock-solid anchor. The firm soil surrounds the spiral perfectly and provides maximum stability.
Test the anchor after screwing it in. Give the top a firm shake. It should not move or wobble. If it feels loose, screw it a few more turns deeper. This small test at the start can save you a lot of trouble later.
A solid foundation is everything in gardening. The tomato anchor does not just support the plant; it also tells it: 'You can grow safely here and put all your energy into producing fruit.'
Trick 3: The training technique—How to guide your tomato plant correctly
The anchor is in place and the plant is growing. Now the real work begins, although the right technique makes it easy. A tomato anchor is not a passive stake but an active partner in your plant’s growth. You need to guide the tomato up it deliberately.
Check your plants every few days. As soon as the main stem is long enough to reach the next turn of the spiral, carefully thread it through. Always guide the stem around the stake in the same direction as the spiral. This allows the plant to climb upward almost by itself and gives it fresh support at every turn.
Use and remove side shoots strategically (suckering)
The stable, upright position provided by the anchor makes one of the most important care tasks much easier: removing suckers. Tomato plants constantly produce new shoots in the leaf axils, where the side leaves branch off from the main stem. Remove these so-called suckers regularly by pinching them off with your fingers while they are still small.
Removing suckers allows the plant to focus all its energy on producing flowers and fruit along the main stem. The result is fewer tomatoes, but they are significantly larger and more flavorful. The clear structure provided by the tomato anchor helps you avoid missing any suckers.
Pro tip
Do not throw away vigorous suckers! Place the shoots in a glass of water. Within a few days, they will develop roots of their own. You can then plant them as independent, new tomato plants to extend your harvest season or fill gaps in the garden bed.
Trick 4: Why Is Anchor Placement Crucial for Yield?
You have the right timing, the right depth and the right technique. The fourth trick is strategic. It is all about exactly where you place your plant, including the anchor, in the bed. Positioning affects two crucial factors: sunlight and air circulation.
Tomatoes love the sun. They need at least six to eight hours of direct sunlight per day to develop their full flavour and produce abundant yields. Position your tomato rows so they receive maximum light. Thanks to the tomato anchor, the plant grows upright, preventing the lower leaves from being shaded by those above. This allows every leaf to photosynthesise efficiently.
Air circulation is even more important. Fungal diseases such as the dreaded late blight (Phytophthora infestans) thrive in damp, stagnant conditions. If leaves cannot dry quickly after rain or morning dew, fungal spores have an easy time spreading. The tomato anchor lifts the plant off the ground and allows the wind to move through the leaves. This is the best and most natural way to prevent fungal infections.
The best plant protection is a good location. A tomato anchor effectively creates the ideal conditions on a small scale: airy, upright and facing the light.
These garden tricks are almost as amazing as the illusions in a real magic set. While you expertly grow your tomatoes, your children can practise their own magical skills with the : Djeco board games, magic set, magic tricks: Fabuloso Magus. For advanced magicians, there is even the : Djeco board games, magic set, magic tricks: Incredibile Magus. This turns the whole family into masters of magic, whether in the garden or the living room. You can also find more great toys and exciting sets in our Djeco toys shop.


Trick 5: More Than Just Tomatoes – Versatile Reuse
A good gardener thinks sustainably. The fifth trick is to make full use of your tomato anchors. Their robust galvanised steel construction makes them a long-lasting tool that can do much more than simply support tomatoes. Think of the anchor as a universal plant support for a wide range of plants in your vegetable and ornamental garden.
Next year, use the anchors for other tall-growing or climbing vegetables. They are perfect for:
- Runner beans: The beans wind effortlessly around the spiral.
- Climbing cucumbers: The anchors keep the heavy fruits safely off the ground and protect them from rotting.
- Peppers and aubergines: Particularly tall-growing varieties benefit from the stability and will not bend under the weight of the fruit.
- Peas: Although their stems are more delicate, peas can also find support on the spiral.
The anchors are also useful in ornamental gardens. Give climbing plants such as morning glories, black-eyed Susans or compact clematis varieties a sturdy and attractive support. Their durability makes them a one-off purchase that you can benefit from for many years.
Cleaning and Storage for a Long Service Life
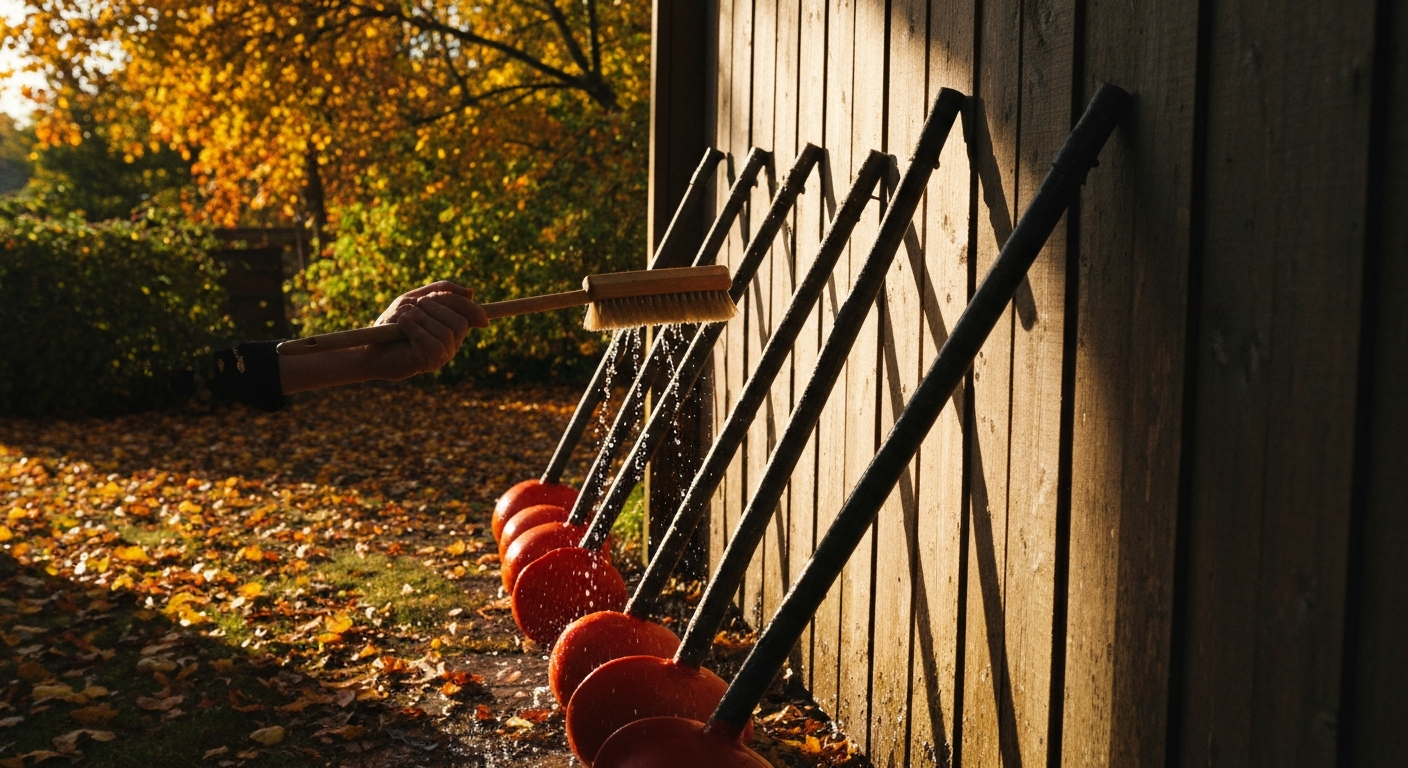
To ensure your anchors serve you faithfully for a long time, give them a little care after the season. Remove large clumps of soil and plant residue with a brush and water. Check the galvanised coating for any damage. Store the clean, dry anchors in a dry place over winter, such as a cellar, garage or garden shed. This way, they will be ready to use again immediately next spring.
Additional advice
To prevent diseases from the previous year from spreading, you can also disinfect the cleaned anchors with a vinegar-and-water solution before storing them. This will help you start the new season with hygienically clean equipment.
With these five tricks, the : Tomato Anchor, 2-piece set becomes more than a simple aid: it becomes your most important ally in the quest for the perfect tomato harvest. You are investing not only in metal, but in healthier plants, less work and a visibly higher yield. Your tomatoes will reward you with vigorous growth and an abundance of flavourful fruit.
Frequently asked questions
- Can I install a tomato support anchor around an established plant?
- Yes, but take care. Twist the anchor in slowly and at a small distance from the main stem to avoid damaging the roots as much as possible. However, the best and safest method is still to install the anchor when planting the young plant.
- What material are Westfalia tomato support anchors made from?
- The tomato support anchors are made from robust galvanised steel. This material is weather-resistant and does not rust, so you can reuse the anchors for many years, season after season. That makes them a sustainable investment for your garden.
- How many tomato support anchors do I need per plant?
- You need exactly one tomato support anchor per tomato plant. The spiral shape is designed to support a plant's main stem throughout its entire growing height. Make sure there is enough space between plants so they do not shade each other.
- Do tomato support anchors also work in pots on a balcony?
- Yes, tomato support anchors are ideal for growing tomatoes in large planters. The pot should have a capacity of at least 20-30 Liter so the anchor can grip deep enough and the plant has sufficient room for its roots. This means nothing stands in the way of a plentiful harvest on your balcony.
- Do I need to tie the tomato plant to the anchor?
- Usually not. The spiral design allows you to simply guide the growing main stem through the coils. Only very vigorous varieties or strong winds may make it advisable to secure individual stems loosely with soft plant wire.
You may also be interested in
- Installing tomato support anchors: The guide to a plentiful harvest
- Lawn edging wobbly? 5 mistakes when installing ground anchors
- 7 brilliant garden hacks: How to use fixing nails correctly
- 10 smart uses for ground anchors: More than just securing tents!
- My tomato plants are breaking! How to support them properly and safely
- Growing tomatoes: The ultimate guide to a plentiful harvest