
In brief: Install dry screed in the attic to create a completely level, load-bearing floor without the moisture associated with wet screed. The key is continuous floor insulation beforehand and precise installation of the boards in a staggered pattern. Always plan the installation from the door outwards and cut the final rows to fit.
Why dry screed is ideal for your attic
You are planning an attic conversion. A stable, level floor is the foundation for any future project, whether you are creating a new home office or guest bedroom. Wet screed is often unsuitable here. Its long drying time and heavy weight can be problematic on a timber joist floor.
Dry screed consists of prefabricated gypsum fibreboard or plasterboard panels. You install these panels in a staggered pattern on a prepared insulation layer. The system is dry, lightweight and ready to walk on immediately. No building moisture is created that has to dry out for months.
You save time and reduce the structural load on your house. Further interior work, including partition walls, electrical installation and floor coverings, can begin without waiting.
“Dry screed has become established in attic conversions because it combines the benefits of fast installation and a low build-up height. Proper insulation underneath is always essential.”
What you need to check before installation
Not every attic is immediately ready for dry screed. Start with a thorough assessment of the existing structure. Check the load-bearing capacity of the roof joists. A structural engineer can confirm whether the construction will support the additional load.
Measure the height of the attic carefully. Dry screed requires space for the insulation, the boards and the final floor covering. Factor this loss of height into your room planning.
Plan all services in advance. Install electrical cables and water pipes for any future bathroom or kitchen before closing the insulation and screed. Retrofitting them later is time-consuming.
Important information
A properly installed vapour barrier is essential. Without one, moisture rises from the living areas below. It condenses in the cold attic insulation and leads to mould. Use a robust PE film and seal all overlaps and the connections to the walls continuously with butyl tape.
The right floor insulation as a foundation
The insulation beneath the dry screed has three functions: it protects against the cold, reduces impact sound and distributes the load. Therefore, choose high-compressive-strength insulation boards approved for dry screed systems.
Install the insulation boards without gaps and with staggered joints, like brickwork. Even small gaps can later cause pressure points and unpleasant noises. Cut the boards to fit precisely around the edges of the room using a sharp utility knife.
The insulation thickness is based on the applicable German Building Energy Act (GEG). For attics, thicknesses of 16 to 24 centimetres are often required. You can often achieve this by combining insulation between the rafters with additional insulation beneath the screed.
You can find a wide selection of materials for your building project in our shop.
How do you install dry screed boards step by step?
Prepare the materials and tools
You will need dry screed boards, suitable insulation, vapour barrier film and tape. The most important tool is a sturdy saw with a wood and gypsum fibre blade, as well as a long straightedge.
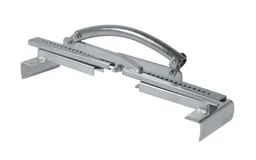
A metal square and tape measure are essential for accurate cuts. A rubber mallet helps you fit the final boards. For lifting and positioning the heavy boards, a panel lifter such as the
Pro tip
Store the dry screed boards in the room being converted for at least 48 hours before installation. This allows the boards to acclimatise to the room climate and prevents later tension and deformation after installation.
Create an installation plan and lay the first row
Always start at the doorway or along the longest uninterrupted wall. Work your way into the room from there. The final row will need to be cut.
Draw up an installation plan. The joints in one row must never line up with the joints in the previous row. Offset the rows by at least half a board length. This staggered pattern makes the floor stable.
Apply the special installation adhesive thinly and evenly in the grooves along the board edges. Position the first board precisely against the wall. Leave a perimeter insulation strip along the walls as an expansion joint.
Install and cut the boards
Join the next boards to the first row. Continuously check the level with the straightedge. Correct small uneven areas immediately by tapping gently with the rubber mallet.
Start the second row with a half board to create the offset. Continue in this way, row by row. You will almost always need to cut the final rows along the opposite wall.
Measure carefully and transfer the contour to the board using a sliding bevel. Cut the board cleanly with the saw. Fit the cut board into place. It should fit with light pressure and must not be forced.
“The precision of the cuts around the edge boards determines the quality of the entire floor. A loose but accurately fitted board is better than a part forced into place, which will create tension later.”
Finishing work after laying the dry screed
Once all the boards are in place, fill the joints with a specialist joint filler and levelling compound for dry screed. Its flexibility helps prevent cracks.
Apply the filler to the joints with a wide jointing trowel, then smooth it out. Work continuously to avoid visible joins. Once the filler is dry, lightly sand the filled areas with an orbital sander.
Remove all dust thoroughly with an industrial vacuum cleaner. Lay the final floor covering, such as laminate or carpet, only on a clean, dust-free surface.
Additional advice
Plan suitable roof drainage from the outset. An intact downpipe, such as the
or a complete helps protect your new attic from moisture coming in from outside. This preventative measure is often overlooked.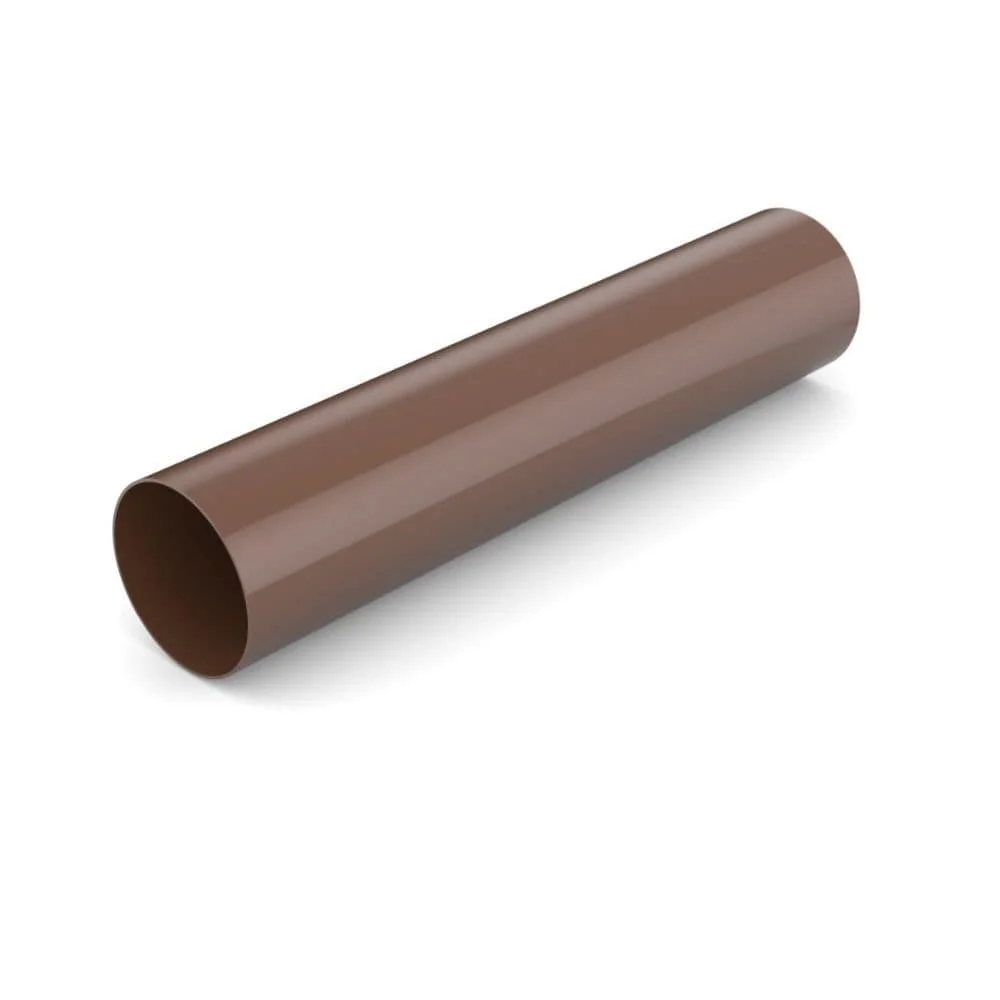

Common mistakes and how to avoid them
One of the most common mistakes is an uneven or incomplete insulation layer. This creates point loads that can cause the boards to break. Check that the insulation is level with a straightedge before laying the first board.
Another common problem is leaving too little room for expansion around the walls. A gap of at least one centimetre on all sides is essential to allow the floor to expand with temperature changes.
Avoid placing board joints directly beneath doors or in heavily used walkways. Position them to the side of these areas to prevent the joints from flexing under load.
For demanding cutting work and other renovation tasks, find the right power tools in our range.
Conclusion: Planning is the key to success
Laying dry screed as part of an attic conversion is a manageable project for experienced DIYers. Success depends on careful preparation, from checking the structure and choosing the right insulation to making precise cuts.
Invest in high-quality materials and suitable tools, such as a board lifter. They help you install the floor professionally, protect your back and save time.
Professionally laid dry screed gives your new attic living space the perfect foundation. A stable, level and durable floor is the first and most important step towards your new attic apartment.
Frequently Asked Questions
- What are the advantages of dry screed over wet screed in an attic?
- Dry screed does not add moisture to the attic or need weeks to dry. You can continue with the rest of the conversion as soon as it is installed. It is also lighter than wet screed, putting less strain on the roof structure.
- What type of floor insulation do I need under dry screed?
- Use insulation with high compressive strength, such as EPS impact sound insulation boards or specialist dry screed insulation boards. It must distribute the load of the screed and everyday use while providing thermal and impact sound insulation. Install it continuously, with no gaps.
- Do I need to install a vapor barrier before laying dry screed?
- Yes. A vapor barrier made from PE film or a similar material is generally required. It prevents moisture from the living areas below from rising into the insulation and attic. This helps prevent mold and preserves the insulation's effectiveness.
- Can I lay dry screed boards on my own?
- You can install them yourself in smaller areas, but the boards are heavy and awkward to handle. It is advisable to have someone help. For larger areas or limited access in the attic, a board lifter such as PRODUCT_98124 is recommended to make the job much easier.
- Which floor coverings can I lay directly on dry screed?
- On dry screed that has been installed professionally and has had its joints filled, you can install almost any floor covering, including laminate, engineered wood flooring, carpet or tile. For tile, use a flexible tile adhesive that can accommodate movement in the wood subfloor.