
In brief: Turn your attic into valuable living space by finishing it with drywall. This method is quick, cost-effective and flexible. Important steps include checking the structural integrity, carefully installing insulation with a vapor barrier, building the framing, and hanging and taping the drywall for a smooth surface.
Contents
- Why is drywall the best choice for an attic conversion?
- The right preparation: What should you consider before starting?
- How do you build a drywall wall step by step?
- The finishing touches: Decorating surfaces and furnishing your new room
- Don’t forget the exterior roof features
The space beneath the roof often holds the greatest untapped potential in a home. Finishing an attic can turn a dusty space into a bright home office, a cozy bedroom or a playroom for the kids. With drywall, you can make this dream a reality quickly, cleanly and flexibly. You’ll create valuable living space and can also significantly increase your property’s value.
This guide takes you through all the important stages of your project, from careful planning and professional installation to decorating your new favorite space.
Why is drywall the best choice for an attic conversion?
Drywall is the modern alternative to traditional interior construction. Instead of working with bricks and mortar, you build walls and cover ceilings with drywall or gypsum fiberboard, which are screwed to a substructure made from metal profiles or wood furring strips. This method offers significant advantages.
Construction time is dramatically reduced. There are no long drying times like those required for masonry or wet plaster. Once the joints have been taped and sanded, you can start painting or wallpapering. The lightweight construction also puts less strain on the building’s structure, which is especially important in older homes.
It also gives you flexibility. A drywall wall can easily be moved or removed if needed. Electrical and data cables can be concealed inside the wall cavities, so you can adapt the room layout as your needs change.
Breathable insulation with a moisture-variable vapor control layer creates a breathable roof. This not only protects the building structure from moisture, but also demonstrably creates a healthier indoor climate.
The right preparation: What should you consider before starting?
A successful attic conversion begins long before the first hammer blow. Thorough planning helps you avoid costly mistakes and achieve a durable, safe result. Allow plenty of time for this stage.
Check building codes and structural integrity
Before buying materials, find out about the legal and technical requirements. Contact your local planning authority to see whether you need planning permission for your project. This is usually required when creating new living space or changing the exterior appearance of your property with new roof windows.
A structural engineer must check the floor’s load-bearing capacity to make sure it can safely support the weight of the conversion, furnishings and occupants. The required ceiling height and the size of escape routes (windows) are also important details to clarify.
Important information
Be sure to check local building codes before starting work and consult a structural engineer. A conversion without the required permits or adequate structural support can lead to fines and serious structural damage.
Insulation and vapor barrier: The key to a comfortable indoor climate
Insulation is the heart of your attic conversion. It keeps heat inside your home in winter and helps prevent overheating in summer. Under the German Building Energy Act (GEG), a professionally installed layer of insulation between the roof rafters is required and can noticeably reduce your energy costs.
The vapor control membrane is just as important. It is installed on the room side over the insulation and prevents warm, moist air from the living space from penetrating the insulation and roof structure. Without this protective layer, moisture can condense and lead to mold and serious structural damage. Seal the membrane’s joints and connections to make them completely airtight.
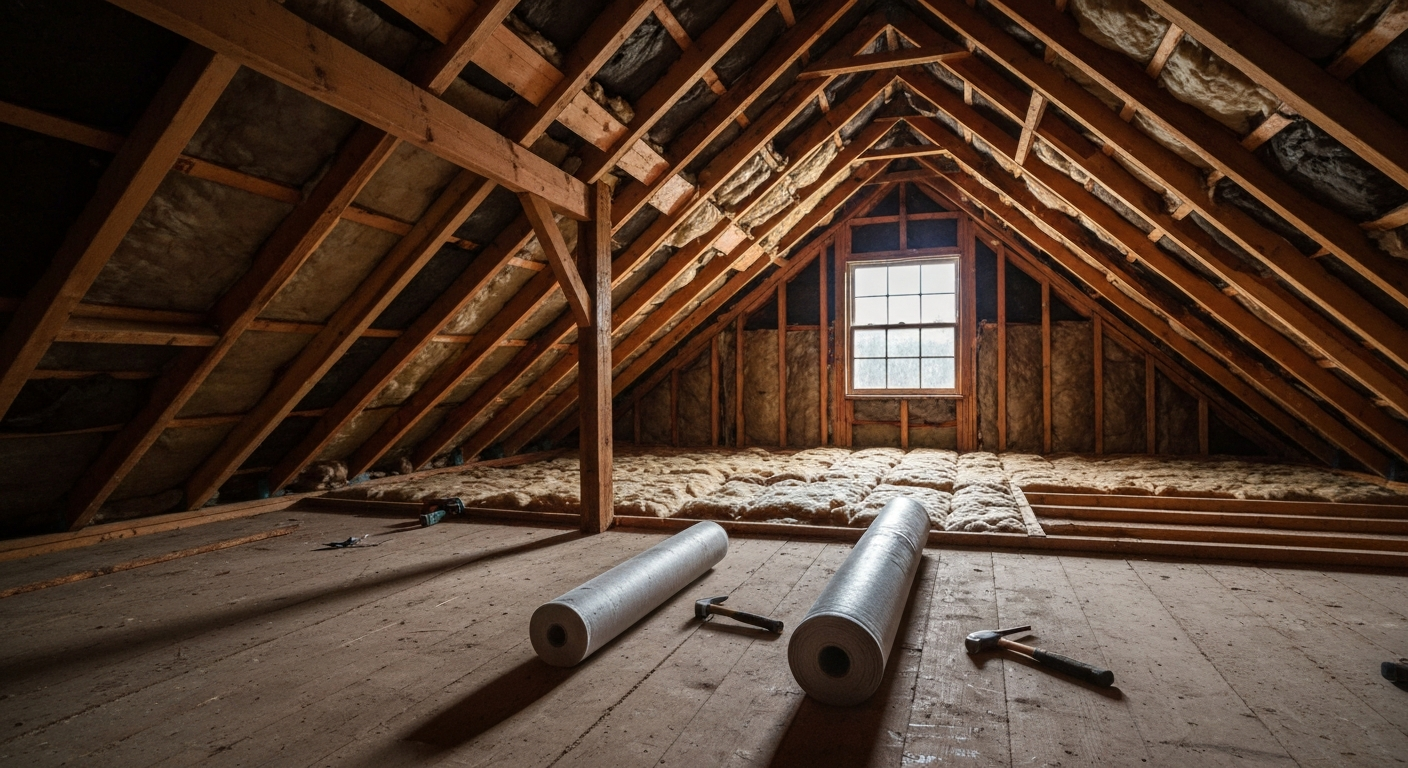
Plan electrical and plumbing connections
Think early about where you’ll need outlets, light switches, lights and possibly network connections. Plan the location of radiators, too. If you want to add a bathroom in the attic, the planning gets more complex. Water supply and drain pipes must be installed professionally. Leave planning for plumbing and irrigation systems to professionals. Always hire a qualified contractor for electrical and plumbing work.
How do you build a drywall wall step by step?
Once the preparations are complete, it’s time to start the drywall work. With the right tools and a systematic approach, you can build sturdy walls and ceiling coverings.
Build the framing
The framework for your new walls is called the framing. It usually consists of galvanized metal profiles (UW profiles for the floor and ceiling, CW profiles as vertical studs) or square lumber. Mark the wall positions precisely on the floor, then transfer the lines to the ceiling and walls using a level or laser.
Screw the UW profiles securely to the floor and ceiling. Cut the vertical CW profiles to the correct length (approx. 1-1.5 cm shorter than the room height) and place them in the UW profiles at approx. 62.5 cm intervals (half the board width). Don’t fasten the profiles to each other; simply clamp them in place. Remember to leave openings for doors and reinforce the door jambs with additional profiles. The right power tools, such as cordless screwdrivers and metal snips, make the job much easier.
Pro tip
Add a layer of mineral wool insulation inside the framing of your new partition walls. It significantly improves sound insulation between rooms at very little extra cost, turning the new bedroom into a peaceful retreat.
Hang and tape the drywall
Now cover the framing with drywall. Start on one side of the wall. Cut the drywall to size with a utility knife: score the paper facing on the front and snap the board over an edge. Then cut through the paper facing on the back.
Secure the boards to the framing with drywall screws, spacing them about 25 cm apart. Make sure the screw heads are slightly recessed without breaking through the paper facing. Once one side of the wall is fully covered and any installations have been fitted inside the cavity, close up the other side.
Additional advice
Use drywall screws of the correct length: they should penetrate at least 10 mm into the framing. For multiple layers of drywall or specialty boards, use suitable screw types to ensure a secure hold.
The final step to a smooth wall is taping and finishing the joints. Apply joint compound to all joints, screw holes and corners. Once it’s dry, sand the areas smooth. Repeat this process two or three times, using progressively finer compound (joint compound, finishing compound) until you have a perfectly even surface.

The finishing touches: decorating surfaces and furnishing your new room
The drywall work is complete and the canvas is ready. Now you can give your new room character and turn it into a welcoming home.
Finishing the walls and ceilings
Prime the finished drywall surfaces before applying the final coat of paint. Primer helps the surface absorb paint evenly and prevents a patchy finish. You can then paint, wallpaper or finish the walls with a fine decorative plaster. Light colors make rooms with sloped ceilings feel larger and more open.
Flooring and exposed timber beams
Choose flooring that suits the style and intended use of the room. Laminate, parquet, vinyl and carpet are popular options. Soundproofing under the flooring is essential to minimize noise transmission to the rooms below.
The old timber beams of the roof structure are often a beautiful, distinctive feature. Sand the beams and treat them to highlight their natural beauty and protect the wood. The
nourishes the wood and gives it a matte, natural finish that supports a healthy indoor environment.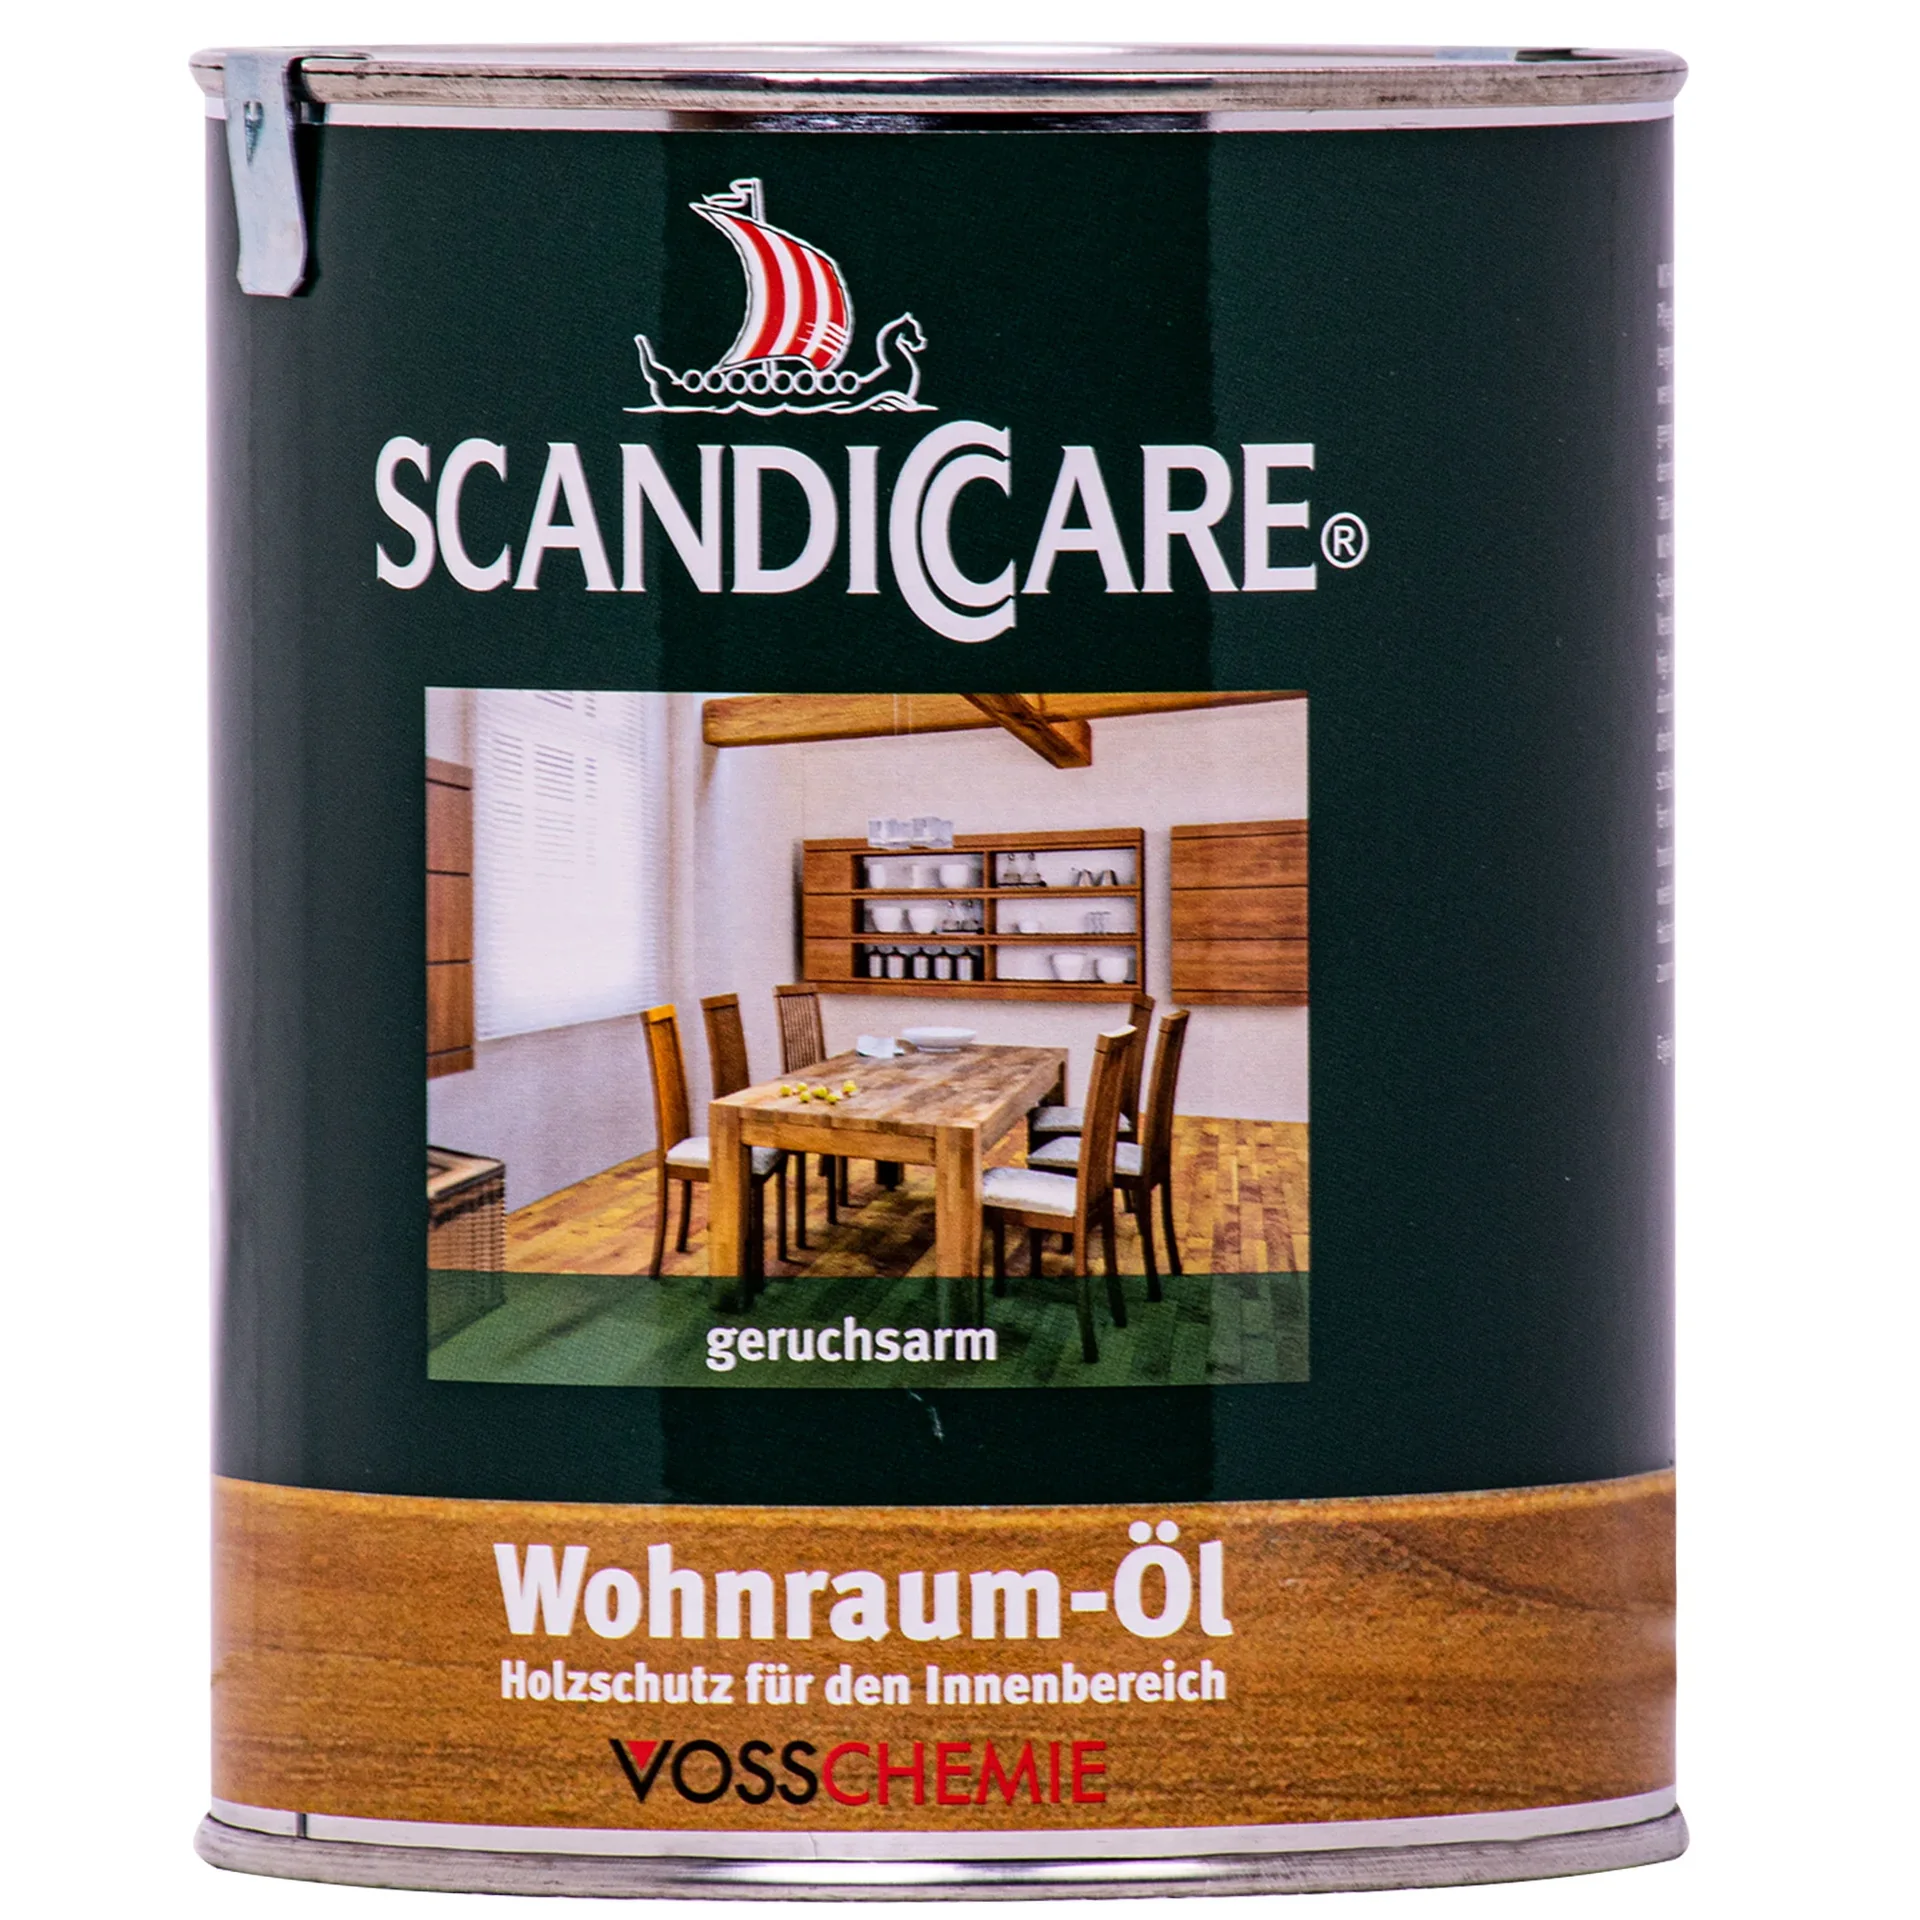
Sloped ceilings are not an obstacle but an opportunity. With custom-built storage and a well-planned lighting scheme, you can turn alcoves into cozy retreats and create a distinctive character that no standard room can offer.
Don't forget the exterior roof components
A dry and safe interior depends directly on a sound roof. As part of the conversion, also check the condition of the exterior roof components. Effective roof drainage is essential to prevent moisture damage to the siding and foundation.
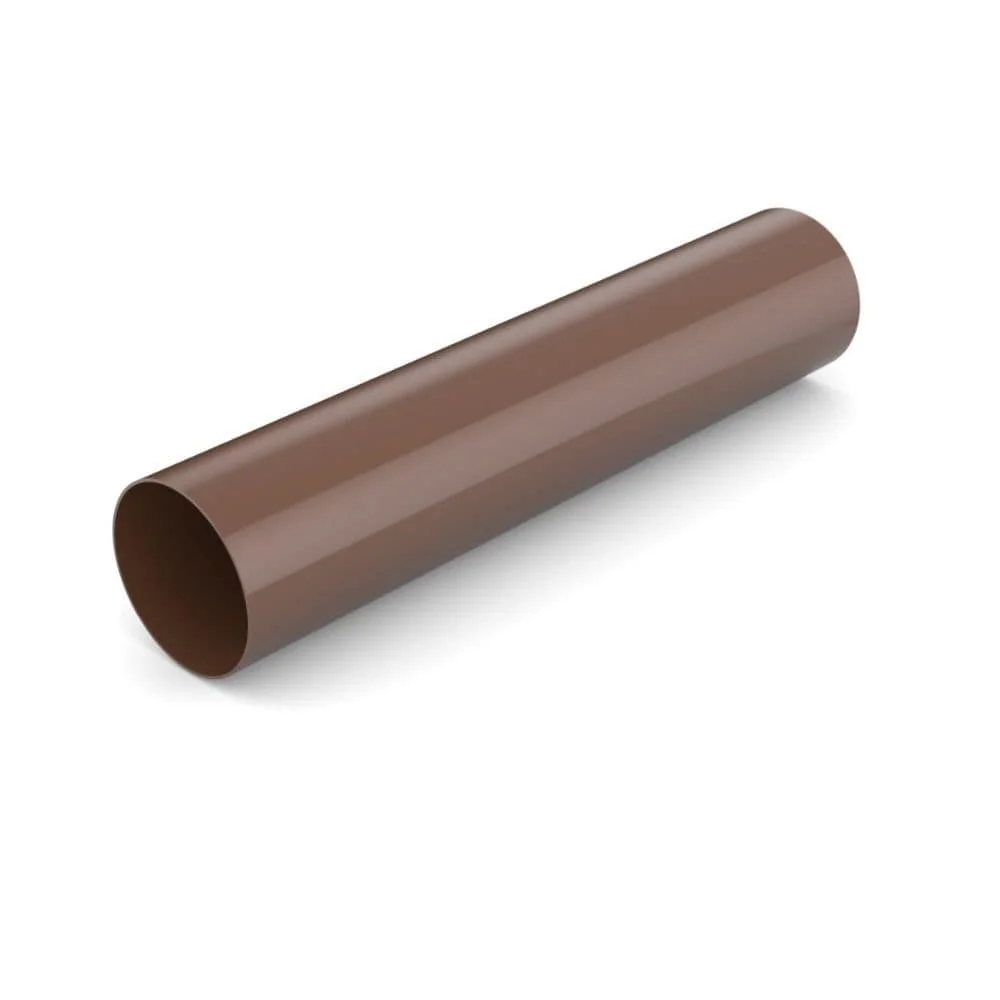
Check that your gutters and downspouts are free of leaves and damage. Replace any damaged component immediately. With a complete
or a single you can ensure that rainwater is reliably carried away. This preventative maintenance protects your investment in your new living space. Materials for this and other jobs can often be found in the Business Supplies category.
Converting an attic with drywall is a rewarding project that can significantly enhance your home. With good planning, the right materials and careful workmanship, you can transform unused space into an oasis for living, working and relaxing.
Frequently asked questions
- Do I need a building permit to convert my attic?
- Yes, a building permit is required in most cases, especially if you are creating new living space, installing roof windows or altering the structure. Always check with your local building department beforehand to avoid legal problems and fines. The exact regulations vary depending on the federal state.
- Which drywall is right for an attic conversion?
- Standard drywall is suitable for most walls and ceilings. For a planned bathroom in the attic, use impregnated green moisture-resistant boards. Special fire-resistant boards are available where increased fire protection is required. Choose the board to suit the room's future use.
- What's the difference between a vapor barrier and a vapor retarder?
- A vapor barrier is almost completely impermeable to vapor and prevents moisture from entering the insulation. A vapor retarder, on the other hand, is more vapor-permeable and allows a small amount of moisture exchange, which can help prevent structural damage. Modern, moisture-variable vapor retarders are now considered the technically better solution for roofs.
- Can I convert my attic myself?
- Installing drywall is manageable for experienced DIYers. However, large boards are easier to install with two people. For electrical work, water connections or structural alterations, you should always hire qualified professionals for safety and warranty reasons.
- How important is insulation when converting an attic?
- Insulation is crucial. It keeps your home warm in winter and pleasantly cool in summer, reduces heating costs and protects the building fabric from moisture and mold. Proper insulation in accordance with the requirements of the Building Energy Act (GEG) is also legally required and increases the value of your property.
You might also be interested in
- Drywall for DIYers: How to build walls and design rooms
- How to glue drywall: A simple guide
- How to build a walk-in closet with drywall
- Attic knee walls and dwarf walls: The key difference when converting an attic
- Drywall: The complete guide to drywall installation
- Roof construction for DIYers: Your complete renovation guide