
In brief: Avoid common bench grinder mistakes by using an intact grinding wheel, maintaining the correct angle and avoiding excessive pressure. Cool the workpiece regularly to prevent overheating, and always wear the appropriate protective equipment for safe and precise results.
A sharp tool is a safe tool. It cuts precisely, requires less force and reduces the risk of accidents. For many DIY enthusiasts and professionals, reaching for the bench grinder is therefore part of the routine. But this is precisely where mistakes can creep in that may not only ruin the tool but also become dangerous. The right sharpening technique and suitable accessories are crucial for success. This guide shows you the most common mistakes when using a bench grinder and how to avoid them effectively.
The foundation of every perfect edge is not the tool you are sharpening, but the machine itself. More specifically: the grinding wheel. An uneven, grooved or unbalanced wheel makes a precise edge impossible and poses a safety risk. Before you even begin, check the condition of your grinding wheel. A flat, clean surface is essential. If your wheel is worn, replace it. A suitable replacement such as the Grinding wheel 100 x 20 x 16 mm () ensures that your bench grinder delivers its full performance again and helps you achieve clean results.
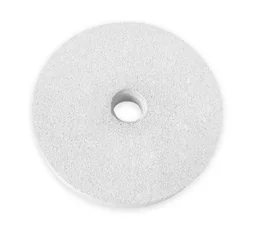
Table of contents
- The foundation: Why the condition of the grinding wheel determines everything
- How do I choose the right grit and abrasive?
- What are the most common mistakes when using a bench grinder?
- How do I prevent my tool from overheating?
- Why are posture and safety so important?
How can I tell if a grinding wheel is worn?
Your grinding wheel is a wear part. With every tool you sharpen, it removes material, but it also gradually wears down itself. Look for clear signs that indicate the need for replacement or, at the very least, dressing with a dressing tool.
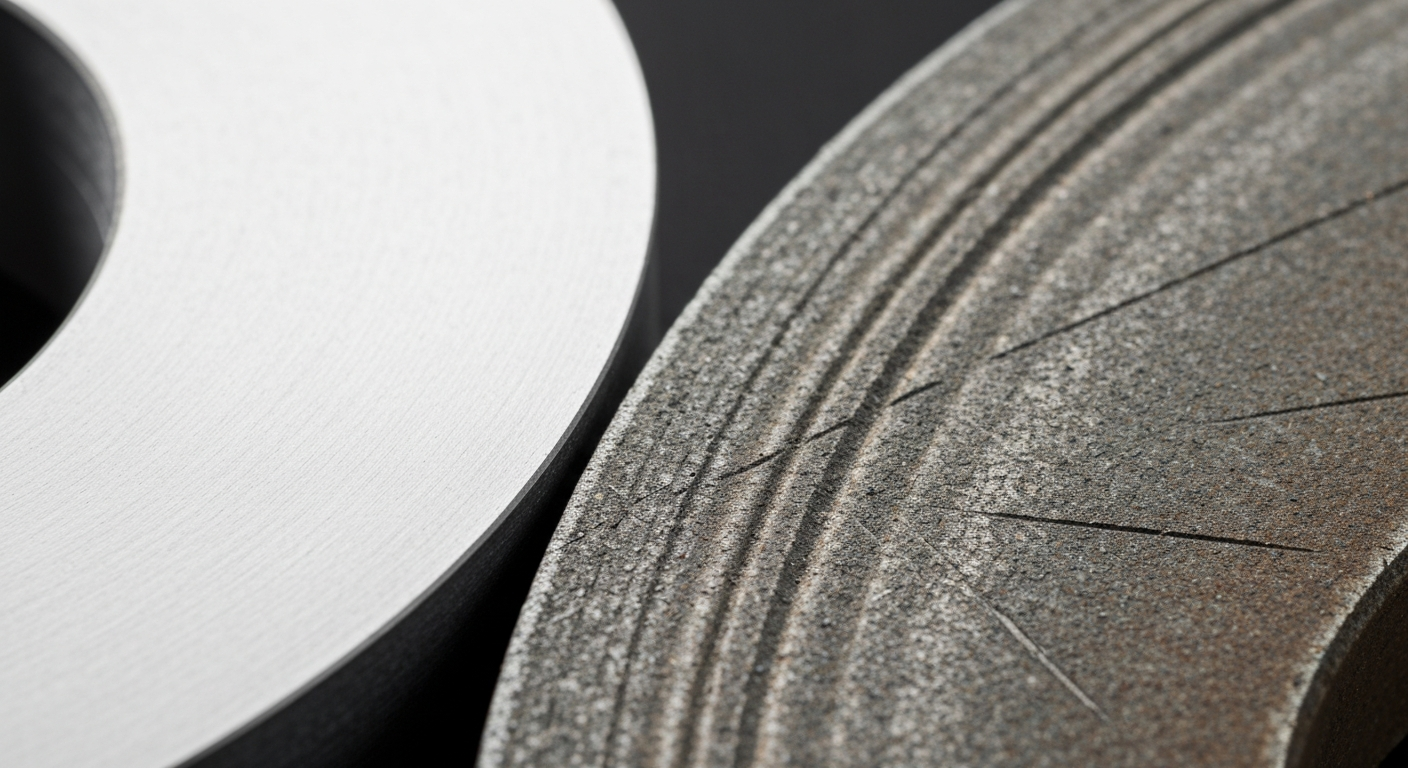
Grooves and an uneven surface are clear warning signs. They develop when you always grind in the same spot on the wheel. As a result, tools such as chisels or plane blades no longer get a straight edge. An out-of-round wheel can also develop severe imbalance, damaging your machine's bearings and causing vibrations.
Another problem is what is known as "loading" or "glazing". In this process, the fine pores of the grinding wheel become filled with metal filings and abrasive particles. The surface becomes smooth and shiny. A loaded wheel has little grinding effect left, but generates an extreme amount of heat due to the increased friction. The risk of overheating your workpiece increases dramatically. Run your fingernail over the wheel. If it feels smooth rather than rough, it is probably loaded. You can use a diamond dresser to remove the top layer and expose fresh, sharp abrasive grains. However, if the wheel is heavily worn, replacement is the only solution.
An uneven grinding wheel is like a crooked ruler. You can have all the skill in the world, but the result will never be straight. Maintaining and replacing the grinding wheel in good time is not optional; it is an absolute must for anyone who values precise work.
Also check the wheel for hairline cracks. These pose a significant safety risk. A cracked wheel can shatter at high speeds and send fragments flying through the room with tremendous force. Carry out a visual inspection before every use.
How do I choose the right grit and abrasive?
Not all grinding jobs are the same. The right abrasive depends on the task and the material. Grit is the most important factor: it tells you how coarse or fine the abrasive particles are. A low number (e.g. K80) indicates a coarse grit, while a high number (e.g. K150 or higher) indicates a fine grit.
Additional advice
Make a note of the ideal grinding angle and grit for your most important tools. A small note on your tool wall saves time next time and helps you get consistent results.
Coarse grit for initial grinding
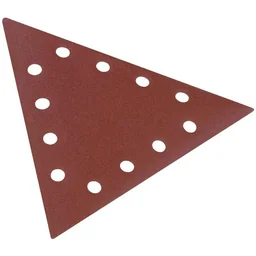
Need to remove a nick from an axe blade or restore the basic shape of a badly worn chisel? Coarse grit is the right choice. It removes a lot of material quickly. The job goes faster, but the surface will be very rough. An abrasive such as the sanding triangle set, grit K80 (), designed for delta sanders, is a good example of a coarse grit. Because it removes material so quickly, work carefully to avoid taking too much off the tool.

Fine grit for finishing
Once you have restored the basic shape, it is time to finish the edge. Use a finer grit, which removes less material and creates a smooth, sharp edge. For most routine sharpening of hand tools, a medium grit such as K100 is a good compromise. You can find it in the sanding triangle set K100 (). For an especially fine, almost polished edge on kitchen knives or carving tools, choose a finer grit, such as K150 from the sanding triangle set K150 (). The final sharpening is often done by hand on a whetstone.

Choose the right abrasive for your material
Grit matters, but so does the abrasive material. Most bench grinder wheels are made of white or pink aluminum oxide or gray silicon carbide. These are ideal for sharpening common tool steels (HSS). However, machining carbide, glass or ceramic requires silicon carbide (green) wheels or even diamond-coated wheels. Using the wrong abrasive material can lead to poor results and excessive wheel wear.
What are the most common bench grinder mistakes?
Even with the right machine and wheel, things can go wrong. Most common mistakes come down to technique. They can ruin tools and create dangerous situations.
- Using the wrong grinding angle: Every tool has an ideal edge angle. A chisel needs around 25-30 degrees, while a kitchen knife typically needs 15-20 degrees. If you grind at too shallow an angle, the edge becomes thin and breaks easily. If you grind at too steep an angle, the tool becomes dull and cuts poorly. Keep the angle consistent across the entire width of the blade. Practice the movement with the machine switched off first.
- Applying too much pressure: More pressure will not sharpen an edge faster. Excessive pressure creates extreme heat, which tempers the steel and softens it. It also removes too much material, leaving the edge uneven. Let the wheel do the work. Gentle, even pressure is all you need.
- Overheating the workpiece: This is the most serious grinding mistake. Blue discoloration on the steel is a clear sign of overheating. At this point, the steel has lost its hardness because it has been tempered, and the edge will no longer hold its sharpness. Cool the workpiece regularly in a water bath.
- Grinding in the wrong direction: Always grind against the cutting edge. This means the grinding wheel rotates away from the edge. If you grind in the same direction as the edge, the tool can catch and be pulled out of your hand. This is extremely dangerous.
- Not using a stable rest: Do not guide the workpiece freehand. Always use your machine's tool rest. Position it as close to the wheel as possible (approx. 2-3 mm gap) to prevent the workpiece from catching. A stable rest gives you the control you need to maintain the angle.
Pro tip
Place a small container of water right next to the bench grinder. Dip the workpiece in the water for a few seconds after each short grinding pass. This helps prevent heat from building up.
How do I keep my tool from overheating?
Preventing overheating is the most important part of proper grinding technique. An overheated tool loses its function and often cannot be salvaged. Blue temper colors indicate that the steel's molecular structure has changed.
The key is to work in short intervals and cool the tool regularly. Grind for only a few seconds at a time, then immediately dip the workpiece in water. Check the temperature regularly with your fingers—but be careful. Metal can get extremely hot very quickly. If it is too hot to touch, it is definitely too hot for the steel.
Use less pressure. Gentle contact is enough to remove material. A shower of sparks indicates friction and heat buildup. A light shower of sparks is normal, but heavy sparking means you are applying too much pressure. The condition of the grinding wheel matters, too. A clogged or glazed wheel generates more friction and heat than a sharp, open wheel. Take good care of your tool accessories.
For especially delicate or expensive tools, a slow-speed wet grinder is a better choice. Its wheel runs continuously through a water bath, making overheating virtually impossible. For quickly sharpening sturdy garden tools such as spades or lawn mower blades, a standard dry grinder with manual cooling is sufficient.

Patience is the most important virtue when grinding. Anyone who tries to speed things up by pressing too hard will pay the price with a ruined tool. Take your time, cool the tool often and let the machine do the work.
Why are good posture and safety so important?
A bench grinder is a powerful power tool. Use it with care and follow all safety rules. A single mistake can cause serious injury, so always put your safety first.
Always wear safety glasses. Sparks and small metal fragments can fly at high speed and cause serious eye injuries. Ordinary glasses do not offer enough protection. Never wear gloves while grinding: they can get caught in the rotating wheel and pull your hand in, causing severe injuries. Wear close-fitting clothing, and tie back long hair or use hair protection.
Important safety note
Before each use, check that the guards and spark deflector are securely attached. Never operate the grinder if these safety devices are missing or damaged. The gap between the tool rest and the grinding wheel must not exceed 3 mm.
Stand firmly and position yourself so you can keep your balance. Bolt the bench grinder securely to a workbench so it cannot move or tip over. Make sure your workspace is well lit, so you can see the cutting edge and the point where it meets the wheel at all times.
After switching on the grinder, let it reach full speed and listen for unusual noises. Strong vibration may indicate an imbalance. If this happens, switch the machine off immediately, then find and fix the cause. After switching it off, step to the side and wait for the wheel to stop completely. Never stop it with a workpiece or your hand.
Frequently asked questions
- What does it mean when metal burns during grinding?
- Burning happens when excessive friction causes the metal to overheat. You can spot it by the bluish or dark temper colours. The heat changes the steel's hardness, so the cutting edge will not stay sharp for long and the tool may become unusable.
- How often should I dress a grinding wheel?
- Dress the wheel when it becomes uneven, develops grooves or starts to glaze. With regular use, you may need to do this every few weeks. A flat surface is essential for accurate, safe grinding.
- What angle should I use to sharpen a kitchen knife?
- For most European kitchen knives, a sharpening angle of around 15 to 20 degrees per side is ideal. A smaller angle gives you a very sharp but more delicate edge. A larger angle creates a sturdier edge, though it may be less refined.
- Can I grind any type of metal on a standard bench grinder?
- Most standard aluminium oxide grinding wheels are designed for common tool steels. For non-ferrous metals such as aluminium, use a special wheel, as these metals can clog a standard wheel. Hardened special steels and carbide require silicon carbide or diamond wheels.
- Why is a wet grinder better than a dry grinder?
- A wet-grinding system continuously cools the workpiece, helping prevent the steel from overheating and burning. The water also captures grinding dust and carries away swarf, keeping the wheel's pores clear and improving its performance.
You might also be interested in
- Wet grinding: 5 common mistakes and how to fix them
- Pro tips: How to sharpen tools effectively with a bench grinder
- 5 common mistakes when sharpening drill bits and how to avoid them
- Metal bench grinder: How to choose the right one
- How to grind properly: Techniques and tools for DIY projects
- 5 common mistakes with a petrol chainsaw and how to avoid them