
In brief: A sump pit is a collection basin in the basement floor with an automatic submersible pump. It collects incoming water – whether groundwater, seepage water or condensation – and pumps it away in a controlled manner. This active protection prevents standing water, minimises moisture damage to the building structure and is a key element in keeping your basement dry.
What is a sump pit and how does it work?
A sump pit is a technical installation in your basement floor. Specifically, it is a recessed shaft or basin made of plastic or concrete. Unwanted water collects inside it.
A submersible pump with a float switch sits in this basin. As the water level rises, the float lifts and automatically switches the pump on. The water is discharged from the building through a pressure pipe, usually into the rainwater drain or a soakaway.
The system operates fully automatically and responds immediately when water enters. It is the last line of defence against moisture from below. The combination of collection basin and pump actively keeps your basement watertight.
What types of water does the sump collect?
A sump pit does not deal with just one type of water. Its role is varied. It collects groundwater under pressure that seeps through hairline cracks in the concrete floor.
It collects seepage water entering through the basement wall from the side. Condensation from pipes or the heating system also runs into it. Even in the event of a small leak from a washing machine in the basement, the sump is a reliable fallback solution.
For all installation and maintenance work, you will find suitable tools in our Power Tools category.
Pro tip
Always plan the sump at the lowest point of the basement. Use a spirit level to check the slope of the floor. Gravity must be able to carry the water reliably into the basin. Any slope in the wrong direction makes the system ineffective.
Why should you retrofit a sump pit?
Damp basement walls are not just a cosmetic problem. They put your home's structural integrity at risk. Masonry absorbs water like a sponge. This leads to efflorescence, flaking plaster and, in the long term, structural damage.
A permanently damp environment is an ideal breeding ground for mould. The spores not only attack the masonry but can also affect your health. An active sump pump removes moisture at its source before it can cause damage.
„Most moisture damage in basements is not caused by catastrophic flooding, but by continuous seepage. A sump pit permanently interrupts this process and effectively protects the building structure.“
A dry basement also increases the value of your property. It can once again be used as a full-value living or storage space. You regain usable floor area while protecting stored items from moisture.
Combining it with other protective measures
A sump pit alone is rarely the complete solution. It is part of a multi-stage protection system. The first stage is professional exterior basement waterproofing against water under pressure.
The second stage may be internal insulation or a drainage system. The sump pit forms the third and final stage. It catches water that has still passed through all the other barriers. This combination really does make your basement watertight.
For additional outdoor work, such as installing a drainage system, you will find materials in Garden Irrigation.
How do you install a sump pit correctly?
Installation requires careful planning and practical skills. Start by determining the ideal location. This is the lowest point in the room, often near the existing drainage pipe.
Mark the opening on the floor. If you have a concrete floor slab, you will need to break it up with a rotary hammer or demolition hammer. The pit should be approximately 20 centimetres deeper and wider than the sump basin itself.
Important note
Before breaking up the floor, be sure to check the location of utility lines (electricity, water and wastewater). A cable and pipe locator or your home's building plans can provide information. Cutting through a utility line can result in high costs and put your safety at risk.
Place the basin in the pit. Fill the annular gap with gravel or sand and compact the material in layers. This filter layer prevents soil from being washed into the basin and clogging the pump.
Connecting the pump and discharge pipe
Now install the submersible pump. Make sure that the float switch can move freely. Connect the pump's pressure pipe to the outlet. This carries the water outside.
The pipe must have a slope of at least two per cent and be laid so that it is protected from frost. A non-return valve in the pipe stops water from flowing back when the pump stops. Ideally, an electrician should connect the pump to the power supply.
For all plumbing and water connections, we offer high-quality components in our Plumbing + Irrigation range.
Which pump is right for your sump?
Choosing the right submersible pump determines its performance. Pay attention to two key specifications: the head height and the flow rate. The head height in metres indicates how far the water needs to be pumped upwards.
Add the height from the sump to the discharge point, plus a safety margin. The flow rate in litres per hour should match the expected inflow of water. For normal seepage levels, 6.000 to 10.000 l/h is sufficient.
“Many pumps do not fail because of their performance, but because dirt blocks the float switch. Regularly cleaning the sump is therefore more important than the pump’s maximum load.”
Material and design are further criteria. Pump housings made from stainless steel or robust plastic do not corrode. An impeller suitable for sludge also reliably pumps slightly contaminated water. A float switch is often more reliable than an electronic sensor.
Additional advice
Install a second standby pump in critical areas such as a boiler room. Both pumps should sit at different heights in the sump. If the main pump fails, the backup takes over automatically. This redundancy costs a little more, but provides complete protection against pump failure.
Special case: the cellar tap
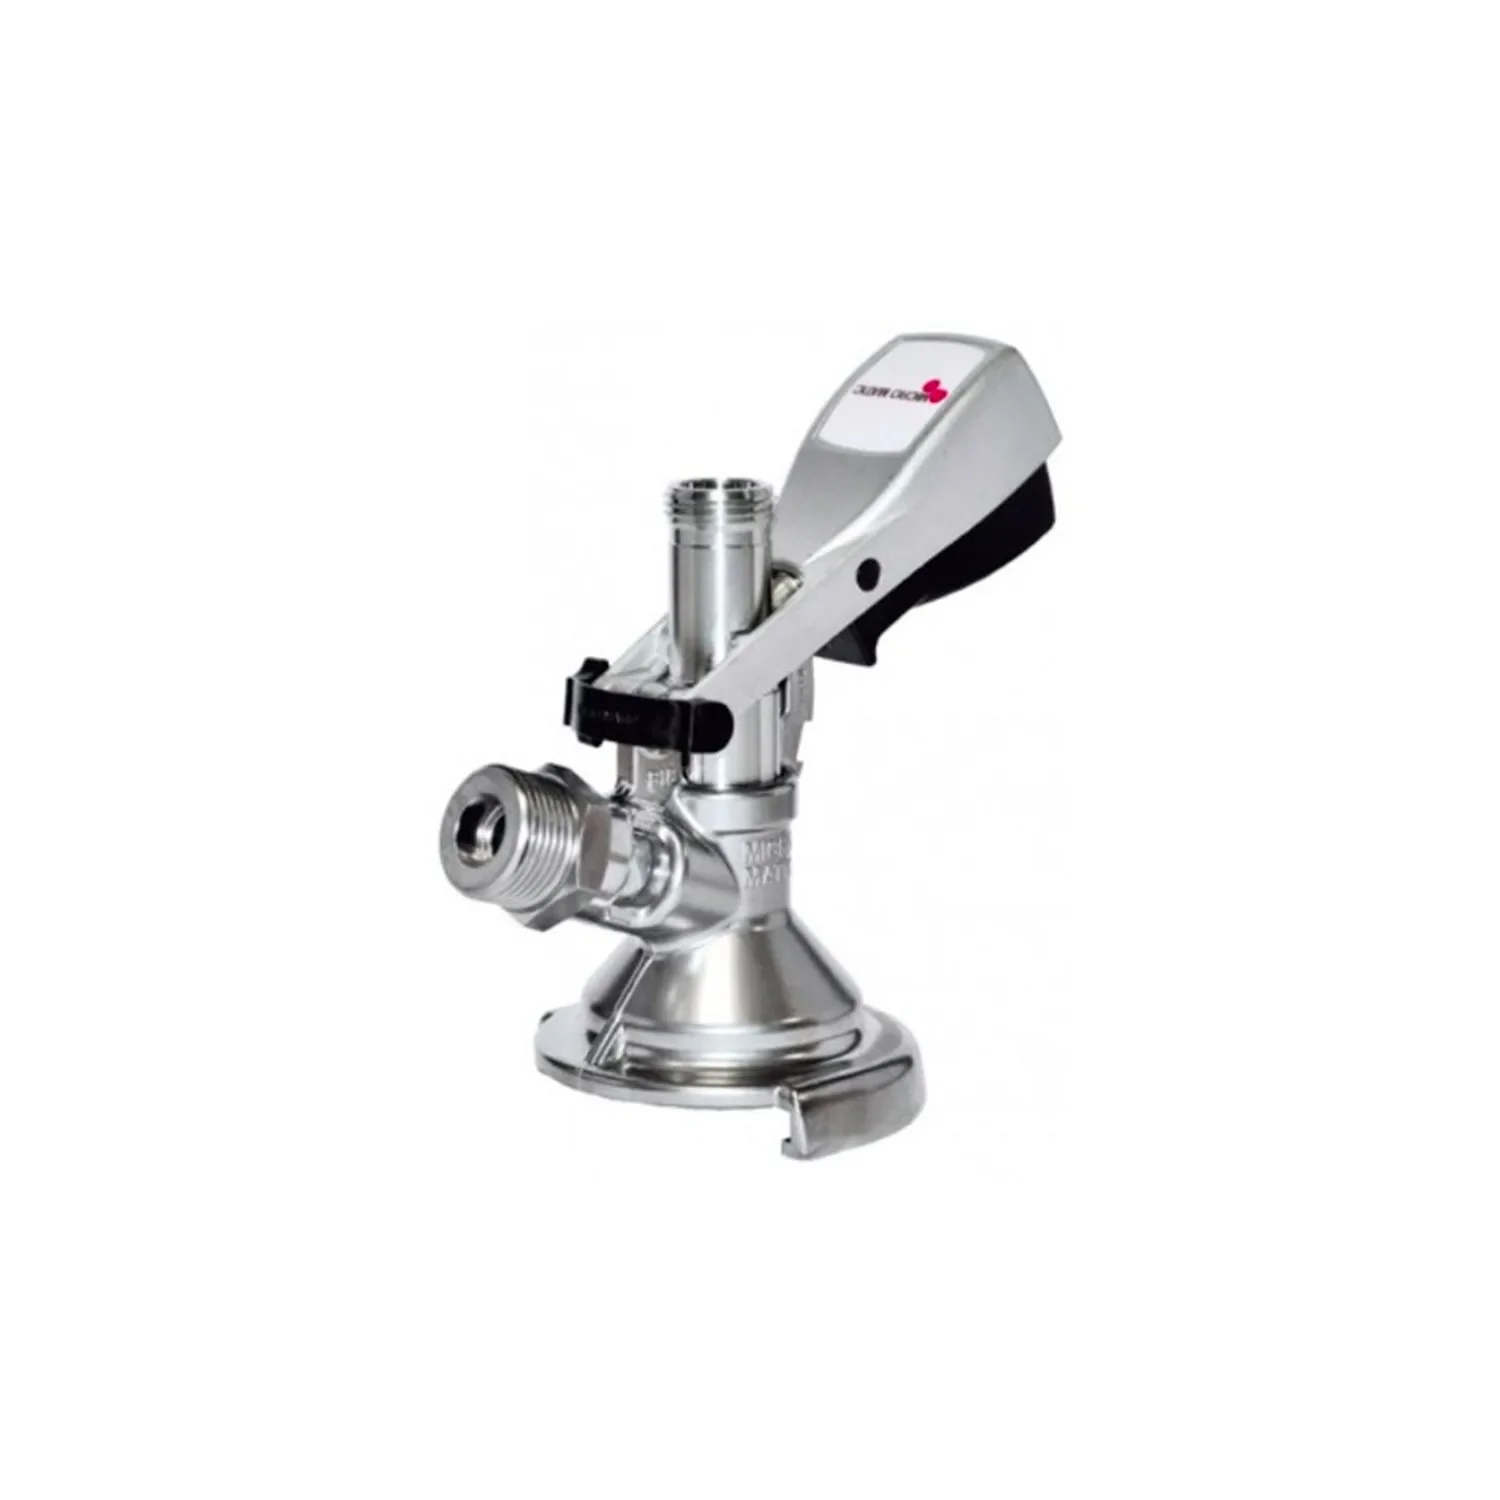
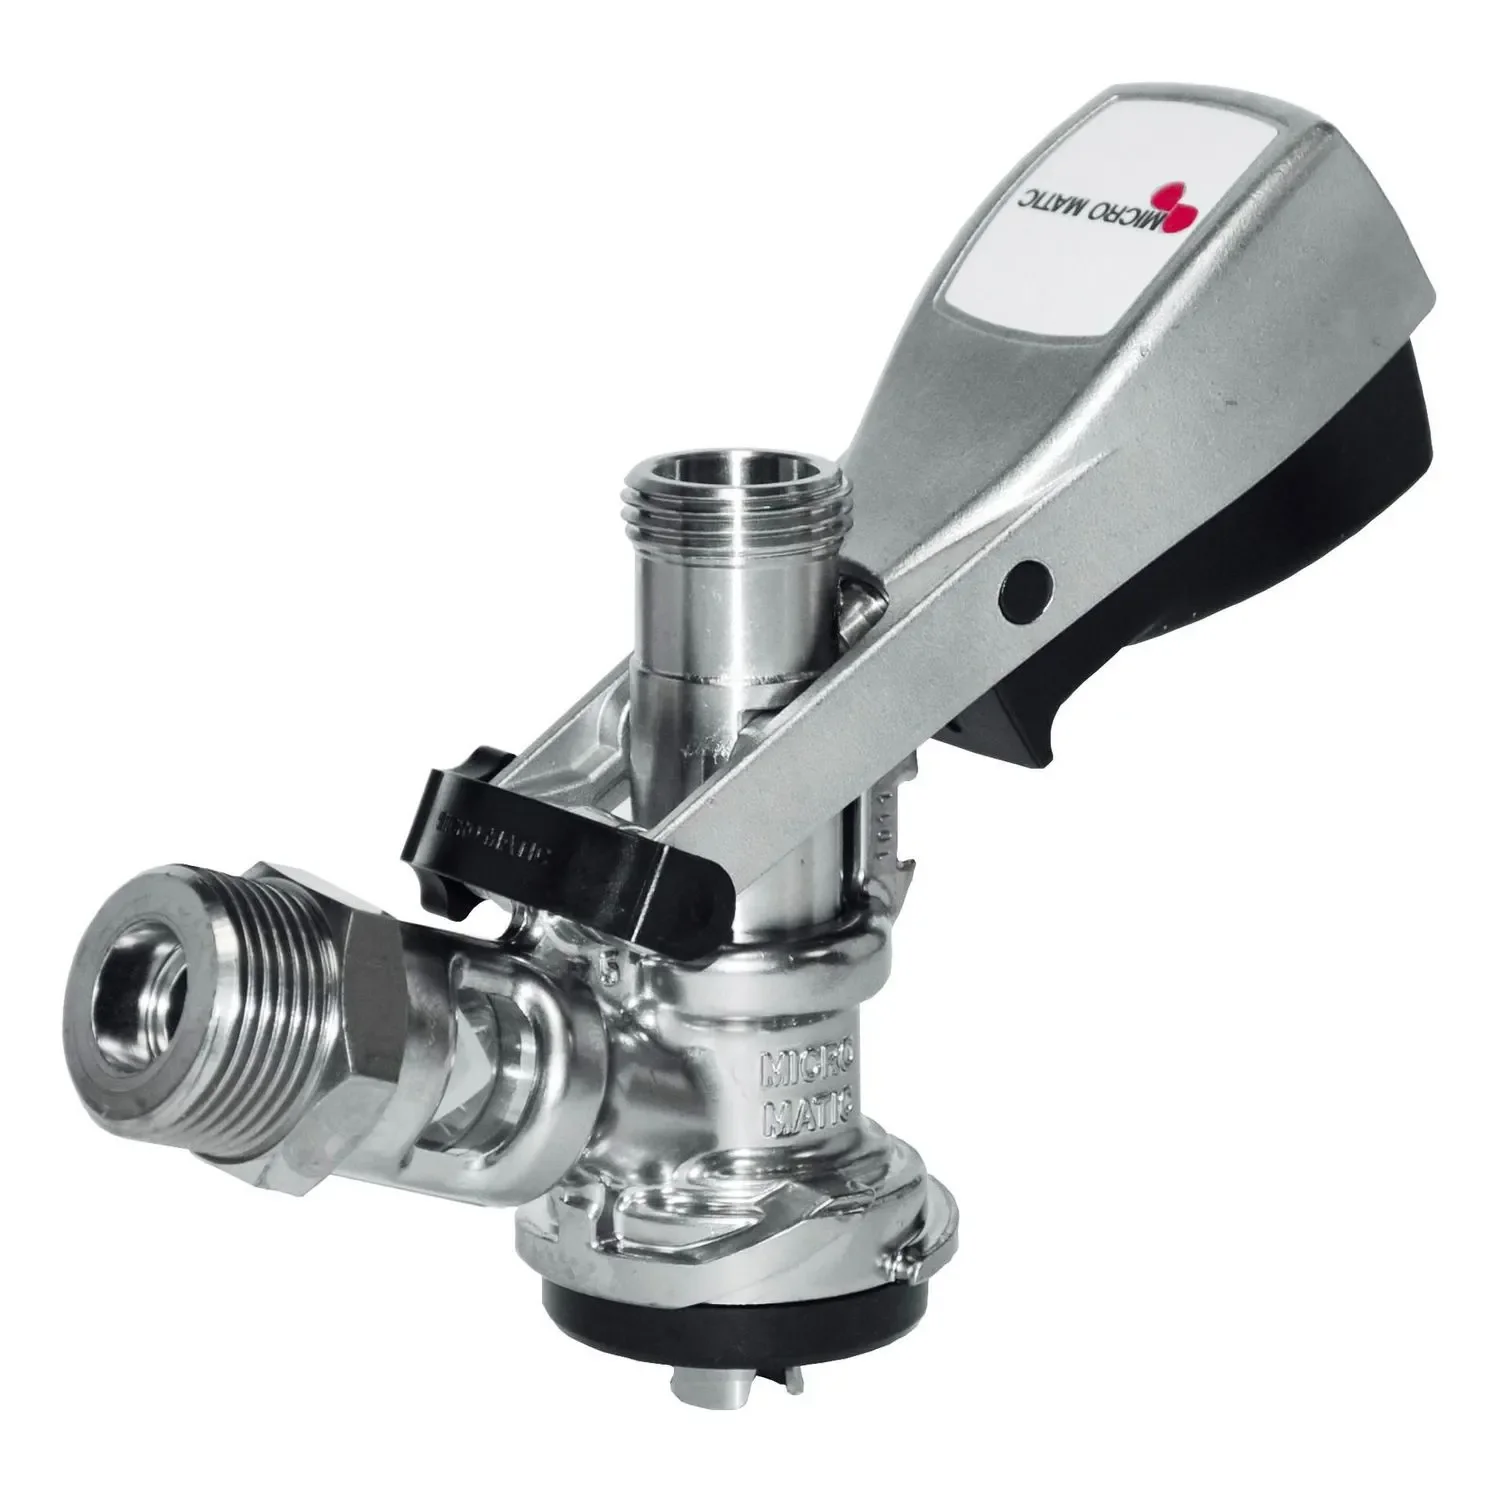
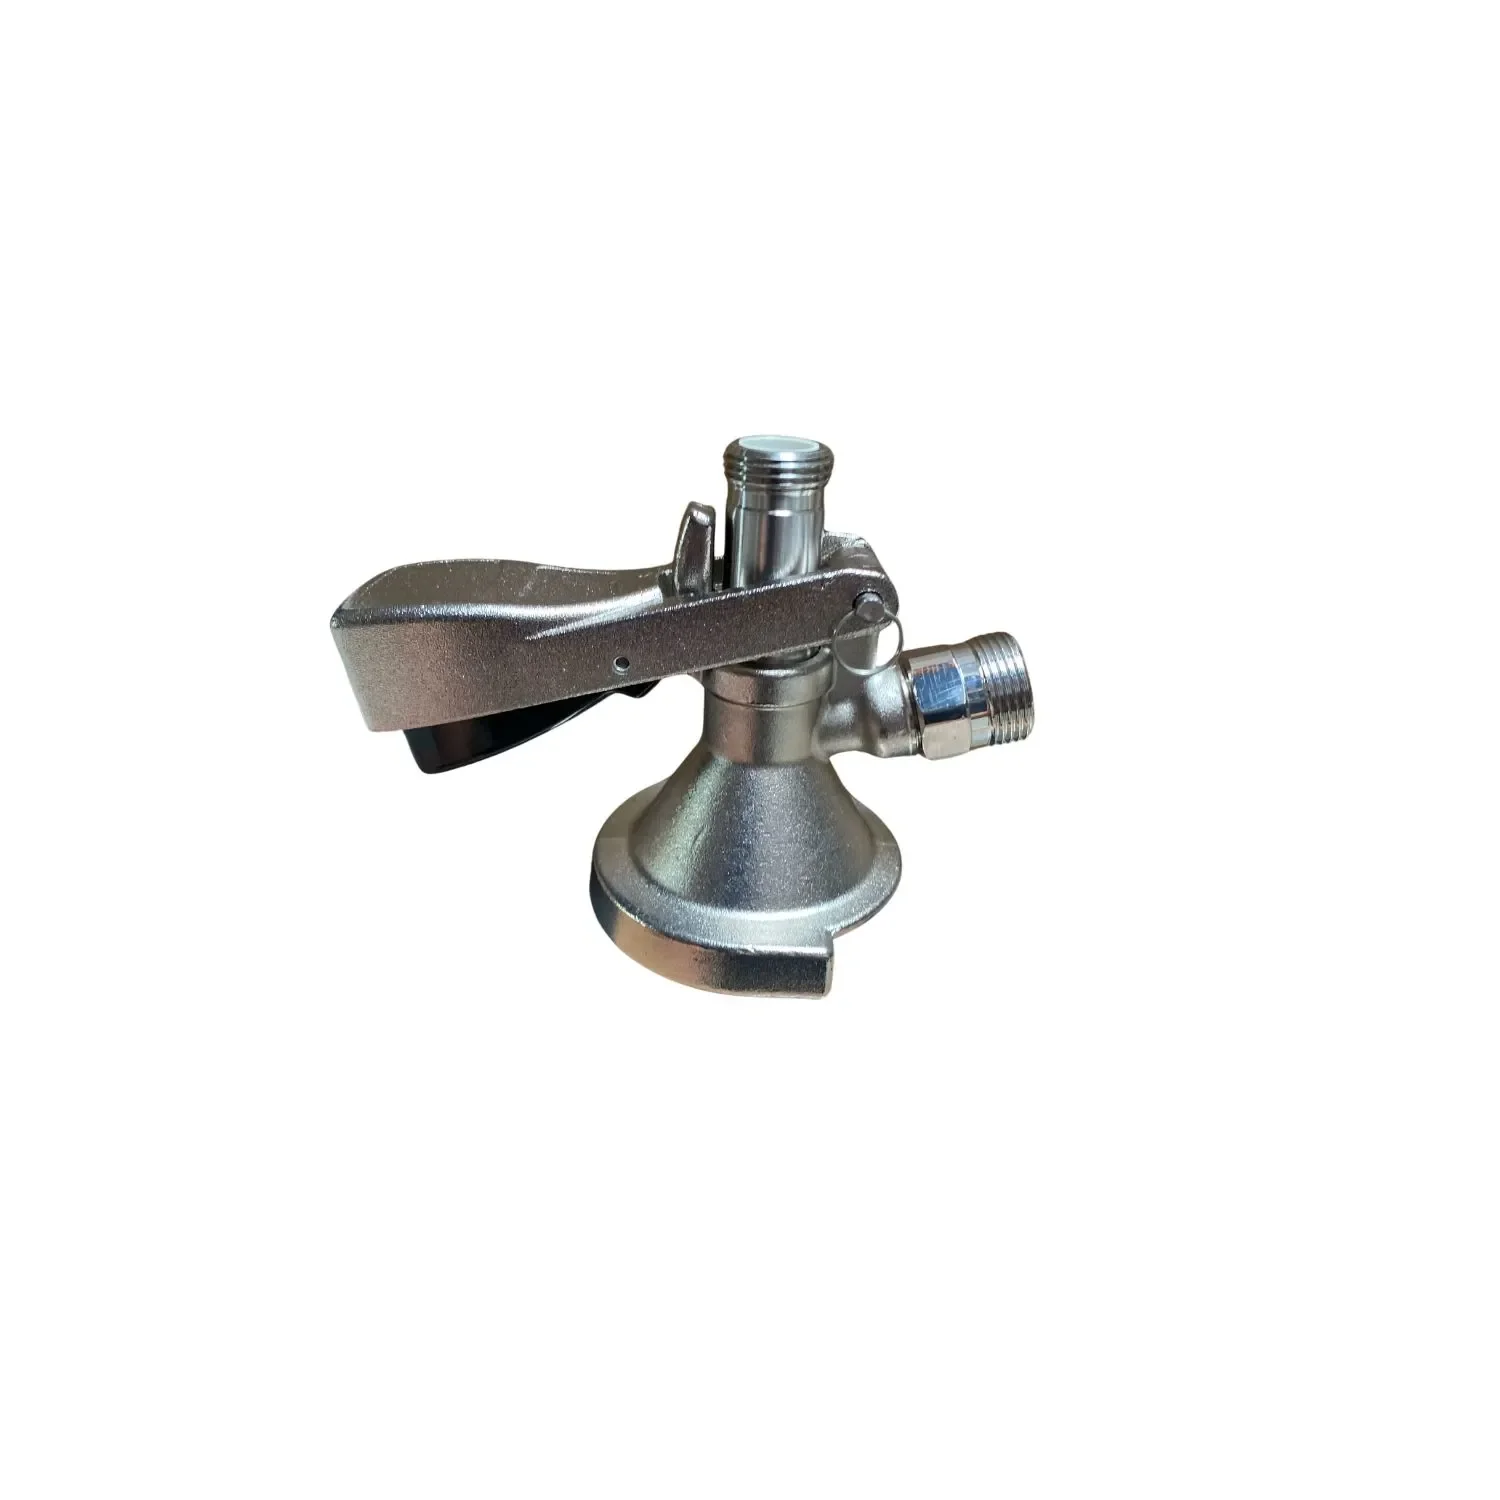
Many older buildings already have an old, often blocked floor drain. In this case, you can retrofit it with what is known as a cellar tap. This is a special tap head that fits an existing barrel or wine-storage connection.
Drill the tap into the sump and connect a pump to it. This is a minimally invasive solution if you do not want to completely break up the floor. Ensuring that the system is watertight is the top priority.
How can you maintain your sump reliably?
Maintenance is not optional; it is essential for proper operation. Schedule regular intervals. Inspect the sump visually every three months. Switch off the pump at the circuit breaker and lift the cover.
Remove leaves, stones and sludge from the sump. Check that the float can move freely. Carefully lift it by hand to trigger a test run of the pump. It should start immediately and pump water.
Thorough cleaning should be carried out once a year. Remove the pump and rinse it with clean water. Check the impeller for wear and limescale. Inspect the discharge pipe to make sure it is clear, for example using a drain snake.
For cleaning and maintaining your entire household, we offer practical helpers in our operating supplies.
Common problems and their solutions
Is the pump running continuously but not pumping any water? This indicates a blocked intake strainer or a jammed impeller. Clean both components. A humming noise without any water being pumped may indicate dry running – the pump must always stand in water.
If the pump does not start at all, first check the fuse and the socket. If the power supply is working correctly, the float switch is often faulty or jammed. Replace it if necessary. An unpleasant smell from the sump indicates stagnant, foul-smelling water. The pump is then not removing all the water. Set the float higher or clean the sump thoroughly.
Flood protection: what a sump can do
A sump is an excellent way to protect against groundwater and seepage. However, it is powerless against dynamic flooding entering under pressure through doors, windows or light wells. The pump cannot remove water that collects in the room above the sump.
It is therefore only one part of basement flood protection. Combine it with mechanical barriers. These include watertight windows and doors, screw-on barriers for light wells and pressure-resistant waterproofing on the exterior walls.
A comprehensive strategy also includes the outdoor area. Ensure that the ground slopes away from the house so that surface water can drain away. Keep gutters and downpipes clear. In an emergency, plan to use mobile pumps and sandbags.
For mobile solutions and emergency equipment, take a look at our special offers.
A professionally installed and maintained sump transforms your basement from a damp problem area into a dry, usable space. It protects your property, your health and the value of your home. Start by thoroughly analysing the cause of the damp. Then plan a system suited to your circumstances. Choose quality materials and professional installation. This investment will provide security for many years to come.
Frequently asked questions
- When do I need a sump pit in my basement?
- You need a sump pit if water occasionally collects in your basement or the walls and floors are damp. A high groundwater level in your area or a lack of perimeter insulation may be an indication. Retrofitting is also advisable if water occasionally enters through cracks or if the basement is used as a utility room or storage area.
- Can I install a sump pit myself?
- Experienced DIYers can install the sump pit and connect the pump themselves. You will need to break up the basement floor, install the pit and lay the drainage pipe. However, you should have a qualified contractor handle the pump's electrical installation and check that the system is watertight to ensure safety and reliable operation.
- How often does a sump pit need to be serviced?
- Check the pump and sump pit every three months. Remove dirt and deposits from the pit. Test the float switch manually. Once a year, give the system a thorough clean by removing the pump and checking it for wear. Add these dates to your calendar, as regular maintenance helps prevent failures during heavy rain.
- How much does it cost to retrofit a sump pit?
- Costs vary considerably. For materials such as the pit, submersible pump, pipes and sealant, expect to pay between 500 and 1,500 euros. If a qualified contractor handles the installation and electrical connection, total costs rise to around 2,000 to 4,000 euros. The final price depends on the ground conditions, the pump capacity required and how accessible the basement is.
- Does a sump pit also protect against flooding?
- A sump pit protects against groundwater pressure and seepage, but not against dynamic surface flooding. If water rises faster than the pump can discharge it, or enters through doors and windows, the system will reach its limits. For comprehensive protection, combine the sump pit with a waterproof barrier.
You may also be interested in
- Basement renovation: Tips for keeping it dry and preserving its value
- Flood protection for basements and garages: Effective measures
- Wastewater pump review & comparison 2026: The best models tested
- Drying out a damp basement: How to properly waterproof the exterior wall
- External pump or submersible pump? The ultimate comparison
- Interior basement waterproofing: How to keep your basement dry