
In brief: Build a folding standing table from simple materials such as plywood panels and hinges. The basic principle is a stable, three-legged construction that folds together using a hinge joint. This gives you a mobile workspace that can be stored compactly after use. You can find the required materials at a DIY store, while specialist workshop supplies are also available from Westfalia.
Why you should build your own folding standing table
A fixed workbench takes up space. A folding standing table solves this problem. It gives you flexibility for spontaneous projects.
Use the table in your workshop as an additional work surface. Set it up in the garden for a summer buffet. Use it in the kitchen as a space-saving extension to your work area. Once your work is done, simply fold it up and store it away.
Building it yourself gives you control over the dimensions and features. You can adjust the height precisely to your needs. You can choose the material according to how you plan to use it.
What you need to build your DIY folding table
The materials list is manageable. The focus is on stability and functionality.
You need a sturdy panel for the tabletop. 22 mm birch plywood is an excellent choice. For the three legs, use timber measuring 70 x 70 mm or narrower strips.
The hinges are the key components. Choose sturdy steel butt hinges at least 80 mm long. They connect the pairs of legs and will later support the weight.
You will also need wood screws, possibly a bottom brace for added stability and wood glue. Remember to get sandpaper in various grits and a suitable finish such as wood oil or varnish.
For transporting and storing finished furniture, furniture dollies are extremely practical. They also prove their worth when moving your workbench.
The right tools for the project
Without the right tools, the work becomes laborious. Make sure you have a safe basic set of equipment.
A circular saw or jigsaw provides precise cuts. A cordless screwdriver saves time and effort. A drill with wood drill bits prepares the screw holes.
An angle grinder with a sanding fleece smooths the edges efficiently. A try square and spirit level ensure accurate results. A Forstner bit is useful for drilling the hinge holes.
Pro tip
Mark all drill holes with a centre punch before driving in the screws. This prevents the drill bit from slipping and the wood from splintering. Work systematically when installing the hinges: drill all the holes for one component before fitting the next.
How do you construct a stable folding table?
The construction follows a simple principle. Two legs are firmly connected and form a U shape. The third leg folds against this U.
The tabletop is attached to this frame. When folded, all three legs lie parallel. The tabletop folds over them.
The critical point is the main hinge joint. It must support the entire weight of the table when open. Choose heavy-duty components here.
A diagonal brace between the two fixed legs significantly increases torsional rigidity. It prevents annoying wobbling while you work.
The stability of a folding table depends on the precision of its angles. A difference of just two degrees can cause the table to stand unevenly or become unstable. Take your time to align everything precisely.
Step-by-step building instructions
Start by cutting the materials. Cut the tabletop to the desired size. 80 cm x 60 cm is a good starting point.
Cut the three legs to the desired standing height. Bear in mind that the legs will later sit in the angled frames. Allow for this height.
Now build the fixed U-shaped frame from two legs and the top cross brace. Connect the parts with wood screws and glue. The angle between each leg and the brace should be 90 degrees.
Attach the large hinges to the third, separate leg and to one side of the U-shaped frame. Test the folding mechanism before continuing.
Important note
Always work with sharp tools. Blunt saw blades or drill bits require more force and produce rough cuts or tear-outs. The risk of injury increases. Replace the jigsaw blade at the first signs of blunting.
Position the completed frame beneath the tabletop. Attach it from underneath through the cross braces. Use enough screws.
Finally, sand all surfaces and edges thoroughly. Start with coarse sandpaper and finish with a fine grit. Remove all sanding dust.
Apply your chosen finish. Oil requires several thin coats. Varnish dries to form a hard protective layer.
Which materials are suitable for outdoor use?
A folding garden table must withstand weather and moisture. The choice of material determines its service life.
Pressure-treated timber is the classic choice. It is pre-treated against rot and fungal attack. Alternatives include weather-resistant woods such as larch or teak.
Phenolic-coated plywood panels are easy to maintain and very robust. They dry quickly and do not need any additional coating.
All metal fasteners must be made of rust-resistant stainless steel, such as V2A. Galvanised screws slowly rust through when used outdoors.
Protect your mobile workspace in winter with a suitable garden furniture cover. Transparent versions still let you see the beautiful wood.
The biggest mistake when building garden furniture is using standard screws. Even galvanised parts do not withstand constant moisture for long. Invest in stainless steel screws from the outset. This saves you trouble and rust stains later.
Finishing for weather resistance
Good impregnation is essential. It seals the pores in the wood and forms a protective layer.
Specialist garden wood oil penetrates deeply and enhances the grain. It must be renewed regularly, approximately once a year. Clear acrylic varnish forms a solid film. It can peel over time.
Applying a primer before varnishing improves adhesion. Always sand the wood before the first coat. This helps the oil or varnish adhere better.
Store the table in a dry place over winter. A basement or the workshop trolley in the garage is ideal.
How can you add practical extra features?
A basic table is useful. An optimised table is even better. Small additions can increase its usefulness.
Drill holes in one side of the tabletop for tools or a parasol. An integrated measuring scale along the front edge helps with cutting.
Add a narrow shelf beneath the tabletop to store jars of screws. Simple angle brackets are all you need.
A fold-out pin on the side can serve as a towel holder or support a work light. Small neodymium magnets keep metal tools securely in place.
Additional tip
If you frequently need the table at different heights, fit height-adjustable legs. Replace the fixed legs with tubes and push-fit connectors, or use adjustable furniture feet from a specialist retailer. This allows the table to adapt to standing or seated work.
A conductive ESD coating is worthwhile in the workshop if you work with electronic components. You can find information about specialist ESD accessories in our category.
Optimise mobility and transport
A folding table is mobile. You can improve its mobility even further.
Fit sturdy castors to one pair of legs. Make sure they have locking brakes. Add simple glides to the other pair of legs.
This makes it easy to move the loaded table around the workshop. Once folded, you can carry it like a suitcase. A handle on the side makes it even more convenient.
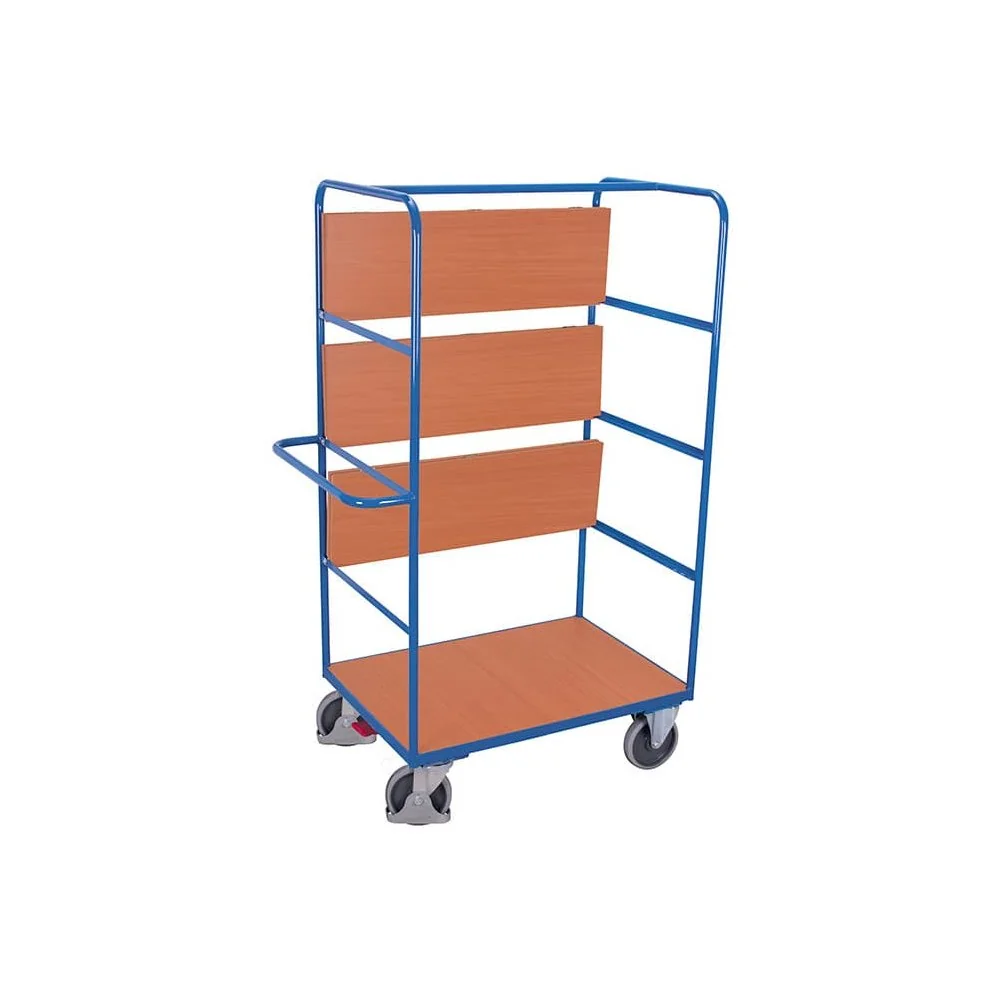
For transporting larger furniture or materials, our
and are perfect helpers. They feature folding shelves and are extremely robust.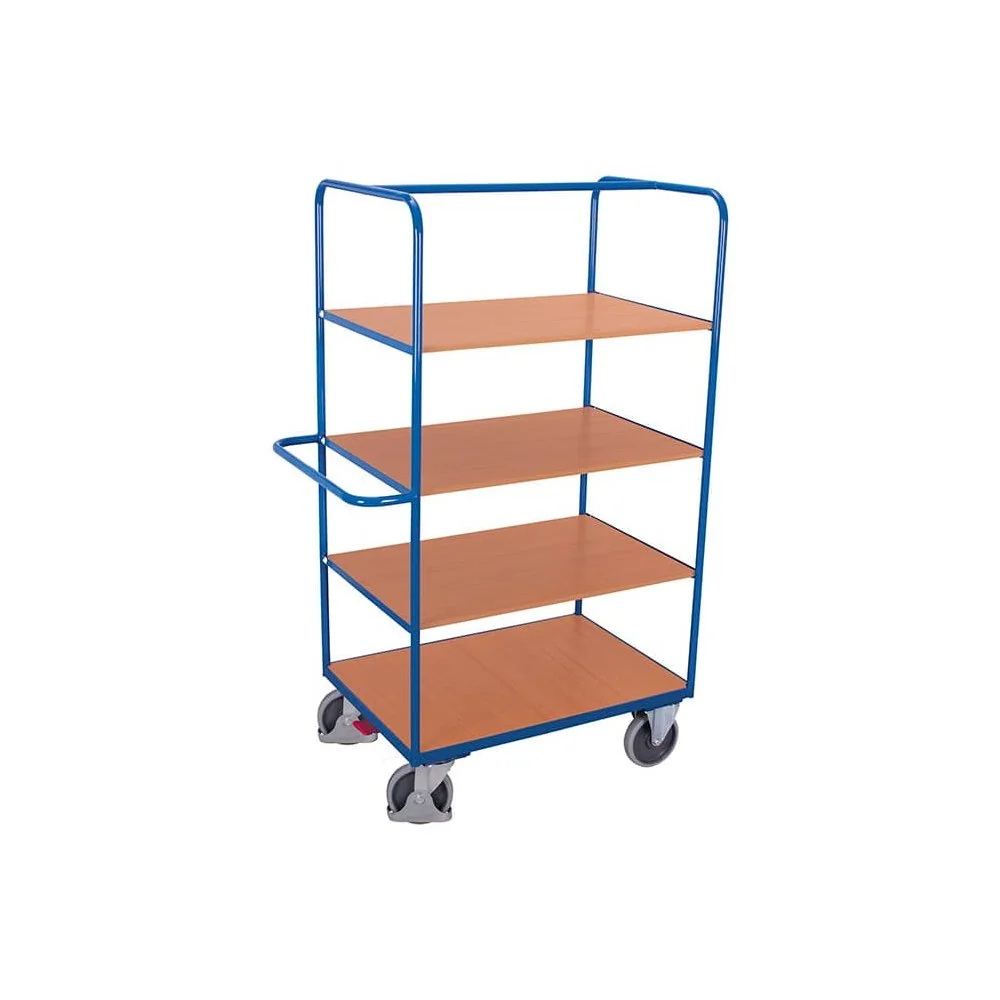
Ideas for using your DIY folding table
Its uses extend far beyond the workshop. The table becomes a versatile everyday helper.
In the garden, it serves as a serving station for barbecues. Use it to hold drinks and plates. It also makes an ideal base for growing potted plants in spring.
In the kitchen, it provides extra worktop space when cooking for a large gathering. Simply fold it away after the event. On the balcony, it becomes a space-saving breakfast table.
For hobby artists, it can become a mobile easel or craft station. The high work surface helps protect your back. In a home office, it serves as a standing desk for your laptop.
Products such as the
For children's rooms or craft areas, we offer a wide selection of children's furniture that follows similar space-saving concepts.
Build your own folding table. It gives you freedom and flexibility. You save space and gain a reliable helper for all your projects.
Frequently asked questions
- What type of wood is best for a folding DIY standing table?
- You need wood that is sturdy but not too heavy. Birch or fir plywood (18-22 mm thick) is ideal. It is durable, easy to work with and holds screws securely. For outdoor use, choose pressure-treated wood or weather-resistant phenolic-coated plywood.
- How do I ensure the stability of a three-legged folding table?
- Stability depends on the correct angle of the legs. An outward splay angle of around 15-20 degrees prevents the table from tipping over. Sturdy, large hinges for the folding joint and a sufficiently strong floor brace connecting the legs are essential to prevent sideways movement.
- Can I also build the folding table for the garden?
- Yes, but you need to adapt the materials. Use pressure-treated wood or robust plastic sheets. All metal parts, such as hinges and screws, must be made of rust-resistant stainless steel (V2A or V4A). A final treatment with special exterior wood protection oil will help protect the table.
- Which tools do I need for this DIY project?
- You need a jigsaw or circular saw to cut the wooden panels, a drill with wood drill bits, a cordless screwdriver, an angle grinder with an abrasive fleece disc (or sandpaper), a try square and a folding rule. A mitre saw is useful for precise angles, but not essential.
- How do I stop the folded table from opening by itself?
- Integrate a simple locking mechanism. A small turn latch from a DIY store, a magnetic catch or a strap with a buckle are all suitable options. The simplest solution is an elastic cord stretched around the folded legs and tabletop.
You may also be interested in
- Build a pallet standing table: DIY guide
- Build a side table: DIY furniture for your home
- Build a console table: a customised piece of furniture for your hallway and living room
- Build a potting bench: practical DIY guide
- DIY tripod: build your own stool and side table
- Build flexible room dividers yourself