
In brief: Building a garden shed yourself takes careful planning, the right materials and basic DIY skills. First, check whether you need a building permit and draw up a detailed plan. Choose a level site and a suitable foundation, such as concrete slabs or concrete piers. Pressure-treated timber framing with OSB panels or a DIY shed kit can make construction easier. A sturdy roof and weather-resistant siding will protect your tools for years to come.
How to Build a Garden Shed: A Step-by-Step Guide
A garden shed keeps your yard organized and protects valuable gardening equipment. With this guide, you can turn your plans into reality, save money and create exactly the storage space your garden needs.
How do I plan my garden shed?
Start with careful planning to avoid costly mistakes and save time. Measure the space available in your yard, and remember to account for property line setbacks and any local zoning rules.
Sketch out your building plan. Decide on the size, door location and interior layout. Make room for shelves for smaller items and enough space for large equipment such as lawn mowers. Good planning is the key to success.
Important note
Check whether you need a building permit before you start construction. Many local authorities allow small garden sheds up to a certain size without a permit, but regulations vary considerably. A call to your local building department can help you avoid problems and costly changes later.
Choose the location carefully. A partially shaded spot can help extend the life of the wood. Make sure there is easy access for wheelbarrows and lawn mowers. The ground should be level and stable.
Choosing materials: wood, metal or a DIY kit?
Wood is the classic building material. It is easy to work with and has a natural look. Use pressure-treated lumber for long-lasting protection. Larch is especially weather-resistant.
Metal structures are very sturdy and easy to maintain, but they require more specialized skills to assemble. A DIY kit from a specialty retailer makes the process much easier. You get precisely fitted parts and assembly instructions.
The quality of the foundation determines the service life of the entire garden shed. Do not cut corners on materials or workmanship here. A poor foundation can cause settling, doors that no longer close properly and, ultimately, premature deterioration of the structure.
Set a realistic budget. In addition to the main materials, allow for roofing felt, screws, hardware and paint or wood stain. A 15 percent contingency for unexpected costs is a good idea. Find many of the materials you need in our Garden + Outdoor range.
What kind of foundation does my garden shed need?
The foundation supports the entire structure. It must be level and resistant to frost. For lightweight garden sheds made from thin timber, a compacted gravel and crushed stone base is often sufficient. Medium-weight structures need concrete pier foundations.
You can use concrete blocks or pour the piers yourself. Heavy garden sheds or unstable ground may require a continuous concrete slab. This takes more work but provides maximum stability and helps keep pests from getting in from below.
Mark out the area with string and stakes. Excavate the ground to a depth of around 30 centimetres. Add a 15-centimetre layer of crushed stone and compact it thoroughly. A plate compactor is invaluable for this job.
Pro tip
Place a sturdy barrier layer under the foundation to stop rising damp. It protects the wood from rot. Secure the sheeting around the edges with heavy stones before adding the next layer. This simple measure can extend the life of your garden shed by years.
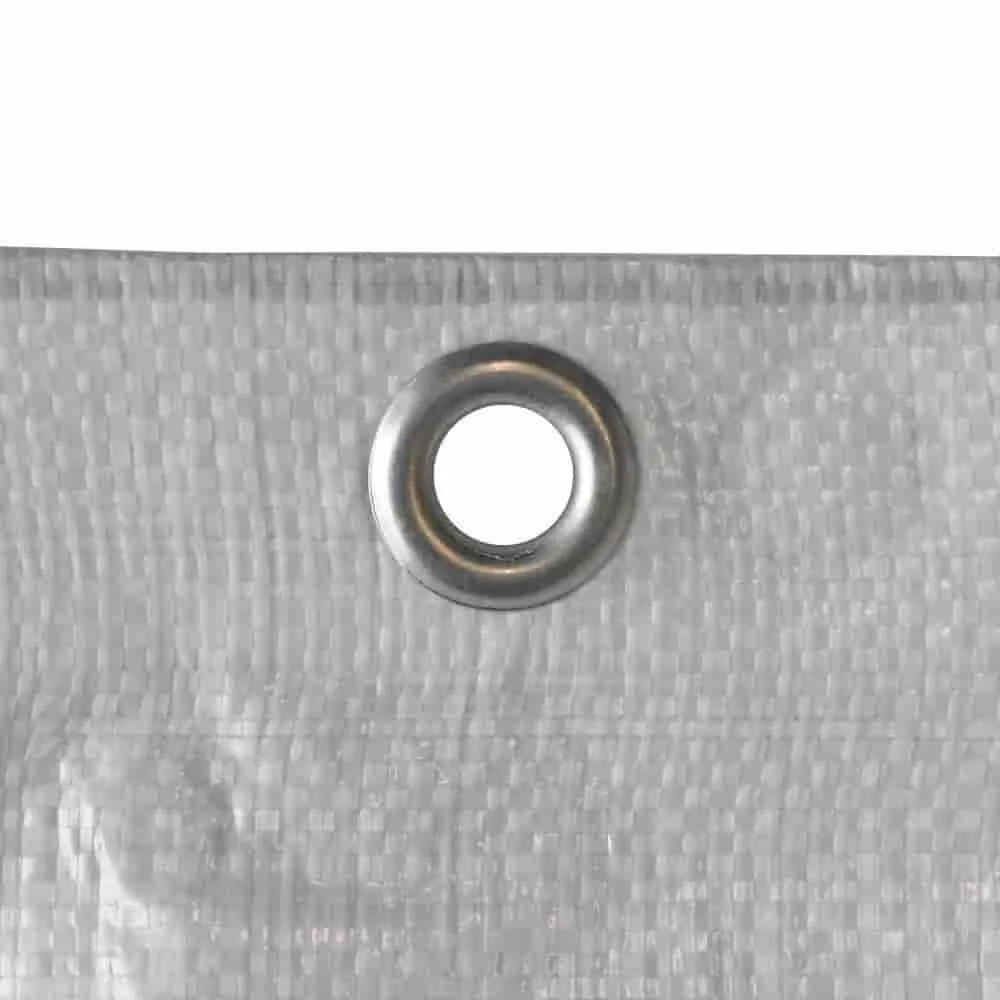
For concrete piers, dig holes measuring around 40x40 centimetres. The depth should be below the frost line, around 80 centimetres in the UK. Fill the holes with concrete and insert foundation anchors. These will later connect the wood framing to the concrete.
How to protect your shed from moisture
Moisture is the biggest threat to any garden shed. Start protecting against it when you build the foundation. The top of the foundation should sit slightly above the surrounding ground so rainwater can drain away.
Always place a layer of roofing felt or a specialized membrane between the wood and concrete. Do not use ordinary builder's plastic sheeting for this. It tears easily and does not provide proper protection. Specialized bitumen membranes or thicker plastic sheeting are better choices.
Remember to protect the roof as well. A roof overhang of at least 20 centimetres shields the walls from splashing water. Bitumen shingles, roofing felt or corrugated sheets are suitable roofing materials. Products from Plumbing + Irrigation, such as
help channel rainwater away.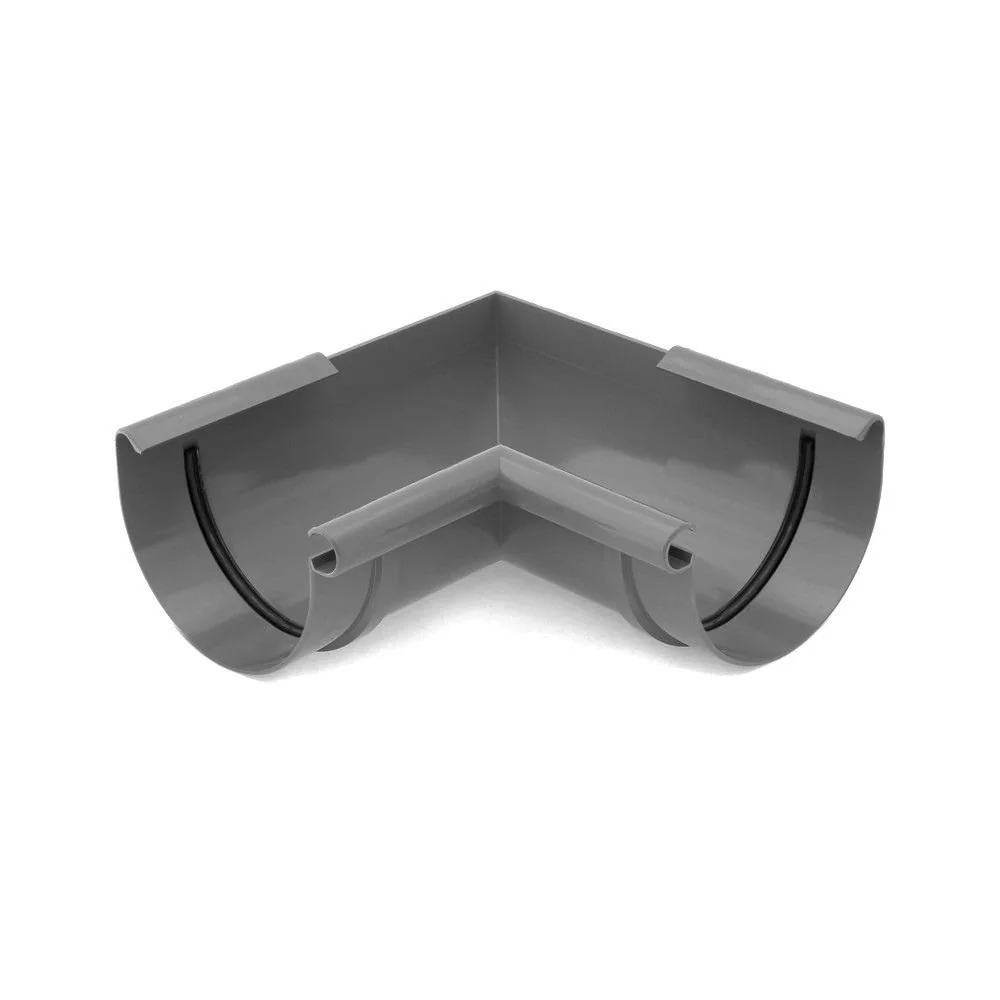
How do I build the wooden frame structure?
Start with the floor frame. Place the sill on the prepared foundation. Use pressure-treated timber measuring 60x100 millimeters for this. Join the beams with galvanized metal brackets and long screws.
Carefully check the alignment with a spirit level. Every small error here will carry through the entire structure. Correct any unevenness with wooden wedges or thin boards. The frame must be completely level and square.
Now build the wall frames. It is best to assemble them on the completed floor frame. This makes the work easier and ensures a precise fit. Use timber measuring 60x80 millimeters for the vertical studs.
Work consistently with pull angles and diagonals when constructing the frame. Temporary bracing during assembly prevents the structure from warping. Only the final cladding gives the garden shed its full rigidity. Until then, proceed with caution.
The distance between the studs should be 62.5 centimeters. This allows standard panel sizes to fit precisely later. Secure the studs at the top and bottom with heavy-duty angle brackets. Do not forget the openings for the door and window.
Installing doors and windows
Plan the door generously. You may later need to bring a riding mower or a large ladder inside. A width of 90 centimeters is a good guideline. The door frame consists of sturdy beams that you integrate into the wall structure.
Use multilayer wood panels or a framed construction with cladding for the door leaves. Make sure the hinges are sturdy. Three hinges per door are better than two. They prevent heavy doors from sagging.
Windows let light inside and make working more pleasant. A simple fixed window is sufficient. Carefully seal the frame with silicone or special sealing tape. For transport, products such as Tarpaulins + Nets like the
can help protect components from the weather.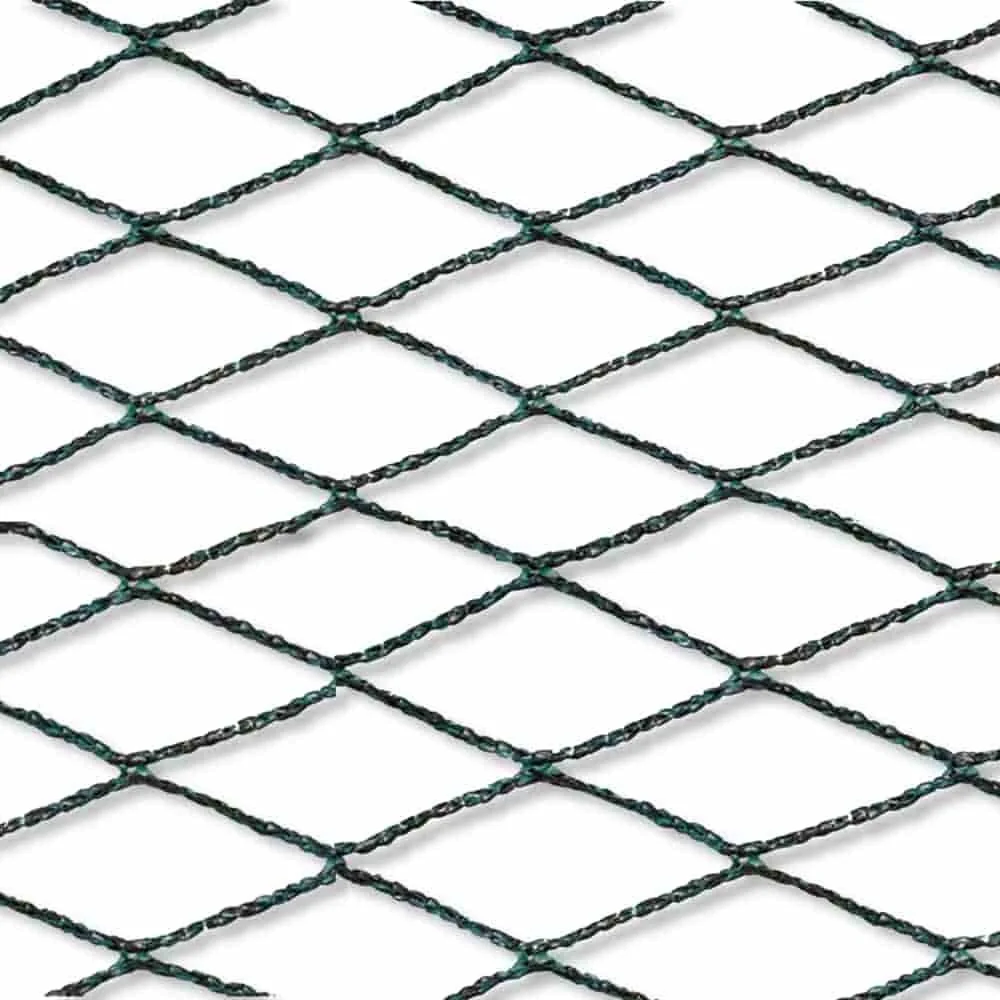
Additional advice
Use galvanized or stainless steel screws for all outdoor connections. Standard steel screws will rust within a few months. Corrosion damages the surrounding wood and weakens the connection. Investing in high-quality fastening materials quickly pays off.
How do I design the roof and cladding?
The roof bears the main load from snow and rain. A simple lean-to roof is the easiest to build. It requires only one sloping surface. A gable roof provides more storage space under the roof and has a more traditional appearance.
The roof pitch should be at least 15 degrees. This allows rainwater to drain safely and snow to slide off more easily. Calculate the rafter length precisely. It depends on the building depth and the desired pitch.
Clad the roof with OSB boards or treated chipboard. The actual roof covering goes on top. Bitumen shingles are easy to install and very durable. Alternatives include roofing felt or corrugated plastic or metal sheets.
Do not forget the gutter. It directs water away and protects the facade. A simple plastic system is perfectly adequate. Install it with a sufficient slope towards the downpipe.
Exterior cladding: protection and appearance
The cladding encloses the garden shed and protects it from the weather. For the exterior walls, use weather-resistant timber cladding, OSB boards with a membrane, or special garden shed panels. Screw the panels directly onto the wall studs.
Start at a lower corner and work your way across. Leave a small gap of about five millimeters between the panels. Wood expands and contracts with changes in humidity and needs this space. Simply use spacers for this.
Protect the edges with special profile strips. They prevent water from getting in and give the structure a neat finish. For all water-carrying components, such as any interior lighting with an outdoor connection, you can find suitable accessories such as
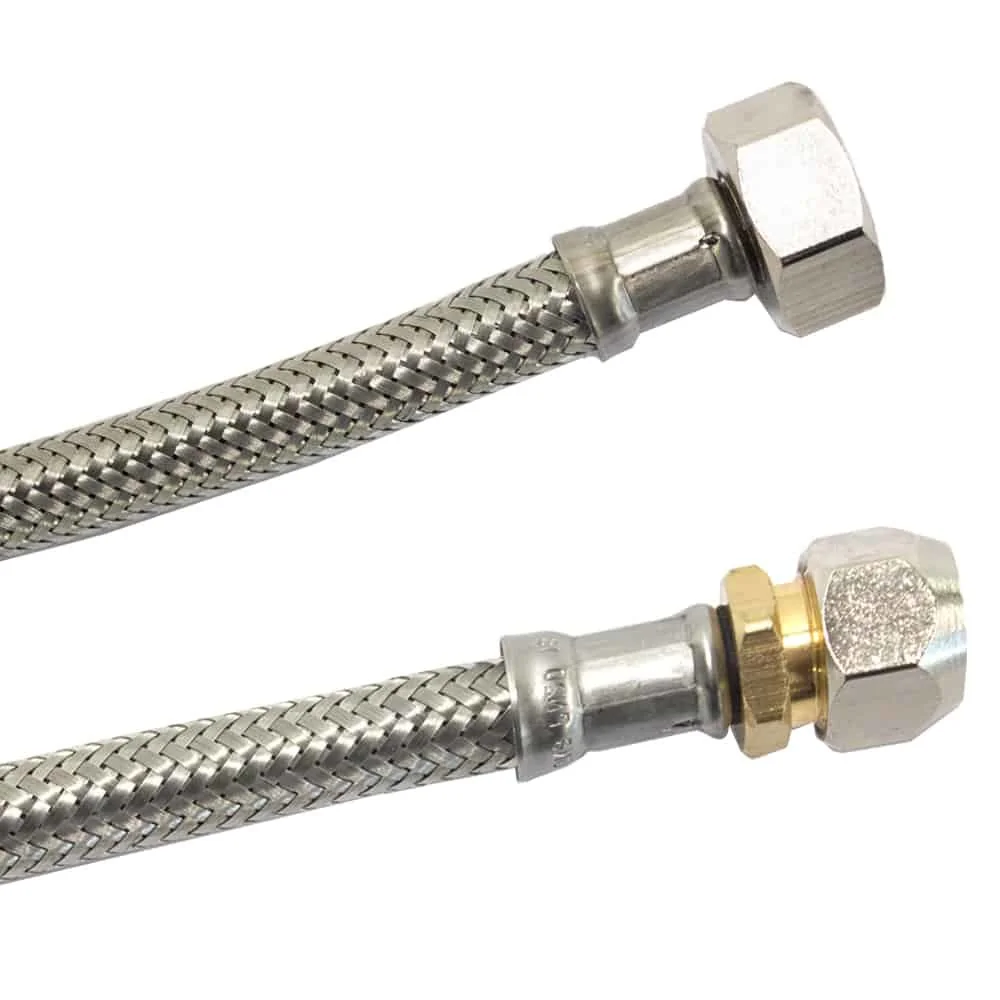
Paint or stain the wood after construction. A coat of special garden shed paint protects against UV radiation and moisture. Repeat this treatment every few years. This will keep your garden shed looking good and functioning properly for a long time.
Interior fit-out and organization
The interior fit-out maximizes the shed's usefulness. Plan the layout before installing the interior cladding. This allows you to run cables for any lighting or sockets. Always have electrical work carried out by a qualified professional.
Install sturdy shelves. Store heavy tools on lower shelves and lighter items higher up. Boards measuring 18 millimeters thick can easily hold secateurs, pots and fertilizer. You will find a wide selection of the latter in the Fertilizer section.
Wall-mounted hook rails provide space for shovels, rakes and brooms. This keeps them out of the way and always within reach. Make sure there is enough space between the hooks so that the tools do not get caught on one another.
Remember to provide ventilation. A small, screened opening in the gable wall prevents stale air and mold. Air exchange is particularly important when storing damp equipment or fertilizer. Simple plastic ventilation grilles are sufficient for this purpose.
With these steps, you can create a functional and durable garden shed. It protects your investment in gardening equipment and brings order to your outdoor space. Building it requires time and effort, but rewards you with a customized and useful garden building.
Frequently Asked Questions
- Do I need a building permit for a garden shed?
- Permit requirements depend on the shed's size, local zoning rules and building codes. In many areas, detached structures up to 40-50 m³ without living space may not require a building permit. Check local building codes and setback requirements before you start building. Contact your local building department to be sure.
- What type of foundation is best for a garden shed?
- For lightweight garden sheds, compacted gravel or pavers are usually sufficient. Concrete footings can support medium loads. Heavy structures or clay soil may require a full concrete slab. The key factors are the soil conditions and the weight of the items you plan to store.
- Can I build a garden shed entirely from wood?
- Yes. Pressure-treated lumber such as spruce or larch is ideal. For the frame, use beams at least 60x80 mm thick. Cover the frame with OSB boards and protect them with weather-resistant wood siding or bitumen sheets. Be sure to provide adequate ventilation behind the siding.
- How do I protect my homemade garden shed from moisture?
- Start with a foundation that keeps the shed above ground level. Install roofing felt or a membrane between the wood and the foundation. The roof should have a sufficient overhang and be covered with a durable roofing membrane. Use wood treatments designed for outdoor use.
- What tools do I need to build a garden shed?
- Essential tools include a cordless drill, level, tape measure, chisel, hammer and hand saw or circular saw. For the foundation, you will need a shovel, plate compactor and mixing container. An angle grinder makes metalwork easier. Protect yourself with work gloves and safety goggles.
You may also be interested in
- Build Your Own Garden Shed: Create Your Dream Backyard Retreat
- How to Renovate a Garden Shed: Give It a Fresh New Look
- How to Paint a Garden Shed: Keep It Looking Its Best and Protected
- Metal Garden Sheds: Benefits and Ideas for Your Backyard
- Building a Garden Shed: Do You Need a Permit?
- Build Your Own Raised Garden Bed: The Complete Guide