
In brief: Build a hexagon shelf from six wooden boards of equal length, cut at a 30-degree angle at both ends. After cutting the pieces, sand the edges, apply wood glue to the mitre joints and secure the parts with a strap clamp. Once dry, you can finish the shelf in your chosen colour and hang it up.
Empty walls can feel impersonal. Are you looking for decor that is modern, individual and practical? Then build your own hexagon shelf. These hexagonal shelves, also known as honeycomb shelves, are more than just storage. They are a design statement that you can tailor precisely to your style. With the right preparation and our guide, this DIY project is sure to succeed.
Why is a hexagon shelf the perfect DIY decor?
Geometric shapes bring calm and structure to a room. The hexagon is particularly fascinating. It recalls the perfect symmetry of honeycombs while appearing both organic and technical. A DIY shelf in this shape offers numerous advantages.
You choose the size, type of wood and colour yourself. This lets you create a one-of-a-kind piece that fits perfectly in your living room, bedroom or even hallway. Several hexagon shelves can be combined to create an entire honeycomb feature wall. This modular system grows with your ideas and needs. You can start small and add more elements at any time.
The build itself is a manageable project that is also suitable for ambitious DIY beginners. The biggest challenge is cutting the angles precisely. Once you have overcome this hurdle, the rest almost assembles itself. The result is a high-quality, sturdy piece of decor with far more character than a mass-produced product.
What do you need to make a hexagon shelf?
Good preparation is the key to success. Gather all the materials and tools before you begin building. This will help you work smoothly and avoid interruptions.
Materials list
- Wooden boards: Laminated pine or spruce (approx. 18 mm thick) is ideal for beginners. For a more premium look, choose oak, beech or another hardwood. The board width determines the depth of your shelf. 10-15 cm is a good size.
- Wood glue: Use a high-quality, fast-drying wood glue (e.g. Ponal Express) for strong joints.
- Sandpaper: Various grits (e.g. 120 and 180) for smooth surfaces and edges.
- Surface finish: Depending on your preference, wood oil, wax, stain or paint in your favourite colour.
- Wall mounting hardware: Sturdy sawtooth hangers or keyhole hangers for concealed mounting.
Tools list
- Compound mitre saw: Essential for precise 30-degree angles. A table saw with an adjustable angle will also work.
- Ratchet strap: The most important tool for holding the hexagon together while the glue sets.
- Tape measure and pencil: For marking out accurately.
- Cordless screwdriver: For installing the wall mounting hardware.
- Sanding block or random orbital sander: For an even sanding finish.
- Brush or cloth: For applying oil, stain or paint.
The details are not the details. They make the design.
How do you build a hexagon shelf step by step?
Follow these instructions to build your own perfect hexagon shelf. Always work carefully and pay attention to safety, especially when using the saw.
Step 1: Plan and determine the dimensions
The first step is planning. How large should your shelf be? The most important rule is that all six side pieces must be exactly the same length. Choose a side length, for example 20 cm. This will determine the overall diameter of the shelf.
Step 2: Cut the wood – the perfect 30-degree angle
This is the most critical step. Set the saw blade of your compound mitre saw to exactly 30 degrees. Measure the desired length (e.g. 20 cm) along the *longer* edge of the board. Now cut the first end of a board at a 30-degree angle. Turn the board around, measure the specified length along the long edge and cut the second end at a 30-degree angle as well. The two cuts must run parallel to each other, as on a trapezoid. Repeat this for all six boards. Check each piece for dimensional accuracy.
Pro tip
First, make a test cut on a scrap piece of wood. Join two test pieces and use an angle gauge to check whether the inside angle is exactly 120 degrees. This lets you calibrate your saw perfectly before cutting the actual wood.
Step 3: Sand and smooth the edges
After cutting, the edges are often slightly rough. Carefully sand all edges and surfaces. Start with 120-grit sandpaper to remove uneven areas, then work up to a finer 180-grit for a smooth finish. Thoroughly remove dust from the wooden pieces afterwards. Clean surfaces are essential for a durable glued joint.
Step 4: Assemble the hexagon
Lay the six pieces on a flat surface to form a hexagon and check that they fit correctly. Apply a thin, even layer of wood glue to the mitre surfaces (the angled cut edges). Join the pieces quickly. Wrap the strap around the entire hexagon and tighten it carefully and evenly. Make sure all corners are flush and there are no gaps. Remove excess glue immediately with a damp cloth. Allow everything to dry completely according to the glue manufacturer's instructions, usually for several hours or overnight.
Step 5: Surface finish – paint, stain or oil?
Once dry, you can give the shelf its finishing touch. Would you like to enhance the natural wood grain? Treat the wood with a clear hardwax oil. A coloured stain tints the wood while allowing the grain to show through. For an opaque splash of colour, for example on the inside of the shelf, use acrylic paint. Apply the finish evenly and allow it to dry thoroughly.
Step 6: Install the wall mounting hardware and hang the shelf
For a sturdy and concealed fixing, route two keyhole hangers into the back of the top board or screw on sawtooth hangers. Measure the distance between the hangers precisely. Transfer the measurements to the wall using a spirit level, drill the holes, insert suitable wall plugs and drive in the screws. Leave the screw heads protruding slightly so you can hang the shelf.
Important note
Check the condition of your wall before drilling. A brick wall requires different wall plugs than a plasterboard wall. Choosing the right wall plugs and screws is essential for the load-bearing capacity and safety of your shelf.
Creative ideas for your hexagon shelves
A single hexagon shelf looks great, but they really come into their own as a group. Here are some ideas for showcasing your handmade shelves.
Arrange three, five or more shelves into a large honeycomb structure. This formation becomes the room's central focal point. You can place the shelves directly next to one another or leave a little space between them. An asymmetrical arrangement looks particularly modern and dynamic. Arrangements like these are also ideal as creative children's room wall decor for stylishly displaying toys and books.
Play with colour. Paint the inside of the shelves in a contrasting colour or in different shades of the same hue. This creates depth and an exciting visual effect. Optionally, add a horizontal board in the centre of one or more shelves. This doubles the storage space and divides the hexagon shape in an interesting way.
Your home should tell the story of who you are, and be a collection of what you love.
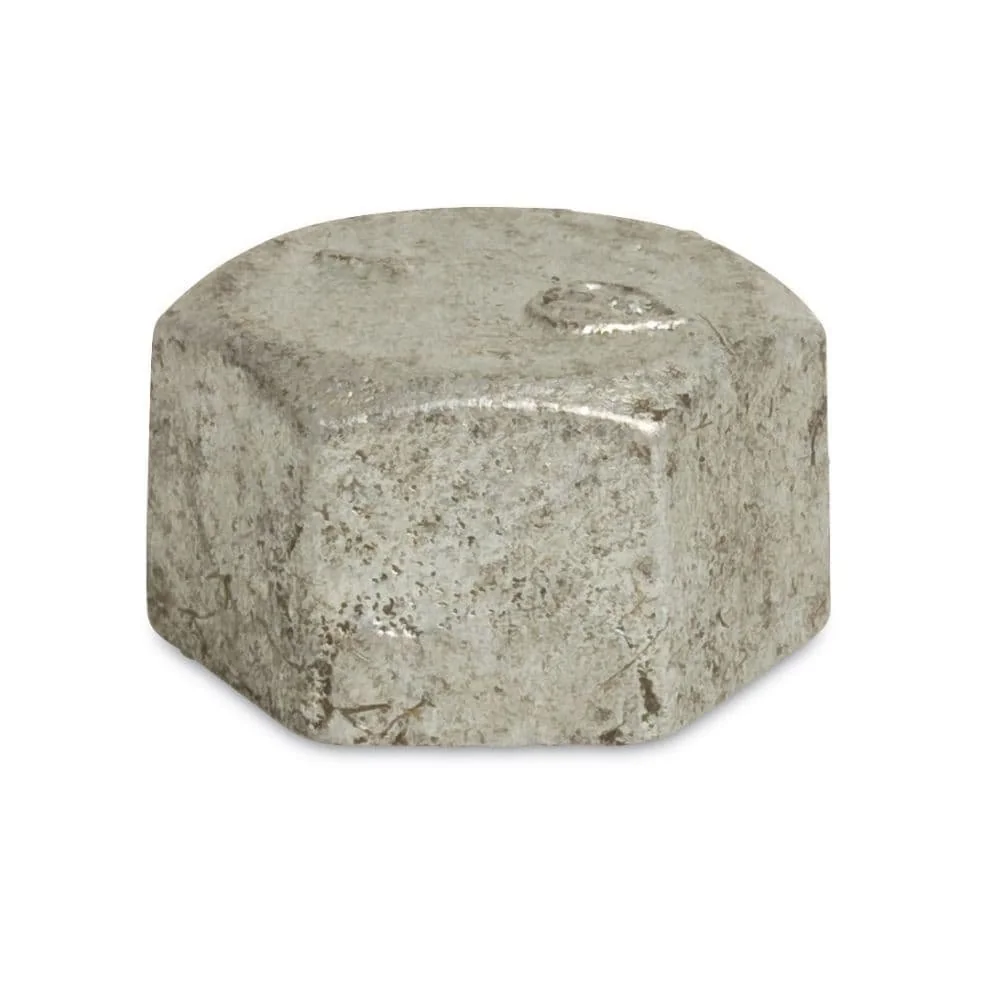
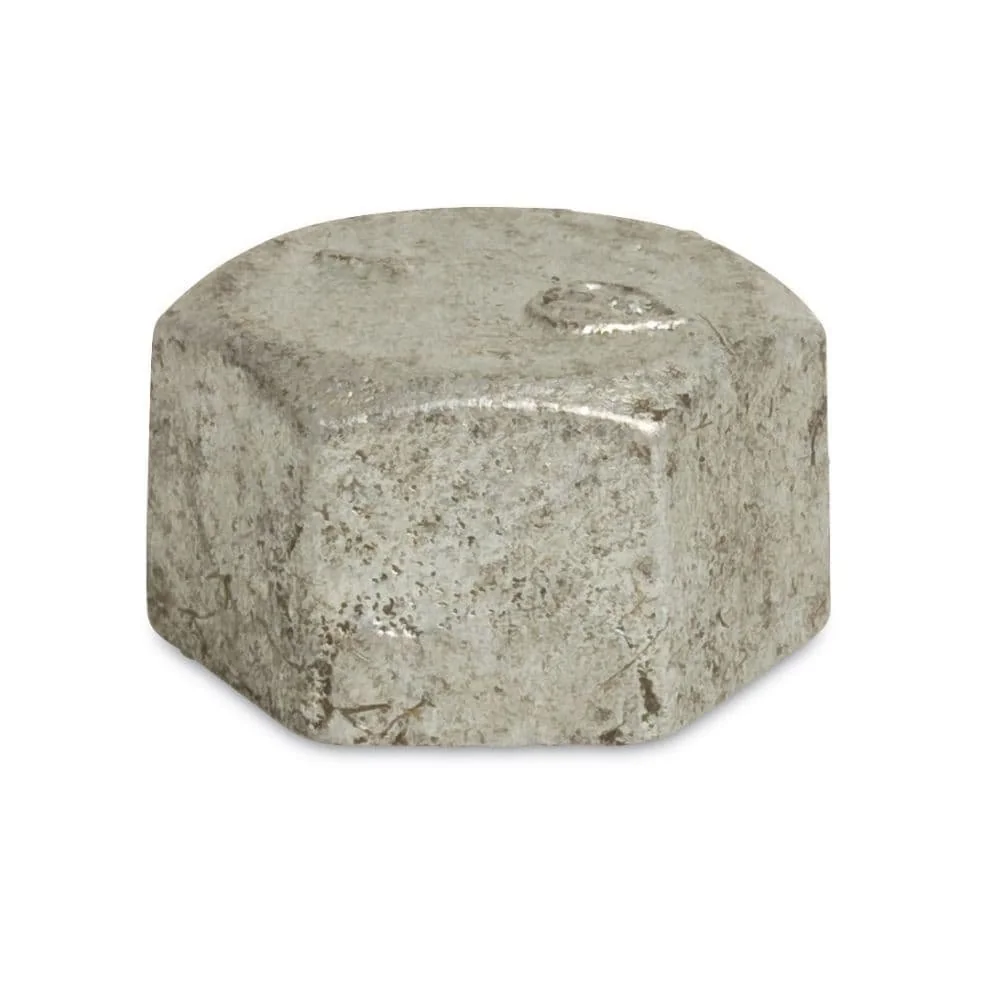
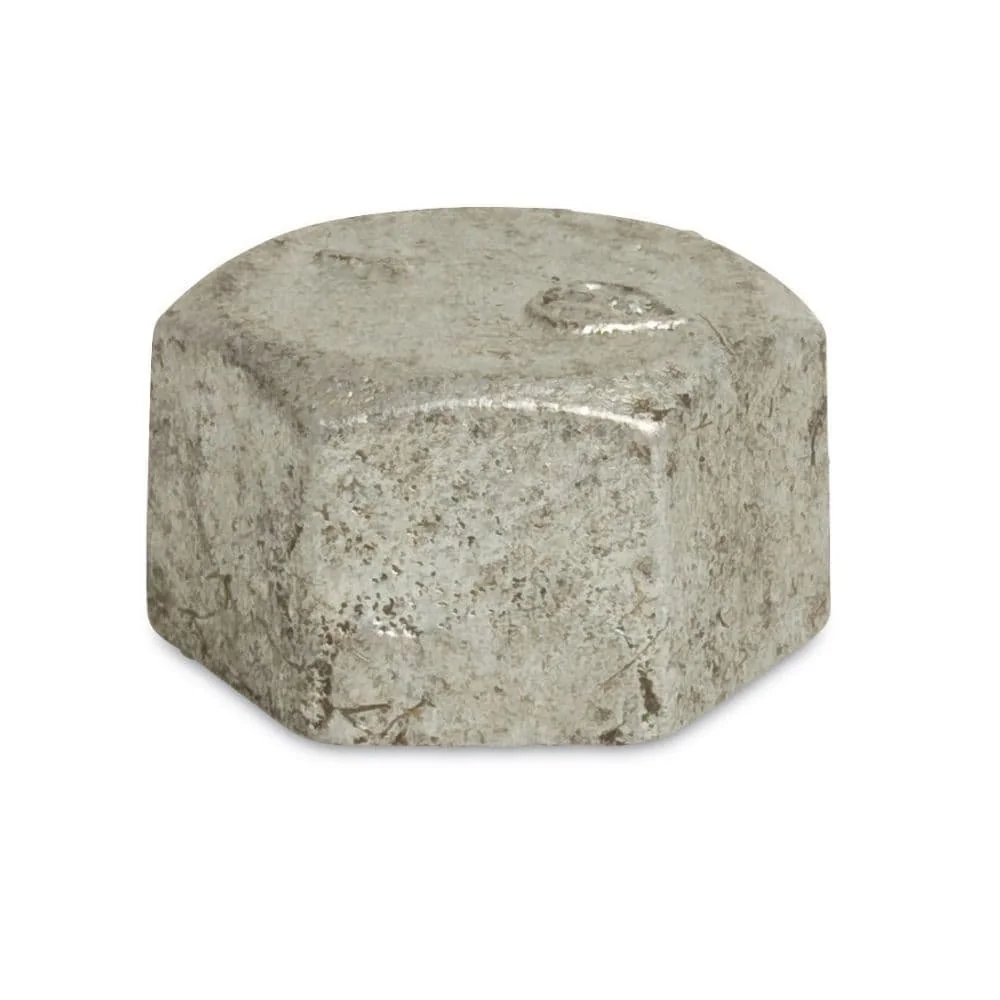
For an industrial touch, combine the warm wood with metal elements. For example, use heavy hexagonal malleable cast iron caps as unique bookends or simply as striking decorative objects on the shelf. Sturdy fittings such as the Threaded fitting malleable cast iron hexagon cap (e.g.
, , or can also be mounted on the wall next to the shelves as cool hooks. You would normally find this type of malleable cast iron threaded fitting among plumbing supplies, but they make an excellent creative DIY detail.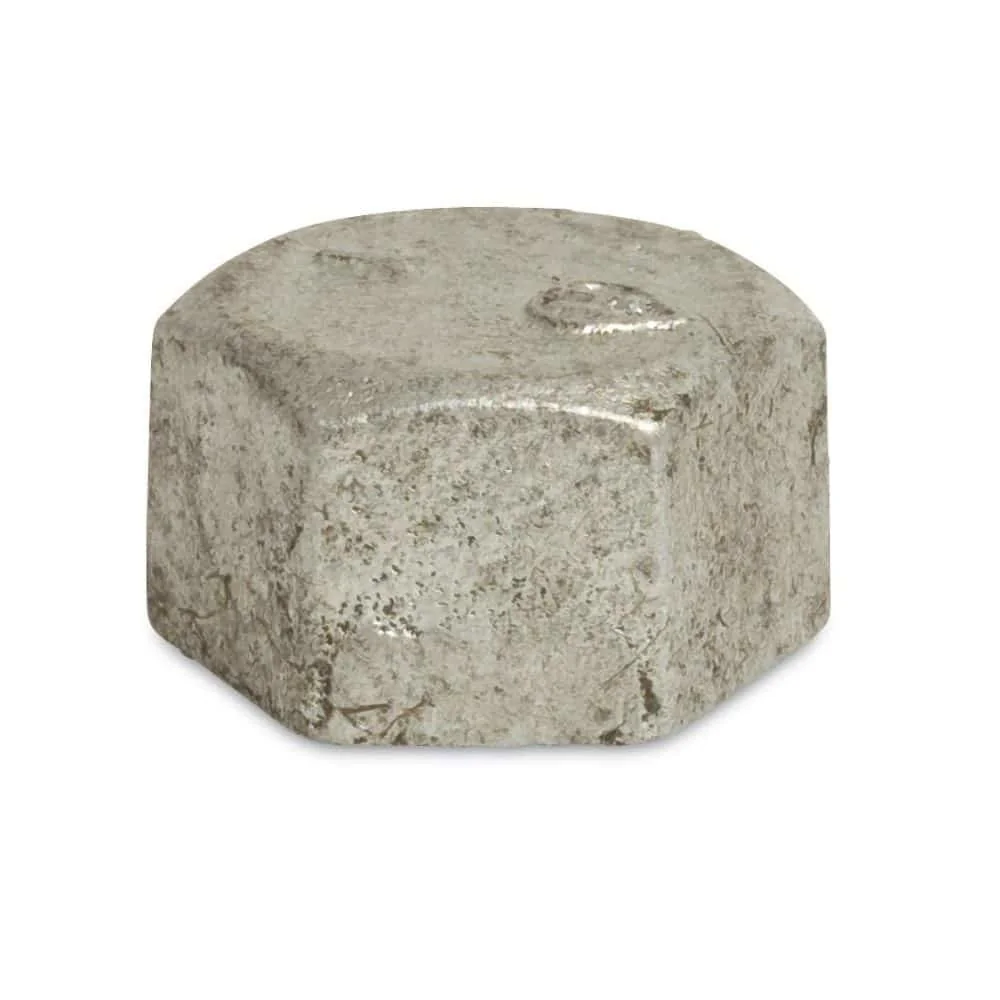
Additional advice
Before drilling holes in the wall, lay out your planned arrangement on the floor. This allows you to optimise the spacing and overall composition at your leisure. Take a photo of it as a reference for mounting the shelves on the wall.
How do you care for your handmade wooden shelf?
To keep your DIY showpiece looking beautiful for a long time, it requires only minimal care. Wood is a natural material that reacts to its surroundings. With a few simple steps, you can preserve the beauty of your shelf for years.
The most important care measure is regular dusting. Use a soft, dry microfibre cloth for this. This prevents dirt particles from settling on the surface and causing scratches. For light dirt, you can slightly dampen the cloth. Always wipe the surface dry afterwards to prevent water marks.
If you have oiled or waxed your shelf, it will benefit from occasional refreshing. If the surface looks matt and dry, apply a thin layer of suitable wood oil or wax with a clean cloth. Polish it after a short application time. This nourishes the wood and makes it more resistant. Painted surfaces are easier to care for and generally do not require any special aftercare. Simply make sure not to use harsh cleaners. Handmade children's shelves should only be treated with saliva-resistant paints and oils suitable for children's toys.
Frequently asked questions
- Which wood is best for a hexagon shelf?
- For beginners, edge-glued spruce or pine panels are an excellent choice. They are affordable and easy to work with. If you want a more premium look, hardwoods such as oak or beech are a durable and robust option. Choose boards approximately 18 to 20 mm thick for good stability.
- What angle is needed for a hexagon shelf?
- The crucial angle for a perfect hexagon is 30 degrees. Each of the six boards must be mitre-cut at an exact 30-degree angle at both ends. This means two joined boards form an interior angle of 120 degrees, adding up to the hexagon's total of 720 degrees.
- How do I securely mount a hexagon shelf to the wall?
- For concealed mounting, recessed sawtooth hangers or keyhole slots on the back are ideal. Alternatively, you can screw the shelf directly to the wall through the back panel (if present) or the top piece of wood. Always use wall plugs suitable for your wall type.
- Can I build hexagon shelves without a mitre saw?
- An electric mitre saw delivers the most precise results. Building one without it is difficult, but not impossible. You can use a manual mitre box with a fine-toothed saw. However, this requires extreme accuracy, plenty of patience and additional sanding to achieve tight-fitting joints.
- How many shelves do I need for a honeycomb effect?
- A single hexagon shelf is already an eye-catching feature. For the popular honeycomb effect, you need at least three shelves. An arrangement of five or more hexagons looks particularly dynamic and gives you plenty of scope for creativity. Combine different sizes to create an even more interesting wall display.
You may also be interested in
- DIY corner shelf: clever ways to make use of room corners
- DIY wooden shelf: complete step-by-step guide
- DIY industrial shelf: step-by-step guide
- DIY ladder shelf: furniture for the kitchen or bathroom
- DIY shelf with integrated speakers: your sound furniture piece
- DIY stackable shelf: practical solutions for your home