
In brief: Build a pallet bar counter by using two or three Euro pallets as the base, securely screwing them together and adding a wooden or panel-based worktop. Choose the height (standing or seated bar), sand all surfaces thoroughly and treat the wood with a weatherproof stain or paint. Integrated storage for bottles and glasses increases its usefulness.
Build a Pallet Bar: DIY Garden & Home Bar
A bar in your own garden creates the perfect meeting place for sociable evenings. With Euro pallets, you can build one affordably and customise it to your liking. This guide takes you through planning, construction and finishing your own personal bar counter.
Which materials and tools do I need for the DIY bar?
The success of your project starts with the right preparation. Make a list of all the parts you need and get them before making the first cut.
The basic materials at a glance
For a classic standing bar, you need two or three
. Choose new pallets to rule out contamination. Use a wooden board for the worktop, such as sturdy glued laminated timber with a thickness of at least 28 millimetres.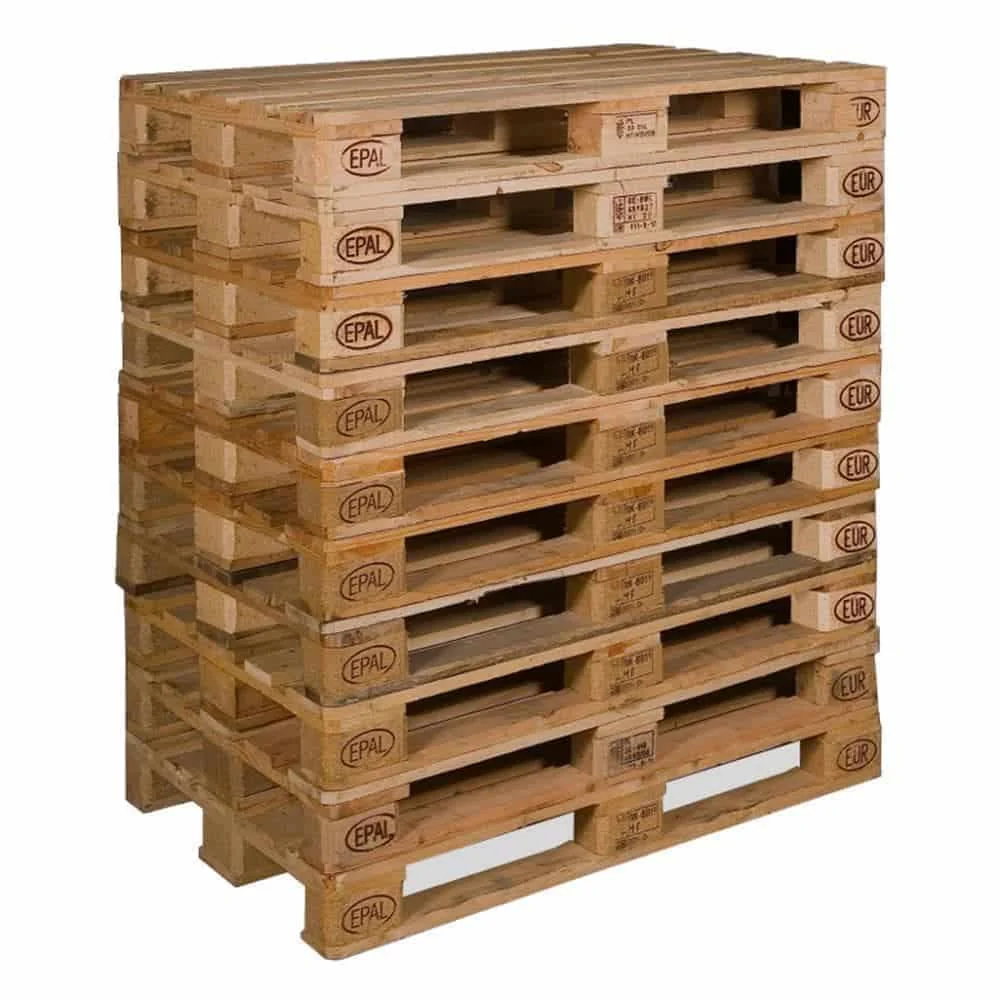
For storage, the
are ideal. They blend seamlessly into the pallet design and provide space for bottles or tools. Do not forget the fixing materials. Use stainless steel screws that can withstand the weather.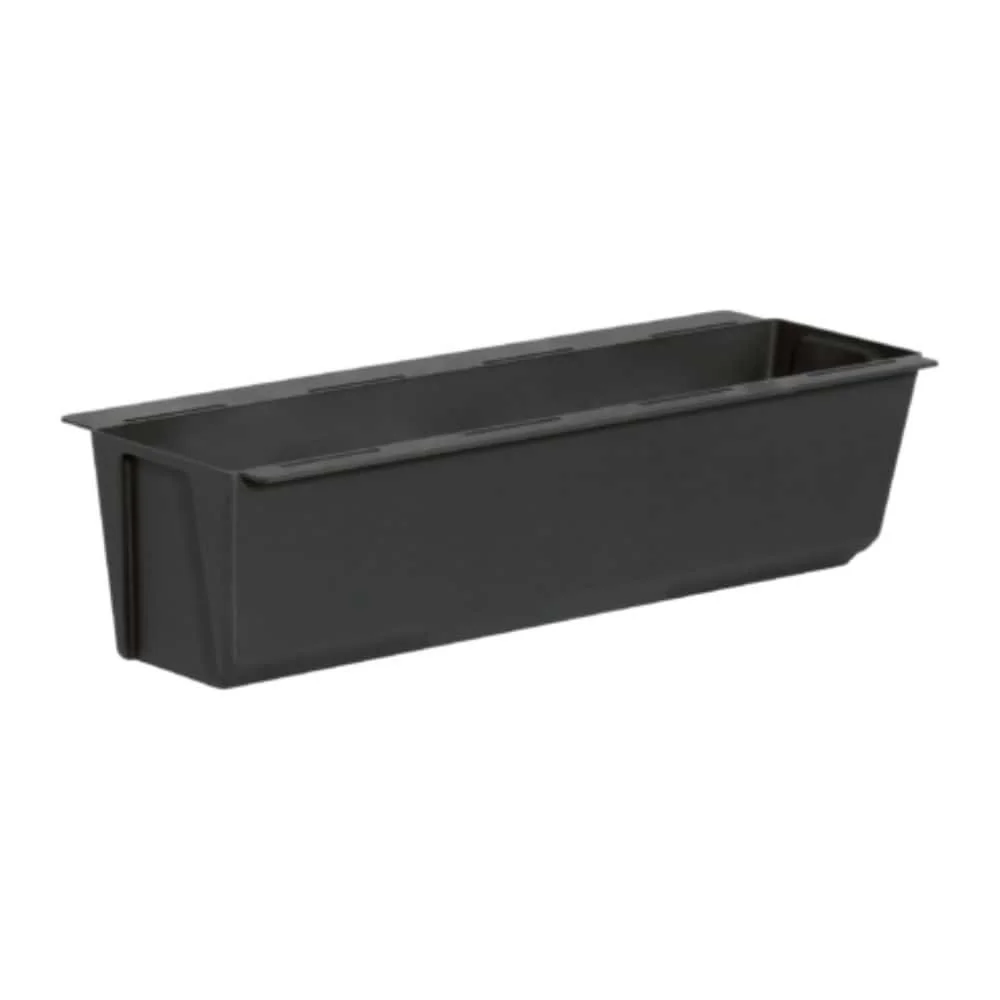
Important note
Only use pallets marked “EPAL” or “UIC”. These are heat-treated (HT) and have not been chemically treated. Untreated industrial pallets may contain substances that are harmful to health.
Prepare the necessary tools
A cordless screwdriver with bits and wood screws is essential. A jigsaw or circular saw cuts the board and pallets to size. A belt sander smooths all surfaces efficiently.
For many cutting jobs in wood and other materials, the
is an excellent choice. Accessories such as a spirit level, a try square and a tape measure ensure precise results.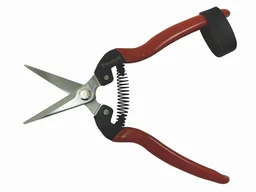
How do I plan the right size and height for my garden bar?
The perfect bar suits your available space and how you want to use it. Measure the intended location carefully and allow enough room to move around.
Standard dimensions for standing and seated bars
A standing bar has a comfortable height of 110 to 115 centimetres. Three Euro pallets stacked on top of one another result in approximately 114 centimetres. For a seated bar with stools, you need a height of 75 to 80 centimetres, which is about two pallets.
The pallets determine the depth at 80 centimetres. Vary the width by arranging different numbers of pallets next to one another. A bar for two people can be made with two pallets (160 cm).
“The height of the bar is the key comfort factor. Measure the distance from the floor to the bent elbow of the tallest member of your household – that is your ideal working height.”
Integrate storage and useful features
Plan these features from the outset. The cavities in the bottom pallet can be used as open compartments for crates of bottles. A half pallet mounted vertically on the side becomes a wine rack.
Consider whether you want to install a sink or a permanent shelf for a
How do I assemble the bar counter step by step?
Now it is time to get practical. Work carefully and keep checking with the spirit level.
Prepare and stack the pallets
Sand all the pallets thoroughly with the belt sander. Remove splinters and rough areas. This protects against injuries and improves the adhesion of the stain applied later.
Stack the pallets on top of one another to achieve the desired height. Make sure they are offset for maximum stability. Screw the pallets firmly together at the corners and in the centre using long wood screws.
Pro tip
Drill pilot holes for the screws. This prevents the wood from splitting. Use a drill bit with a slightly smaller diameter than the screw shank.
Attach and finish the worktop
Place the cut wooden board on top of the pallet stack. It should project slightly on all sides. Secure the board from underneath through the decking boards of the top pallet using screws.
Sand the edges of the board or rout a small rounded edge. This not only looks better but is also safer. The basic construction of your bar counter is now complete.
How do I properly finish and treat the surface?
The finish transforms the raw construction into a completed piece of furniture. Treatment protects the wood and enhances its character.
Sanding and priming
After coarse sanding, move on to fine sanding. Work your way up to increasingly fine sandpaper. The wood should feel smooth and velvety. Then remove all sanding dust with a broom or vacuum cleaner.
For an even colour, you can prime the wood. This is particularly recommended for light colours or painted finishes. Allow the primer to dry according to the manufacturer's instructions.
“For outdoor use, thick-film stains are ideal. They remain flexible, move with the wood and do not crack as quickly as thin, runny paints. Sufficient protection for the cut edges is essential.”
Staining, oiling or painting
For the garden, a weather-resistant wood stain is the first choice. Apply at least two, or preferably three, coats. Pay particular attention to the end grain of the boards, as water can easily penetrate here.
Wood oil enhances the grain and is easy to maintain, but offers less protection against moisture. Clear varnish creates a hard, wipe-clean surface for indoor use. You can find all products in the garden equipment category.
Additional advice
Always test paint or stain first on an inconspicuous area or a leftover piece. This lets you see the final result and how it interacts with your particular type of wood.
How do I set up and maintain my new garden bar perfectly?
Your finished bar is ready to decorate and enjoy. With the right accessories and a little care, you can enjoy it for years to come.
Practical accessories for running your bar
A
keeps annoying insects away and ensures undisturbed summer evenings. Add practical helpers such as towel rails, under-cabinet lighting or a shelf for stacks of glasses.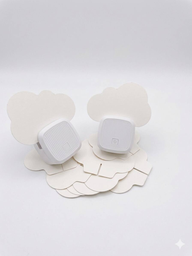
The practical
are ideal for storing tools or decorations. Make sure you have enough garden tools for the ongoing care of your outdoor furniture.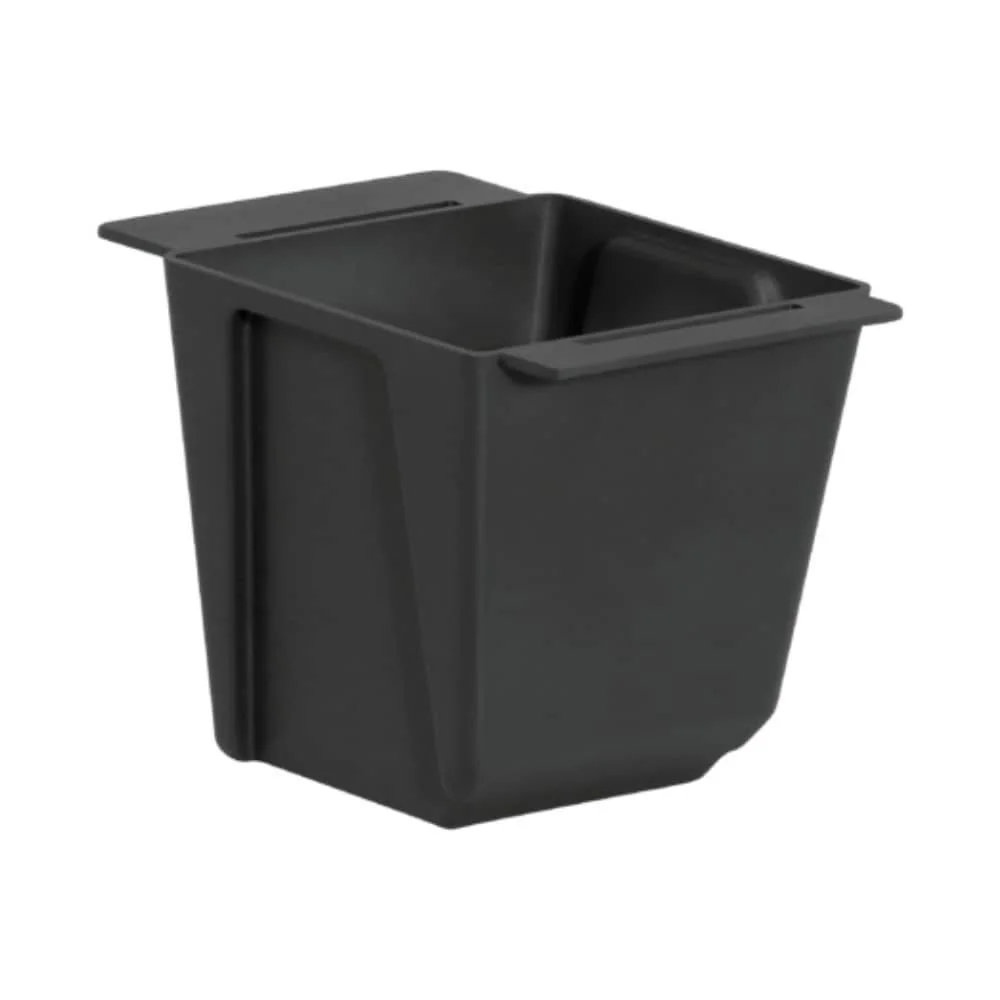
Maintaining and overwintering your pallet bar
Clean the surface regularly with a damp cloth. Avoid harsh cleaning products. Check the condition of the wood treatment once a year and apply a fresh coat where necessary.
In winter, a sturdy garden furniture cover protects against snow and moisture. Store delicate accessories such as cushions in a dry place. This way, your bar will be ready for every new gardening season.
Your homemade pallet bar is more than just a piece of furniture. It is a personal project that can turn your garden into your favourite place. With sturdy materials and these instructions, you can build it safely.
Frequently Asked Questions
- Which type of wood is best for a pallet garden bar?
- Use only new, marked Euro pallets (EPAL/UIC). They are made from heat-treated pine or spruce and approved for transporting food. Avoid chemically treated industrial pallets. Durable woods such as Douglas fir or larch are suitable for the worktop and can be found in our Garden + Outdoor range.
- How do I make my pallet bar weatherproof for permanent outdoor use?
- Sand the wood thoroughly. Then apply a special exterior wood stain in several coats. Covering the bar during extended periods of bad weather will extend its lifespan. Suitable garden furniture covers provide optimum protection.
- Do I need special tools to build a pallet bar?
- Basically, you will need a jigsaw or circular saw, a cordless screwdriver, a hammer and a belt sander. A good saw is essential for precise cuts and a smooth surface. A multi-purpose slicer such as the PRODUCT_121467 also makes many jobs around the home and garden easier.
- Can I also use a pallet bar indoors or on a balcony?
- Yes. The dimensions of a standard Euro pallet (120x80 cm) also fit on smaller balconies. For indoor use, you can skip weatherproof treatment and paint or oil the wood instead. Make sure the surface is stable and level.
- How do I add storage, such as bottle racks, to the bar?
- Use the space between the pallet deck boards as compartments. Alternatively, screw a second pallet upright to the side to create a shelf. For a neat look, smaller planter boxes for Euro pallets such as the PRODUCT_26271 can also be integrated as organised storage.
You may also be interested in
- Build your own pallet sofa: Step-by-step guide to comfortable DIY garden furniture
- Build your own pallet standing table: DIY guide
- Build your own pallet BBQ table: Your step-by-step outdoor kitchen
- Build a pallet plant shelf: DIY guide to garden furniture
- Build your own home bar: The perfect guide to DIY bar furniture
- Build your own pallet wine rack: Upcycling for the kitchen