
In brief: You can easily build a pallet bar table from two to three Euro pallets. You need basic tools such as a saw, sander and cordless screwdriver, as well as wood screws. This upcycling project is an affordable and creative way to make sturdy, individual furniture for indoors or outdoors, which you can customise as you wish.
A pallet bar table combines rustic charm with practical functionality. It is the perfect meeting point for your next garden party or a striking piece of furniture in your hobby room. Instead of spending a lot of money on designer furniture, you can simply build your own one-of-a-kind piece. This project is about more than just furniture making. It is upcycling at its best.
You transform simple shipping pallets into a durable and stylish piece of furniture. Our guide takes you through every step, from choosing the right pallet to applying the final coat of paint. You only need a few tools and a little time.
Why is a pallet bar table the perfect choice?
Pallet furniture is more than a passing trend. It represents a conscious choice in favour of sustainability, individuality and durability. A self-built bar table offers you clear, practical benefits.
Upcycling is more than just recycling. It means creating something new and more valuable from something old and seemingly useless. Pallet furniture is the perfect example.
Sustainability and upcycling
Every pallet you turn into a piece of furniture is one less pallet that gets thrown away. You give a used item a second life and conserve valuable resources in the process. This creative process transforms simple wood into a design feature with a story.
Strength and durability
Euro pallets are designed to transport heavy goods. Their solid wood and sturdy construction make them extremely resilient. A bar table made from them will last for years, whether it stands in a party room or on the patio. It will not wobble and can even withstand a lively celebration.
Affordable and customisable
Compared with ready-made bar tables, the DIY version is unbeatable in terms of value for money. Your biggest investment is your time. You have complete freedom when it comes to the design. Whether left natural, painted in bright colours, fitted with castors or equipped with integrated lighting, you can design the table exactly as you want it.
What materials and tools do you need?
Good preparation is half the battle. Before you start building, make sure you have all the materials and tools within reach. This saves you unnecessary interruptions later on.
Choosing the right pallets
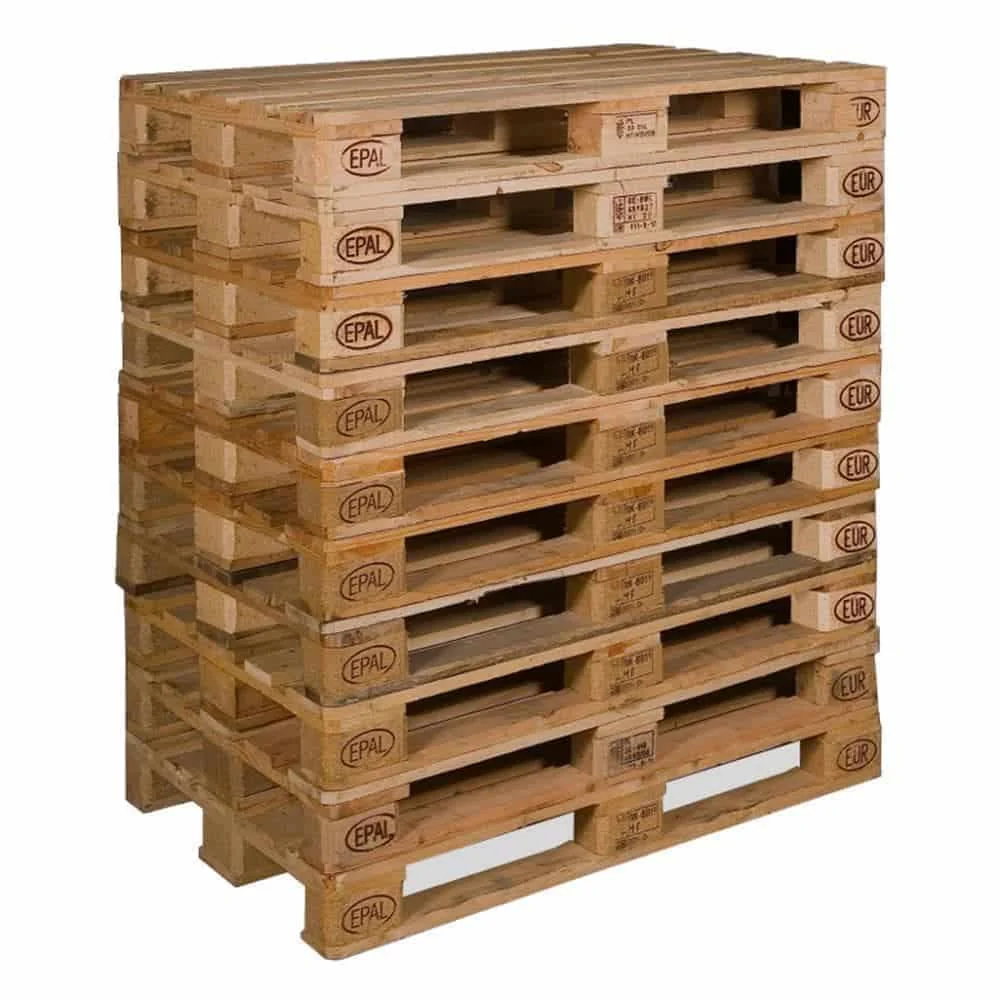
Not every pallet is suitable for making furniture. Check the stamp on the wooden blocks. Look for pallets marked “HT” (Heat Treated). These have been heat-treated to protect against pests and are safe to use. New and clean Euro pallets are the best choice, as they are sturdy and free from contamination. If you are planning a larger project or several pieces of furniture, it is worth buying a complete set, such as the
.
Important note
Avoid pallets stamped “MB” (Methyl Bromide). This fumigant is harmful to health and completely unsuitable for use in living areas or with furniture that comes into contact with food.
Materials overview
- 2-3 Euro pallets: In good condition and HT-stamped.
- Wood screws: In various lengths (e.g. 4x50 mm and 6x80 mm) to securely join the blocks and boards.
- Sandpaper: Various grits (e.g. 80, 120 and 180 grit) or sanding discs for a sander.
- Wood treatment: Stain, paint or oil for the desired look and weather protection.
- Optional: 4 sturdy castors (two with brakes), a glass or metal sheet for the tabletop, brushes and paint rollers.
Tool checklist
- Cordless screwdriver with suitable bits
- Sander (random orbital or orbital sander)
- Jigsaw or handsaw (if cutting is required)
- Tape measure and pencil
- Spirit level
- Safety goggles and gloves
Step-by-step guide: How to build your bar table
With the right technique, building it is easy. These instructions describe a simple yet very sturdy construction made from two pallets.
Step 1: Preparation – cleaning and sanding
Start by cleaning the pallets thoroughly. Use a stiff brush and soapy water to remove dirt and dust. Then allow the pallets to dry completely.
Now comes the most important step for an attractive look and feel: sanding. Carefully sand all surfaces, edges and corners with a power sander. Start with coarse 80-grit sandpaper to remove rough areas and splinters. Then work your way up to finer 120- or 180-grit sandpaper for a smooth surface. Wear safety goggles and a dust mask while working.
Step 2: Construction – screwing the pallets together
For a simple bar table, you need two pallets. Stand the first pallet upright on its long side. This will form the main body of your table. Place the second pallet flat on top so that it serves as the tabletop. Centre it or align it flush with one side, depending on the look you want.
Join the two pallets with long wood screws. Drive the screws down through the deck boards of the tabletop pallet and directly into the sturdy blocks of the upright pallet. Use at least two screws per block to ensure a firm, wobble-free connection.
Pro tip
Pre-drill the holes in the top pallet using a drill bit that is slightly smaller than the screw diameter. This prevents the wood from splitting and makes it easier to drive in the screws, especially when working with hardwood.
Step 3: Finishing – painting and sealing
Once the table is assembled, give it the finishing touch. Remove all sanding dust thoroughly. You can now apply paint, wood stain or oil. Wood stain preserves the natural grain and protects the wood. Paint provides a solid, highly durable finish in any colour you can imagine.
Apply your chosen product evenly with a brush or roller. Allow the first coat to dry thoroughly and apply a second coat if necessary. For outdoor use, a weatherproof seal is essential.
How can you customise your pallet bar table?
The basic structure is complete. Now the creative part begins. Give your bar table a personal touch and adapt it to suit your needs.
Functional additions
Make your table mobile. Install four sturdy swivel castors underneath. This makes it easy to move the heavy table around. Practical furniture dollies not only make transport easier, but also give the table an industrial look. A glass top protects the wooden surface, makes cleaning easier and provides a level surface for placing items.
Decorative elements
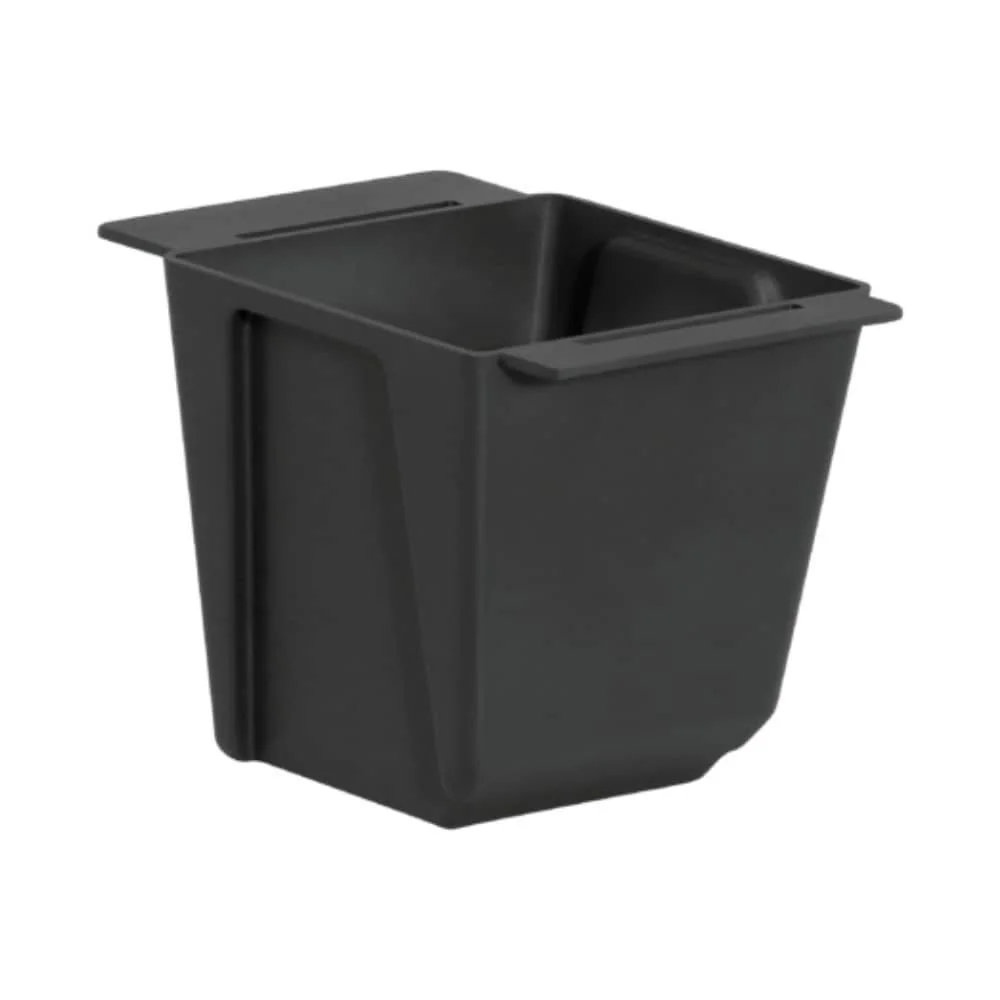
The gaps between the pallets are ideal for decorations or small storage spaces. Add small herbs or flowers in special planter boxes such as the
or the smaller . They fit perfectly into the gaps and add greenery to your design. Bottles, glasses or a string of lights can also be stored here.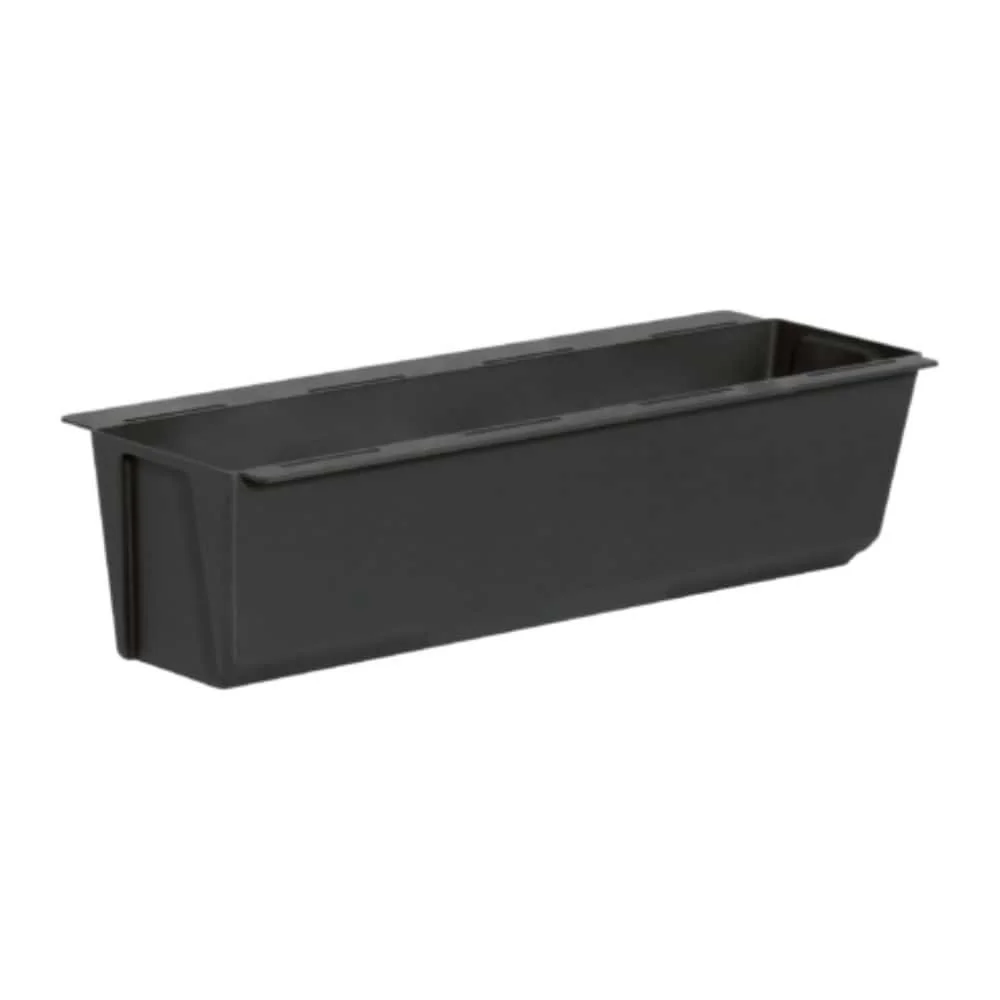
Additional advice
Add indirect lighting to create a special atmosphere in the evening. Self-adhesive LED strips are easy to attach underneath the tabletop or in the gaps and create a warm, atmospheric glow.
Care and protection for long-lasting pallet furniture
To enjoy your homemade bar table for many years, proper care is essential, especially if it is kept outdoors.
Wipe the table regularly with a damp cloth. For heavy soiling, you can use mild soapy water. Check the surface once a year for cracks or peeling paint. Applying a new protective coating every few years refreshes the appearance and protects the wood from the elements.
The best protection for outdoor wood is a combination of structural and chemical wood protection. Make sure water can drain away and renew the protective stain regularly, before it starts to crack.
If you are not going to use the table for an extended period or during winter, cover it with a suitable protective cover. A high-quality garden furniture cover protects against rain, snow and UV radiation and significantly extends the life of your DIY furniture.
You did it. Your own pallet bar table is finished. This project not only produces a practical piece of furniture, but also shows how easy and rewarding upcycling can be. Enjoy the results of your hard work.
Frequently asked questions
- How many pallets do you need to make a bar table?
- For a simple, sturdy bar table, two to three Euro pallets are usually enough. Two pallets form the base, while a third can be used as the tabletop or as additional storage space, depending on the desired height and design.
- Which pallets are suitable for making furniture?
- Only use pallets marked “HT” (Heat Treated). These pallets have been heat-treated and are free from chemicals. Avoid pallets stamped “MB” (Methyl Bromide), as they may pose health risks when used for furniture.
- Do I need to sand the pallets?
- Yes, sanding is essential. Pallet wood is often rough and prone to splinters. Thorough sanding, first with coarse and then with fine-grit sandpaper, creates a smooth, safe surface and prepares the wood for painting or staining.
- How high is a pallet bar table?
- The height can vary. A Euro pallet standing on its long side is 120 cm high. Two pallets stacked flat result in a height of just under 30 cm, plus the tabletop. The ideal height for a bar table is between 110 and 115 cm.
- How can I make pallet furniture weatherproof?
- To prepare your pallet bar table for outdoor use, treat the wood after sanding with a weatherproof wood stain, varnish or special wood oil. Reapply the protective coating every one to two years for optimum protection.
You might also be interested in
- Build your own pallet wine rack: upcycling for the kitchen
- Build your own pallet BBQ table: your outdoor kitchen step by step
- Build your own pallet armchair: outdoor comfort
- DIY pallet furniture: easy building instructions for the garden and home
- Build your own side table: DIY furniture for your home
- Upcycling idea: build your own cassette shelf