
In brief: Building your own foosball table is a rewarding DIY project for the whole family. You need precise materials such as plywood panels, metal rods, handles and player figures. With clear instructions and basic DIY skills, you can create a sturdy game table that can be customized and provides far more enjoyment than a store-bought model.
Build Your Own Foosball Table: The Ultimate DIY Guide
Your own foosball table combines fun with the satisfaction of making something yourself. This project challenges your skills and rewards you with a unique family game table. We guide you through the planning, material selection and construction.
You are creating a durable piece of furniture, not a disposable product, for playroom furniture in a child's room or the garden. The following chapters provide the knowledge you need.
How do I plan my DIY foosball table properly?
Precise planning prevents frustration and wasted materials. First, decide on the size and location. A classic foosball table for adults is approximately 70 cm wide and 120 cm long.
Sketch your design with all dimensions. Take the position of the player rods, goals and ball return into account. Also consider storage space for balls beneath the playing surface.
Pro tip
Print out a to-scale playing-field graphic and attach it to your playing board as a template. This gives you the exact positions for goal nets, corner holes and the center line.
Choosing the right materials
Build the main frame from sturdy plywood panels that are 19 mm thick. A smooth MDF panel is suitable for the playing surface, which you can paint later. The player rods are metal tubes with a diameter of 12 or 16 mm.
You have several options for the player figures. You can buy classic foosball figures, turn wooden figures on a lathe or make them from beechwood balls and dowels. You can find handles from specialist suppliers of machine components.
What tools do I need to build it?
The list is manageable, but precision tools are essential. You need a circular saw or a sturdy guide rail for straight cuts. A jigsaw helps with cutting out the goals.
A cordless drill-driver with metal and wood drill bits is indispensable. A drill press is ideal for drilling the precise holes for the player rods, but it is not essential. Sandpaper in various grits ensures smooth edges.
The biggest challenge is drilling the holes for the player rods precisely. Even a minimal offset here can make the table impossible to play later. Take extra time over this step and use a template.
Safety comes first
Always wear safety glasses and hearing protection when working with wood. Watch out for sharp edges when cutting the metal rods. Deburr them carefully.
If children are helping with the build, assign tasks such as sanding or decorating. Work with the saw or drill should remain in adult hands.
Important note
Never use thin-walled aluminum tubes or wooden rods for the player rods. They will bend or break under the strain of play. Invest in sturdy rolled steel rods with a diameter of at least 12 mm.
Building it in six practical steps
1. Cutting the wooden parts
Cut the base, side panels and playing surface to size with precision. The side panels should be high enough for comfortable standing play, at approximately 90 cm.
Do not forget the braces for additional stability. A foosball table must withstand enormous lateral forces. Plan for internal angle joints or additional cross-braces.
2. Drilling the rod holes
This is the trickiest step. Precisely mark the positions for the four (or five) player rows on both side panels. Use a drilling template made from scrap wood.
Drill the holes with a metal drill bit that matches the diameter of your rods, plus approximately 1 mm of clearance. After drilling, insert brass or plastic bushings. They reduce friction and protect the wood.
3. Assembling the base frame
Join the base to the side panels using wood glue and galvanized screws. Make sure the corners are square. Reinforce the corners with triangular strengthening strips.
Before placing the playing surface on top, you can optionally install LED lighting beneath a Plexiglas panel. This creates an impressive effect for evening games.
Additional advice
If you plan to use the table in the garden later, install sturdy furniture casters now. This makes it easy to move the heavy table under cover when it rains. Make sure the casters have brakes.
4. Designing the playing field
Paint the MDF playing surface light green. Once it has dried, apply the lines using narrow electrical tape or paint them with templates. A smooth, high-gloss coat of paint makes the ball roll faster.
Cut out the goals and attach sturdy nylon goal nets. A ball return system made from sloping panels behind the goal saves you from having to bend down.
5. Installing the rods and figures
Feed the metal rods through the prepared holes. Attach the player figures at the correct spacing and at a 90-degree angle to the rod. Use two-part figures with internal threads or secure clamp connections.
Push the handles onto the ends of the rods. Make sure they provide a non-slip grip. You can now secure the rod ends with ball bearings or simple retaining rings to prevent them from slipping out.
The right amount of resistance in the rods is what makes the game enjoyable. Bushings that are too loose make the game feel spongy, while ones that are too tight damage the joints. Test different bushing materials such as nylon, bronze or Teflon until it feels right for you.
6. Finishing touches and customization
Sand down all sharp edges. Add a personalized nameplate or team logos to the table. This is where the whole family can get creative.
A final coat of clear varnish protects the wooden surface. Furniture varnish is sufficient for indoor use; for the garden, you need a weather-resistant marine varnish.
How do I make my foosball table safe for children and durable?
Thoroughly round off all corners and edges. Make sure no sharp metal parts protrude. The handles should fit securely and not come off.
For maximum durability, you can cover the playing surface with a thin acrylic sheet. This protects it from moisture and scratches. Make sure it has a scratch-resistant coating.
For smaller children, consider buying special small furniture such as a step stool so they can comfortably reach the table.
Foosball table for outdoor use in the garden
An outdoor foosball table requires special materials. Use pressure-treated wood or marine-grade plywood. All metal parts should be made from stainless steel or hot-dip galvanized steel.
Build in a slight slope from the center toward the goals so rainwater can drain away. An integrated drain in the playing surface prevents puddles.
Protect your finished table during longer periods of non-use with a suitable transparent garden furniture cover. This keeps it looking good and prevents dirt from getting in.
DIY vs. Ready-Made Foosball Tables: The Comparison
A homemade foosball table is solid and resistant to twisting. The material costs are often lower than those of a comparable high-quality branded model. The biggest advantage is the ability to customise it.
You decide on the size, colour and playing feel. A DIY foosball table can become a family heirloom. A ready-made model, on the other hand, is ready to play straight away and complies with strict safety standards.
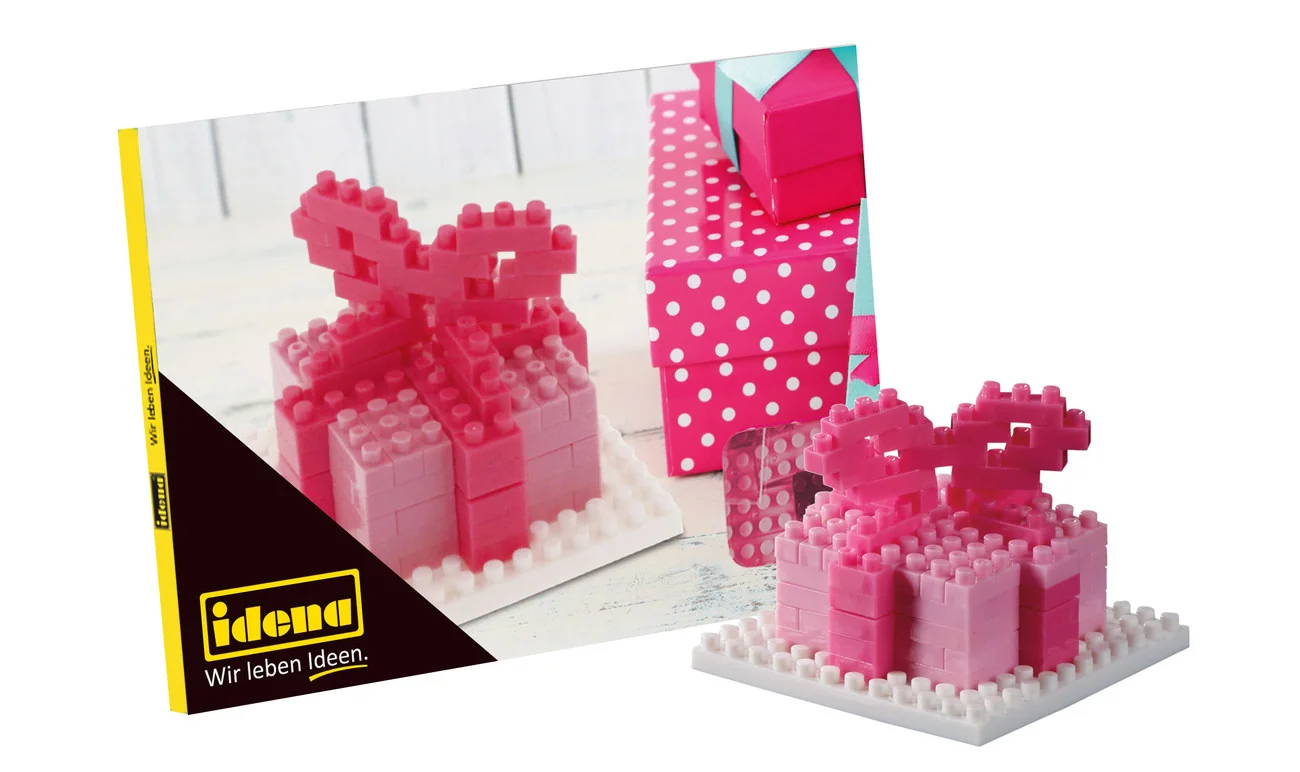
For your first building project or when time is short, you can also turn to creative craft kits that demonstrate the basic principles. Like the
Your Project Starts Now
A homemade foosball table is more than just a game table. It is a testament to your DIY skills and a focal point for sociable evenings. Start by planning, choose good-quality materials and enjoy the process.
The finished construction will not only get you playing, but perhaps the next generation too. For more inspiration, take a look at our children's furniture category, where you can often find ideas for child-friendly designs.
Bring the family together at the workbench and create your own personal gaming arena. The next family champion will be crowned on your homemade table.
Frequently Asked Questions
- Which type of wood is best for a homemade foosball table?
- Use waterproof-bonded plywood or phenolic-coated plywood with a thickness of at least card>15 mm. These materials are robust, resist warping and can withstand the demands of gameplay. For outdoor use, additional treatment with weatherproof paint or stain is essential.
- How do I securely mount the player rods so they can rotate in the foosball table?
- Drill precise holes with a metal drill bit that are approx. 1 mm larger than the rod diameter (12-16 mm is standard). Fit brass or nylon bushings to minimise friction and ensure smooth gameplay. The rods are secured with handles on the outside and the players on the inside.
- Can I build a DIY foosball table for the garden?
- Yes, but you will need to adapt the materials and construction. Use only pressure-treated timber or marine-grade plywood. All metal parts should be made from rust-resistant stainless steel or galvanised metal. You should also protect the playing surface with a garden furniture cover when it is not in use.
- Where can I find suitable players and handles for my DIY project?
- Specialist model-making shops and online marketplaces often offer individual players and handles. Alternatively, you can turn wooden players yourself or make them from beechwood balls and dowels. Handles are also available from specialist suppliers of machine components. Choose an ergonomic shape.
- How can I ensure fair and fast gameplay on a homemade foosball table?
- Precision is crucial. The rod holes must be perfectly aligned and all the same size. The playing surface should be sanded completely smooth and varnished. A slight slope (approx. 2%) from the centre towards the goals prevents balls from stopping and speeds up the game.
You might also be interested in
- Build Your Own Wooden Table: Bespoke Furniture for Your Home
- Build DIY Furniture: Creative Ideas for Your Home
- DIY Tripod: Build Your Own Stool and Side Table
- Build Your Own Sideboard: Step-by-Step DIY Guide
- Top DIY Projects for Home Improvers: 5 Ideas to Make Yourself
- Crafts with Children: Creative DIY Ideas for the Family