
In brief: Check seals in autumn for cracks, brittleness or deformation, especially around windows, doors and gutters. Remove old, damaged sealant completely, clean the joint and apply new sealant precisely with the INNOTEC nozzle for Easy Gasket to seal your home effectively.
Contents
The autumn check: Why seals matter now
The days are getting shorter and temperatures are falling. Now is the ideal time to prepare your home and garden for the cold season. One critical area that is often overlooked is the condition of your seals. Intact seals around windows, doors and gutters are not a minor detail. They are your first line of defence against cold, moisture and high energy costs. A leaking joint is like an open window in winter: it lets expensive heat escape and cold draughts in. This unnecessarily drives up your heating bills.
Moisture is another enemy. Leaks in gutters or around outdoor connections can cause serious water damage to masonry. Repairing this kind of damage is time-consuming and expensive. A thorough check in autumn helps you prevent it. You invest a little time and material now and save yourself a great deal of trouble and money later. The right tool is essential for precise, clean results when renewing joints. The INNOTEC nozzle for Easy Gasket enables you to apply sealant precisely and professionally, even in hard-to-reach areas.
How can you identify leaking seals?
Defective seals often reveal themselves at a glance. Take the time to inspect them carefully. Walk around your home and examine all window and door frames closely. Look for visible cracks, porous areas or sealant that is already coming away from the surface. Discolouration or brittle, hardened material are also clear signs that a seal has reached the end of its service life.
Sometimes the damage is less obvious. Slowly run your hand along a closed window or door frame. Can you feel a cold draught? That is a sure sign of a leak. On rainy days, look for small pools of water on the windowsill or floor. Whistling sounds in strong winds also indicate that the seal is no longer closing properly and is allowing air through.
Another indicator is your heating bill. If it has increased for no apparent reason, leaks in your home could be the cause. A systematic inspection will help you identify and eliminate these energy wasters. This ensures that your home is optimally protected for winter.
A single leaking joint one millimetre wide over a length of one metre can increase heating costs in a room by up to 10 %. Investing in good sealing usually pays for itself in the very first winter.
Guide: How to seal windows and doors properly
Sealing windows and doors is a worthwhile task that is easy to complete with the right preparation and tools. A clean application provides long-lasting and effective protection.
Step 1: Remove the old sealant
The most important step for a durable repair is removing all the old sealant. Use a joint scraper or a sharp utility knife. Work carefully to avoid damaging the window frame or wall. Carefully pull the old silicone or acrylic residue out of the joint. No residue should remain.
Step 2: Clean the joint thoroughly
Once the old material has been removed, clean the joint. Remove dust, grease and loose particles. A vacuum cleaner is useful for coarse dirt. Then wipe the sides of the joint with a suitable cleaner, such as methylated spirits or silicone remover, and a lint-free cloth. The surface must be completely dry, clean and free of grease so that the new sealant adheres properly.
Step 3: Mask and prime
For a razor-sharp edge, mask the joint edges with decorator's tape. Keep an even distance from the joint. On highly absorbent surfaces such as plaster or aerated concrete, a primer can improve the sealant's adhesion. Follow the sealant manufacturer's instructions.
Important note
Always work in well-ventilated rooms when using sealants and cleaners. Wear protective gloves and safety glasses as required to avoid skin and eye contact with the chemicals.
Step 4: Apply the new sealant
Cut the nozzle of the cartridge at an angle to match the joint width. Insert the cartridge into a cartridge gun. This is where precision matters: The INNOTEC nozzle for Easy Gasket helps you apply the sealant evenly and without gaps in the joint. Hold the cartridge at an angle of about 45 degrees and move it along the joint with constant pressure.
Step 5: Smooth the joint and remove the tape
Smooth the fresh joint immediately after application using a joint smoothing tool or a finger dipped in soapy water. Apply light pressure to press the sealant against the sides of the joint. Remove the decorator's tape immediately afterwards while the material is still wet. This gives you a clean, professional edge.
What to do about a leaking gutter?
A dripping gutter is more than just a nuisance. Constantly dripping water can dampen the facade, damage the render and create dangerous patches of ice on paths in winter. Small cracks or leaking joints can often be repaired with little effort. Autumn, before the leaves and frost arrive, is the best time for this repair.
First, locate the leak. It is best to wait for a dry day. Thoroughly clean the gutter of leaves, dirt and moss. Then rinse it with water and allow it to dry completely. The repair area must be absolutely clean, dry and free of grease. Remove any old sealant residue with a wire brush.
A special weather- and UV-resistant sealant for outdoor use is suitable for the repair. Apply the sealant generously to the leaking area. For larger cracks or joints, cover the gap completely. The angled attachment on the Easy Gasket nozzle makes it easy to reach even awkward areas in the curve of the gutter. Smooth out the sealant to create an even surface that does not obstruct the flow of water.
Additional advice
While you are at it, check other seals outdoors as well. The seals on petrol or water canisters are often overlooked. Brittle seals can cause leaks and dangerous situations. An inexpensive replacement such as the
jerry can seals, 2-piece set quickly solves the problem and helps keep you safe.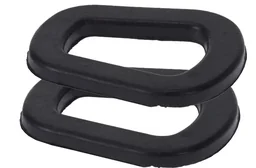
Easy Gasket application: How do you create the perfect joint?
The quality of a sealed joint depends not only on the sealant, but largely on how it is applied. An uneven joint is not only unattractive, but may also contain weak spots. This is where the INNOTEC nozzle for Easy Gasket really comes into its own. It is more than just a simple cartridge nozzle.
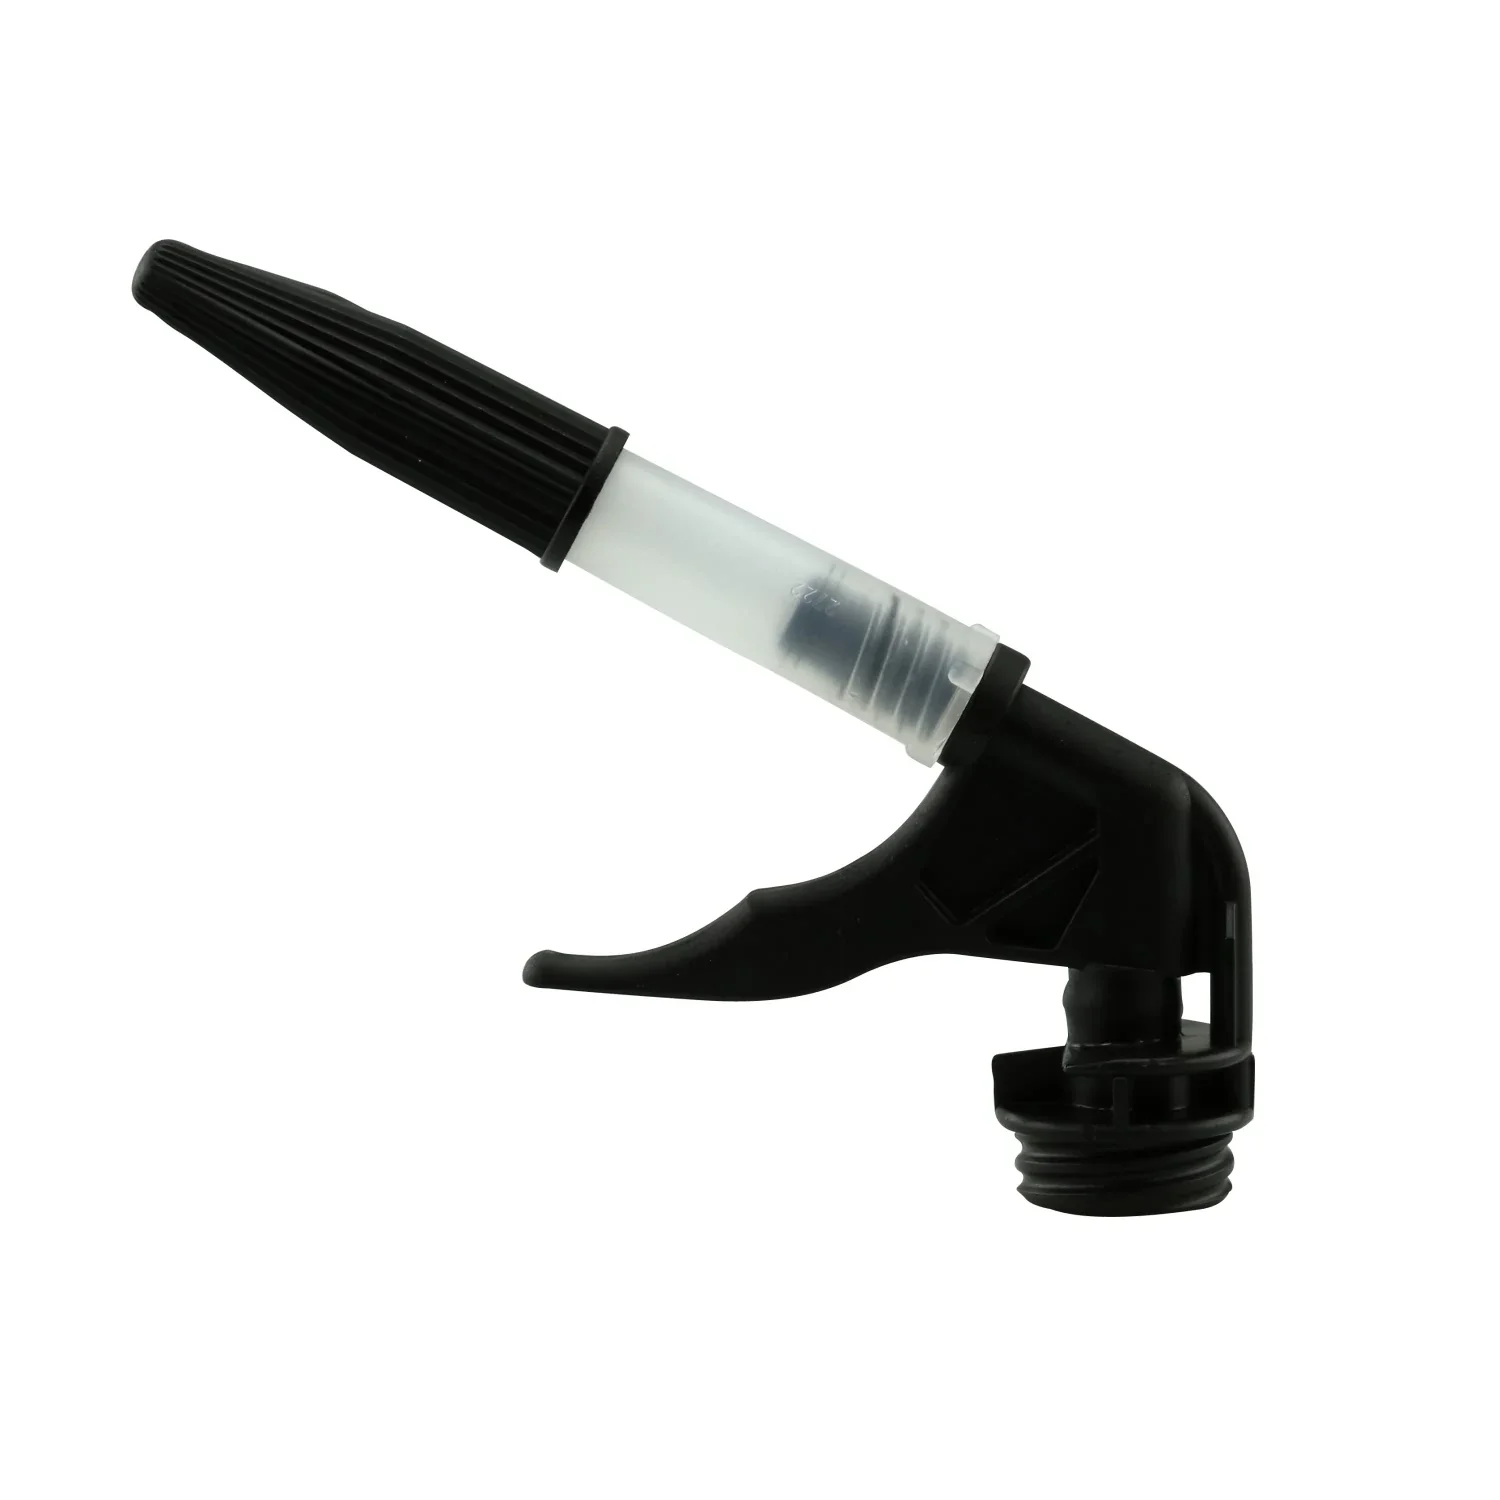
The set consists of a special nozzle, a protective cap and an angled attachment. This combination gives you exceptional control over the flow of material. The angled attachment is particularly useful for work in hard-to-reach places, such as behind pipes, in corners or during the gutter repair mentioned above. You no longer have to hold the cartridge at awkward angles and can work comfortably and precisely instead.
To use it, cut the nozzle to the desired joint width. Attach the nozzle to the cartridge, using the angled attachment if required. Guide the nozzle along the joint with a steady hand and even pressure. The specially shaped outlet produces a clean, rounded bead of sealant. The resealable protective cap is another practical detail: it prevents the material in the nozzle from drying out, allowing you to use opened cartridges again later.
Pro tip
For an especially smooth, professional-looking joint, lightly spray the freshly applied sealant and your sealant smoothing tool with a mixture of water and a few drops of washing-up liquid. This allows the tool to glide more easily and prevents the sealant from sticking to it. Smooth the joint in one long, uninterrupted stroke.
Which other seals should you check in and around your home?
While you are checking seals, it is worth looking at other ones around your home and garden. Comprehensive maintenance prevents unwelcome surprises and keeps your equipment running smoothly. Many small seals play a major role in ensuring everything works properly.
In the garden and outdoors:
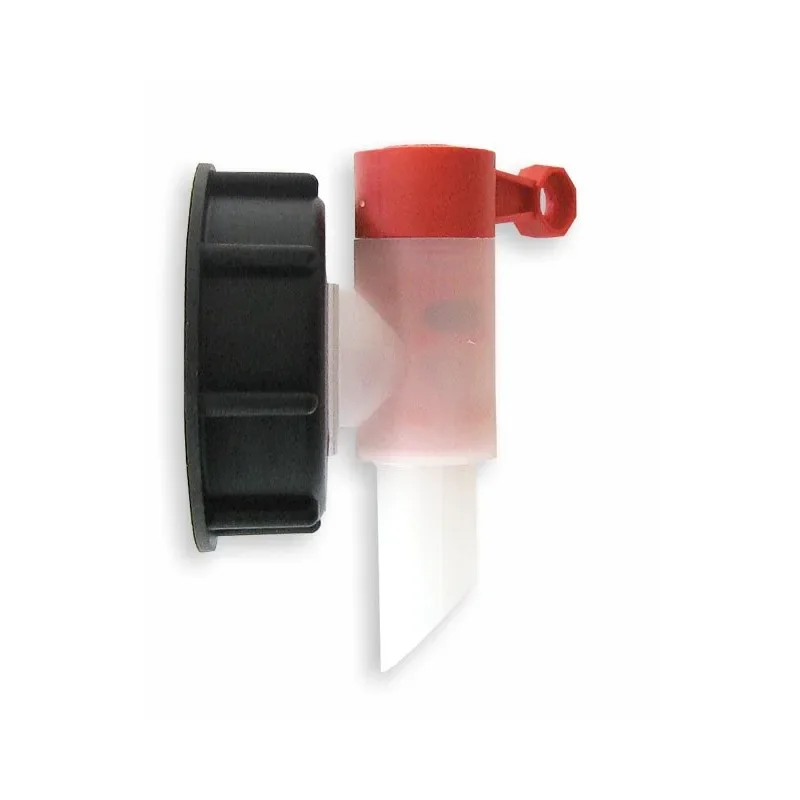
Your garden + outdoor area is exposed to many weather conditions. Check all the connections in your garden watering system. The small O-rings in hose connectors and taps become brittle over the summer. Replace them if necessary to prevent water loss. Also check the outlet tap on your water butt or storage canister. A properly functioning seal, like the one on the
In the bathroom and kitchen:
Plumbing installations are another important area. Check the silicone seals around the shower, bath and sink. Cracked or mouldy seals should be replaced immediately to prevent water damage to walls and floors. The seals on the traps beneath sinks can also start to leak over time. A quick check with a dry cloth will show whether any action is needed. The connections for washing machines and dishwashers, along with the associated hoses, should also be checked for leaks.
In the workshop and basement:
There are also numerous seals in the workshop. Check compressed-air connections, the lids of paint or varnish tins and seals on equipment regularly. An intact seal ensures not only proper operation, but also safety. A proactive inspection with a keen eye always pays off.
The best repair is the one you never have to make. Regular maintenance, especially of small parts such as seals, is the key. In the end, this saves not only money, but above all time and frustration.
Frequently Asked Questions
- How often should I check the seals on my windows?
- Check your window seals at least once a year, ideally in autumn. This allows you to identify damage early, before the heating season starts, and effectively prevent draughts and heat loss. A visual and tactile check for cracks and brittleness is usually sufficient.
- Can I apply silicone over old silicone?
- No, you should avoid this. New silicone does not adhere reliably to old, cured material. The new joint will quickly become leaky and cracked. Always remove the old seal completely to ensure a durable, watertight repair.
- Which sealant is suitable for a metal gutter?
- Specialist, permanently elastic and UV-resistant sealants based on polymers or bitumen are suitable for metal gutters made from materials such as zinc or aluminium. Check the manufacturer's instructions to ensure that the product is suitable for outdoor use and the specific metal.
- My joints still look fine, but there is still a draught. What could be causing this?
- Even if a seal looks intact, it may have lost its elasticity. Over time, the material becomes hard and no longer closes flush. Carry out a simple test with a candle flame next to the closed window to locate leaks.
- How long does a new sealant joint need to dry?
- Drying time varies depending on the sealant, joint thickness, temperature and humidity. A surface skin often forms after just 15-30 minutes. However, complete curing can take 24 hours to several days. Always follow the information on the product cartridge.
You might also be interested in
- How to clean the Innotec Easy Gasket nozzle tip: Make your nozzle last longer
- Angled nozzle tip seal: Easy Gasket accessories in detail
- Checklist: Reliably seal leaks before winter
- Sealing leaks: The solution for roofs, balconies & Co.
- How to use Allesdichter spray correctly: The professional guide
- Seal correctly: How to maximise durability