
In brief: Make creative decorative letters from cardboard, wood, or craft foam. Cut out the desired letter shapes and decorate them with paint, fabric, yarn, or natural materials. This creates personalized names, monograms, or word decorations for your home. The letters work well as wall décor, shelf accessories, or door decorations.
DIY Décor: Why Make Your Own Decorative Letters?
Personalized decorative letters create atmosphere. They add accents to walls, shelves, or doors. Handmade letters are one-of-a-kind pieces. They fit your décor and personal taste perfectly.
The crafting process is fun. You work with your hands and see immediate results. Children can easily help. This creates shared memories and unique pieces for the kids' room.
Material costs are low. You can often find leftover materials around the house. Cardboard, fabric scraps, or old newspapers can become beautiful accessories. You save money compared with store-bought décor.
Pro tip
Sketch your word or name on paper first. Aim for a harmonious overall look. The letters should match in size and style. Test the arrangement before you start cutting.
How Do I Find the Right Letter Template?
The template determines the character of your design. Clean, sans-serif fonts look modern. Decorative fonts suit romantic or vintage styles. You can find free templates online. Print them in the size you want.
An easy method is to draw the letters freehand. Use a pencil and ruler. This technique works well for rough, playful shapes. The charm lies in their imperfections.
For precise work, transfer the outlines with tracing paper. Place the paper over your template and trace the lines. Then position the tracing paper on your craft material and trace the lines again.
Planning Measurements and Proportions
Think about where the letters will hang. Measure the available space. Divide the length by the number of letters. This gives you the maximum width for each letter.
Remember to leave gaps. Allow about 2 to 5 centimeters between the letters. For wall décor, you can vary the sizes. The first letter of a name can be larger.
Detailed designs require the letter to be a certain size. Very small inner areas are difficult to cut out and decorate. Choose a larger template for complex fonts.
Which Materials Are Suitable for the Letter Blank?
Cardboard is the classic choice. Cut it with sharp scissors or a utility knife. Use multilayer corrugated cardboard for stability. It is also suitable for large formats. You can cover the edges with paper strips or leave them exposed as a design feature.
Wood gives letters weight and a high-quality appearance. Cut thin plywood or MDF boards with a coping saw. Sand the edges smooth. Wood is an excellent base for painting, staining, or gluing decorations onto.
Styrofoam and craft foam are lightweight and easy to work with. Cut Styrofoam blocks with a hot-wire cutter or a sharp knife. Cut craft foam with scissors. Both materials take paint well.
Choosing the material is the first creative step. It defines the texture, weight, and possible decorating techniques. Sturdy cardboard allows for different techniques than flexible craft foam.
For temporary décor or parties, make letters from crepe paper or fabric. Fill the fabric cover with cotton batting or newspaper. This creates soft, textile objects. They pair well with decorative pillows.
Important note
Always work carefully and safely when cutting wood with a saw. Secure the workpiece. Wear a protective mask when cutting Styrofoam with a hot wire, as it produces fumes. Keep sharp tools out of children's reach.
Creative Ideas for Decorating Your Letters
Paint the letters with acrylic paint. It provides good coverage and dries quickly. Use different brush sizes for details and larger areas. You can mix colors to achieve the exact shades you want. Several thin coats give better results than one thick coat.
Wrap the letters with yarn or wool. Coat the surface with glue and wind the yarn tightly around the shape. Use different colors and thicknesses. This creates a warm, textile look. This technique is ideal for initials on a child's bedroom door.
Bring the letters to life with natural materials. Glue on moss, small stones, shells, or dried flowers. Seal the decorations with clear varnish. The result is unique and brings nature indoors. Combine these letters with artificial plants.
Fabric and Paper as Decorative Elements
Cover the letters with fabric scraps. This works especially well with thick cardboard or Styrofoam letters. Cut the fabric with a little extra allowance. Pull it tightly over the shape and glue the ends securely to the back.
Decoupage with wrapping paper or newspaper clippings is a popular technique. Tear or cut the paper into pieces. Glue it onto the letters with decoupage glue. Finally, coat the entire surface with several layers of the glue. This seals the surface and adds shine.
For a glittering effect, coat the letters with glue and sprinkle them with glitter. Work over a bowl to catch excess glitter. Let the glue dry completely before touching the letter.
Additional advice
Have all materials and tools ready before you start working. This helps you avoid interruptions. Cover your work surface with newspaper or a cutting mat. Keep a damp cloth nearby for sticky fingers.
How Do I Attach the Finished Decorative Letters?
Attach lightweight cardboard or craft foam letters with double-sided tape. Choose a strong version for fabric or paper. Test the adhesive strength on an inconspicuous area of your wall. On textured or wood-chip wallpaper, special wallpaper tape provides better adhesion.
For wooden letters, drill small holes in the back. Be careful not to drill through the front. Screw a hanging hook and wall anchor into the wall. Then hang the letter. Alternatively, attach strong magnetic strips to the letter and the wall if the wall surface is metal.
Display the letters on a shelf. Give them a stable base so they can stand securely. For cardboard letters, glue an additional cardboard foot strip to the back. For wooden letters, cut the base to the appropriate size. This makes them look like small sculptures among books and decorative objects.
The mounting method should always suit the material and the surface. A heavy wooden letter needs secure support. In rental homes, methods that protect the surface are the first choice to avoid marks.
Inspiration for Designs and Occasions
Spell out your name or initials. This personal décor is perfect for the living room, hallway or bedroom. Choose colors that complement the rest of the room. Initials are a timeless classic.
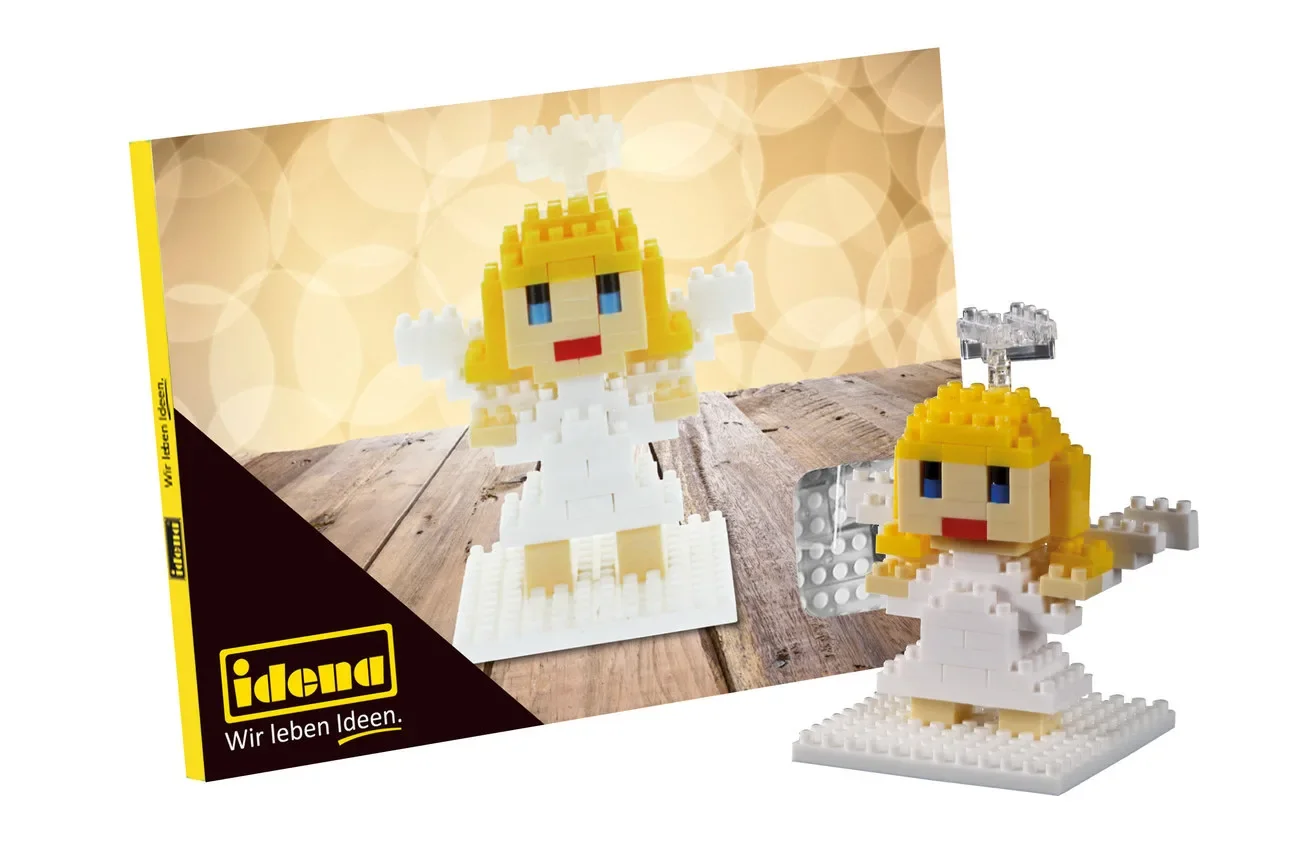
Make letters for festive occasions. Add a
Children love seeing their name in colorful letters above their bed. Use non-toxic paints and safe materials. Include the child's favorite motifs. A
Themed Words for Every Season
In spring, make the word "SPRING" in pastel shades. Decorate it with small artificial flowers. In summer, "SEA" in blue and white tones, decorated with seashells, is a great choice. This
poster with graphic letters provides color inspiration.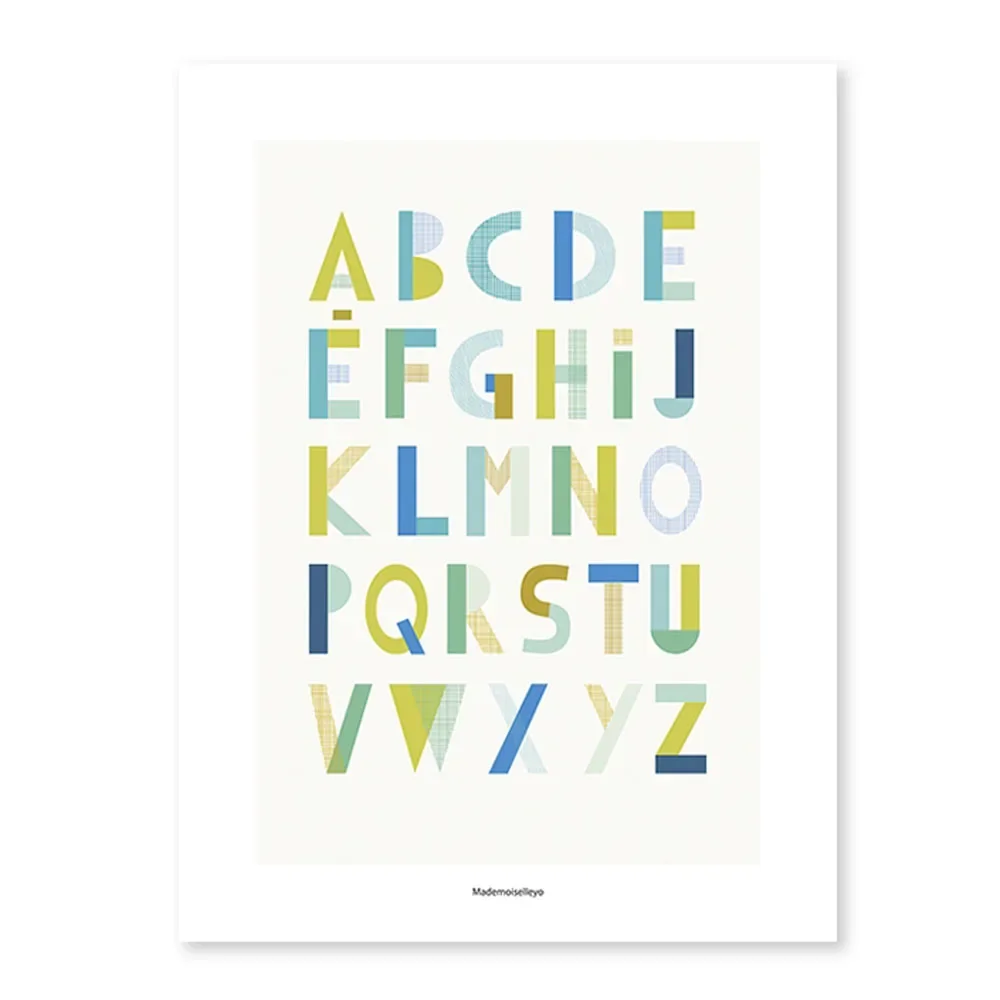
In fall, create "HYGGE" or "COZY" in warm shades of brown and orange. Wrap the letters in thick wool yarn. In winter, "SNOW" shines in white and silver. Use glitter and artificial snowflakes.
Swap these themed words according to the season. They create fresh accents time and again. Store unused letters in flat boxes.
Making decorative letters is a creative hobby with visible results. You start with simple materials and end up with a personalized home accessory. The techniques are varied and accessible to everyone.
Try out different styles. Combine materials and colors. Take inspiration from and for the details. These individual pieces will make your home even more inviting.
Start with your first letter today. Gather your materials and choose a short word. The creative process is relaxing, and the result is something to be proud of.
Frequently Asked Questions
- What materials are best for DIY decorative letters?
- Cardboard and craft foam are ideal materials for beginners. They are easy to cut and can be decorated easily. For sturdier letters, use thin wood or Styrofoam. You can decorate them with acrylic paint, fabric scraps, wool, dried flowers or small stones. The best material depends on the style you want and where you plan to use the letters.
- How do I attach homemade letters to the wall?
- Attach lightweight cardboard or craft foam letters with double-sided tape or poster tack. For heavier wooden letters, use nails or screw anchors. Invisible hangers are an elegant solution. Always test the adhesive on an inconspicuous area first. For wallpaper, choose adhesive products that will not damage the surface.
- Can I make decorative letters with children?
- Yes, this is a great craft project for children. Choose child-friendly materials such as thick cardboard, felt or craft foam. Use safety scissors and non-toxic glue and paints. Let the children cut out, paint and decorate the letters with glitter, pom-poms or stickers. This creates personalized children's room décor.
- What tools do I need to make decorative letters?
- Depending on the material, you may need sharp scissors, a utility knife or a coping saw. A pencil and paper are useful for transferring the template. Keep brushes, glue, a ruler and sandpaper on hand for decorating. For precise cuts in thicker materials, a jigsaw is worth using. Always work on a suitable surface.
- How do I create decorative letters in a nautical or natural style?
- For a nautical look, wrap the letter shape with thick rope or sisal cord. Glue on small seashells or pieces of netting. Create a natural style by attaching moss, pieces of bark, dried grasses or small twigs. If necessary, seal the natural materials to keep them in place.
You may also be interested in
- Creative DIY décor ideas for your home
- Creative Christmas crafts: make your own DIY décor
- Creative wall décor: beautify rooms with decorative elements
- Home and garden décor ideas: create a beautiful home with DIY accents
- Make Easter decorations: DIY bunnies and spring décor
- Creative crafts with children: DIY ideas for home