
In short: Crafting small wooden houses as decor adds personal charm to your home. You can use simple materials such as balsa wood, ready-made miniatures or even miniature building blocks. With a little paint, glue and creativity, you can create unique wooden decorations for a shelf, as a table decoration or for a child's room.
DIY Mini Wooden Houses: Creative Decor Ideas for Your Home
A small wooden house in a display cabinet or on a sideboard tells a story. It is more than just decor. It is a piece of craftsmanship and personality. With simple materials and your creativity, you can build these special accessories yourself.
We show you practical ideas for your DIY wooden decor, from choosing the materials to creating the finished display.
What materials do I need to get started?
The success of your project begins with the right preparation. You do not need an extensive range of tools. Focus on the essentials.
Choosing the right wood
Balsa wood is lightweight and can be cut precisely with a craft knife. It is ideal for delicate little houses. For garden projects or sturdy models, choose spruce or pine strips from a hardware store. These are more weather-resistant.
Pre-cut elements save time. The
is made of durable material with a wood-effect finish. It provides the perfect base or border for a garden house model.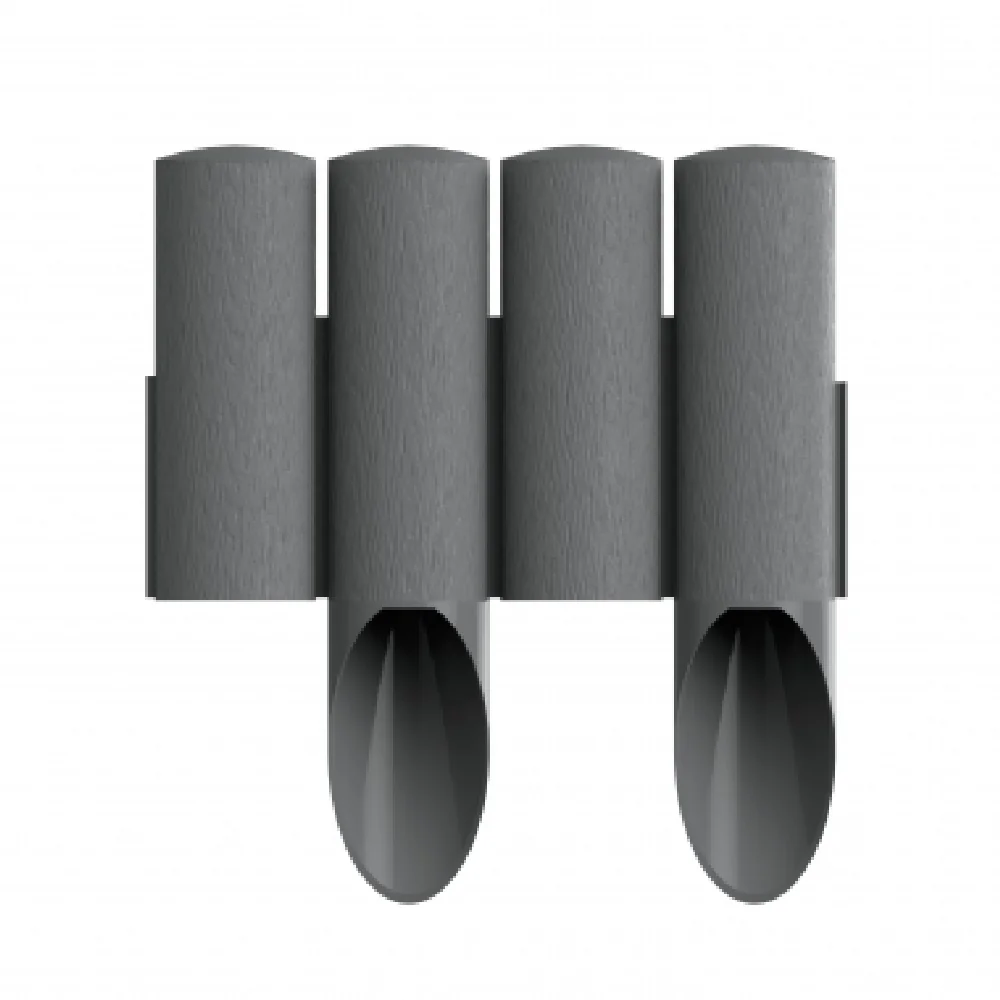
Pro tip
Sketch your house before cutting the wood. Set out the dimensions for the walls, roof and base. This helps you avoid mistakes and material waste. A simple pencil sketch on paper is all you need.
Tools and accessories at a glance
A sharp coping saw or a precise craft knife will cut the wooden pieces. Wood glue joins the elements securely. For a smooth finish, use medium-grit sandpaper.
Do not forget the decoration. Acrylic paints, brushes in different sizes and clear spray varnish for sealing should be part of your craft supplies. Fine felt-tip pens are ideal for details.
How can I decorate the wooden house creatively?
Building the basic structure is the first step. The real magic happens during the decorating process. This is where your ideas come into play.
Painting, staining or glazing?
Acrylic paints provide good coverage and dry quickly. You can paint over them once they are dry. A wood glaze highlights the grain. It gives the house a natural character.
A stain in oak or walnut creates an antique look. Apply it evenly with a brush. Always test the colour on a leftover piece first.
“The surface treatment determines both durability and appearance. Applying a primer before painting makes the wood less sensitive and the colour more vibrant.”
Adding detail to the roof and facade
To create a tiled roof, use a craft knife to score lines into the roof surface. Then paint them in shades of red or brown. You can imitate a shingle roof with overlapping wooden strips.
Paint windows and doors on with fine brushes. Alternatively, glue thin wooden sticks onto the facade as frames. Transparent fabric works well for curtains behind the windows.
Important note
Work in a well-ventilated room when spraying or varnishing. Wear safety goggles when working with wood using a saw or sandpaper. Protect your work surface with newspaper or an old sheet.
What role do wooden figures and miniatures play?
A house comes to life through its residents and surroundings. Miniatures add the finishing touch. They tell the story of your small building.
Finding residents for your miniature house
Wooden figures such as the
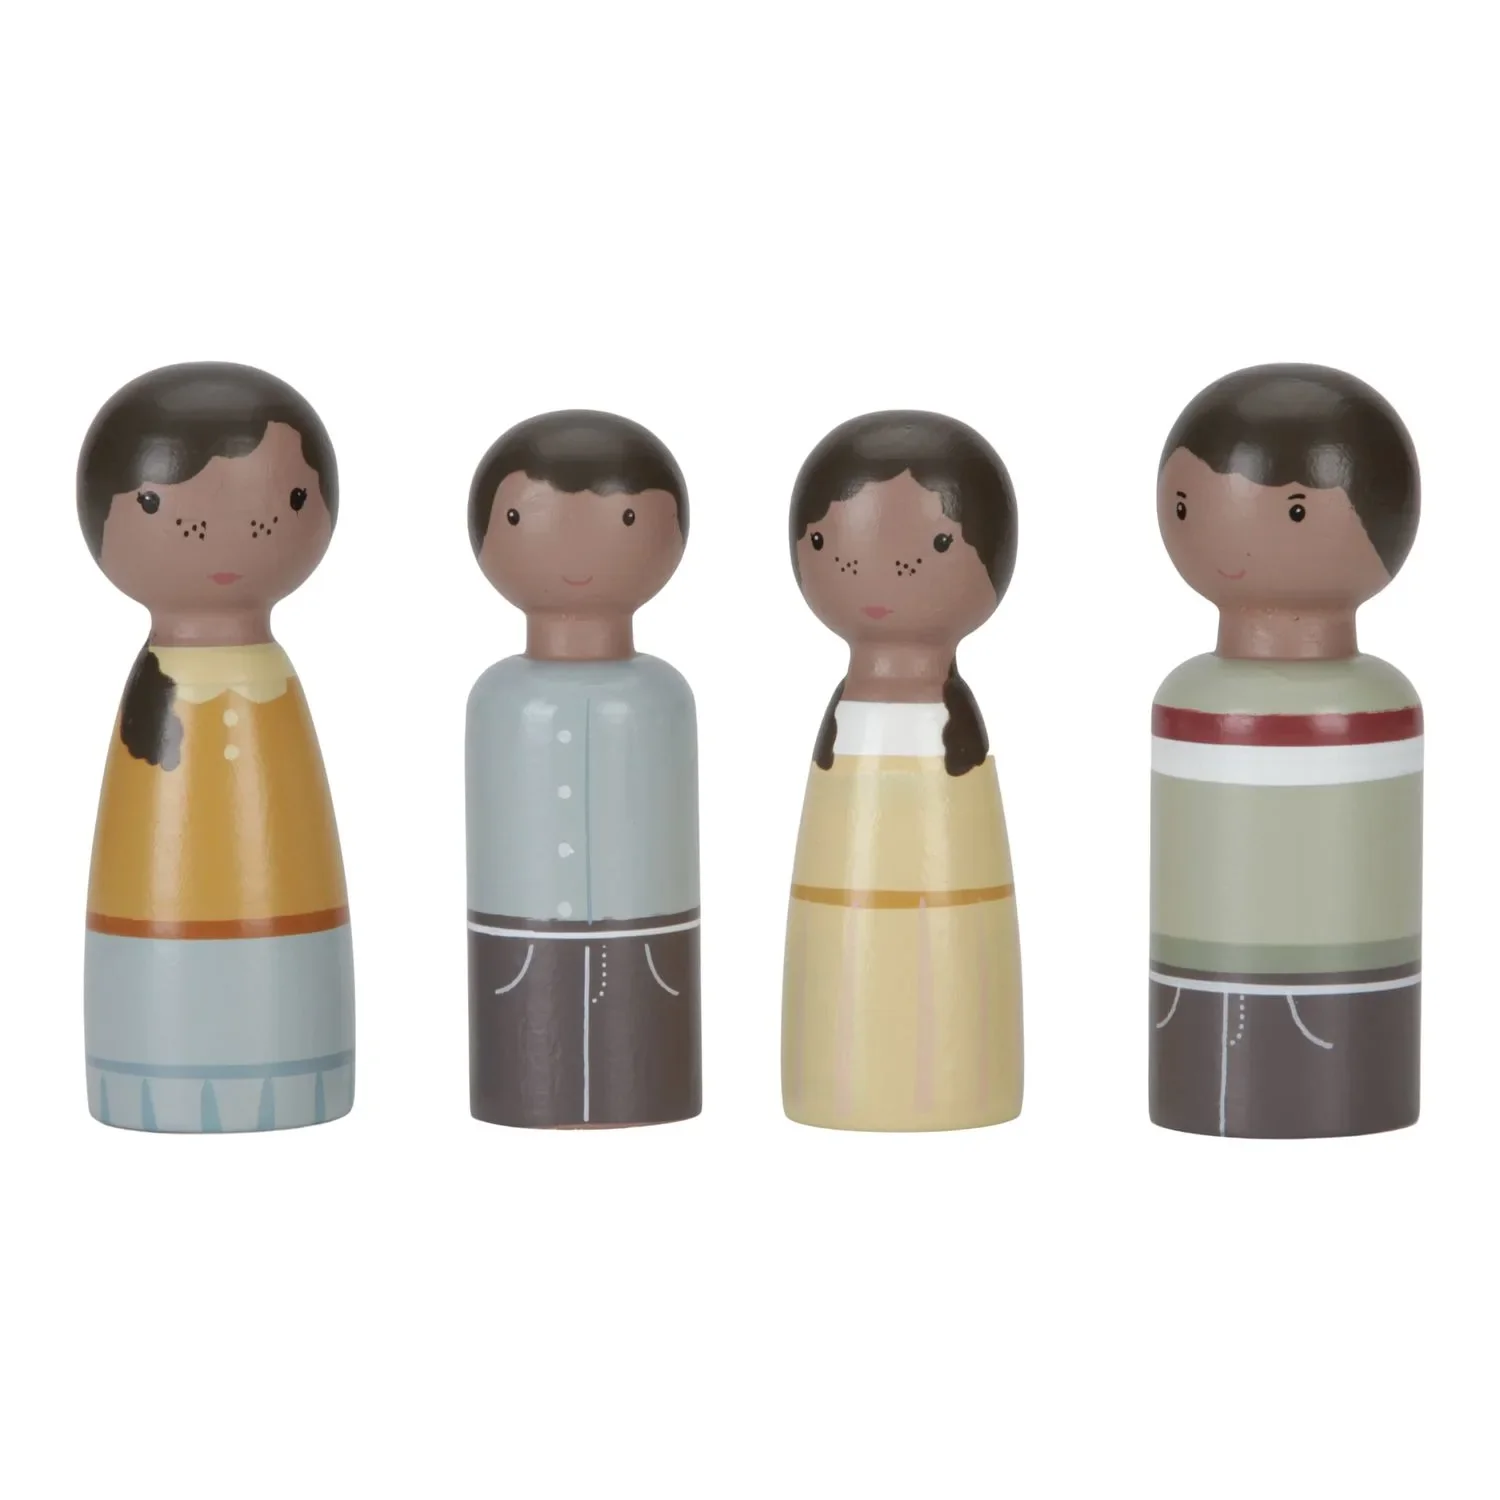
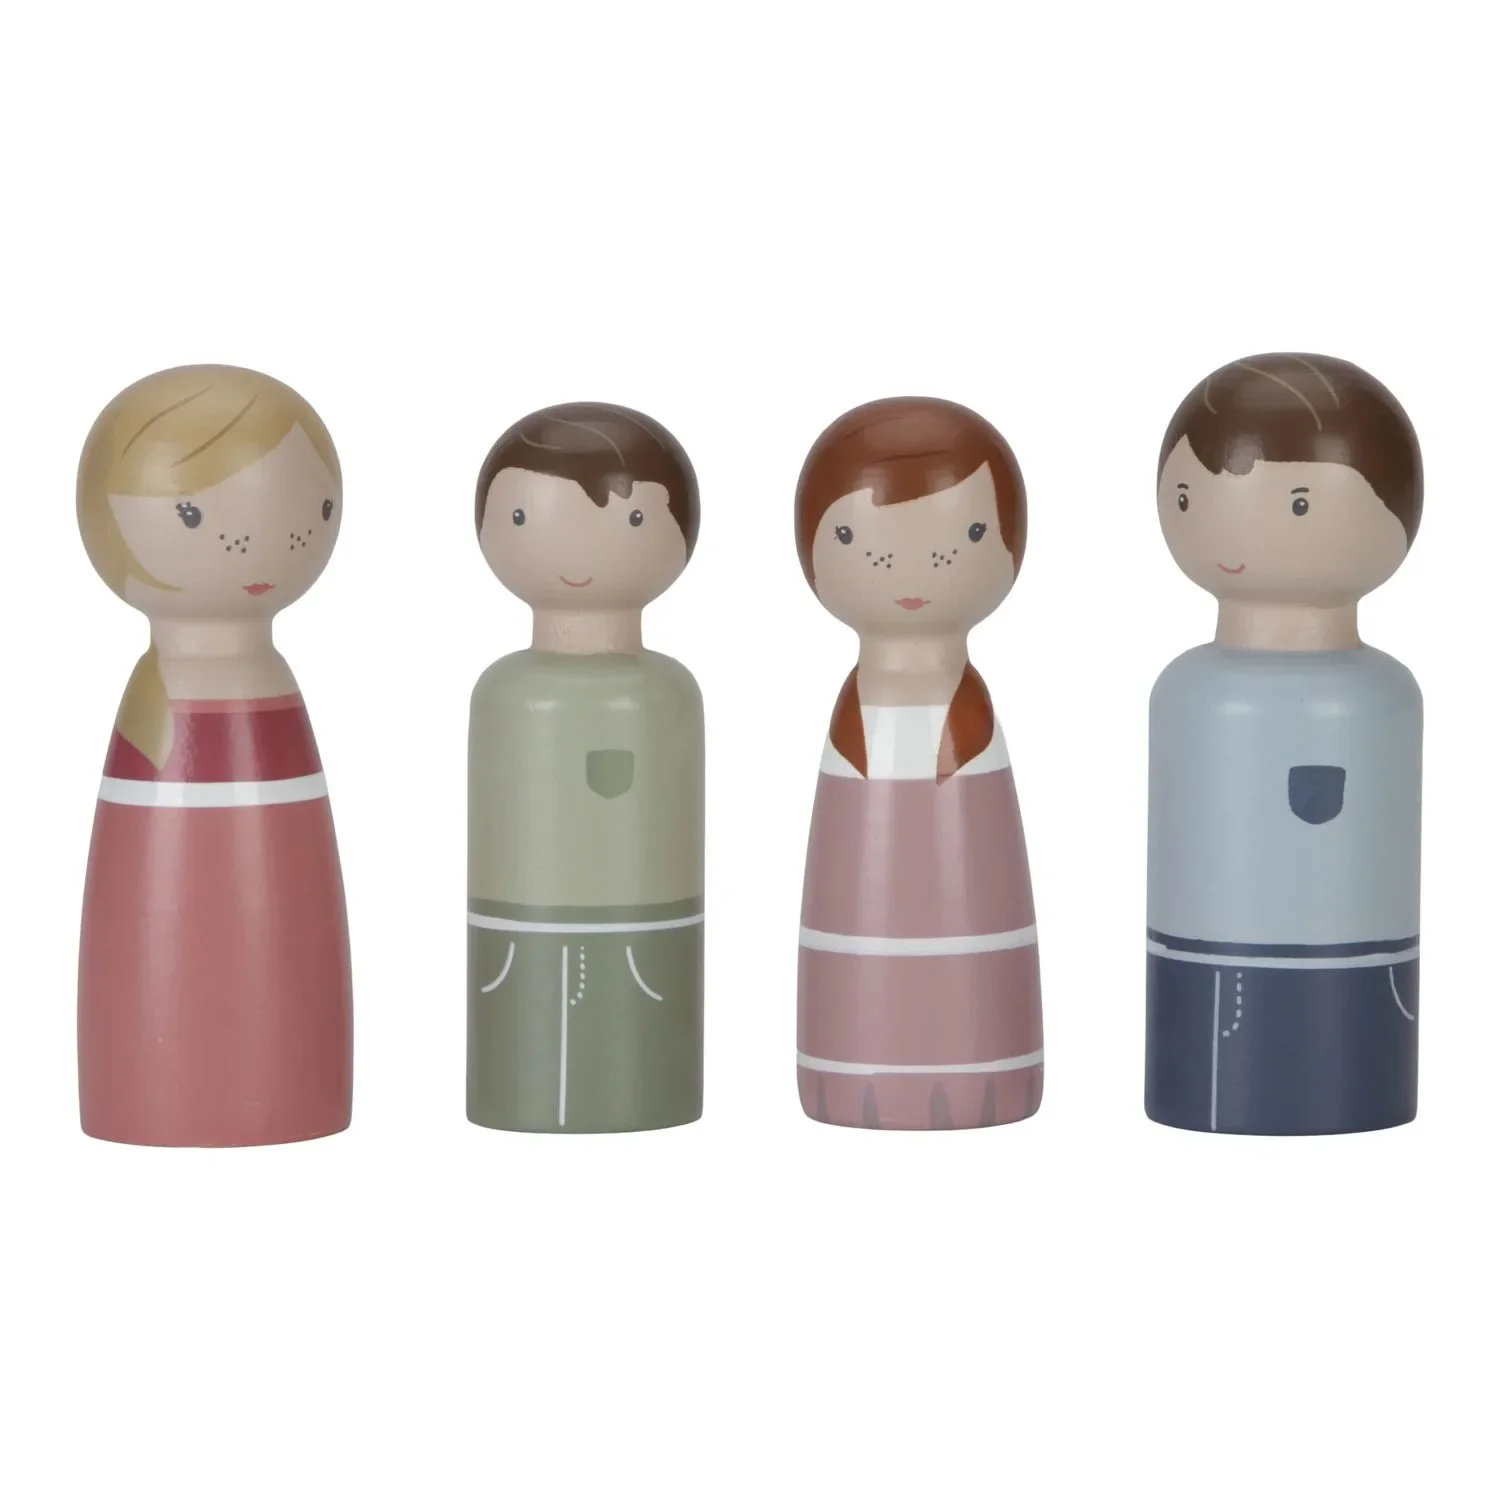
For imaginative scenes, use toy miniatures. You can find a wide selection in the Idena category. These figures are ideal for fairy-tale or adventure landscapes.
Creating the landscape
Model-making moss creates perfect grass. Small stones become a garden path. Use craft glue to secure these elements.
A miniature tree next to the house adds depth. To make one, bend wire into a trunk and branches. Soak the ends in wood glue and dip them into model railway grass flock.
Additional advice
Create a harmonious sense of scale. The figures should match the size of the door. A figure that is larger than the door looks out of proportion. Have your house dimensions to hand before buying the miniatures.
How do I build a wooden house with miniature building blocks?
Ready-made kits offer an easy introduction. They include all the parts and instructions. The result is still unique.
Benefits of kit systems
There is no need to cut anything to size. All the parts fit perfectly. This saves time and ensures a stable result. Products such as the
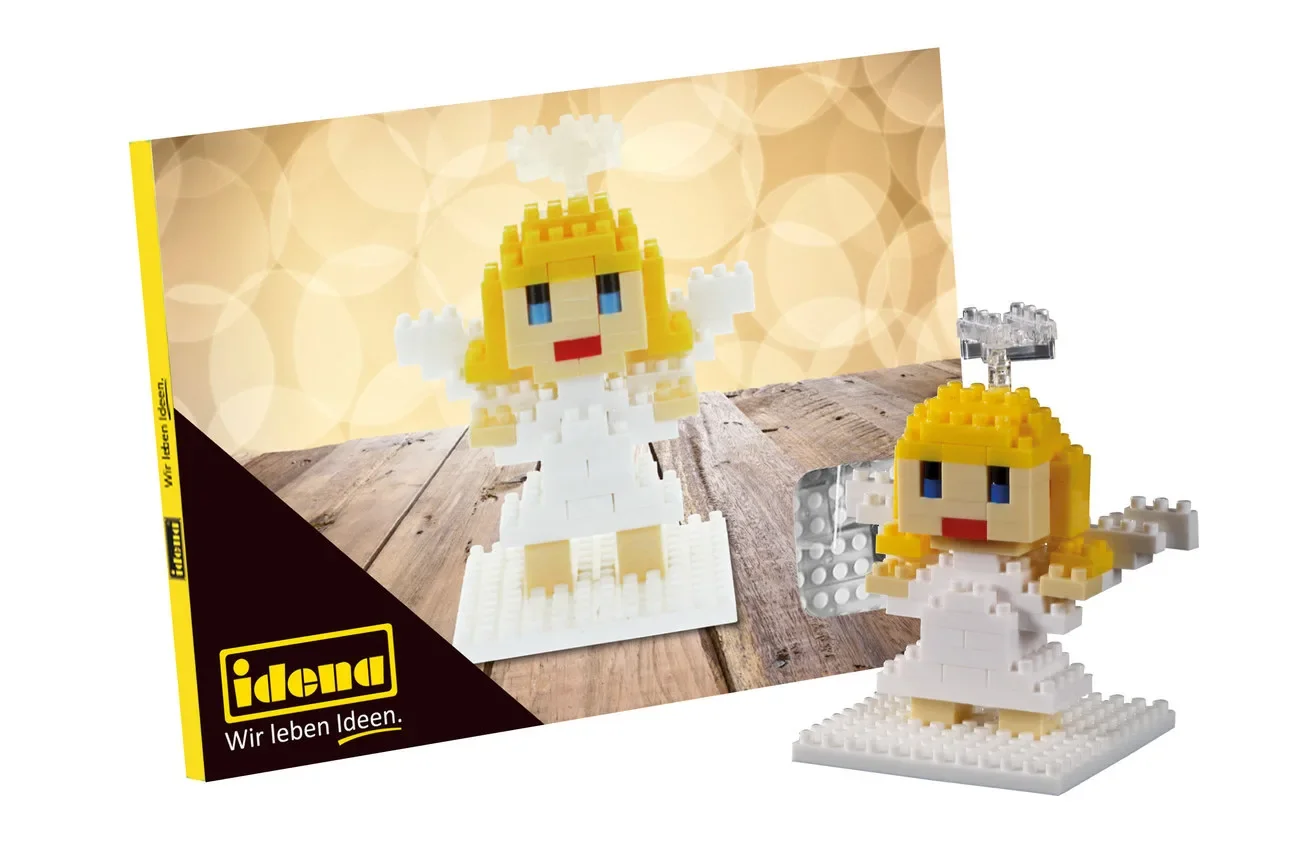
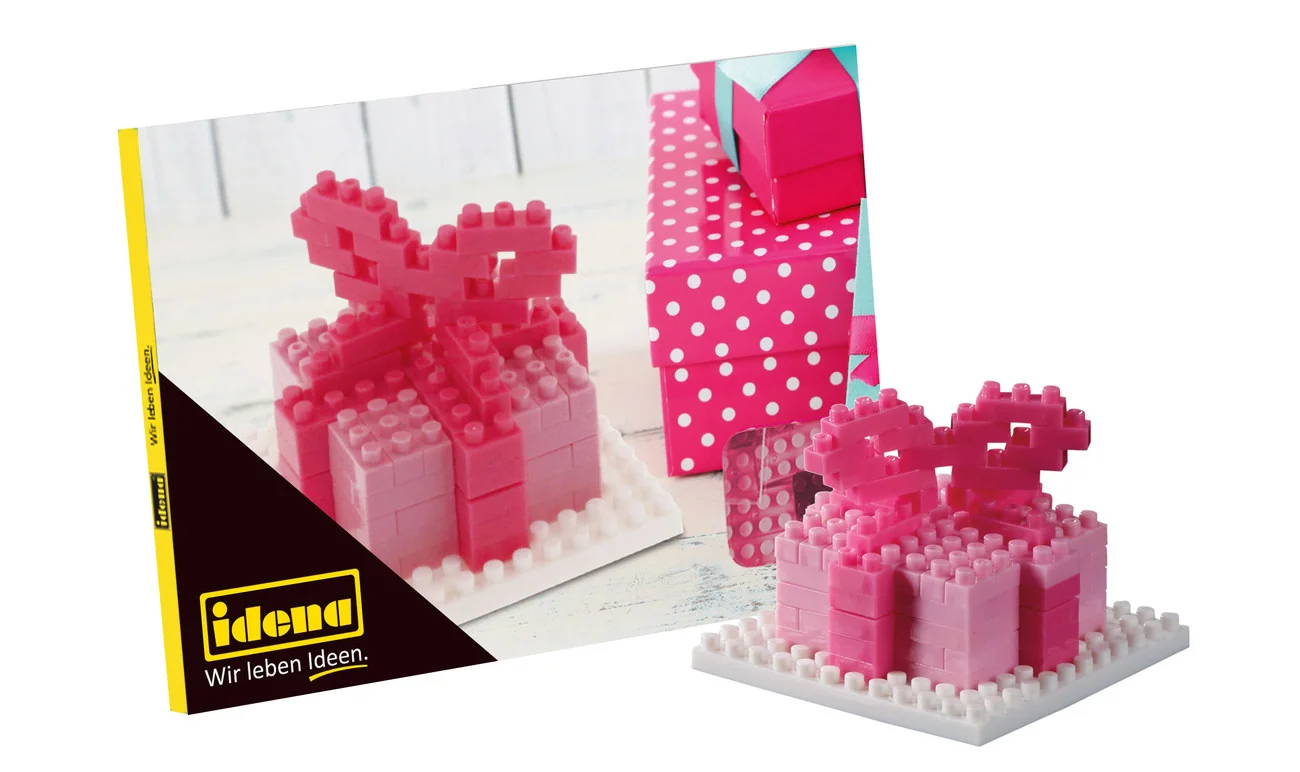
They are ideal for creative crafting sessions with children. The pieces are large enough for little hands. The angel or double-decker bus design provides a thematic framework.
„Building kits encourage spatial thinking and patience. They are the ideal way to give children their first hands-on successes without overwhelming them with the complexity of cutting materials to size.“
Personalising your kit
Paint the assembled building blocks in your chosen colours. Add decorative elements such as tiny fabric flowers. This turns a standard model into a one-of-a-kind creation.
Combine several kits. Build a larger semi-detached house from two. Extend it with a veranda made from balsa wood.
Where is the best place to display my finished wooden decoration?
The right location showcases your artwork. It brings it from the craft room into your living space.
Decor for shelves and sideboards
A single house makes an eye-catching feature among books. Place it on a small wooden plinth. This gives it greater presence.
Group several houses of different sizes together. Create a miniature village. Place small artificial plants between them as trees.
Ideas for the children's room
In the children's room, the wooden house becomes a toy. It provides dolls or animal figures with a home. Place it in the children's room play corner.
You can also hang small houses as hanging decor above the bed. Attach a thin cord to the roof ridge.
How do I care for and clean my wooden decoration?
Wood is a living material. Proper care preserves its beauty for years.
Removing dust without scratching
Use a soft, dry brush with fine bristles. Gently brush over the surface. This also lets you reach corners and window frames.
For painted surfaces, you can use a slightly damp microfibre cloth. Wring it out well. Then dry the house immediately.
Repairing damage
A broken chimney can be glued back on with wood glue. Secure the area with a small clamp until the glue has dried.
Carefully sand away flaking paint. Prime the area again and repaint it in the original colour. If necessary, mix the paint again using a photo of your finished house as a guide.
Your handmade wooden houses are more than decorations. They express your creativity and create warm, personal accents in your home. Start your first project today.
Frequently Asked Questions
- Which wood is best for small DIY wooden houses?
- Balsa wood is ideal for beginners because it is easy to cut and work with. For more robust projects, use spruce or pine strips. Pre-cut wooden figures or sets such as PRODUCT_18807 provide a perfect base and save time when cutting materials to size.
- How can I make wooden houses weatherproof for the garden?
- Stain or glaze the wood with a special exterior wood finish. A primer protects against moisture. For the base, choose durable elements such as a PRODUCT_35000 to keep the wood away from direct contact with the ground.
- Where can I find inspiration for wooden figures and miniatures?
- Browse our decorative animals category. Toy figures or historical miniatures can also provide creative ideas for imaginative scenes.
- Can I make small wooden houses together with children?
- Absolutely. Use pre-sawn kits or simple materials such as PRODUCT_18801. Children can easily paint and decorate the houses. For safety, use non-toxic paints and wooden edges that are not sharp.
- What can I do with finished wooden houses? Where should I put them?
- Use them as table decorations, on a bookshelf or as a special wall feature. Combine several houses to create a miniature village. In the children's room, they become a focal point for toy figures.
You may also be interested in
- Creative DIY decor ideas for your home
- Building small houses: practical tips for minimalism and living space
- Make your own wooden advent calendar: the best DIY ideas
- Creative craft ideas for your home and garden: DIY projects
- Build your own furniture: creative projects for your home
- Creative crafts with children: DIY ideas for the home