
In brief: A creative photo wall combines personal photos, a well-planned arrangement and suitable decorative elements. First, choose a style, collect your favourite pictures and decide on a hanging method such as string, picture ledges or frames. You can often find the materials around the house or in the garden and outdoor section. The process is simple and fun.
DIY Photo Wall Ideas: Display Your Memories in Style
Your most beautiful moments deserve more than a life in a drawer. A self-designed photo wall brings your memories into the light and makes them the focal point of your home. You do not need expensive furnishings. With simple materials and clear ideas, you can create your own personal gallery.
This guide presents practical photo wall ideas. You will learn how to create a gallery wall, which techniques work for DIY photo decor and how making your own wall decorations can add entirely new accents. Get started right away.
How do I find the right style for my photo wall?
Before you hang your pictures, define the look you want to create. Should the wall feel eclectic and playful or neat and orderly? Your style gives the collection a consistent theme.
A minimalist style uses just a few large-format pictures in matching frames. Place the pictures in a straight line or a symmetrical grid. This look feels calm and modern.
The eclectic style embraces mixing and matching. Combine different frame shapes, colours and sizes. Hang postcards, tickets or dried leaves between the photos, too. This wall tells a lively story.
For a themed style, choose a subject. This could be travel memories, family portraits over the years or black-and-white photos. Consistent image editing or a colour filter strengthens the overall look.
Pro tip
Lay out your pictures and frames on the floor before hanging them. Photograph different arrangements with your phone. This lets you see the overall effect and make adjustments without marking the wall.
What materials do I need to create a gallery wall?
The basic equipment is straightforward. You may already have many of these items at home. For special projects, you can find suitable accessories in our shop.
You will need your chosen photos. Print them in good quality on photo paper or choose classic poster printing. Different formats add visual interest.
Depending on the method, you will need string or wire, clothes pegs, adhesive tape, pins or hooks. A spirit level and pencil are essential for creating straight lines.
Frames protect the pictures and add structure. Use simple clip frames from a discount store or paint old frames in a matching colour. Plain wooden ledges that allow you to clip the pictures in place are another elegant option.
For the base, large boards made from cork, wood or fabric-covered panels are ideal. They offer maximum flexibility because you can rearrange the pictures whenever you like.
The best photo wall reflects not only memories but also the personality of the person creating it. Do not be afraid to include imperfect items – a crumpled ticket can say more than a flawless glossy photo.
DIY Technique 1: The String and Peg Gallery
This method is quick, flexible and has a modern look. Stretch several horizontal or vertical strings between two points. Attach the photos with decorative clothes pegs.
Use sturdy parcel string, jute twine or braided cotton cord. Secure the ends to the wall with nails, screw hooks or adhesive hooks. Make sure the spacing is even.
You can attach the photos directly to the string. For extra protection, place them in transparent plastic sleeves first. This allows you to change the pictures in seconds.
This gallery is perfect for seasonal photos or a growing collection of children's drawings. You can also find materials such as string and hooks in the garden tools and accessories section.
DIY Technique 2: The Modular Frame Wall
Buy several simple frames in different sizes but with a matching colour. White, black or natural wood are safe choices.
Hang the frames without pictures first. Experiment with the arrangement. An asymmetrical cluster looks more dynamic than a rigid rectangle.
Then place the right photos in the frames. Optionally, use a mount to display small prints in large frames. This wall looks especially polished and well planned.
Important note
For heavy frames, always check that your wall can support the load. Plasterboard walls require special cavity wall anchors. If you are unsure, consult a professional or choose lighter alternatives such as cardboard or plastic frames.
How can I preserve special memories?
Not every memory fits in a standard frame. For three-dimensional objects or special paper keepsakes, you need creative solutions.
A memory box like the
provides space for first baby outfits, a lock of hair or a first pacifier. Incorporate the box itself into your wall display or place it on a shelf below.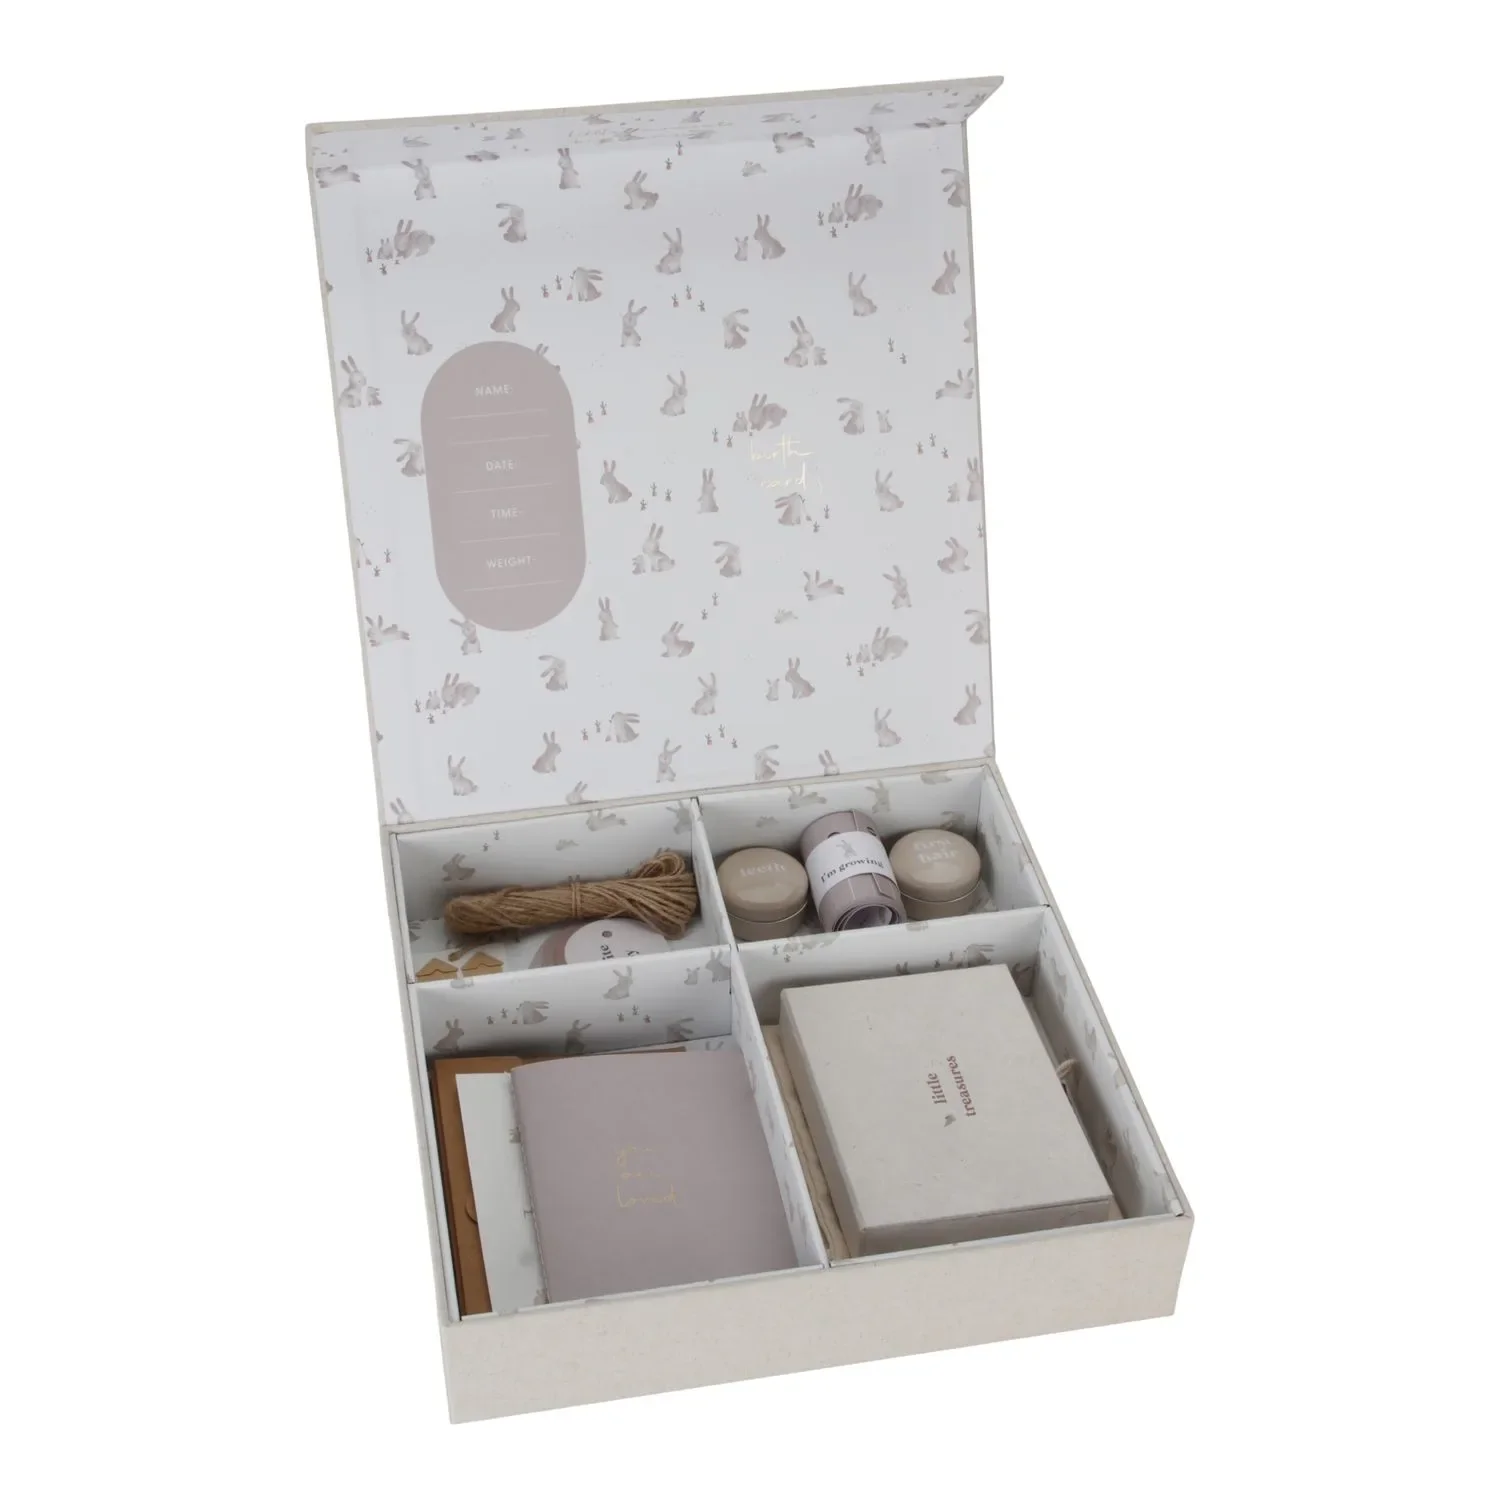
For flat keepsakes such as postcards, map cutouts or dried leaves, use magnetic frames or chipboard frames with a glass cover. This keeps the objects protected while displaying them clearly.
Creative craft projects such as the
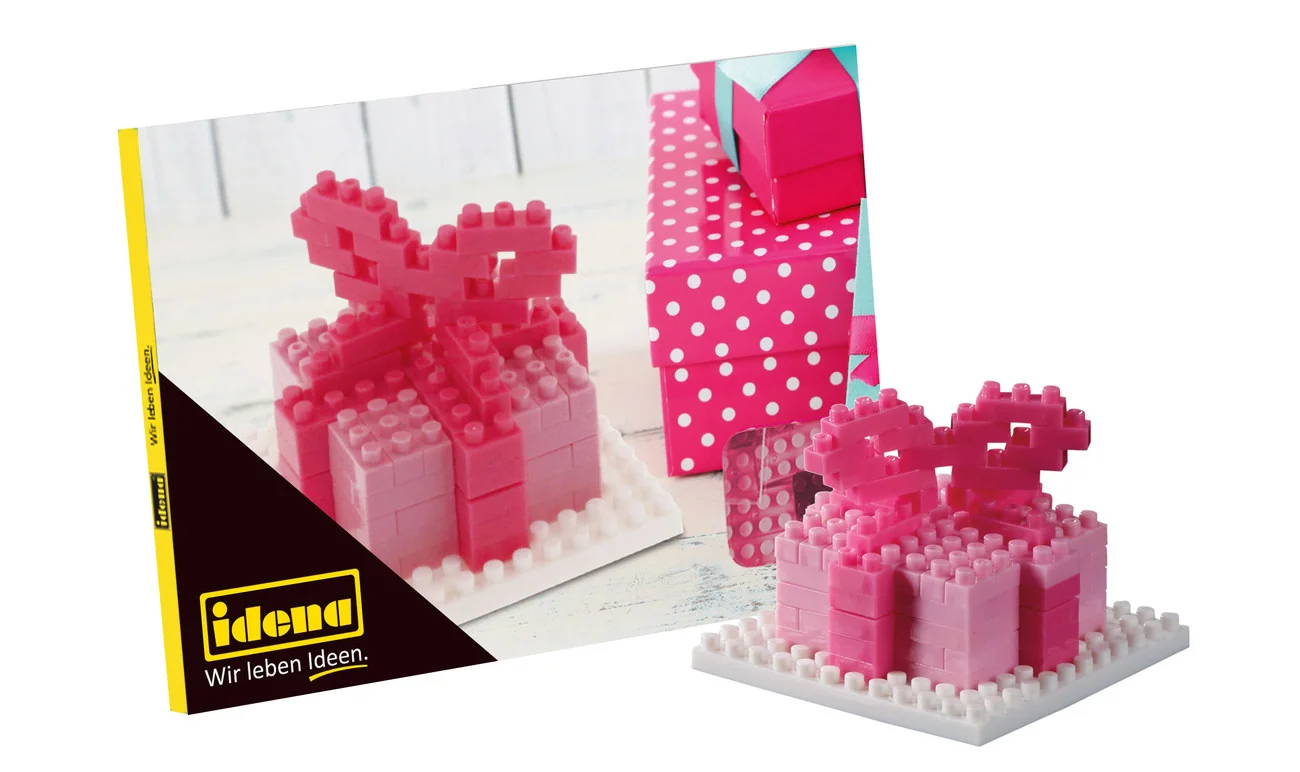
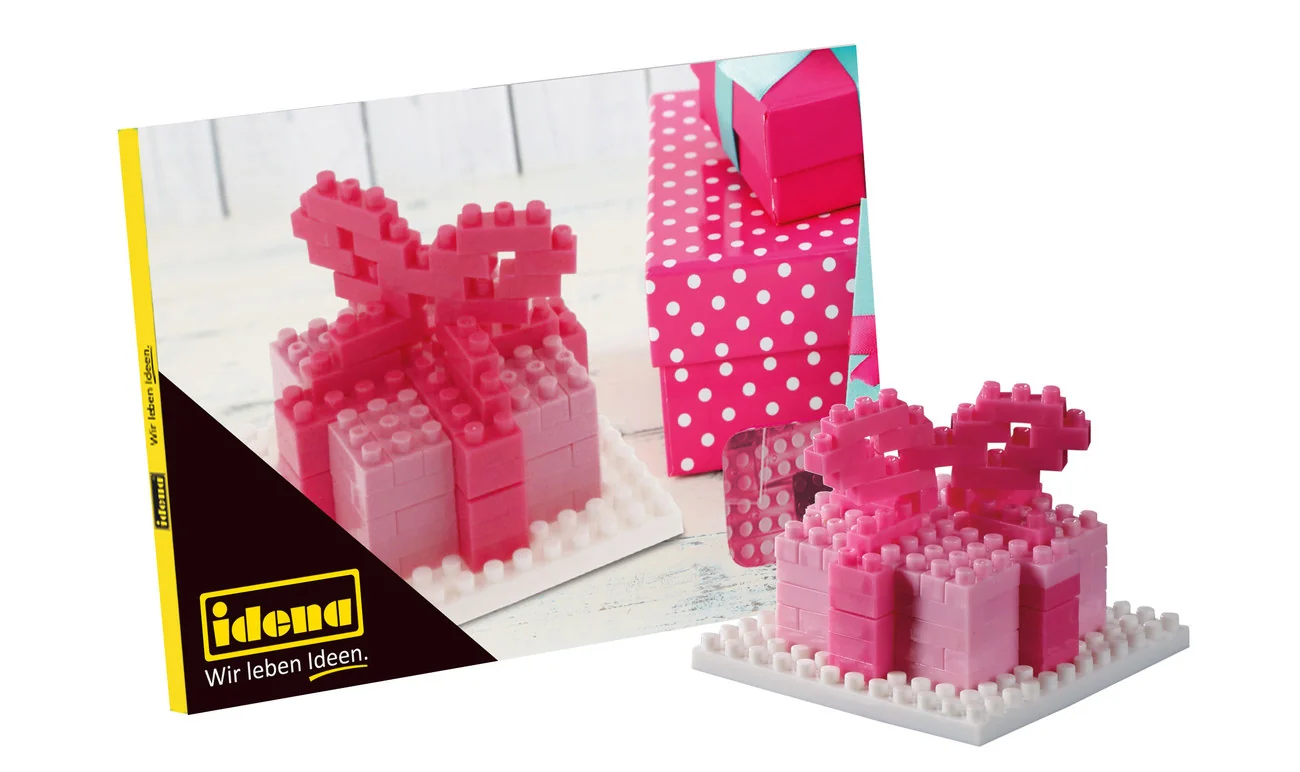
The emotional value of a photo wall comes from the depth of the story it tells. Combine the obvious photograph with the unassuming keepsake from that time. This juxtaposition makes the memory tangible.
DIY Technique 3: The Growing Pinboard
A large corkboard or fabric-covered softboard becomes a vibrant centrepiece. Pin photos to it with colourful thumbtacks or pins.
The advantage is that you can change the arrangement every day, add new pictures and incorporate notes, shopping lists or keepsakes. This wall is never finished and evolves with you.
To make a fabric pinboard, stretch coarse linen or velvet fabric over a wooden board and staple it securely at the back. Then use drawing pins with large, decorative heads.
This technique is ideal for the hallway or home office. A wall like this can also serve as a practical and attractive pinboard for planning projects in the garden.
How can I light my photo wall effectively?
The right lighting makes your pictures clearly visible and showcases them beautifully. Avoid direct sunlight, as it can fade photographs.
Ceiling lights provide general illumination. Directional spotlights are much better. Install a track with spotlights above the wall and aim them at the most important pictures.
LED strips are an atmospheric alternative. Attach a thin strip behind a rail or around the edge of a large pinboard. The indirect light looks modern and highlights the wall beautifully.
For individual, special frames, there are small battery-powered picture lights with motion sensors. They switch on when someone enters the room. This saves battery power and showcases your memories perfectly.
Additional advice
Test the lighting in the evening. Artificial light changes colours. Make sure that frames or other objects do not cast distracting shadows onto the pictures. Warm white light (2700-3000 Kelvin) creates a cosy atmosphere.
How do I maintain and update my photo wall?
A photo wall is not a static work of art. It can and should change. Plan space for new pictures from the outset.
Regularly dust frames and glass surfaces with a microfibre cloth. Do not use chemical cleaners on the photos themselves.
Swap pictures seasonally. In summer, display holiday photos; in winter, show cosy family pictures from Christmas. This keeps the wall current and adds an element of surprise.
If you move house, document the arrangement with a photo. This makes it easy to recreate the wall in your new home. Alternatively, use the move as an opportunity to create a completely new style.
Albums or special archive boxes are ideal for storing retired pictures that do not fit the current display. Keep them protected from light and moisture.
Inspiration for Different Rooms
A photo wall in the hallway gives your guests a personal welcome. Choose particularly representative or cheerful pictures here. A well-lit composition that is not too cluttered works best.
In the living room, the wall can be larger and more expressive. It becomes a conversation starter. You can also incorporate art prints or posters that match your interior design style.
In the bedroom, personal, calming images create a relaxed atmosphere. Black-and-white photos or faded vintage looks are especially harmonious here. Avoid overly exciting compositions.
To create an outdoor photo gallery on a patio or beneath a canopy, you need weather-resistant materials. Products from the garden equipment range, such as sturdy tarpaulins or special films, can be used to protect the pictures.
Start today. Gather your favourite pictures. Choose a corner. Your personal gallery is waiting to be created.
Frequently asked questions
- Which wall is best for a photo wall?
- A large, open wall without many outlets or switches is ideal. Well-lit areas in the hallway, living room, or bedroom help the pictures stand out. Check the condition of the wall; lightweight hanging systems are better suited to drywall than heavy individual frames.
- How can I hang photos on a string without damaging them?
- Use wooden clothespins or colorful plastic clips. For valuable originals, first attach a strip of paper to the back for protection. Alternatively, place the photos in inexpensive clear plastic sleeves before clipping them up. This keeps them in good condition.
- Can I create a photo wall in a child's room or nursery?
- Absolutely. In a nursery, cute designs and safe materials are important. Use soft fabric panels or a cork bulletin board fitted with child-safe pushpins. This makes it easy to swap pictures as your child grows.
- Which pictures work well for an attractive photo wall?
- Mix portrait and landscape formats, close-ups with landscape photos, and color pictures with black-and-white images. Choose pictures with a similar mood or color theme. Personal snapshots often feel more authentic than posed studio photos.
- How can I create a photo wall without making lots of holes?
- Use picture rails attached to the crown molding. You can hang a large cork or fabric bulletin board as one piece. Modular magnetic wall systems or special adhesive for lightweight pictures are other hole-free alternatives.
You may also be interested in
- Creative wall decor: Beautify your rooms with decorative accents
- Build your own furniture: Creative projects for your home
- DIY Christmas tree: Creative wall and string light ideas
- Build your own wooden privacy screen: Instructions and ideas
- Make your own DIY Christmas decorations: Creative ideas for your home
- Build your own industrial-style shelving unit: Step-by-step guide