
In brief: You only need a few basic ingredients to make an eco-friendly shower cleaner at home. A standard recipe combines white vinegar and water in a 1:1 ratio. Add a splash of dish soap for extra cleaning power against grease and dirt. Essential oils such as tea tree or lemon help mask the vinegar smell and have antimicrobial properties. Pour the mixture into an empty spray bottle. The result is an affordable, eco-friendly cleaner without harsh chemicals.
DIY Shower Cleaner: Easy, Affordable & Eco-Friendly
Crystal-clear shower doors and grout-free walls are the dream. Hard water stains, soap scum and mold can quickly turn them into a tedious cleaning job. Commercial cleaners often contain harsh chemicals, cost more and come in single-use plastic packaging.
The solution may already be in your cupboard. With a few household ingredients, you can mix an effective shower cleaner. You save money, reduce plastic waste and know exactly what's in it.
Here are tried-and-tested recipes for different types of grime.
Why Make Your Own Shower Cleaner?
Specialty sprays promise effortless cleaning. They dissolve hard water stains and organic buildup with strong acids or alkaline ingredients. They work, but they also have drawbacks.
The fumes can affect indoor air quality and irritate your airways. Plastic packaging piles up in household waste. The cost per ounce is high. A DIY cleaner uses simple ingredients.
Acetic acid or citric acid breaks down mineral deposits. Dish soap or alcohol dissolves grease and organic residue. Water acts as the solvent. The chemistry is well understood, and the method is simple.
Regular use of diluted acetic acid effectively prevents the formation of biofilms, a matrix of bacteria and fungi, on damp surfaces such as shower enclosures.
You control the strength of the mixture. For delicate surfaces, use less acid. For stubborn grime, use more. This practical approach makes sustainable cleaning possible.
Basic Ingredients for Your DIY Shower Cleaner
Start with a simple recipe. You can find the ingredients at any grocery or discount store.
White household vinegar (5% acidity): The classic choice. Vinegar dissolves mineral deposits and has a mild disinfecting effect. The smell fades after cleaning. Alternatively, use citric acid powder dissolved in warm water for a fresher scent.
Dish soap: A few drops are enough. It reduces the surface tension of the water and dissolves grease and soap scum. It also helps water bead on the surface.
Water: Use soft or filtered water if possible. This helps prevent mineral spots as the surface dries. Hard tap water can reduce the cleaner's effectiveness.
Essential oils (optional): Tea tree oil has antimicrobial properties. Lemon or orange oil helps mask the vinegar smell and adds a fresh scent. Essential oils aren't necessary, but they can make cleaning more pleasant.
Important note
Never mix vinegar or citric acid with chlorine-based cleaners or bleach containing sodium hypochlorite. This combination releases hazardous chlorine gas. Always work in a well-ventilated room. Wear gloves to protect your hands if needed.
To use the cleaner, you'll need an empty, clean spray bottle. Bottles with a fine-mist sprayer, such as those used for store-bought cleaners, are ideal. Rinse the bottle thoroughly. Residue could cause unwanted chemical reactions.
Recipe 1: All-Purpose Cleaner for Hard Water Stains and Grime
This standard recipe removes fresh mineral deposits, water spots and light soap scum. It's suitable for regular weekend cleaning.
You need 200 ml of white household vinegar and 200 ml of water. Pour both into your spray bottle. Add 1-2 drops of dish soap. If desired, add 10 drops of essential oil.
Close the bottle and shake it gently. The dish soap should distribute without creating too much foam. Your basic mixture is ready.
How to use it: Spray the solution generously over the dry or slightly damp shower. Let it sit for 5-10 minutes. Then wipe with a damp sponge or microfiber cloth. Rinse with clean water. Finally, dry the surface with a cloth or use a squeegee.
Pro tip
Make the cleaner more effective against mineral deposits by warming the water before adding it to the spray bottle. Warm water helps the acid work more effectively. Don't use boiling water in plastic bottles. Letting the cleaner sit for 15 minutes on heavily scaled areas will also loosen tougher deposits.
Why Does This Mixture Work?
Mineral deposits consist mainly of calcium carbonate. The acetic acid reacts with this compound to produce soluble calcium acetate, carbon dioxide and water. The deposits dissolve through a chemical reaction.
The dish soap surrounds the dissolved particles and organic grease. It helps keep them from sticking to the surface again. Rinsing washes away the dirt. The surface stays smooth and clean.
Recipe 2: Intensive Treatment for Mold and Mildew Stains
Black spots in grout or along silicone seals can be stubborn. Vinegar alone often isn't enough. You need a stronger mixture with higher-strength alcohol.
Mix 150 ml of 70% isopropyl alcohol (from a pharmacy or the shop) with 50 ml of water. Add 50 ml of white vinegar. Alcohol kills mold spores and evaporates without leaving residue.
If desired, add 10 drops of tea tree oil. This oil has demonstrated fungicidal properties and supports the treatment. Shake the mixture before each use.
How to use it: This solution is potent. Apply it precisely to the affected grout with a small brush or cotton swab. Let it sit for at least 30 minutes, or preferably several hours. Ensure good ventilation while it works. Then scrub with an old toothbrush and rinse thoroughly.
The combination of alcohol and organic acids such as acetic acid breaks through the cell walls of mold fungi and inhibits their enzyme activity. For lasting results, the source of moisture must be eliminated.
Additional advice
If mold has penetrated deeply into porous grout, a surface treatment won't reach far enough. In this case, removing the old grout and applying new silicone with mold protection is the only lasting solution. You can find the right tools and materials in our plumbing accessories section.
The right technique: How to clean without streaks
The best recipe won't help if you don't apply it correctly. A systematic approach will leave your shower enclosure sparkling and streak-free.
Start at the top. Spray your solution onto the upper parts of the door and walls first. It can work while you clean the lower areas. Don't forget the showerhead and fittings.
Use a good microfiber cloth to wipe the surfaces. Cotton cloths can leave lint behind and absorb less. A soft brush works well for corners and edges.
The final step makes all the difference. Rinse thoroughly with clean, cold water to remove any cleaner residue. Then use a squeegee to clear the water from the surfaces, wiping the blade dry after each pass.
For a final polish, dry the surfaces with a clean microfiber cloth. This helps prevent hard water spots as the remaining moisture evaporates.
Prevention is better than cleaning
A few simple habits can cut down on cleaning. After every shower, give the enclosure a quick pass with a squeegee. This removes most of the water that can leave mineral deposits.
Spraying your DIY cleaner onto the damp surfaces after showering helps keep them clean. A thorough cleaning once a week should then be enough. A good bathroom cleaner or a dedicated shower cleaner such as the
can also be used for a deep clean once a month.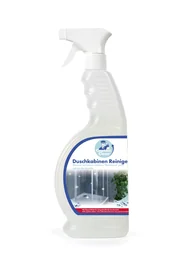
Which products can help with DIY cleaning?
You don't have to mix every ingredient yourself. Quality accessories help protect your enclosure and make cleaning easier.
A sturdy spray bottle with a tight seal is essential. The
comes in a handy flat spray bottle with a capacity of 500 ml. It's ideal for your homemade cleaning solutions.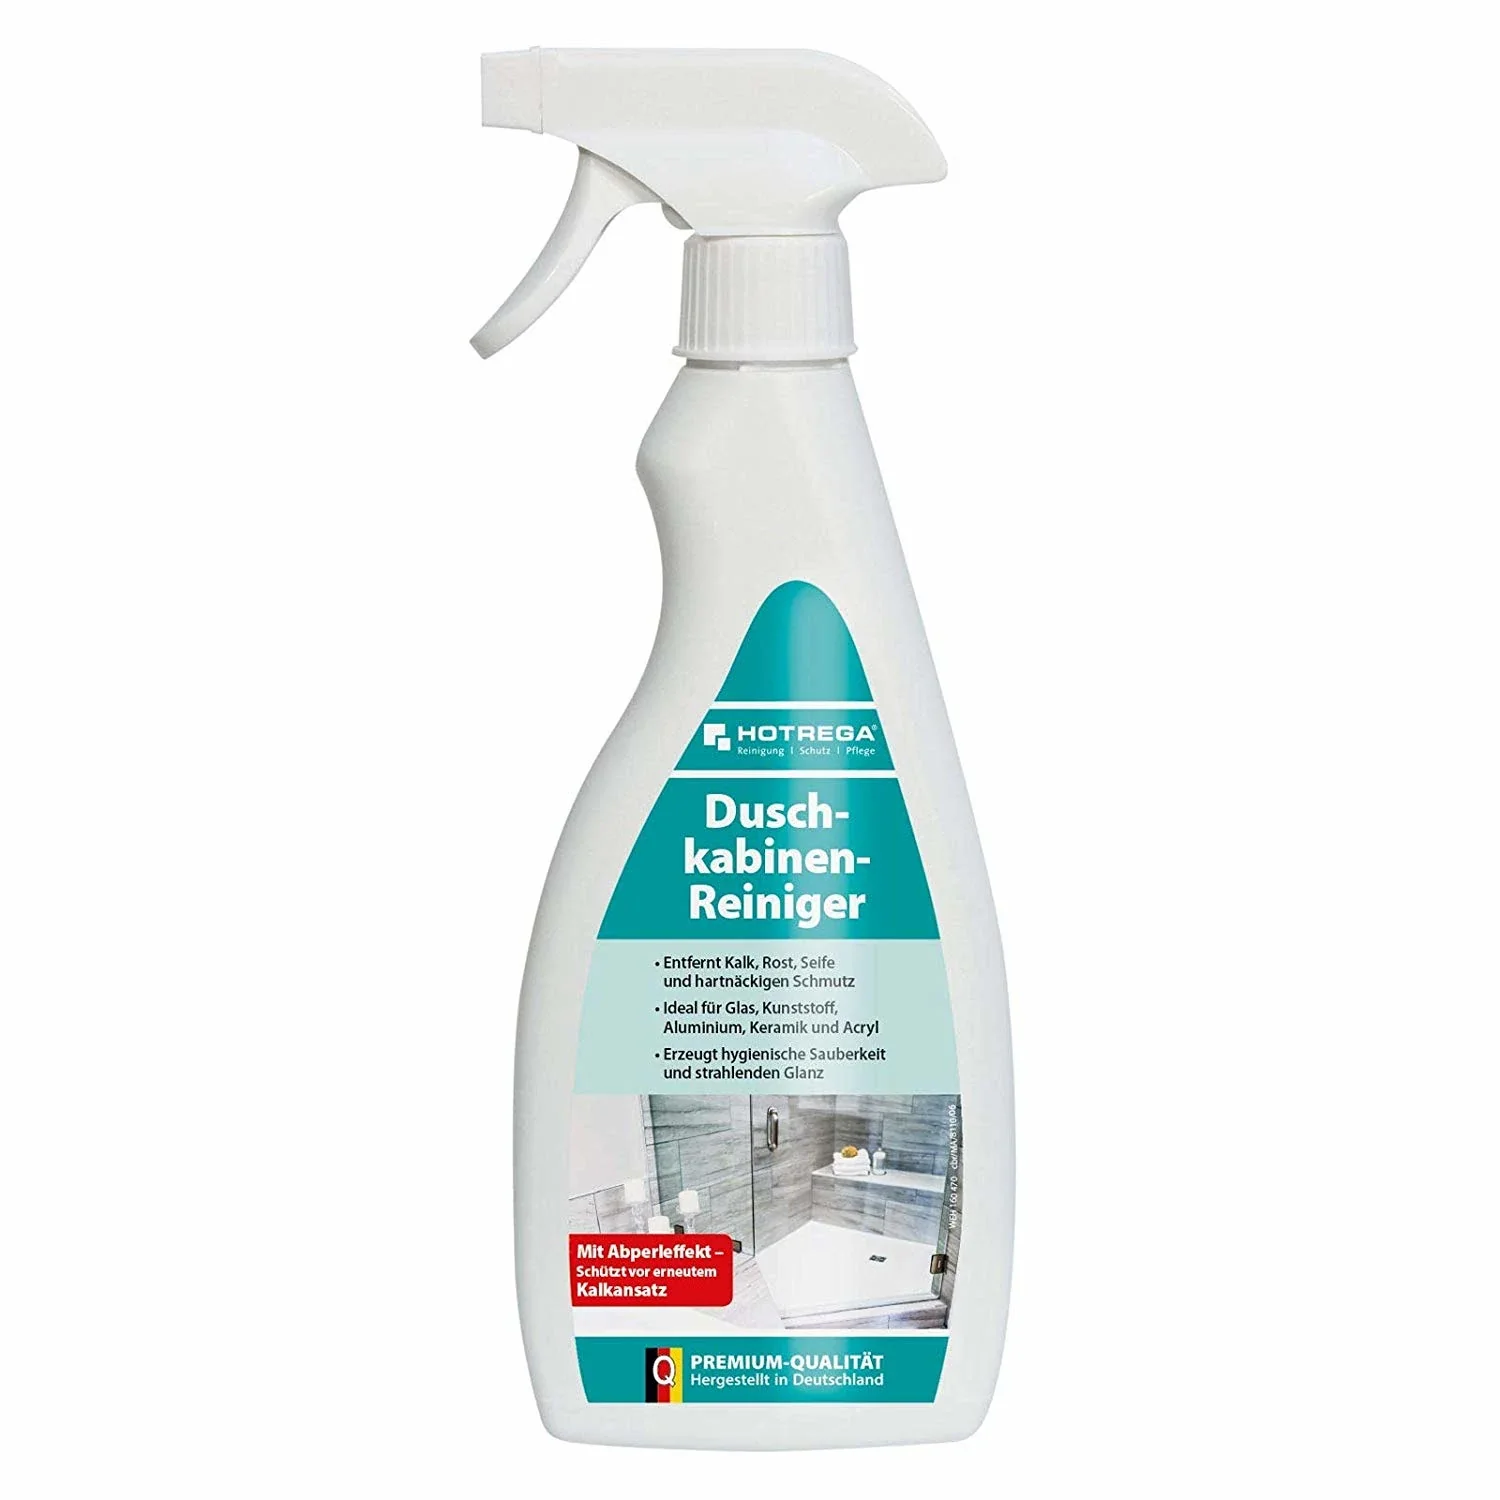
The right connectors help keep faucets and showerheads in good condition. Leaks around threaded connections can lead to mineral deposits. A suitable brass connector, such as the
provides a watertight connection and makes removal and cleaning easier.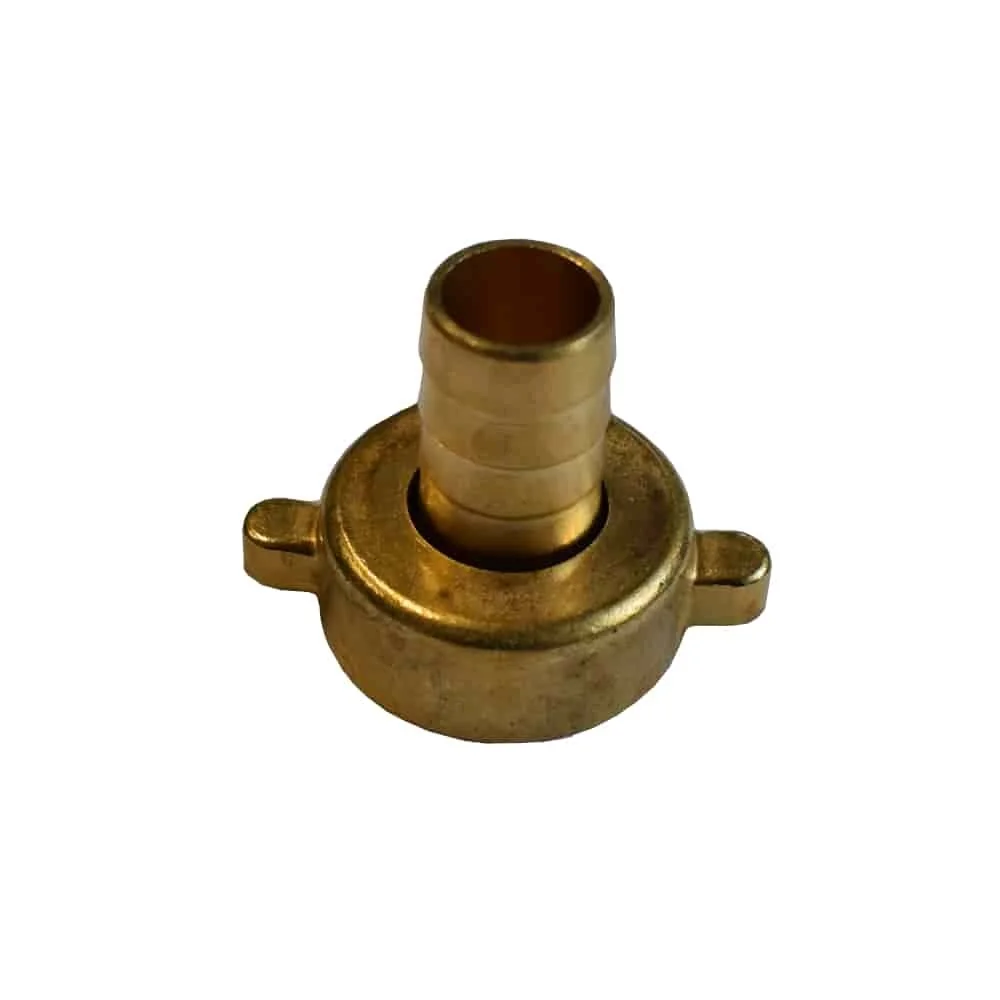
For your garden, where similar cleaning and connection tips apply, take a look at our brass irrigation connectors. The materials and care requirements are similar.
Common mistakes and how to avoid them
Homemade cleaners are safe when used correctly. Avoid these mistakes to get the best results.
Using too much: More vinegar doesn't automatically mean better results. A solution that's too acidic can damage seals or certain surfaces. Follow the recommended mixing ratios.
Mixing with other products: As mentioned earlier, never mix this solution with chlorine-based products. Adding baking soda to the same container is also ineffective because the ingredients immediately neutralize each other.
Skipping the rinse: Rinse off all of the acidic solution after the recommended contact time. Any residue can dry on the surface, leaving a sticky film or damaging metal parts.
Storing it improperly: Clearly label your bottle "DIY glass cleaner" and add the date. Keep it out of reach of children. Storing it in a cool, dark place helps extend the shelf life of the essential oils.
Switching to sustainable cleaning takes time. Start with the simple all-purpose recipe, then adjust it to suit your water hardness and how dirty the surfaces are. You'll have more control over your cleaning products and household budget.
Cleaning your shower enclosure doesn't have to mean a battle with harsh chemicals. With the right ingredients, it's a simple, practical task. You can also use these ingredients for other jobs in the garden and outdoor areas.
Frequently Asked Questions
- How often should I clean my shower doors with this DIY spray?
- For clean, clear shower doors, use the spray once a week. If you have very hard water or shower frequently, spray the doors after every shower instead of using a squeegee. This helps prevent mineral deposits and soap scum from building up, so you won’t need to deep-clean as often.
- Is vinegar safe for all shower door surfaces?
- Use caution on natural stone, marble, and specialty coatings. Vinegar’s acidity can damage these materials and dull their finish. Diluted vinegar works well on standard glass and acrylic shower doors. Always test your mixture on an inconspicuous area first. For sensitive surfaces, use citric acid or a specialized bathroom cleaner instead.
- Why is there sometimes a film left behind after cleaning?
- A film is often caused by using too much dish soap or by soft water that doesn’t rinse away residue. Use grease-cutting additives such as dish soap sparingly. After spraying and letting it sit, rinse the surface with clean water. A microfiber cloth will polish it without streaks. Remove stubborn film with a solution of rubbing alcohol and water.
- Can I use this DIY spray in other areas of the bathroom?
- Yes, this versatile recipe is suitable for tile, faucets, and sinks. The combination of acid and grease remover effectively tackles hard water stains, water spots, and soap scum. For toilets or heavily soiled grout, you may need a higher vinegar concentration or a baking soda paste. Always store your homemade spray out of reach of children.
- How long does homemade cleaner last?
- The mixture of water, vinegar, and dish soap keeps for several months because vinegar acts as a preservative. Shake the bottle before use. Additives such as essential oils may settle or evaporate over time. Store the cleaner in a clean, labeled spray bottle in a cool, dark place to help preserve its effectiveness.
You might also be interested in
- Make your own mosquito spray: Natural protection for your garden and home
- Make your own cleaning products: Sustainable, affordable cleaning
- Bad smell from the shower drain: Causes and DIY solutions for your home
- Make your own eco-friendly window cleaner
- Sustainable home remedies: Make your own alternatives to store-bought products
- Get rid of silverfish: Effective home remedies and tips