
In brief: A DIY wall Christmas tree is a space-saving and creative alternative to a traditional Christmas tree. You can create one directly on a free wall using materials such as branches, fairy lights or photos. This decorating idea is perfect for small homes, easy on your budget and can be customised to suit any interior style.
Christmas is approaching, but space in your living room is limited? Would a large Nordmann fir overwhelm the room or block the passageway? There is no need to give up a festive atmosphere. The solution is creative, individual and right on trend: a homemade wall Christmas tree. This space-saving alternative is not only practical, but also a real eye-catcher that you can reinvent every year.
Discover how to bring a unique Garden + Outdoor atmosphere into your home with just a few materials and simple steps, and create a Christmas decoration that perfectly suits you and your home.
Why is a wall Christmas tree the perfect alternative?
A tree that does not need any floor space solves many classic Christmas problems. It is the ideal choice for small flats, narrow hallways or minimalist rooms. You gain valuable floor space and do not have to move any furniture. The tree blends seamlessly into the room instead of dominating it.
It is also a sustainable option. You avoid using a felled tree and instead use materials you may already have at home or can find in nature. Branches, fairy lights or even old photos become your personal festive decoration. This is not only kinder to the environment, but also to your budget. Best of all, a wall Christmas tree is especially safe in households with small children or playful pets, as it cannot be knocked over.
Creativity is intelligence having fun.
What do you need for your DIY wall tree?
The materials list depends heavily on the version you choose. Before you get creative, however, make sure you have a good workspace. Keeping things organised is essential when crafting, so you can stay on top of everything and have it all close at hand.
Most projects require some basic equipment. Have the following items ready:
- Fixing materials: Small nails, drawing pins, transparent adhesive hooks or double-sided tape, depending on the condition of the wall and the weight of the tree.
- Main materials: These could be branches, a string of lights, a garland, photos or simply washi tape.
- Decorations: Lightweight baubles, straw stars, small ornaments, ribbons or dried orange slices.
- Tools: Scissors, possibly a small saw or secateurs for trimming the branches, a tape measure or folding rule.
Organisation is half the battle. Organisers are worth their weight in gold for sorting small items such as hooks, wire or small decorations. A sturdy and clearly arranged cutlery tray such as the
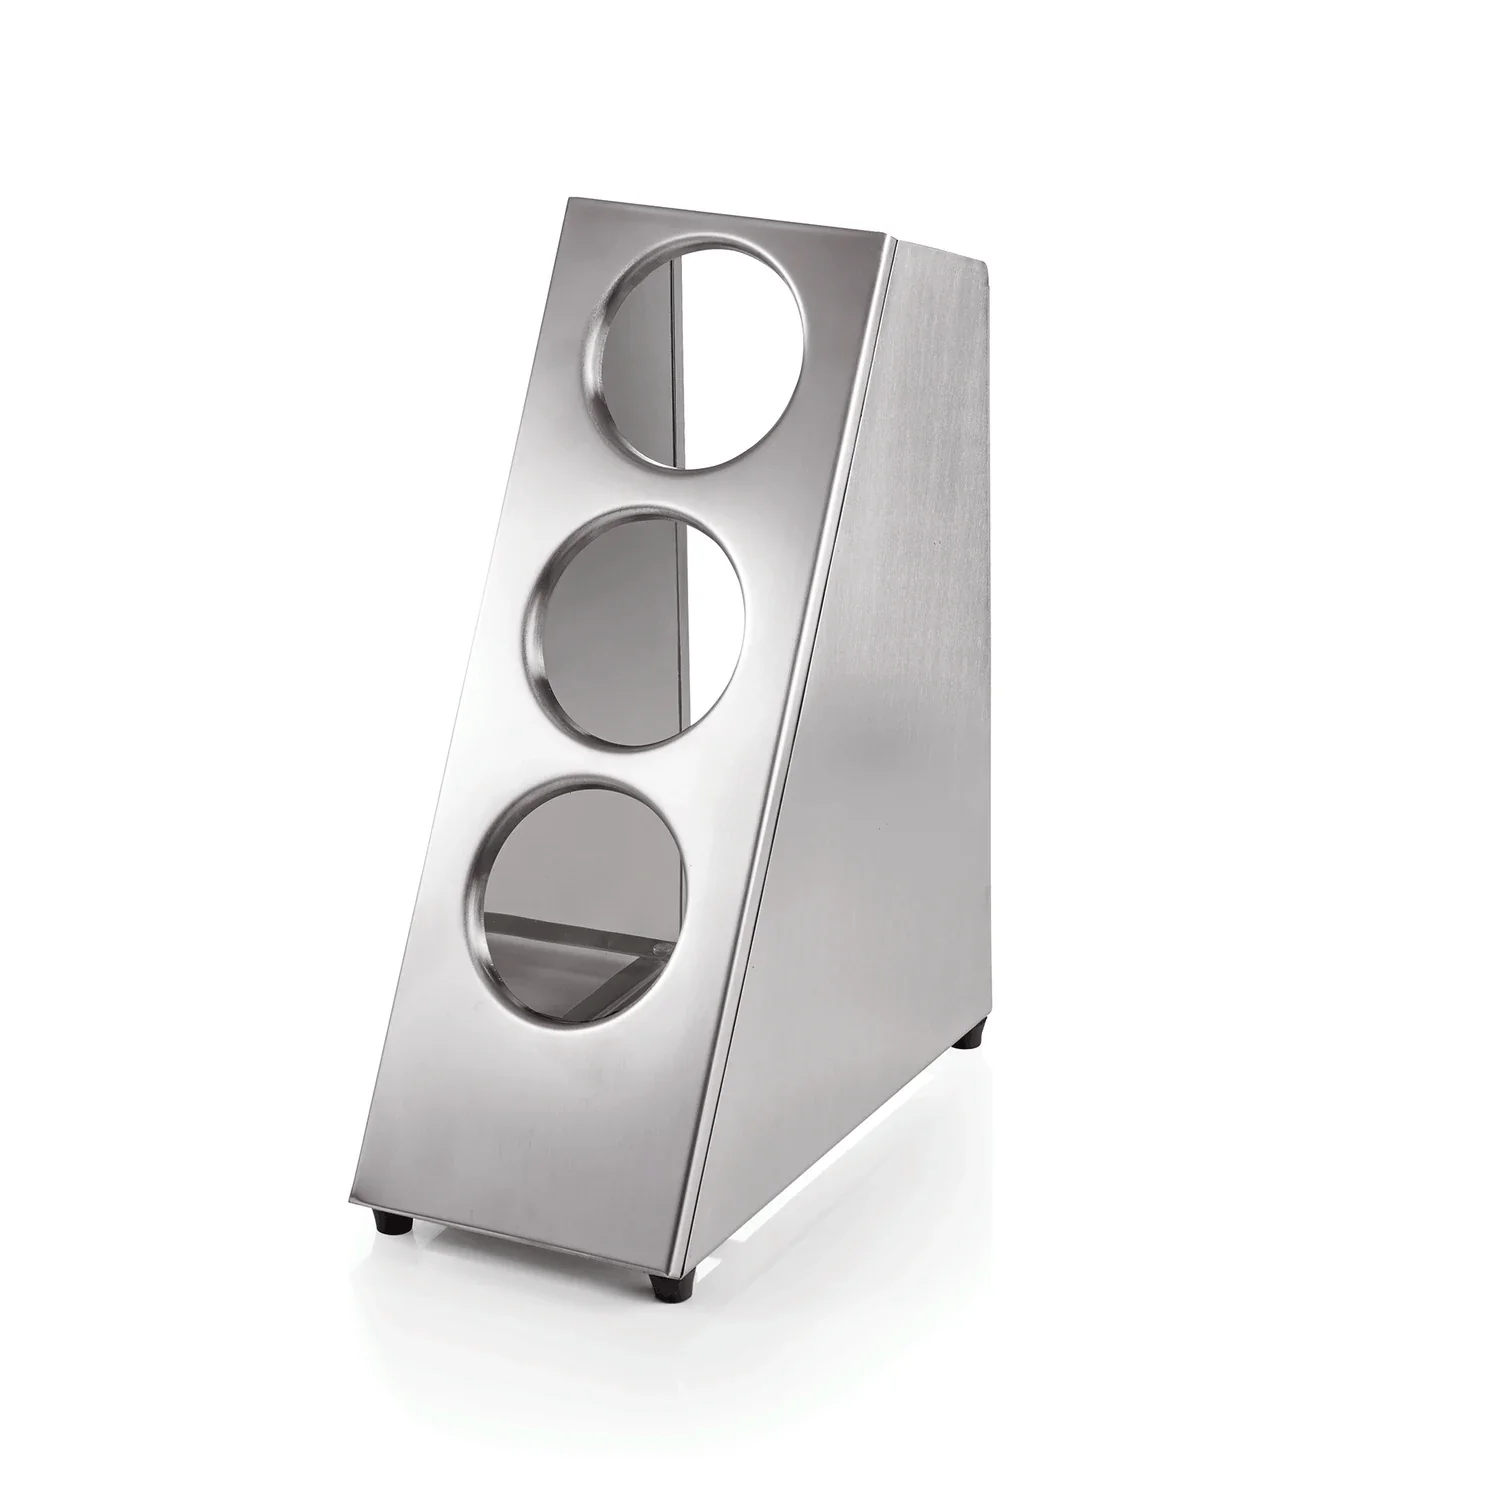


How do you make a wall Christmas tree from branches? (Instructions)
The branch version is a real classic. It brings a rustic, natural feel to any room. It is easier to make than you might think.
Step 1: Collect and prepare the materials
On a walk in the woods or in your own garden, collect straight branches of different lengths. You will need about 5 to 10 branches, depending on how large and dense you want your tree to be. The lowest branch should be the longest, with the others becoming progressively shorter towards the top to create a triangular shape.
Remove any loose bark and dirt from the branches and let them dry thoroughly. If you like, you can also spray-paint the branches white or gold for a more elegant look.
Pro tip
Before fixing the dry branches to the wall, arrange them on the floor in your desired tree shape. This lets you immediately see whether the proportions look balanced and determine the ideal spacing between the branches before making the first hole in the wall.
Step 2: Fix the branches to the wall
Start with the shortest branch for the top of the tree. Fix it horizontally to the wall using two small nails or hooks. Use a spirit level to make sure all the branches are straight. Work from top to bottom, slightly increasing the spacing between the branches towards the bottom to create natural tree proportions.
For an invisible fixing method, you can also use sturdy cord. Tie the cord to the left and right ends of the branches to create a kind of rope ladder. You can then hang this construction from a single nail at the top.
Important note
Check the condition of your wall before attaching anything. Plasterboard walls require special wall plugs for a secure hold. Make sure there are no power or water lines behind the chosen spot. Safety always comes first.
Step 3: Decorate and add lights
Now comes the best part: decorating. Loosely wind a string of lights around the branches. Start at the top and work downwards in a zigzag pattern. Then distribute your favourite decorations. Since the branches serve as hanging points, you can easily attach baubles, stars and other ornaments to them. Make sure the weight is distributed evenly.
Less is often more here. With this natural version, a few carefully placed highlights often look more elegant than an overloaded decoration. Experiment with materials such as wood, straw, felt or glass.
What other creative variations are there?
The branch tree is just one of many options. Let your imagination run wild. Here are some more inspiring ideas for your very own wall Christmas tree.
The fairy light tree
Minimalist yet eye-catching: Use a long string of fairy lights to create a zigzag line on the wall that forms the silhouette of a Christmas tree. Secure the lights at the “corners” with transparent adhesive hooks. This version is particularly quick to set up and creates a wonderfully cosy atmosphere as soon as the lights are switched on. You can hang lightweight decorations or Christmas cards from the cable using small clips.

The painted or taped tree
For minimalists: Paint or tape the tree directly onto the wall. Washable chalk paint or wall decals allow you to create temporary works of art. Another option is washi tape, which can be removed without leaving any residue. Simply tape the outline of a tree onto the wall and “fill” it with patterns or additional strips. For a permanent solution, you can also paint the silhouette with regular wall paint. A complete set such as the 11-piece wall and paint roller set
helps you achieve a clean, even finish.
The memory tree made from photos
A very personal and heartfelt idea is a tree made from photos. Arrange your favourite pictures from the year on the wall in the shape of a Christmas tree. You can attach the photos with removable adhesive dots or to a taut string. Add a delicate string of fairy lights to turn this photo wall into a glowing reminder of your most beautiful moments.
Additional tip
Combine different techniques! For example, a fairy light tree can be enhanced with a few real fir branches to add a subtle fragrance. A branch tree, in turn, looks even more abundant with garlands woven through it. Browse our shop for suitable decorative elements.
How can you decorate your wall tree to best effect?
Decorating a flat wall tree follows its own rules. Instead of depth and volume, shape, colour and light take centre stage. Stick to a colour scheme, such as classic red and gold, cool silver and blue, or natural wood and green tones. This creates a harmonious overall look.
Distribute the decorations evenly, but deliberately leave some gaps as well. The eye needs areas of calm. Hang larger or heavier pieces on the sturdier lower branches, with lighter, more delicate decorations higher up. A battery-powered string of fairy lights with a timer function is particularly practical, as you do not need to run a cable to a socket and the tree switches on automatically every evening.
Sturdy hooks are essential for securely attaching fairy lights or decorative garlands. Find inspiration for reliable fixing solutions in our selection of distributors + wall mounts.
The secret of ability is in the will.
A homemade wall Christmas tree is more than just a makeshift solution. It is an expression of your personality, a creative project for the whole family and a clever response to modern living spaces. You create a one-of-a-kind decoration that is guaranteed to attract attention and make the Christmas season even more personal. Be bold and create a celebration this year that fits your wall perfectly.
Frequently asked questions
- How do I securely attach a wall Christmas tree?
- For lightweight versions such as fairy lights or washi tape, small transparent adhesive hooks or poster strips are often sufficient. For heavier branches, use small nails or screws with wall plugs, depending on the condition of the wall. Always test the hold before adding all the decorations to prevent anything from falling down.
- Which materials are suitable for a DIY wall tree?
- There are hardly any limits to your creativity. Popular choices include natural materials such as branches of different lengths, fir branches or wooden strips. Fairy lights, garlands, photos, Christmas cards or even just washi tape can also form the shape of a tree on the wall. Choose whatever suits your style.
- Is a wall Christmas tree suitable for households with children or pets?
- Yes, it is often safer than a freestanding tree. As it hangs flat against the wall, there is no risk of it tipping over. Small parts, fragile decorations and the fairy lights can also be placed higher up, out of reach of small children and curious pets.
- How much does a homemade wall Christmas tree cost?
- The cost varies considerably and is often minimal. If you use branches from your own garden or the woods, the main expenses are the string of fairy lights and decorations you may already have. Versions made from washi tape or photos are also extremely affordable. It is a very budget-friendly Christmas decoration.
- Can I put a wall Christmas tree outdoors?
- Yes, this is possible. Use weatherproof materials for this purpose. Sturdy branches, a string of fairy lights suitable for outdoor use (IP44 protection rating or higher) and weatherproof decorations are ideal. A sheltered exterior wall or covered patio is best suited as a location.
You might also be interested in
- DIY Christmas tree: Creative wall and fairy light ideas
- Creative Christmas crafts: Make your own DIY decorations
- DIY wooden Christmas tree: Make the sustainable alternative
- DIY Christmas tree made from a trellis
- Make an XXL star: Your creative Christmas decoration
- DIY: Make natural Christmas decorations from garden materials