
In brief: The right drill bit depends on the material. Wood drill bits have a centering point, metal drill bits are made from HSS steel with sharp cutting edges, and masonry drill bits have a brazed carbide tip. Identify your wall material and choose the right bit for a clean, safe result.
Whether you’re hanging a picture, mounting a shelf, or routing a cable, sooner or later you’ll need to drill a hole. But using the wrong drill bit can quickly lead to frustration: the hole may be rough, the bit may overheat, or the wall may crumble. With the right know-how and tool, drilling is easy.
This guide to drill bits explains how to drill through different materials accurately and cleanly. You’ll learn to recognize the most common types of drill bit and choose the right one for your drill and project.
Why is choosing the right drill bit so important?
Every material places different demands on your tool. A drill bit that glides effortlessly through wood may fail completely against reinforced concrete. The tip geometry, bit material, and cutting-edge profile are all designed for specific materials.
Using the wrong drill bit can do more than leave a rough hole. You could also damage the bit, your workpiece, or even your drill. An overheated metal drill bit can lose its hardness in a masonry wall, while a masonry bit can tear large splinters from a wooden panel. Choosing the right drill bit is the foundation of safe, efficient DIY work.
A sharp drill bit is half the job. A dull bit creates more friction and heat, which can damage the material and leave a rough hole. Invest in quality and take care of your tools.
How can you identify your wall material?
Before choosing a drill bit, you need to know what your wall is made of. A simple tapping test can give you some clues. If the wall sounds hollow, it’s probably a lightweight partition made from drywall. A dull, solid sound usually indicates a solid wall made from brick or concrete.
A test hole in an inconspicuous spot will tell you for sure. Choose a small drill bit (3-4 mm) and drill a few millimeters deep without using hammer mode. You can identify the material by the drill dust:
- Red dust: Brick
- White to gray, fine, free-flowing dust: Aerated concrete or calcium silicate brick
- Fine, white, sticky dust: Drywall
- Very fine, pale, hard dust: Concrete
Once you know what your wall is made of, you can choose the right drill bit and wall anchor.
Important note
Before drilling into a wall, always check for electrical cables and water pipes near the drilling location. A cable and pipe detector is an essential tool that can prevent serious accidents and costly damage.
Which Drill Bit for Which Material? An Overview
Drill bits mainly differ in their tip and material. A quick look is often enough to identify the type. Here are the most common types and their applications.
Wood Drill Bits: Spiral Design with Centre Point
You can recognize a wood drill bit immediately by its long, thin centre point. This tip positions the drill bit precisely on the workpiece and prevents it from slipping. The two sharp cutting spurs on the sides score the wood fibers before the main cutting edges cleanly remove the material. The result is a clean hole without breakout.
Wood drill bits are suitable for softwood, hardwood, chipboard, MDF and coated boards. For particularly large diameters, flat wood bits or Forstner bits are also available and work precisely in wood.

Metal Drill Bits: Sharp Cutting Edges and Durable Material
Metal drill bits, also known as HSS drill bits (High-Speed Steel), have a conical tip without a centre point. Their cutting edges are ground extremely sharp to remove metal chips cleanly. The spiral flutes carry the chips out of the hole.
They are suitable for non-ferrous metals (aluminum, copper, brass), plastics and wood when a centre point is not required. For harder metals such as stainless steel, special HSS drill bits are available with a cobalt alloy (HSS-E) or a titanium nitride (TiN) coating, which increases hardness and heat resistance.
Pro Tip
Cool the drill bit when drilling into metal. A few drops of cutting oil or drilling paste reduce friction and heat buildup. This protects the drill bit, extends its service life and ensures better drilling results. You should also drill at a low speed and apply even pressure.
Masonry and Concrete Drill Bits: The Powerhouses
For mineral surfaces such as brick, stone or concrete, you need a masonry or concrete drill bit. You can recognize it by the brazed, arrow-shaped or chisel-shaped carbide tip. This tip breaks up the material instead of cutting it. That is why you should almost always use these drill bits with the hammer or impact function of your drill.
For extremely hard materials such as reinforced concrete, granite or hard tiles, rotary hammers with special SDS drill bits are the best choice. For large, precise openings, for example for outlets or pipes, core bits are ideal. One such specialized solution is the
, a diamond core bit that cleanly cuts through even the hardest materials.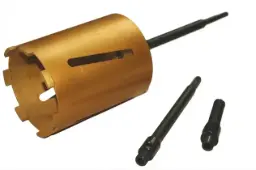
Multi-Purpose Drill Bits: Versatile but with Limitations
The multi-purpose or universal drill bit is a hybrid. It has a ground carbide tip that is sharp enough for wood and plastic, but also durable enough for brick and aerated concrete. It is a good option for your toolbox if you only drill occasionally and do not want to keep a specialist bit for every material.
The universal drill bit reaches its limits when used on hard concrete and for precision work in metal. In these cases, the appropriate specialist drill bit is always the better choice.

Specialty Drill Bits for Glass, Tile and Plastic
Some tasks require special tools. Special tile and glass drill bits are available for drilling into tile or glass. They have a very hard, spear-shaped tip that scores the material without splitting it. Always drill without the hammer function, at low speed and preferably with water cooling.
There are also special drilling tasks in Plumbing + Irrigation. If, for example, you need to drill into a water pipe to install a branch, a tapping saddle such as the
is ideal. It seals the drilled opening immediately and ensures a secure connection.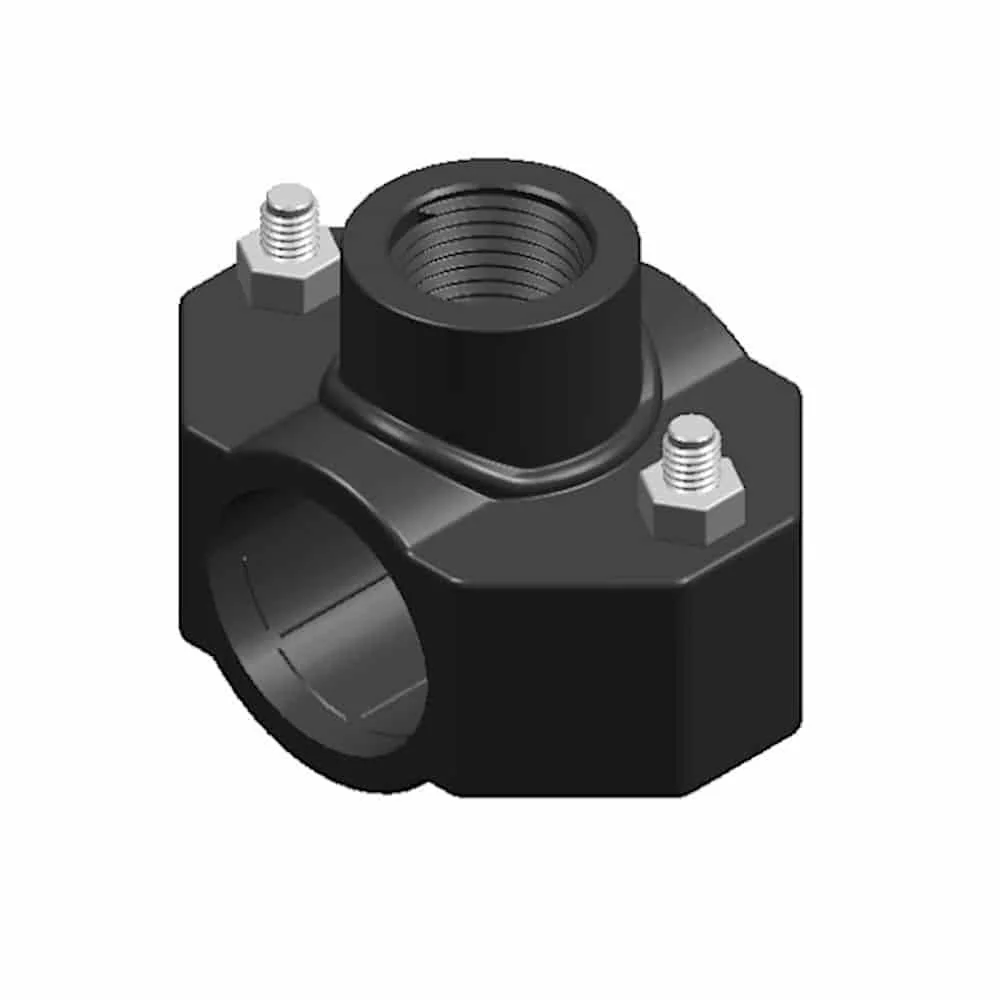
Safety is the top priority when drilling. Always wear safety goggles to protect your eyes from flying chips and dust. A firm stance and holding the machine with both hands are also essential.
Step-by-Step Guide: How to Drill into a Wall Correctly
You have chosen the right drill bit and identified the wall material. Now it is time to put it into practice. Follow these steps to create a perfect hole for securely mounting Distributors + Wall Mounts later.
- Mark the position: Mark the drilling position precisely with a pencil. Use a level to ensure that multiple holes are at the same height.
- Create a starting point: Use a centre punch or a screw and a light tap with a hammer to mark the position. This small indentation prevents the drill bit from slipping on the smooth wall surface.
- Insert the drill bit: Securely clamp the appropriate drill bit in the center of your drill chuck.
- Set the depth stop: Set the drill's depth stop to the required depth. This is usually the length of the wall anchor plus around 5-10 mm.
- Start drilling: Hold the drill bit at a 90-degree angle to the wall. Begin at low speed and without the hammer function until the drill bit has gained a secure grip.
- Drill the hole: Increase the speed and, if necessary, activate the hammer function when drilling into stone or concrete. Apply even, moderate pressure. Briefly withdraw the drill bit from time to time to remove drilling dust from the hole.
- Clean the hole: After drilling, remove the dust from the hole with a vacuum cleaner or an air blower. A wall anchor can only achieve an optimal grip in a clean hole.
Additional Advice
For crumbly walls or drywall, a simple trick helps prevent ragged edges: place a piece of masking tape over the drilling position before drilling. The masking tape stabilizes the surface and prevents the plaster or wallpaper from tearing.
With the right preparation and the appropriate tool, drilling is no longer a challenge. You save time, avoid material damage and achieve professional results you can be proud of. Take a moment to choose the right drill bit—it is worth it.
Frequently Asked Questions
- What speed should I use when drilling?
- The right speed depends on the material and the drill bit's diameter. In general, soft materials and smaller drill bits can handle higher speeds. Hard materials such as metal and larger drill bits require lower speeds to prevent overheating. Always start slowly and increase the speed gradually.
- How can I drill a straight hole without a drill press?
- Hold the drill bit at a 90-degree angle to the surface. Check it from two directions, such as the front and side, to make sure it's aligned correctly. A try square or a small mirror next to the hole can help you maintain the right angle.
- What should I do if the drill bit gets stuck?
- Stop the drill immediately. Don't try to force the drill bit out. Switch the drill to reverse and slowly back the bit out of the hole at a low speed. If necessary, pull it out carefully and steadily.
- Do I need to use coolant when drilling?
- When drilling metal, cooling is almost always necessary to keep the drill bit from overheating. Use cutting oil or drilling paste. Drill stone and concrete dry. When drilling very hard tile or glass, water cooling can help prevent cracks and keep dust down.
- Can I use a universal drill bit for every material?
- A universal drill bit is a good choice for occasional work with a range of materials, such as brick, wood, and soft metal. For precise results or hard materials such as concrete and stainless steel, use a specialist drill bit. Universal drill bits wear out faster when used on hard materials.
You may also be interested in
- How to drill correctly: Tips and techniques for DIY projects
- Diamond drill bits: How to drill tiles and stone correctly
- Choosing an impact drill: How to find the right one
- Choosing a core drill: Tips for perfect drilling
- All about rotary hammers: Features and tips
- Choosing woodturning chisels: Tips for perfect woodturning