
In brief: Making your own invitation cards is a simple, personal way to make any occasion feel special. All you need is paper, scissors, glue and a few creative ideas. Try practical crafting techniques such as embossing, stamping and decorating with natural materials. Our step-by-step instructions will help you make unique cards for birthdays, weddings and garden parties.
DIY Invitation Cards: Creative Ideas to Make at Home
Personal invitations make a lasting impression. They do more than share the details—they offer a first glimpse of your celebration. Whether you are planning a garden party, a birthday or a small gathering at home, handmade cards give your invitation extra warmth and meaning.
Paper crafts are a creative hobby with beautiful results you can enjoy right away. You do not need complicated equipment. Scissors, glue and a little imagination are often enough. We will guide you through practical techniques and ideas you can try straight away.
Why make your own cards?
A handmade card is one of a kind. It can match the theme of your celebration and the personality of your guest. Compared with mass-produced cards from a store, it shows genuine thought and appreciation.
The crafting process is relaxing and enjoyable. It offers a creative break from everyday digital life. You can also get children involved, for example when preparing for a child's birthday party.
Last but not least, making a small batch of custom cards is often cheaper than buying expensive designer cards. You can also put leftover materials from other projects to good use.
Additional tip
Start with a manageable number. Make a sample card before producing a whole series. This helps you avoid frustration and wasted materials if you decide that a particular technique is not right for you.
What materials do I need to get started?
It is easy to gather the basics for your craft workshop. Investing in a few quality tools will pay off.
The essential toolkit
A sharp pair of scissors is essential for precise cuts. A craft knife, sturdy ruler and cutting mat let you make straight cuts and try new techniques. A glue stick for paper and liquid all-purpose glue for heavier elements such as buttons or twigs are also basic essentials.
A bone folder helps you make neat, sharp folds in card. If you do not have one, you can use the blunt side of a craft knife and a ruler instead.
Choosing the right paper
Use sturdy card for the base of your invitation. A weight of 200-300 g/m² gives it a firm feel. For decorative details, try colored paper, textured paper, tracing paper or even small pieces of lightweight fabric.
Take a look at our Garden + Outdoor category. You will often find inspiration there for natural materials to use in your cards.
“The quality of the card base is crucial. Paper that is too thin not only creases easily, it also absorbs glue and paint unevenly and may become wavy.”
How do I make the card base: sizes and folds
A traditional folded card is the easiest place to start. Cut a rectangle from card that is twice as wide as the finished card should be. Fold it in half using a bone folder. Your card base is ready.
Unusual formats add variety: long, narrow cards for an elegant wedding invitation or square cards for a modern look. Window cards, with a design visible through a cutout, also make a lovely eye-catching option.
Important note
Always test the fold on scrap paper first! An uneven or crooked fold can ruin the entire card. Work on a clean, hard surface.
Which simple crafting techniques give quick results?
You do not have to be a professional artist to make beautiful cards. Simple techniques are often the most effective.
Stamping and embossing
Stamping is ideal for beginners. You can use ready-made rubber stamps or carve your own from erasers or potatoes. Combine different colors and stamps to create lively patterns.
Embossing takes things a step further. Using a stylus and a template, you press a raised pattern into the paper. This works particularly well with slightly thinner, specialty embossing paper.
For a three-dimensional effect, our
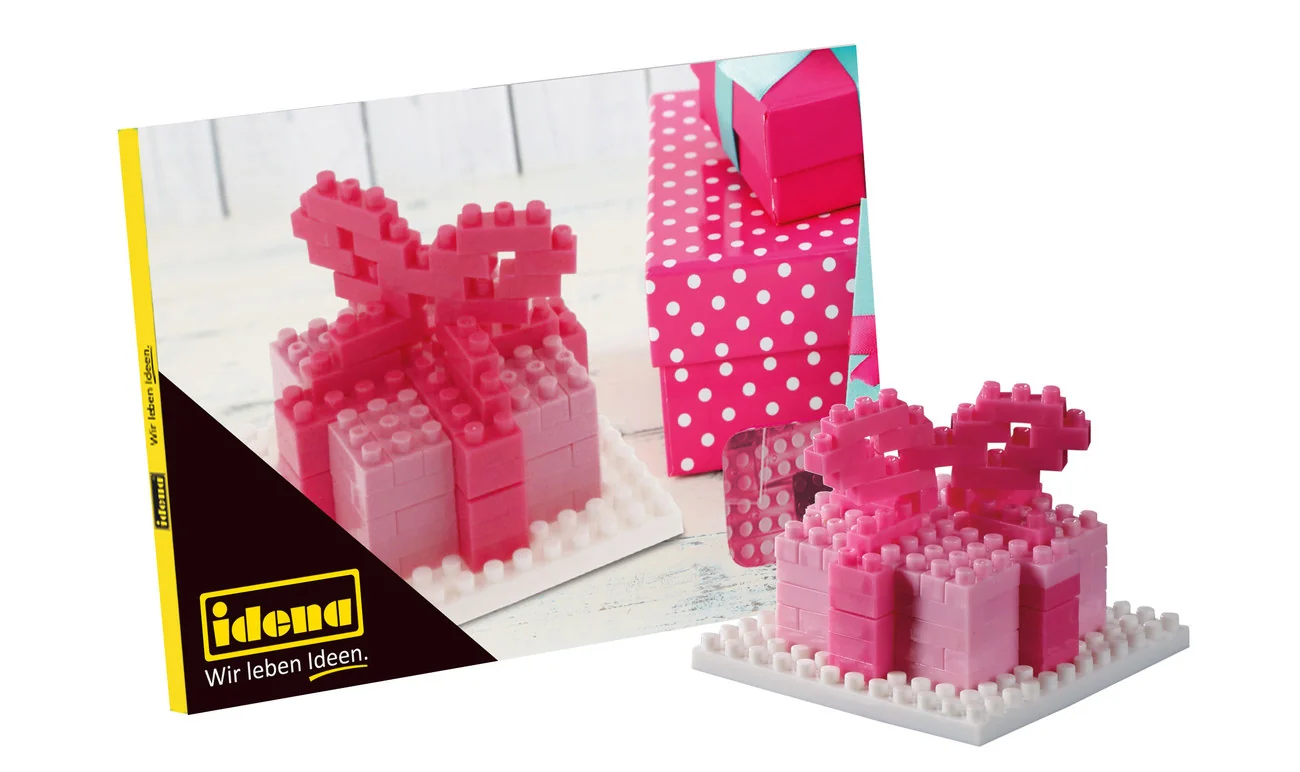
Collages and cutout techniques
Cut out designs from pretty wrapping paper, magazines or old maps. Arrange them into a new composition on your card. This technique is called collage and offers endless possibilities.
A special type of collage is quilling. Thin strips of paper are rolled, shaped and assembled into delicate designs such as flowers or ornaments. It takes some patience, but the results are impressive.
“The biggest mistake when making a collage is being afraid of the empty space. Arrange the elements first without gluing them down. Move them around until the composition feels right. Only then fix them in place.”
Incorporating natural materials
Your garden offers a wealth of decorative materials. Pressed leaves or small flowers, a delicate piece of bark or attractive grasses give your card an organic, fresh look. Glue these materials on carefully with liquid glue.
Depending on the season, you may also find tools in the Garden + Plant Accessories category to collect and prepare these natural treasures.
How do I design cards for different occasions?
Choose a technique that fits the occasion. Here are ideas for popular celebrations.
Kids’ birthday party: Colorful and playful
This is where creativity knows no bounds. Bright colors, glitter, and fun motifs are all welcome. Our
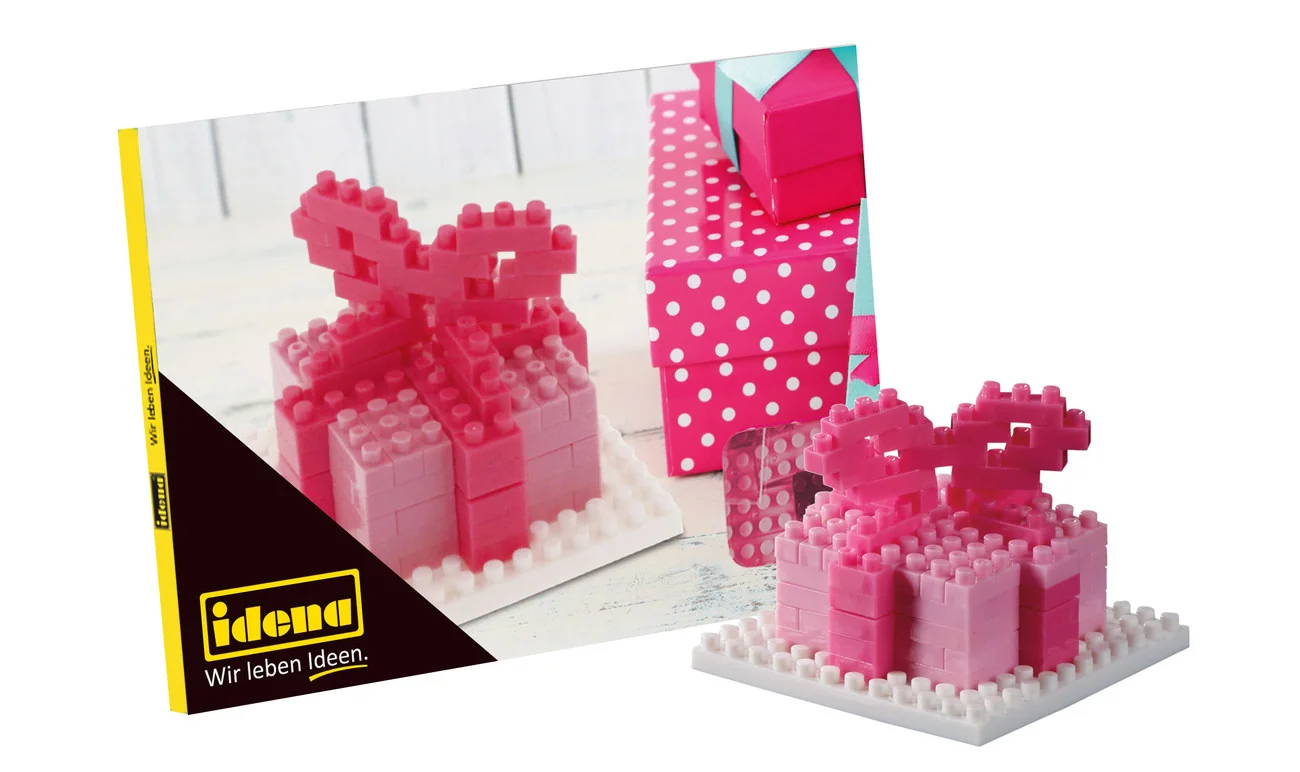
Simple shapes such as animals, balloons, or cakes are easy to cut from felt or craft foam and glue on. Get your child involved in designing the card.
Pro tip
Use light-colored, plain cardstock for kids’ birthday invitations. It keeps colorful stickers and decorations from looking cluttered. Write the details clearly with a thick marker, or print them out.
Garden party or barbecue invitation: Fresh and natural
Use shades such as grass green, sky blue, or sunshine yellow. Add texture with small seeds or dried herbs such as lavender glued to the card. Attach a tiny bag of sunflower seeds as a tag for an unforgettable detail.
For a barbecue invitation, try a small set of grill tongs or a watermelon slice cut from felt as a fun motif. You can also find inspiration for summer celebrations at Barbecues + fire bowls.
Elegant dinner invitation: Simple and sophisticated
Less is more here. Choose elegant materials such as matte copper foil paper, black or white high-gloss cardstock, and delicate gold or silver embossing. A single, perfectly placed gold-leaf accent creates a luxurious effect.
A narrow satin ribbon tied around the closed card can take the place of an envelope and add a polished finishing touch. Our
is a ready-to-use set with a coordinated rocket design that also suits a modern adult celebration with a distinctive theme.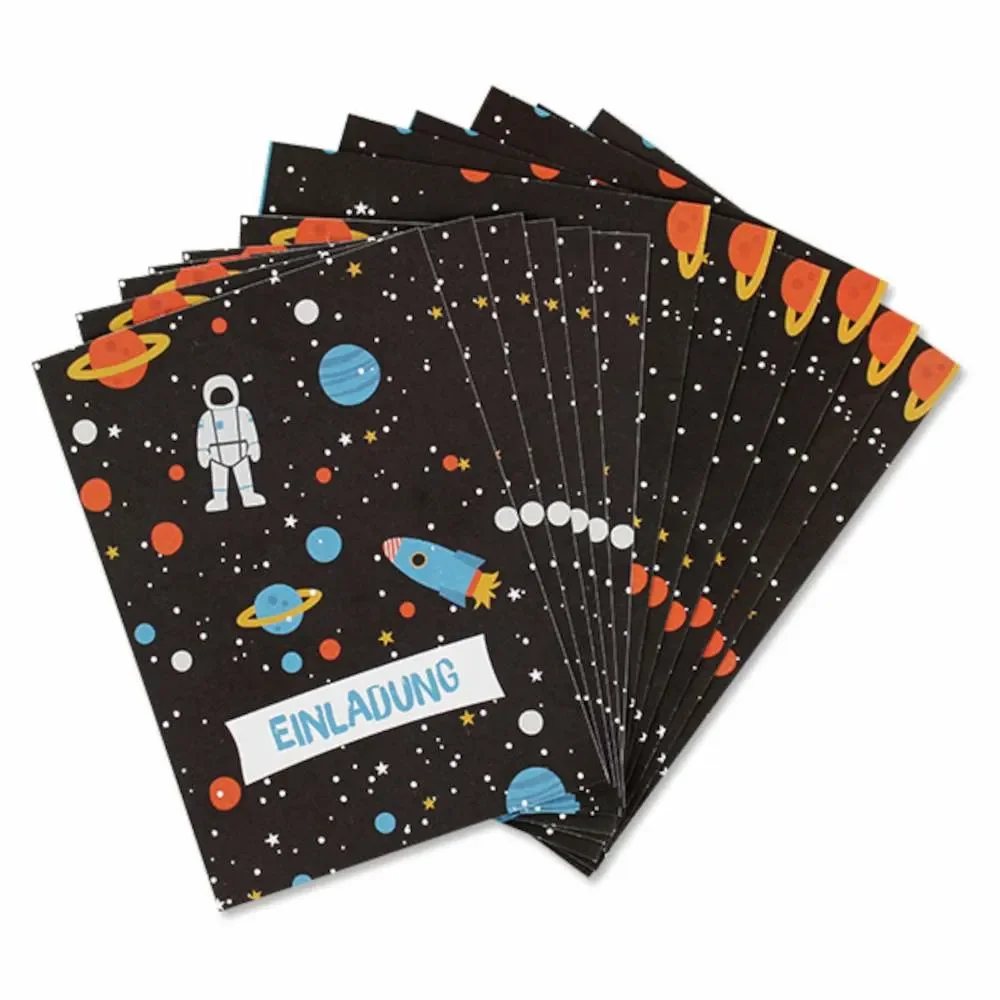
How do I finish and address my DIY cards?
The finishing touches shape the overall impression.
The perfect message inside
Before you start crafting, think about how much space you’ll need for your message. Use a fine-tip pen, or print the text on a narrow strip of paper and glue it in place. This helps prevent spelling mistakes on the finished card.
Calligraphy with brush pens or a dip pen looks especially elegant. Practice your message on a separate sheet of paper first.
The right envelope
You can find suitable envelopes at craft stores or fold your own from coordinating paper. Don’t forget to decorate the back of the envelope, too—for example, with a small repeating pattern or your monogram.
Addressing the envelope can become part of the design. Write the address directly on the envelope in beautiful lettering, or attach a labeled tag to plain cardstock.
Handmade cards are a personal touch in paper form. They bring joy to both the recipient and you as the crafter. Start your first project today and discover how a simple sheet of paper can become a personal greeting.
Frequently asked questions
- What paper is best for DIY invitation cards?
- Use sturdy cardstock (from 120 g/m²) as the base for durable cards. Acrylic or watercolor paper, decorative wrapping paper, and hand-dyed recycled paper are great for creative layers. For kids’ birthday parties, colorful construction paper is also a good choice.
- What do I need to get started making cards?
- Start with a basic set: a cutting mat or firm work surface, craft knife, ruler, glue stick, liquid glue (e.g. UHU), scissors, and sturdy cardstock. This basic equipment is enough for first projects such as die-cut shapes or collages.
- How can I make the inside of a card look appealing?
- Use design elements on the inside, too. Print or write your message on a narrow strip of contrasting paper and glue it in place. Alternatively, draw a subtle border with a fine-tip pen or repeat small, coordinating motifs in the corners.
- How long does it usually take to make a card?
- The time varies a lot: a simple card with die-cut motifs or stamps takes 15-30 minutes, including drying time. More elaborate techniques such as watercolor painting, embossing, or quilling can take 45 to 90 minutes per card. Allow extra time for larger, more complex batches.
- Can I make cards without expensive stamps and specialty tools?
- Absolutely. You can cut motifs from attractive wrapping paper, use acrylic paint with potato or cork stamps, or create textured surfaces with crayons and frottage. Pressed leaves or dried flowers are also inexpensive, effective decorations.
You may also be interested in
- Crafts for kids: Creative DIY ideas for the family
- Make your own Advent wreath: Creative ideas for your home
- DIY gifts: Personal ideas for every occasion
- Build your own furniture: Creative projects for your home
- Pumpkin crafts: Creative ideas for fall and Halloween
- Creative wall decor: Ideas for your home