
In brief: A privacy screen net is ideal for making fences and balcony railings opaque. Use it creatively as a windbreak for patios, a shade provider over pergolas, to conceal unsightly areas such as wheelie bins, or to protect delicate plant beds.
Introduction: Your outdoor space belongs to you
A garden or balcony of your own is a valuable retreat. It is a place to relax, grow vegetables or enjoy the sunshine. Unwanted glances from neighbours or passers-by can disturb this sense of peace. Strong winds or intense sunlight can also make spending time outdoors uncomfortable. A hedge takes years to grow, while permanent privacy screening is often expensive and time-consuming. The solution is as simple as it is clever: a privacy screen net.
This versatile fabric can do far more than simply cover a fence. It opens up a wealth of creative ways to design, protect and organise your outdoor space. From screening a balcony to creating a shady roof for a pergola, discover how one product can solve a range of problems.
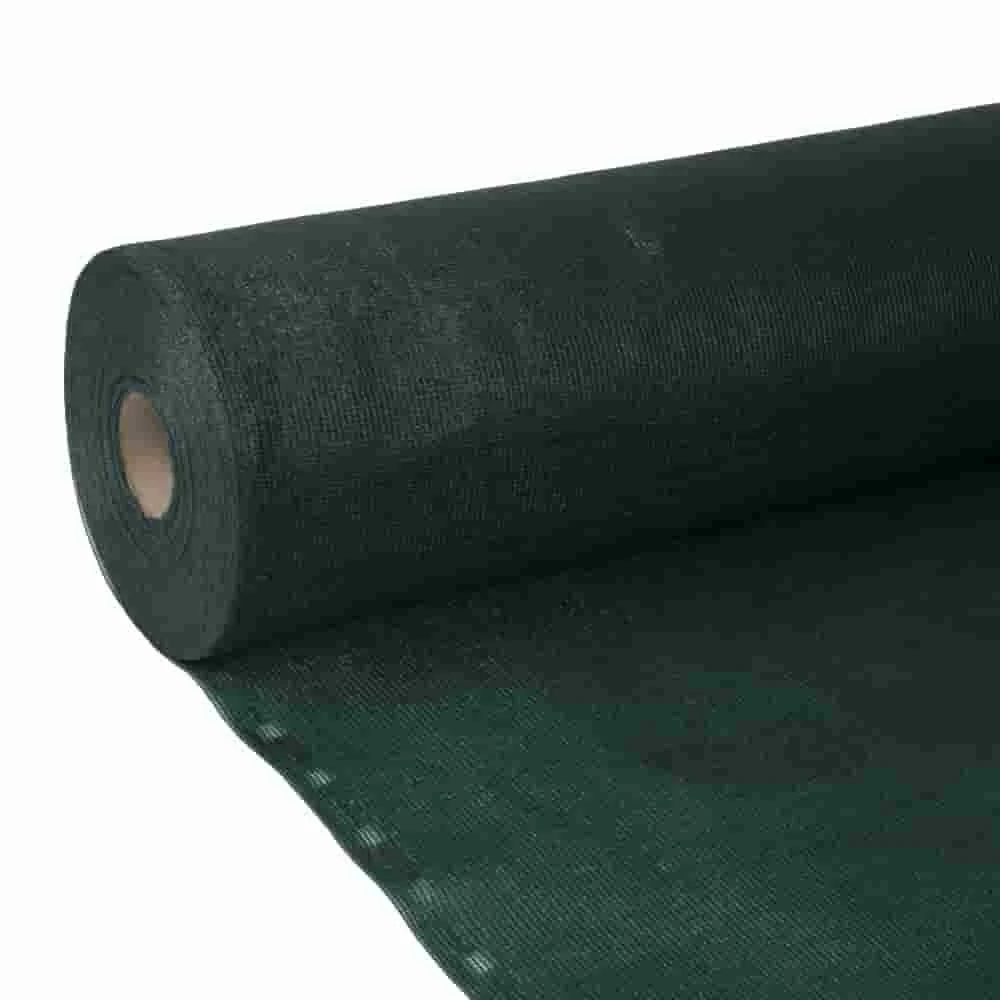
For large projects and maximum flexibility, the wind and privacy screen net on the 50-metre roll is the perfect choice. At 1.80 metres wide, it covers common fence heights and gives you enough material to put several of the following ideas into practice. Investing in a large roll saves money and ensures you always have the right material to hand for all your garden projects.
What makes a good privacy screen net?
Privacy screen nets are not simply sheets of fabric. They are made from high-density polyethylene (HDPE), a durable plastic specially developed for outdoor use. The material is tear-resistant, weather-resistant and, above all, UV-stabilised. This UV stabilisation prevents the material from becoming brittle and losing its colour in the sunlight. That means you can enjoy your privacy screen for many years.
One important quality feature is the shade percentage, which is given as a percentage. A value of 85 % means that 85 % of the light is blocked. For effective privacy screening, values between 85 % and 95 % are ideal. At the same time, the nets allow wind to pass through. This is a major advantage over solid walls, as it significantly reduces wind pressure on the fence and fixing points. Instead of creating an impenetrable barrier that causes turbulence, the net gently breaks up the wind.
Installation is remarkably easy using the integrated buttonhole strips or metal eyelets along the edge. Cable ties, wire or special clips allow you to attach the net quickly and securely to fences, railings or frame structures. This also makes it possible to screen large areas in a short time.
7 creative privacy screen ideas for gardens and balconies
Now it’s time to get practical. Forget pure functionality and think creatively. A privacy screen net is your tool for creating a more attractive and private outdoor space.
1. Rethinking the classic: Making your garden fence opaque
The most common application is attaching it to an existing chain-link or rigid-panel fence. This creates instant privacy. But instead of simply stretching the net flat in front of it, you can get creative. On a rigid-panel fence, weave the netting alternately in front of and behind the vertical bars. This creates an interesting texture and integrates the privacy screen more effectively into the fence.
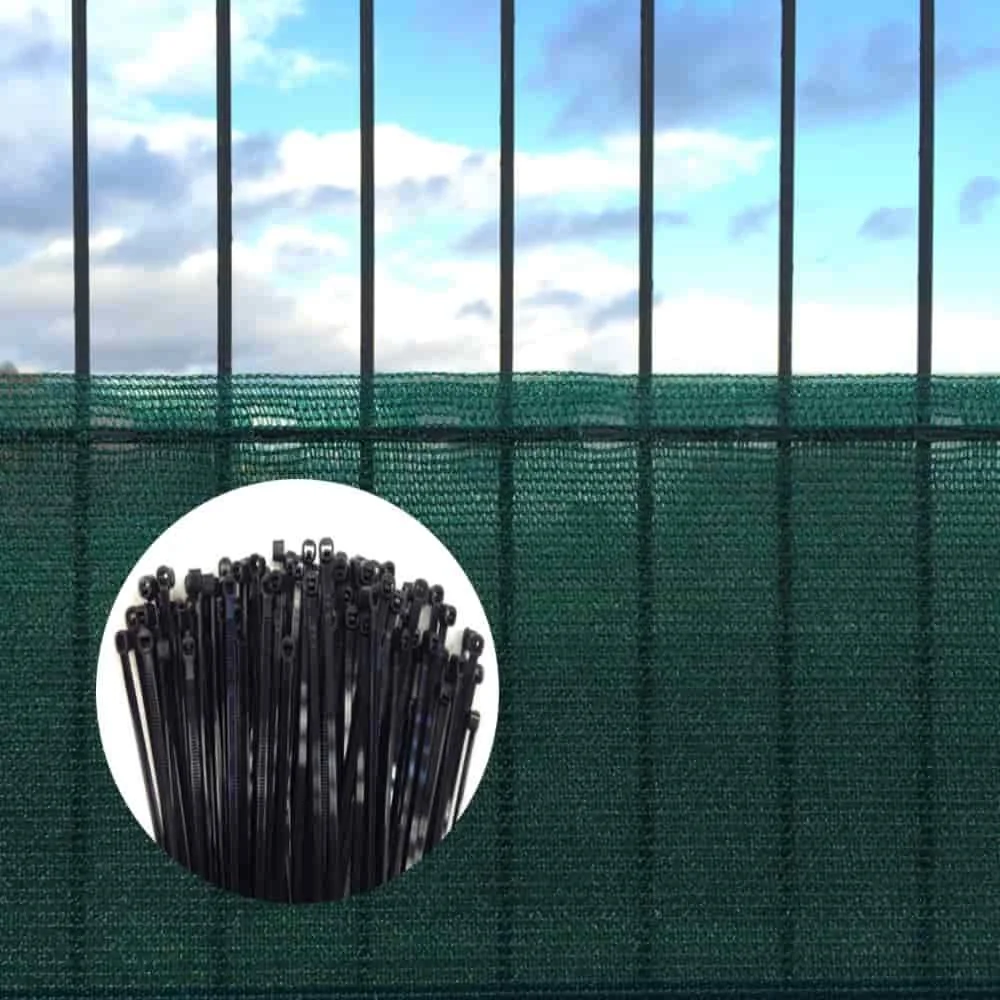
Make sure the net is pulled tight so it does not sag or flap in the wind. Use all the fastening holes for this. For standard fences, practical rolls such as this privacy screen net in the 1,8x10m format, which already includes the matching cable ties, are ideal.
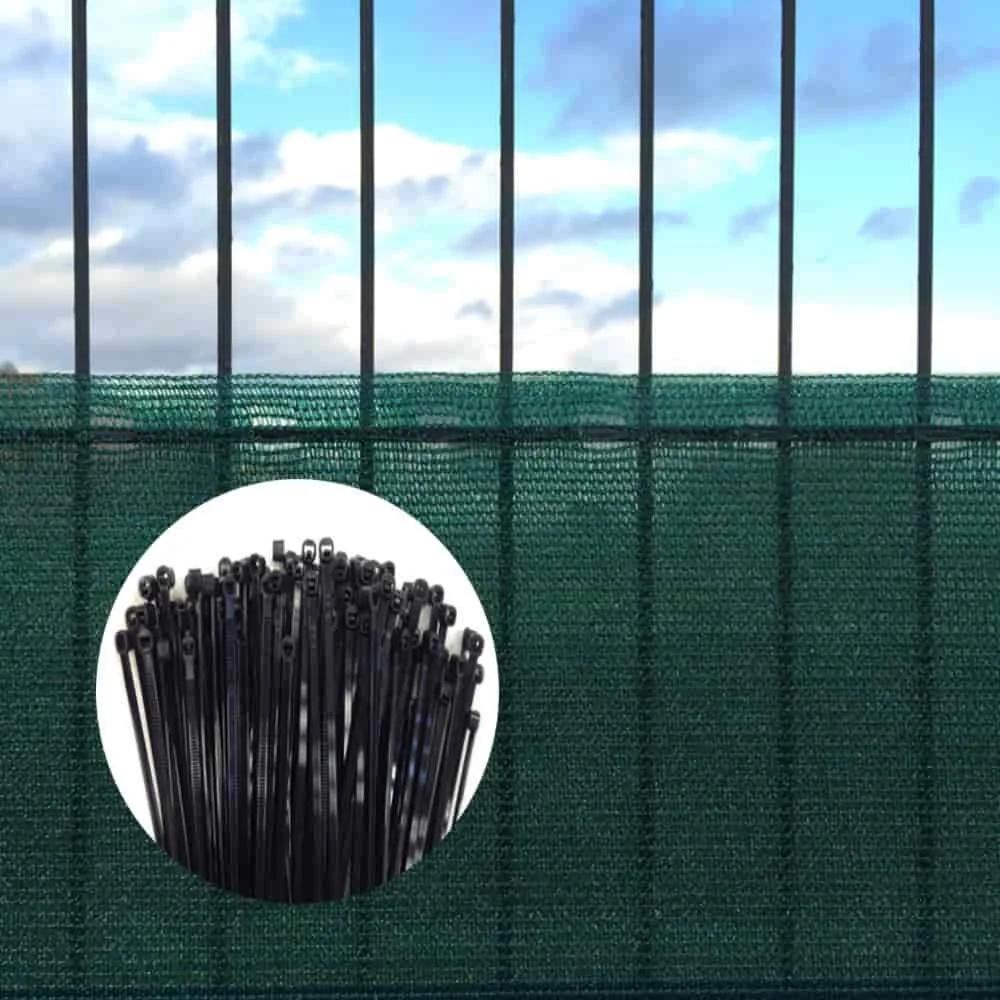
A well-tensioned privacy screen net enhances a simple wire fence not only functionally but also aesthetically. It creates a calm, neutral backdrop that allows shrubs and flower beds to really stand out.
2. Wind protection and privacy for your patio
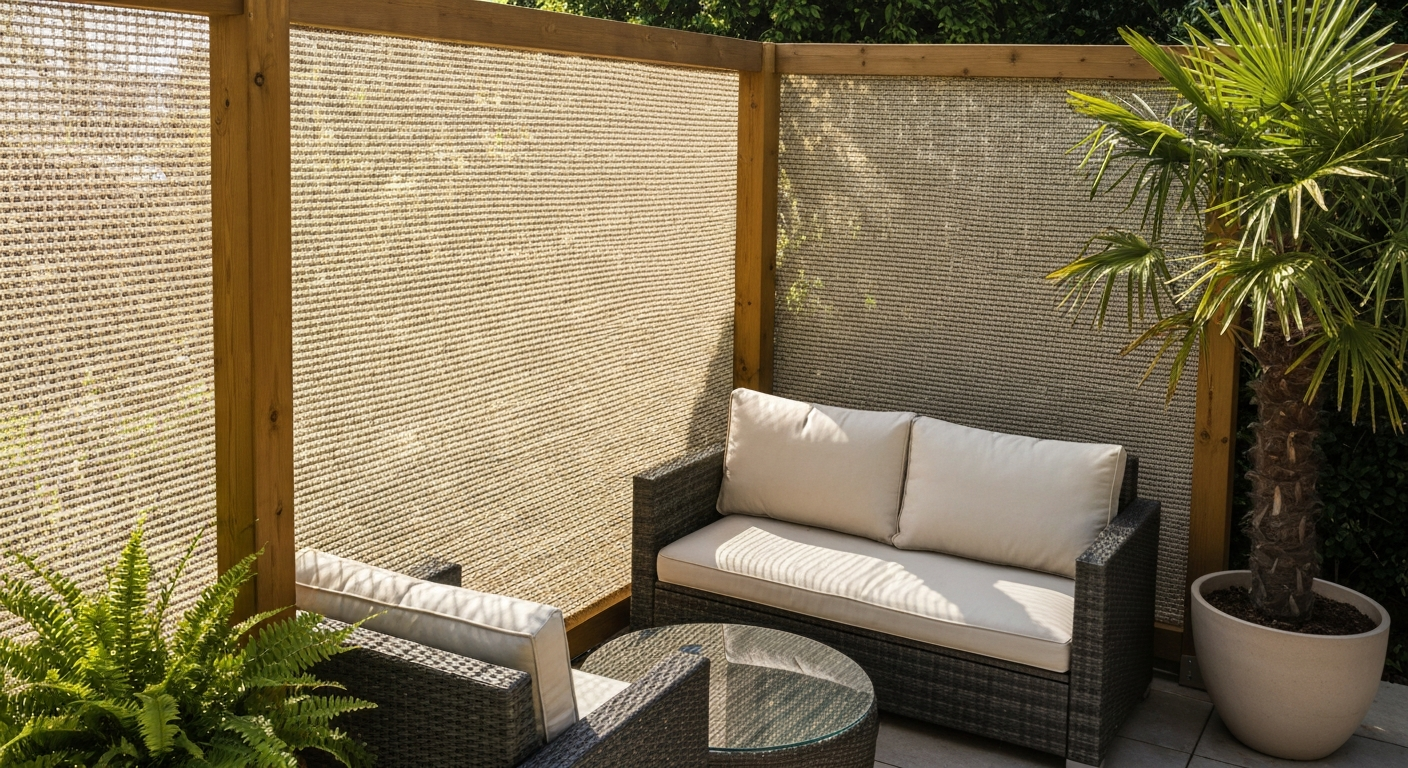
A cosy seating area on the patio can quickly become uncomfortable when a cool wind is constantly blowing. Install a windbreak net on the weather-facing side of your patio. You can attach it directly to the patio railing or build a simple wooden frame that you can position flexibly.
The net reduces the wind speed without stopping the airflow completely. This creates a pleasant microclimate without making you feel boxed in. At the same time, the new “wall” serves as a perfect privacy screen and gives your seating area an intimate, room-like feel.
3. How to transform your balcony into a private oasis
Privacy is often in short supply on a balcony. A privacy screen net attached to the railing provides a quick solution. It not only protects you from prying eyes below or opposite, but also from the wind. Another advantage is that small items or toys can no longer fall through the bars, which provides an extra level of safety for families with children or pet owners.
For most balcony railings, a lower height is ideal. This privacy screen net with a width of 1,2 m is a good choice for this. Combine the privacy screen with balcony planters and climbing plants that can grow up the net to create a vibrant green wall.
Pro tip
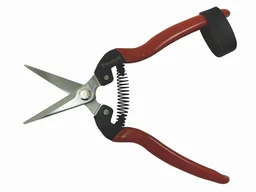
Measure the area to be covered precisely before cutting. Lay the net flat on the ground and mark the cutting line with chalk. Sharp, sturdy scissors are essential for a clean cut. The “Wonderscissors” glides effortlessly through the sturdy fabric.
4. Temporary protection for delicate plants and young beds
The versatility of the net is also evident in the vegetable garden. Newly planted seedlings or delicate crops such as tomatoes and cucumbers often suffer from excessive midday sun or strong winds. Stretch a shade net over the bed. You can attach it to wooden posts or lay it over arched structures.
The net reduces sunlight and prevents the leaves from getting scorched. At the same time, it protects against wind damage and keeps birds or hail away from young plants. Once the delicate growth phase is over or the season ends, simply remove the protection and store it compactly for the next use.
Important note
If you use the net as a freestanding wind or sun screen, make sure it is anchored extremely securely. Large surfaces give the wind considerable leverage. Use sturdy posts anchored deep in the ground and brace the net with wire ropes to prevent damage in strong winds.
5. Creatively hide unsightly corners
Every garden has them: the area with the wheelie bins, the compost heap or the water butt that is not exactly attractive. Instead of buying expensive coverings, build a simple but effective screen from three wooden posts and a privacy screen net. It is quick, inexpensive and makes the unsightly areas disappear from view.
The breathable fabric prevents waterlogging and mould, which is especially important for the compost heap. This allows you to integrate essential elements of your garden equipment harmoniously into the overall appearance of your garden.
The simplest solutions are often the best. A quick cover for the compost transforms a messy corner into a neutral area. The eye is no longer distracted and can focus on the beautiful parts of the garden.
6. A roof for the pergola: Affordable sun protection
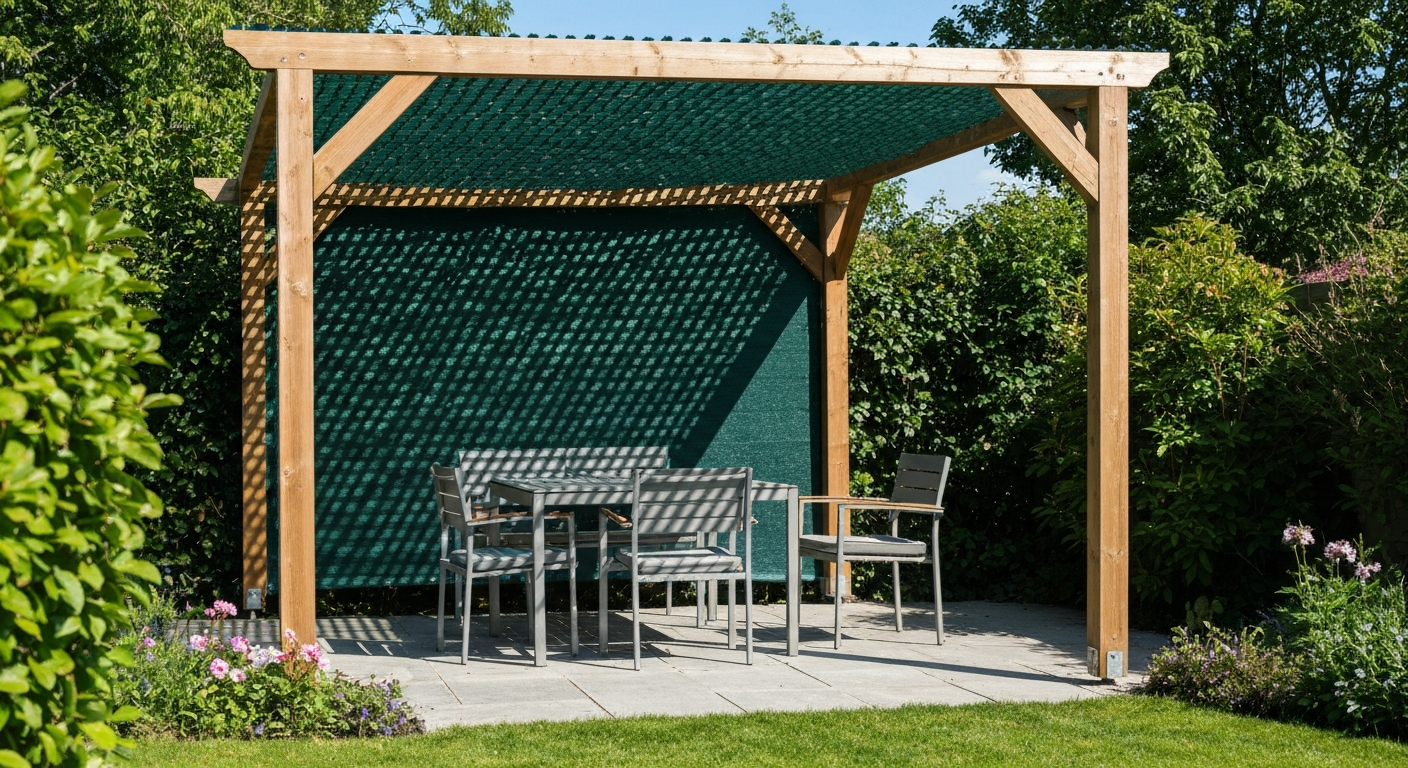
An open pergola is lovely, but offers little protection from the blazing midsummer sun. A permanent roof is expensive and often traps heat. The lightweight alternative: stretch a privacy screen net over the roof structure. It provides pleasant, diffuse shade without darkening the area completely.
Air can still circulate, preventing heat from building up. Another advantage is that rainwater simply passes through the net. No heavy pockets of water form that could put strain on the structure. This gives you an airy, sheltered favourite spot for hot days.
7. Divider for the vegetable garden or animal enclosure
Use the net to structure your Garden + Outdoor area. Visually separate the vegetable garden from the ornamental garden or create a protected run for chickens, rabbits or a dog. Attached to an existing fence, it protects animals from wind and prying eyes, which helps reduce stress.
The sturdy structure can even withstand a football accidentally kicked towards the vegetable bed. This lets you create clear zones for playing, relaxing and gardening without having to install large, expensive fences.
What should you consider when installing it?
Careful installation is crucial for the durability and appearance of your privacy screen. With the right technique and suitable accessories, installation is straightforward.
The right tools
You do not need much. A tape measure, sturdy scissors, possibly a pair of pliers and, of course, the fixing materials are all you need. The most important components are UV-resistant cable ties or galvanised wire. Cheap cable ties designed for indoor use quickly become brittle in the sun and break. Invest in quality here so you do not have to keep making repairs. For cleanly cutting the robust fabric, sharp utility scissors such as the "Wunderschere" are ideal.
How to attach it correctly
The key to a stable and attractive privacy screen is tension. Do not attach the net only at the corners; use as many eyelets or holes as possible. A distance of 30 to 50 cm between fixing points is ideal. Start at one corner, pull the net taut towards the next and then work your way along the edges. This prevents creases and sagging.
Additional advice
Before erecting tall privacy screen structures along your property boundary, check your local building regulations. Fences and privacy screens are often subject to height restrictions that you must comply with to avoid problems with neighbours or the local building authority.
Conclusion: One net, countless possibilities
A privacy screen net is much more than just a practical solution for greater privacy along your garden fence. It is a versatile design feature that provides protection from wind, sun and prying eyes. You can use it to hide unsightly areas, protect sensitive plants and transform your balcony or patio into a private retreat.
Thanks to its durability and ease of use, you can put your ideas into practice quickly and affordably. Browse Westfalia's selection of privacy and windbreak netting and discover the potential these practical all-rounders offer for your outdoor space.
Frequently Asked Questions
- How do I attach a privacy screen net to a fence correctly?
- Use UV-resistant cable ties or special fixing wire. Thread them through the eyelets provided and attach the net to the fence posts and wire mesh every 30-50 cm. Make sure the net is taut to prevent sagging.
- Can you cut a privacy screen net to size?
- Yes, most privacy screen nets made from HDPE fabric can be cut easily without fraying. Use sharp scissors or a utility knife. For precise cuts, sturdy utility scissors such as the PRODUCT_121467 Wunderschere are suitable.
- How much wind can a privacy screen net withstand?
- Its wind permeability reduces the strain on the fence and fixings. A correctly installed net attached at all eyelets can withstand normal gusts of wind. If storms are forecast in exposed locations, check the installation to prevent damage to the fence.
- Is a privacy screen net completely opaque?
- Opacity depends on the shading factor, usually between 85 % and 95 %. A net with 90 % shading offers almost complete privacy from a few metres away. Faint outlines may still be visible in direct backlight.
- How do I clean a privacy screen net?
- Cleaning is straightforward. In most cases, simply spray the net with a garden hose. For heavier soiling, you can use a soft brush and a mild soapy solution. Avoid aggressive cleaning products to prevent damage to the UV-protective material.
You may also be interested in
- Privacy screen netting: Your clever helper for the garden, balcony & building site
- More than just opaque: 5 creative ideas for your privacy screen net
- Installing privacy screen netting: How to do it correctly
- Privacy screen netting or hedge: A direct comparison for your garden
- Build your own garden privacy screen: Ideas for greater privacy
- 7 creative ideas for enhancing your garden