
In brief: You graft an apple tree to transfer a desired variety onto a robust rootstock. Bark grafting is the best method for beginners. You carry it out in spring, when the bark lifts away easily. You need a scion from the desired variety, a healthy rootstock and a sharp knife. Proper care after grafting determines success.
Grafting an Apple Tree: Beginner’s Guide for Your Orchard
Would you like to propagate a special apple tree? Grafting is the solution. This technique clones a desired variety. You transfer a scion onto a robust rootstock. Bark grafting is well suited to beginners. Here you will learn the basics.
What Does Grafting an Apple Tree Mean?
Grafting joins two parts of a plant to create one tree. The rootstock forms the root system. It determines the tree’s vigour. The scion comes from the tree of the desired variety. It supplies the fruit and leaves. Both parts grow together at the graft union.
The cambium is crucial. This thin layer of growth lies beneath the bark. The cambium layers of the scion and rootstock must make contact. Only then can new tissue form. The tree grows as a single unit.
The art of grafting lies in making a precise cut. A clean, smooth cut surface is more important than any sealant.
Why Should You Graft Your Apple Tree?
You get an exact copy. Trees grown from seeds are genetically different. Their fruit often tastes different. Grafting preserves the flavour of your favourite variety. You save space. Dwarfing rootstocks produce small trees.
You can save old varieties. Many regional apple varieties are not available commercially. By grafting, you preserve these treasures. You improve adaptability. Choose a rootstock that suits your soil. This promotes healthy growth.
Choosing the Right Rootstock
The rootstock is the foundation. M9 is a dwarfing rootstock. It is suitable for small gardens. The tree grows to only 2 to 3 meters tall. MM106 has moderate vigour. It is robust and widely used. It is ideal for normal home gardens.
Choose a rootstock grown from its own roots. This comes from cuttings. It is genetically uniform. A seedling grown from an apple pip is unsuitable. Its growth habit is unpredictable.
Important note
Use only healthy plants as rootstock and scions. Otherwise, diseases such as fire blight or apple canker may be transmitted. Inspect the bark for wounds and discolouration. Diseased trees must not be used for grafting.
How Does Bark Grafting Work?
Bark grafting is a method for beginners. You work in spring. The bark then lifts away easily from the wood. You cut the rootstock off completely. Then you insert one or more scions into the side.
The advantage is the large contact area. The chances of success are high. You can also use thicker rootstocks. The method allows for minor inaccuracies. It is the ideal introduction to grafting.
Preparation: The Right Tools and Materials
Sharp tools are essential. A grafting knife has a straight, thin blade. It makes clean cuts without crushing the tissue. A budding knife has a curved blade with a bark lifter. Both are suitable.
You need grafting tape or special rubber bands. These hold the scion in place. Grafting wax or grafting sealant seals the cuts. This protects against drying out and fungi. Keep everything within reach.
For protecting larger areas, a sturdy tarpaulin is suitable. It protects young grafts from late frosts or heavy rain.
Step-by-Step Guide: Bark Grafting an Apple Tree
Step 1: Cutting and Storing the Scion
Cut the scions in winter. Choose one-year-old, well-matured shoots. They should be about as thick as a pencil. The buds should be firm and healthy. Cut pieces 20 to 30 cm long.
Store the scions in a cool, moist place. A dark cellar or the vegetable drawer in the refrigerator is suitable. Wrap them in damp paper. Place them in a plastic bag. This keeps them fresh until spring.
Step 2: Preparing the Rootstock
Clean the rootstock’s trunk. Remove loose pieces of bark. Cut the trunk off smoothly. The cut surface should be clean and level. Choose a point just above the ground. Alternatively, cut off a strong side branch.
Make a vertical cut in the bark. The cut should be 3 to 4 cm long. Cut only through the bark, not deep into the wood. Carefully loosen the bark flaps with the back of the knife.
The success of a graft depends 70% on the quality of the scion. Take it only from vigorous, productive trees.
Step 3: Cutting the Scion
Take a stored scion. Make a slanted cut at the base. Make a smooth cut 3 to 4 cm long. The cut surface should be even. On the opposite side, make a short, shallow counter-cut.
The scion has 2 to 3 well-developed buds. The top bud should face outwards after insertion. This encourages straight growth.
Step 4: Inserting and Securing the Scion
Slide the sharpened scion into the bark slit. The long cut surface should face the wood of the rootstock. Carefully press it downwards. The cambium layers must touch.
The bark flaps of the rootstock close around the scion. Secure the area immediately with grafting tape. Tie from bottom to top. The tape must be firm but must not cut into the bark.
Pro tip
With thick rootstocks, insert 2 to 3 scions a few centimetres apart. Only the strongest scion will continue growing later. This significantly increases your chances of success.
Step 5: Sealing the Graft Union
Coat all cut surfaces with grafting wax. This includes the cut end of the rootstock and the top of the scion. The wax prevents drying out. It also keeps rain and fungal spores away.
Do not use ordinary candle wax. Special grafting wax is flexible and breathable. It expands as the tree grows. You can find suitable materials from specialist retailers or in our range of plant care accessories.
After Grafting: What You Need to Know
Watering and Protection
The rootstock now needs plenty of water. Water the tree regularly. The soil should be moist, not wet. Waterlogging damages the roots. A layer of mulch helps retain moisture.
Protect the young graft. A stake provides support against strong winds. Light cover provides shade from the intense midday sun. A
(pond protection net) can be used as a temporary shade cover.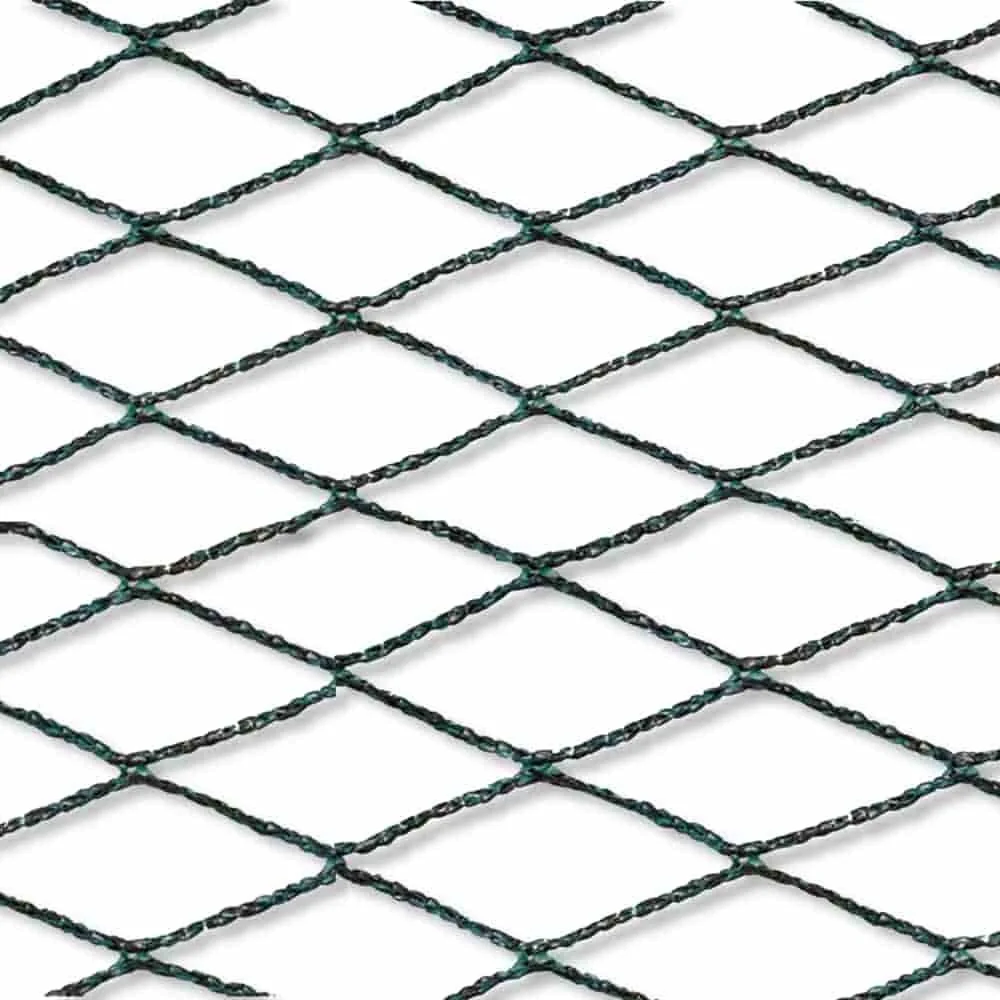
Additional advice
Check the binding every two weeks. The raffia must not grow into the bark. Loosen it if necessary. The wound is usually healed after 6 to 8 weeks. You can then remove the raffia.
Encouraging the Right Shoot
Several shoots will grow from the buds on the scion. Choose the strongest and healthiest one. This will become the new central leader of your tree. Remove all other scion shoots. Also remove any suckers growing from the rootstock.
You can recognize these competing shoots by their different leaves. They take energy away from the scion. Pull them off with a quick motion. Cutting them only encourages new growth.
Fertilizing in the First Year
Fertilize carefully. In the first year, wound healing is the priority. Use a balanced organic fertilizer. Work it lightly into the surface of the soil. Avoid complete mineral fertilizers. They can trigger overly vigorous growth.
You can find information about proper nutrient supply in our fertilizer category. Compost or well-rotted manure are ideal natural fertilizers.
Common Mistakes and How to Avoid Them
A dull tool is the most common mistake. It crushes the sensitive cambium. Wound healing then stalls. Sharpen your knife before every cut. Test its sharpness on a piece of wood.
Choosing the wrong time leads to failure. The scion starts to grow before it has taken. It then dries out. Graft only when the rootstock is actively flowing with sap. The buds should be swelling.
Poor contact between the cambium layers prevents the graft from taking. Press the scion firmly against the rootstock. The binding must be secure. Corrections are not possible afterwards.
Tools and Materials for Gardening
In addition to a grafting knife, sturdy pruning shears are useful. They make a clean cut through the rootstock. A durable hose is important for watering the young tree. A
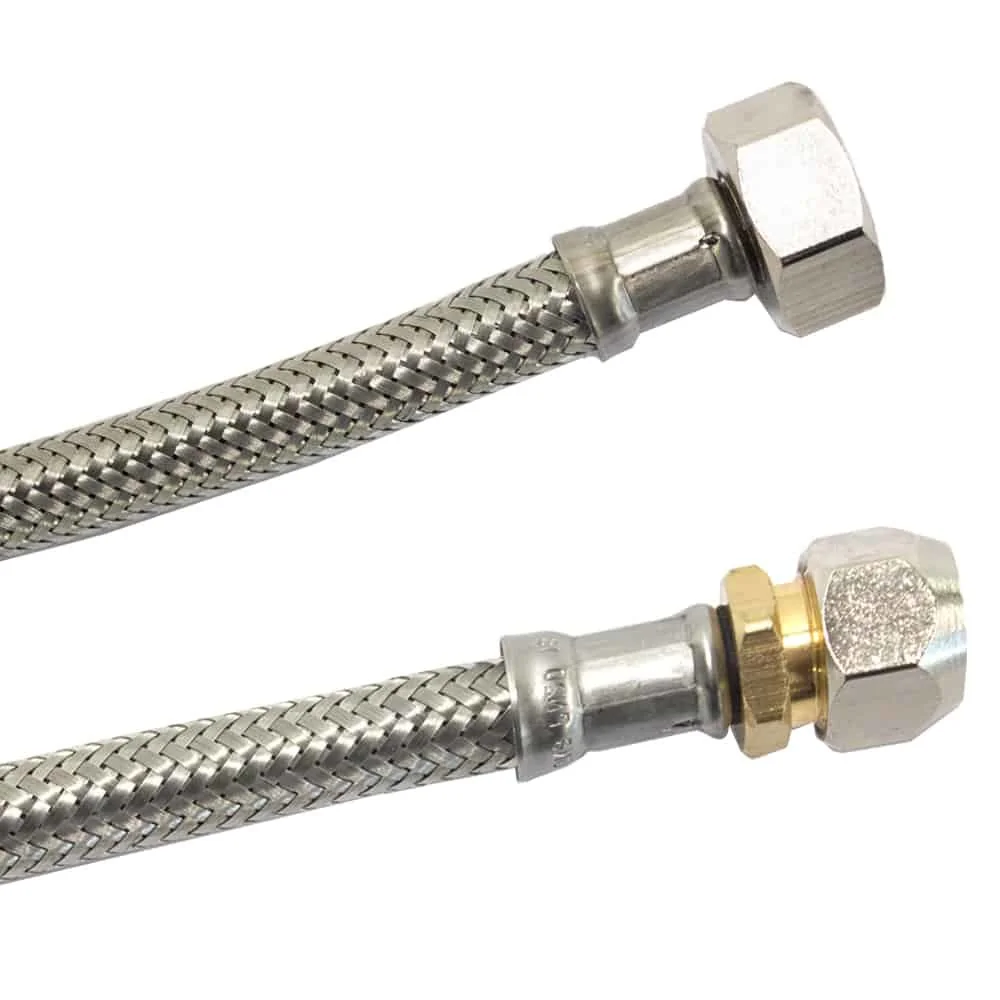
A sturdy tarp is essential for winter protection or shade. A
(scaffold sheeting) is versatile. It protects against the elements.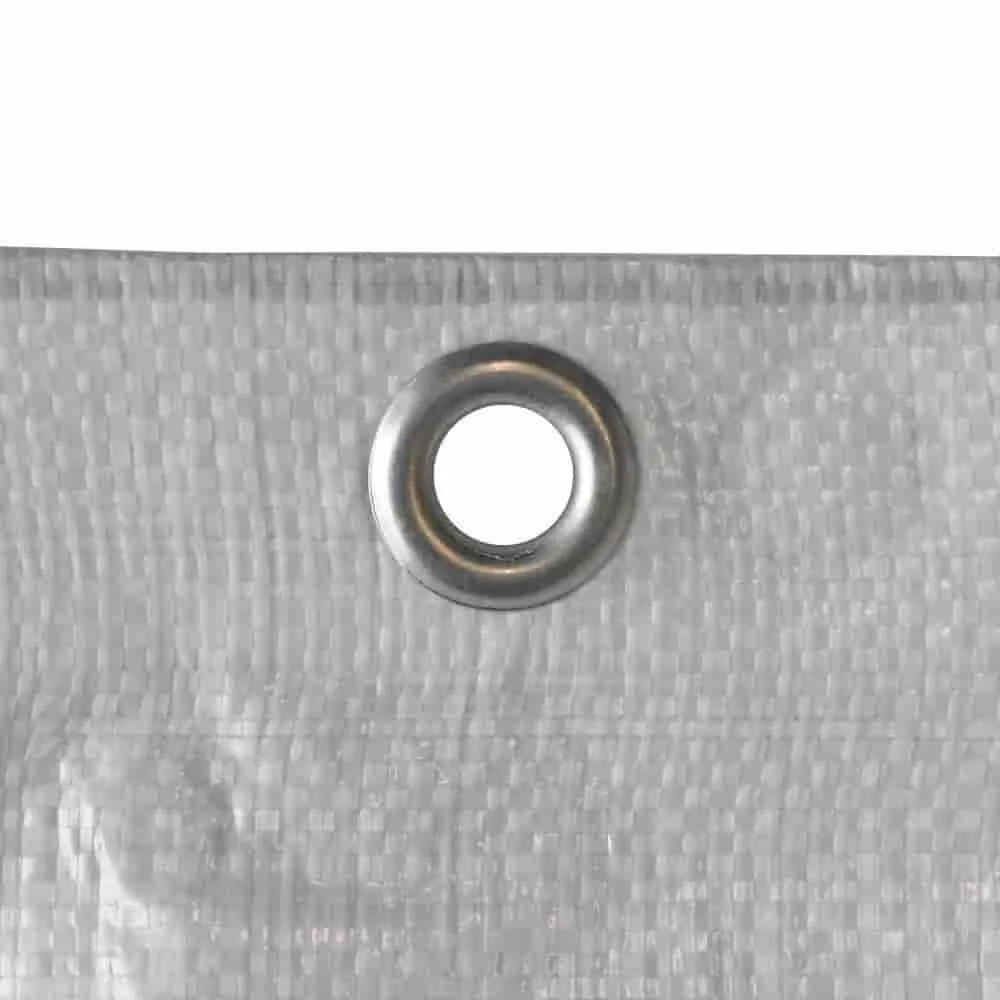
Find everything you need for your garden projects in our main Garden + Outdoor category. From tools to irrigation equipment, we have it all.
Conclusion: Grafting Is Worth It
Bark grafting is an achievable way to get started. You need patience and precision. The result is rewarding. You can harvest apples of your favorite variety from a tree you grafted yourself.
Start with a simple rootstock and a robust variety. Practice your cutting technique on willow rods. With experience, you can try rarer varieties. The art of grafting connects generations of gardeners.
Start your next project with the right equipment from our garden tools. Good luck in your orchard!
Frequently Asked Questions
- When is the best time to graft an apple tree?
- Perform bark grafting in spring, when sap flow begins and the bark lifts easily from the wood. The ideal period is between the end of March and the middle of May. Look for swollen buds on the rootstock. Cut the scion in winter, when the tree is dormant, and store it in a cool place.
- What tools do I need to graft fruit trees?
- A sharp grafting knife or budding knife is essential. A dull blade crushes the tissue. You need grafting tape or raffia to secure the graft. Use tree wound wax to seal the cut surfaces. Find sharp tools in our range of garden tools.
- Can I use any apple tree as a rootstock?
- No. The rootstock determines the tree's vigor and soil tolerance. Use specialized, true-to-type rootstocks such as M9 for weak-growing or MM106 for moderately vigorous trees. Seed-grown rootstocks are unpredictable. Buy proven rootstocks from specialist retailers or nurseries.
- How long does it take for a grafted apple tree to bear fruit?
- A properly grafted apple tree often produces its first fruit after just 2 to 4 years. This is considerably faster than a tree grown from a seed. The speed depends on the rootstock and variety selected. Weak-growing rootstocks produce an earlier harvest.
- Why has my grafted shoot not taken?
- Common reasons include inaccurate cuts, dirty cambium layers, or incorrect timing. The cambium layers of the scion and rootstock must fit together perfectly. Make sure your tools are clean. Protect the grafting point from weather and birds with tarps or nets.
You Might Also Be Interested In
- Summer Pruning an Apple Tree: How to Do the June Pruning
- Caring for a Pinova Apple Tree: Tips for Healthy Trees
- How to Harvest and Store Apples for Long-Lasting Freshness
- Growing Potatoes: The Easy Beginner's Guide
- How to Create a Vegetable Garden: Tips for Beginners
- Granny Smith Apples: Growing, Care & Harvesting Tips