
In brief: You install a gutter by fitting gutter brackets with the correct slope, joining the gutter sections and installing the downspout outlet. For maintenance, regularly remove leaves and dirt and check for leaks. A professionally installed and well-maintained gutter safely directs rainwater away from your home, protecting the façade and foundations from moisture damage.
Gutter Installation and Maintenance: The Complete DIY Guide
A properly working gutter is your home's best protection against water damage. It collects rainwater and directs it away in a controlled manner. We'll show you how to install and maintain your gutters.
Why is a properly working gutter so important?
Without gutters, rainwater hits the ground unchecked. It splashes onto the façade and washes away the soil around the foundations. Moisture gets inside. Mould and frost damage can result. An intact gutter protects your home's structure and helps preserve its value.
The right garden equipment can help with installation. For long-term maintenance, you can find suitable tools and accessories in our shop.
Which material and system is right for you?
Your choice depends on your roof, budget and the level of maintenance you are prepared to undertake. Plastic gutters are lightweight and corrosion-resistant. Metal gutters, such as galvanised steel or aluminium, are stronger and more durable.
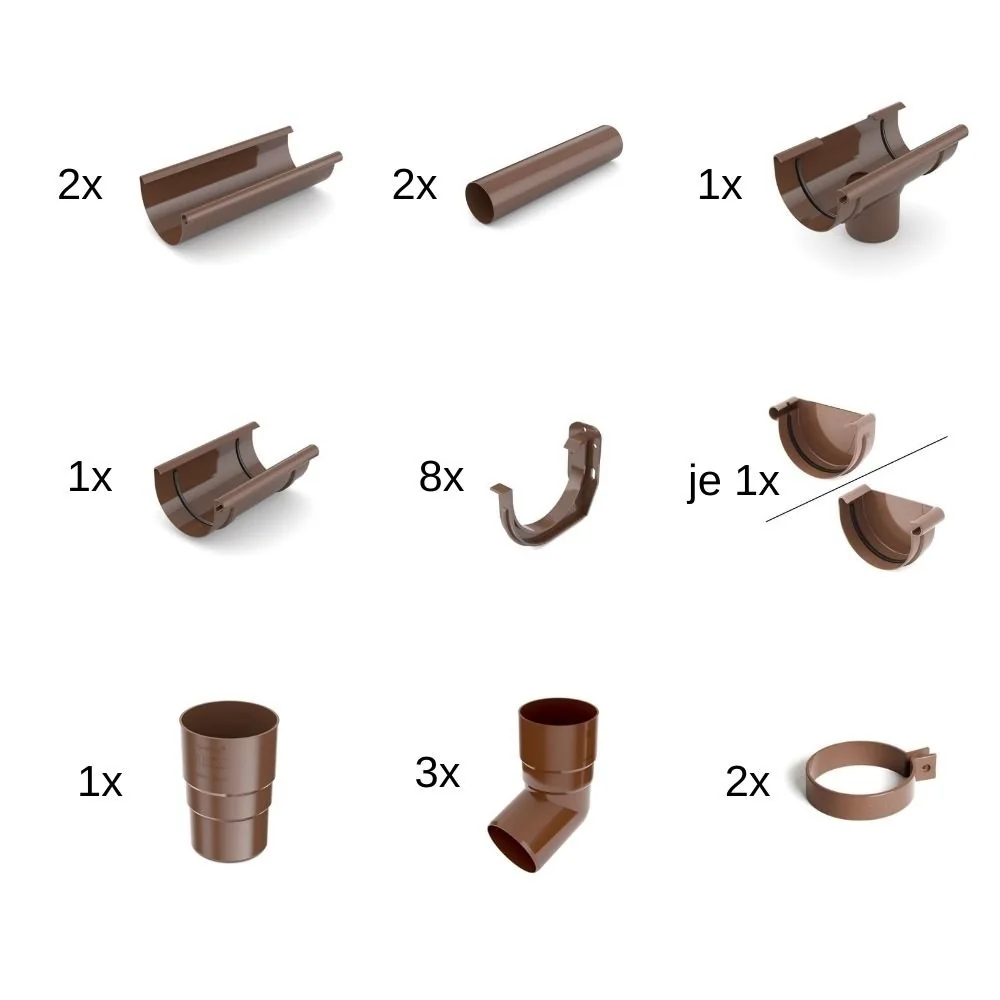
Choose a complete system. All components, such as gutters, corners, end caps and downpipes, will then be compatible with one another. This makes installation much easier. A practical starter set is the
.
Planning: What you need to consider before installation
Measure the length of the eaves accurately. Remember to account for corner pieces and the connectors you need. Plan where to position the downspout. It should be in an inconspicuous but easily accessible location.
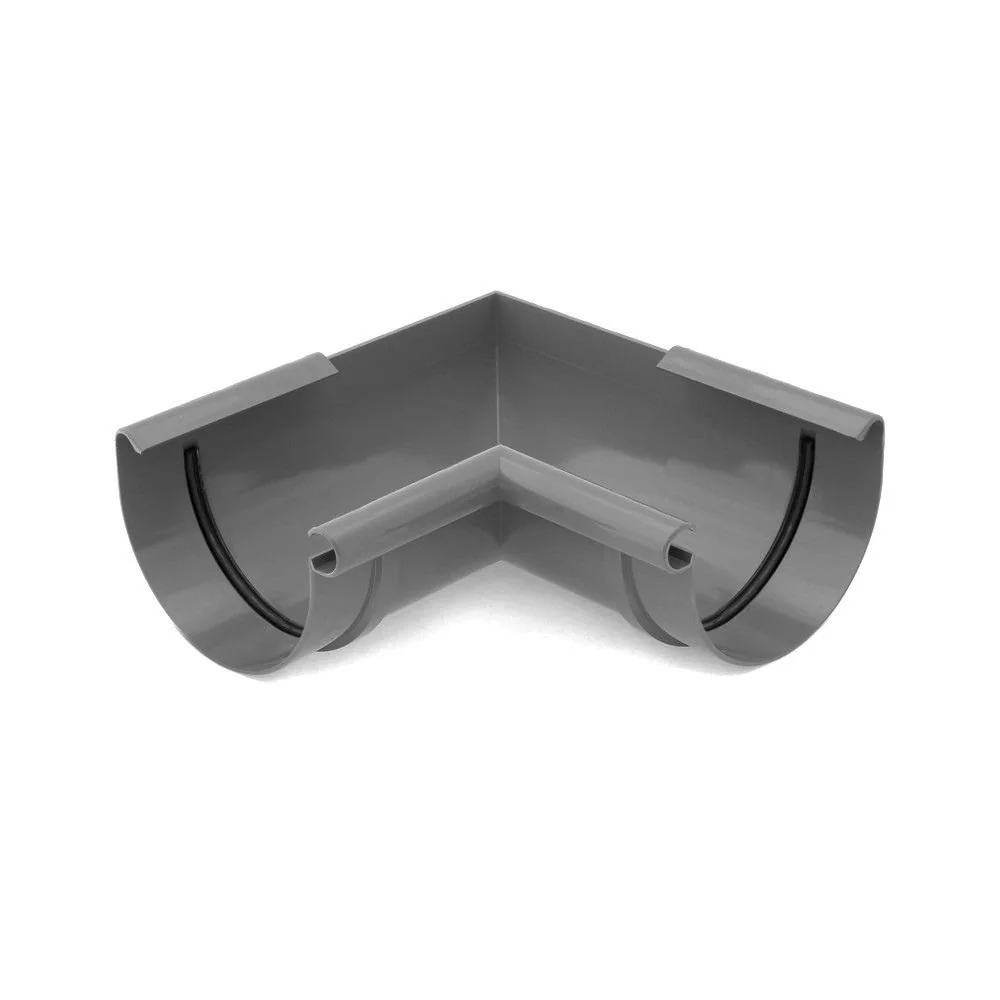
Allow for a slope of 2-5 mm per metre. The lowest point should always be at the downspout outlet. Gather all the parts you need: gutter sections, gutter brackets, corner pieces such as the
or , connectors, end caps and downpipes.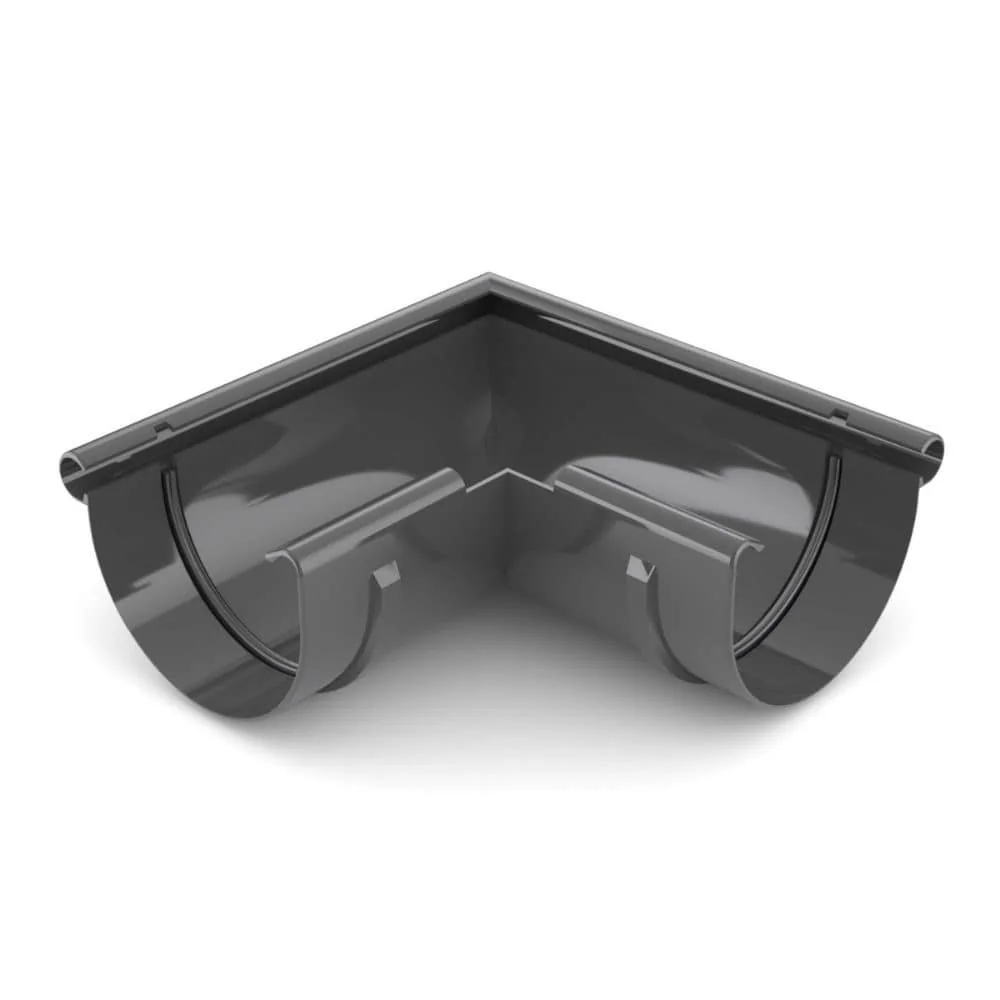
Important note
Working at height is dangerous. Use only stable ladders or scaffolding. Secure tools and materials to prevent them from falling. For steep or tall roofs, call in a professional.
How do you install gutters step by step?
Installation is divided into three main stages: attaching the gutter brackets, fitting the gutter sections and connecting the downspout.
Phase 1: Fit the gutter brackets with the correct slope
Start at the highest point of the gutter, opposite the planned downspout. Secure the first gutter bracket with screws. Stretch a mason's line to the lowest point. It indicates the slope.
Attach the remaining brackets every 60 to 90 cm along the line. Make sure they are firmly secured to the roof structure. The brackets support the full weight of a filled gutter.
“The slope is the key to a self-cleaning gutter. If it is too flat, dirt will collect; if it is too steep, the water will not run along the entire length.”
Phase 2: Join and hang the gutter sections
Start at a corner or end cap. Fit the first gutter section into place. Use the system's connectors. These often come with rubber seals.
Add the next sections. Make sure they sit securely in the gutter brackets. For long runs, it is best to work with two people. This helps prevent twisting.
Phase 3: Connect and secure the downspout
Fit the outlet at the lowest point. It directs the water into the vertical downspout. Use pipe clamps to secure the downspout to the wall at intervals of approximately 1.5 metres.
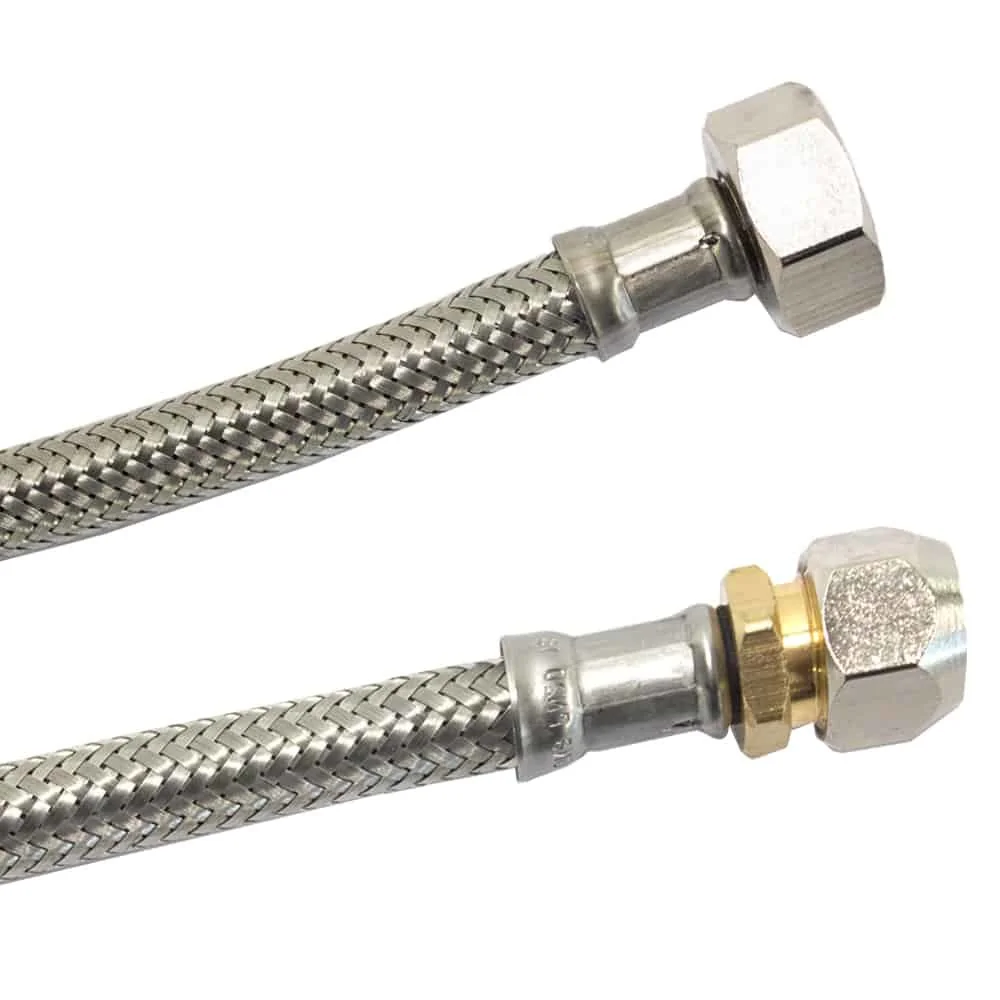
A
Pro tip
Install the gutter in dry, calm weather. This gives you a better grip on the ladder and allows you to align the parts more precisely. Place all tools and screws on a tool belt or in a bucket on the ladder.
How do you clean and maintain your gutter properly?
Regular maintenance prevents blockages and extends its service life. You will need gloves, a small shovel or trowel, a bucket and a garden hose.
Basic cleaning: remove leaves and dirt
Remove coarse material such as leaves and twigs by hand. Scrape off the muddy residue from the bottom of the gutter using a plastic edge. Rinse away the remaining debris with the garden hose towards the downpipe.
Check the downpipe's flow immediately. A long garden hose or drain-cleaning coil can help clear blockages.
Additional tip
Catch the dirty water you flush out in a bucket or lay down a tarpaulin. This protects your flower beds and façade. A
is ideal as a protective covering or for covering garden areas.
Inspection and repair: check for leaks
After cleaning, inspect the gutter. Look for cracks, leaking joints or corroded areas. Check that the gutter brackets are secure. Are all the screws tight?
Replace damaged parts immediately. A small leak can quickly get worse. Special adhesives and sealing tapes are available for plastic systems. You can reseal metal joints.
“Neglected maintenance is the most common cause of damage. A quarter of an hour twice a year can save you the high cost of repairing your façade.”
Which accessories make gutter maintenance easier?
With the right tools, you can reduce the amount of work involved. A leaf guard or leaf basket prevents coarse material from entering the downpipe connection.
A can be used not only to protect ponds, but also as a temporary covering during cleaning. In the plumbing and irrigation section, you will find suitable hoses and connectors.
Prevention is better than cure
Trim back overhanging branches. This reduces the amount of leaves that land on your roof and in the gutter. Install a well-designed leaf guard system if there are lots of trees nearby.
Always check the gutter after severe storms. Flying branches can damage parts or cause blockages. A well-stocked garden tools section can help with tree and hedge maintenance.
Conclusion: a DIY job worth doing
Installing and maintaining a gutter is a worthwhile DIY project. You protect your property and save money. Plan your work carefully and pay attention to safety.
Invest in a high-quality system and carry out regular maintenance. Your gutter will then do its job reliably for many years. Your house will thank you with dry walls and an intact foundation.
Frequently Asked Questions
- How often should I clean my gutter?
- Clean your gutter at least twice a year: once in late autumn after the leaves have fallen and once in spring. If there are lots of trees nearby, additional checks are advisable. Blocked gutters can overflow and cause water damage.
- Can I install a gutter on my own?
- Yes, it is possible to install a gutter on your own, but the work is strenuous and risky on taller buildings. Always use secure scaffolding or a stable ladder. For long sections or difficult-to-reach areas, a second person is recommended.
- What slope does a gutter need?
- A slope of 2 to 5 millimetres per metre of gutter length is ideal. This allows water to flow quickly towards the downpipe without sediment building up. Measure the slope with a spirit level and a taut string.
- What happens if the gutter is leaking?
- A leaking gutter allows water to run down the façade. This can cause damp in the masonry, mould growth and frost damage. Check the joints and seals regularly and replace damaged parts immediately.
- Do I need a leaf guard for my gutter?
- A leaf guard is useful if there are trees nearby. It prevents leaves and coarse dirt from blocking the gutter and downpipe. This significantly reduces the need for cleaning and minimises the risk of water damage.
You may also be interested in
- Cleaning and maintaining your gutter: tips for your home
- Build your own porch canopy: effective weather protection for your entrance
- How to maintain and repair roller shutters properly: a guide to longer service life
- Build and maintain a wooden deck: the ultimate guide
- Laying stone strips: step-by-step instructions for patios and paths
- Build your own patio cover: step by step