
In brief: Neat, durable caulk joints start with careful preparation, the right tool and good technique. Avoid dirty surfaces, uneven application, improper smoothing and putting the joint under stress too soon. A precision nozzle such as the Innotec Easy Gasket tip can make all the difference.
A leaking joint around a window, moldy silicone in the shower or a dripping threaded connection: sealing jobs are among the most common tasks around the home and garden. Yet the results can be frustrating. The joint is uneven, the material ends up everywhere except where it should, and cracks appear after only a short time. It doesn’t have to be this way. Most problems when applying caulk come down to simple mistakes you can avoid with the right know-how and tools.
This guide covers five common caulking mistakes and how to avoid them. We’ll also show you a small but crucial tool that can make the difference between a messy job and a professional finish.
- The right tool makes all the difference: start with precision
- Mistake 1: Skipping surface preparation
- How can I avoid uneven caulk beads? (Mistake 2)
- Mistake 3: Using the wrong tool or nozzle size
- How can I tell if I’m smoothing the caulk incorrectly? (Mistake 4)
- Mistake 5: Ignoring cure time or choosing the wrong material
The right tool makes all the difference: start with precision
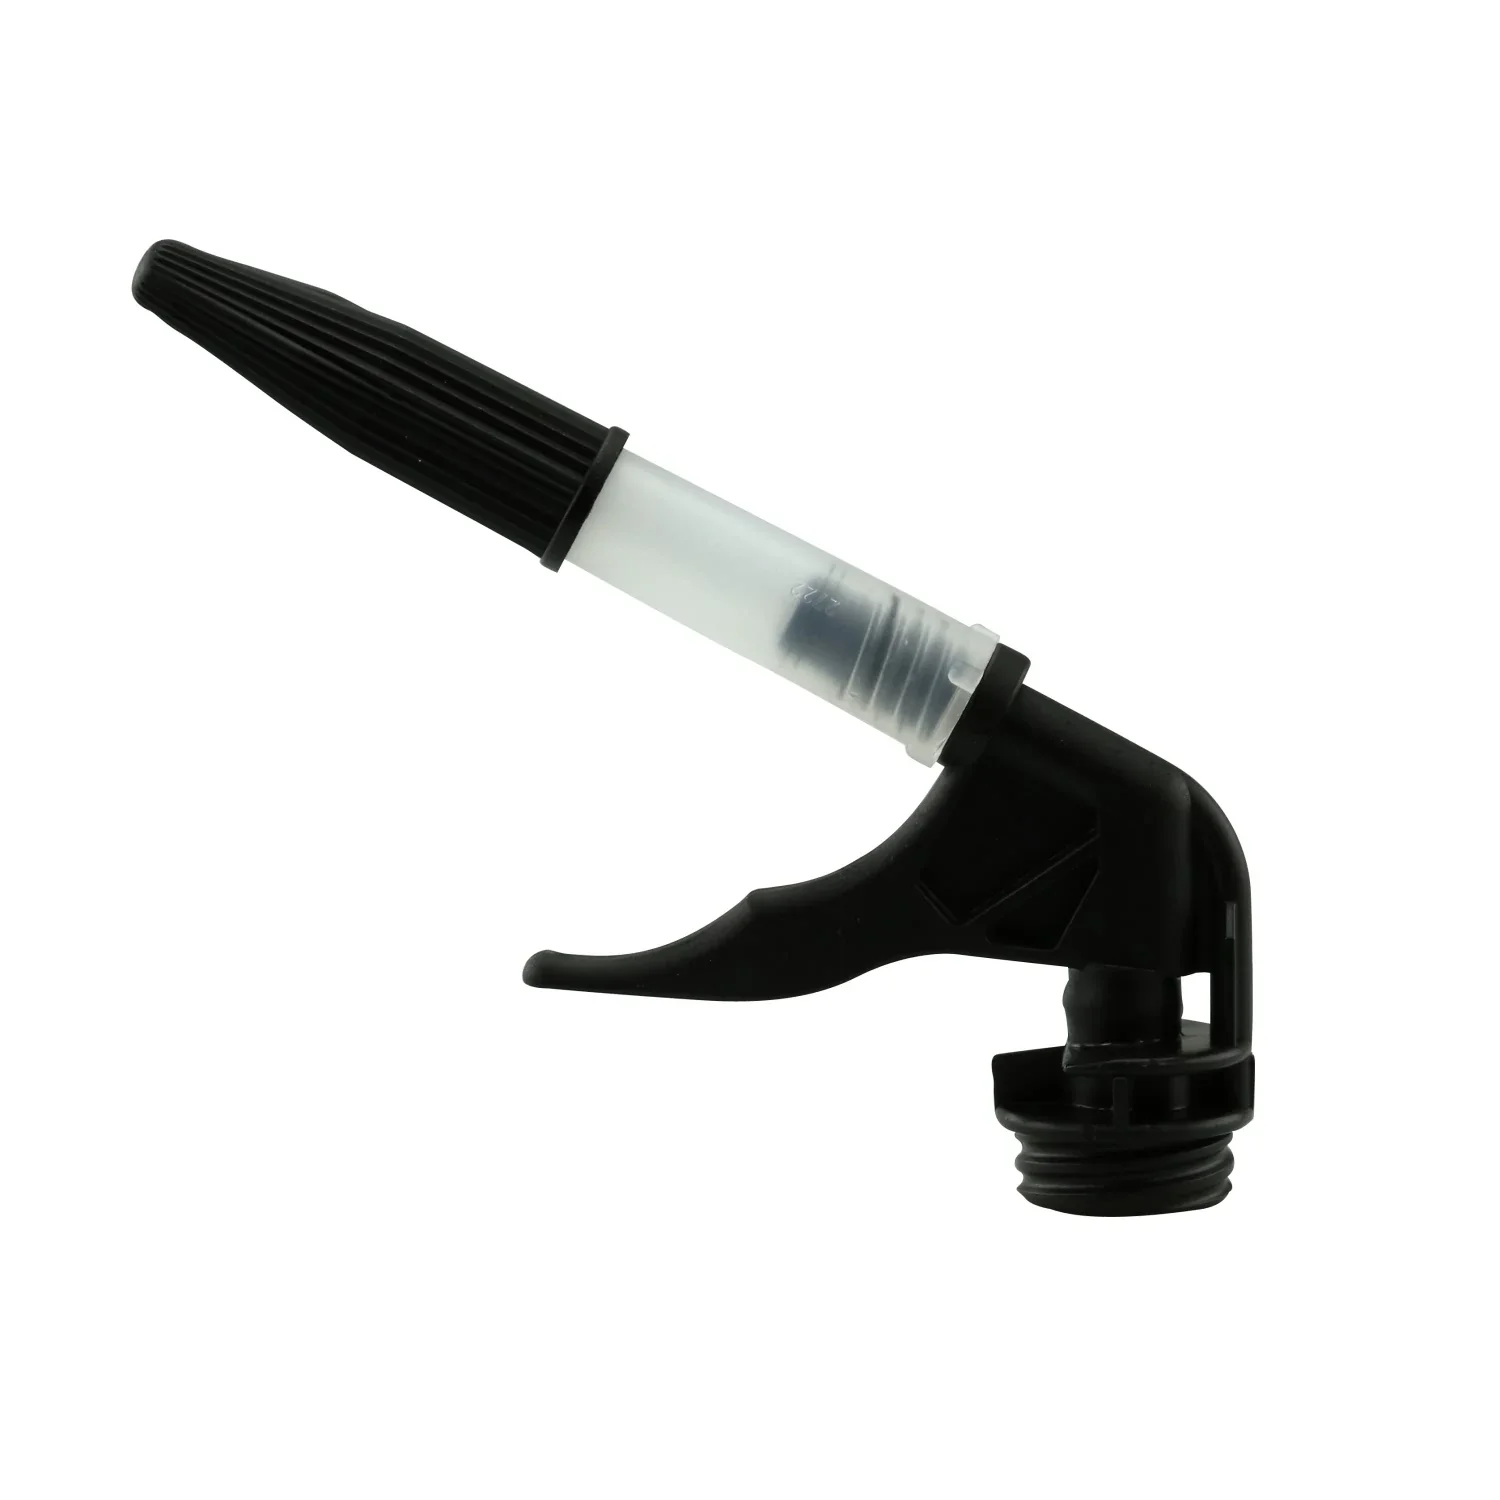
Before we look at common mistakes, let’s introduce an essential tool for a clean finish. A quality cartridge nozzle can help prevent problems such as uneven beads and smudged edges. The : INNOTEC Easy Gasket tip is designed specifically for this purpose. Unlike standard nozzles, it provides a consistent flow and is easy to guide. The included angled piece makes hard-to-reach areas easier to work on. The protective cap helps keep opened material from drying out. Invest in precision once and save time and effort on every project.
Mistake 1: Skipping surface preparation
Poor surface preparation is the most common reason a seal fails. Caulk needs a clean, dry, grease-free surface to form a lasting bond. Even the best product won’t stick to dust, old caulk, grease or moisture.
Step 1: Remove old caulk completely
Never apply new caulk over an old, cracked or moldy joint. The new material won’t bond properly, and the underlying problems will remain. Score along both edges of the old caulk with a sharp utility knife, then pull out the bead. Carefully remove any stubborn residue with a caulk removal tool or blade. Take care not to scratch the surrounding surfaces.
Step 2: Clean and degrease thoroughly
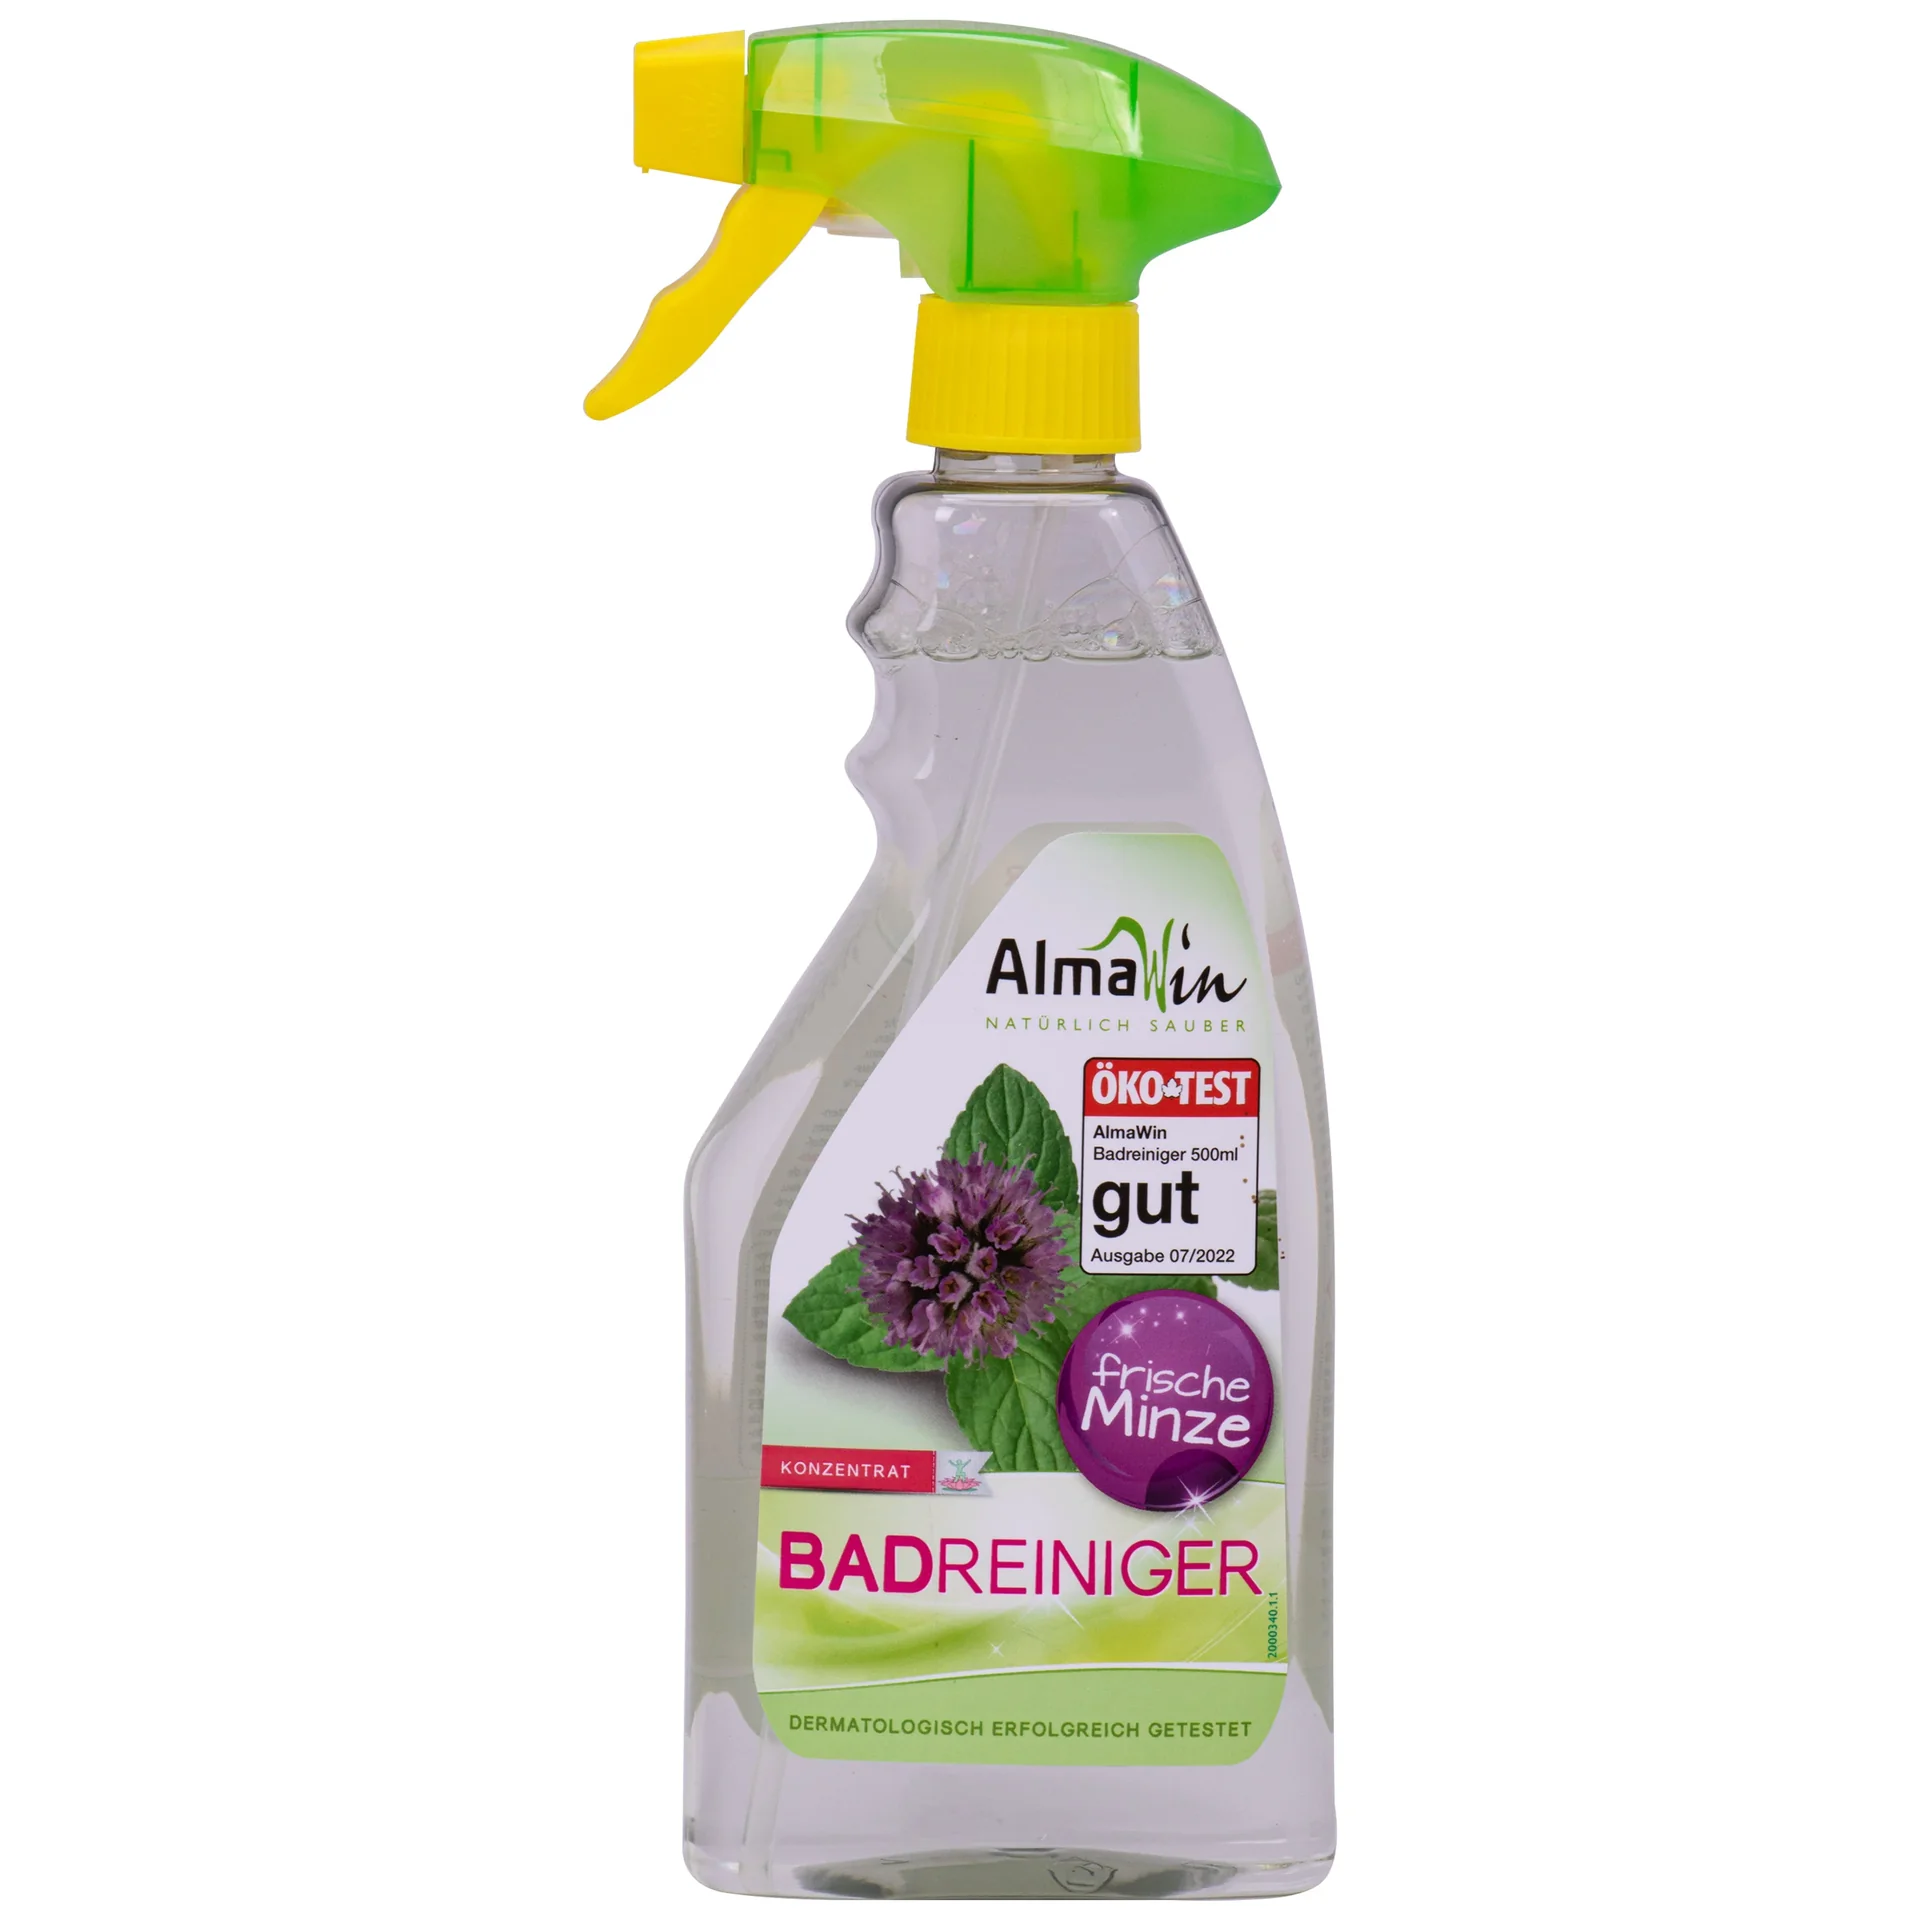
Once the old residue is gone, clean the joint and the surrounding area. Vacuum up loose dust and dirt, then degrease the surface. In bathrooms and kitchens especially, invisible layers of grease and soap can build up and seriously affect adhesion. Use rubbing alcohol, isopropyl alcohol or a specialist cleaner. For bathroom tiles and ceramics, the : ALMAWIN Bathroom Cleaner helps remove limescale and soap residue. Rinse with clean water afterward.
Step 3: Let the surface dry completely
Patience is essential. The joint must be completely dry. Wiping alone often isn’t enough because moisture can remain trapped in porous materials such as grout. After cleaning, wait at least a few hours. You can speed up drying with a hair dryer on a low setting. Moisture trapped beneath the new caulk can form bubbles and prevent it from curing properly.
Important note
Always check that your cleaning products are safe for the material. Strong cleaners can damage plastic or delicate surfaces. Test the product in an inconspicuous spot before using it over a larger area.
How can I avoid uneven caulk beads? (Mistake 2)
A shaky, wavy joint with uneven thickness looks unprofessional and may not seal reliably. The cause is usually a combination of poor positioning, uneven pressure on the caulk gun and a nozzle that isn’t suited to the job. A consistent bead is the foundation of a clean, durable joint.
Use the right technique
Hold the nozzle at about a 45-degree angle and pull the cartridge toward you instead of pushing it away. This lets you see where you’re working and press the caulk into the joint. Move in one smooth, continuous motion while applying even pressure to the caulk gun trigger. Stopping or changing pressure can leave a lump or a thin spot.
The quality of a joint is decided in the first few seconds of application. A steady hand and a consistent pace are more important than any subsequent correction.
Why the nozzle matters
A good nozzle, such as the Innotec tip mentioned above, helps maintain a steady flow of material. Its shape produces an even bead, even if your pressure varies slightly. It’s easier to guide and helps you draw a straight line. For long, visible joints, such as along a countertop, that’s a real advantage.
Mistake 3: Using the wrong tool or nozzle size
The best caulk won’t help much if your application tool isn’t up to the job. A cheap caulk gun and a standard nozzle cut to the wrong size are common sources of frustration.
Cut the nozzle to the right size
If you’re using a standard nozzle, cut it properly at a 45-degree angle. The opening should be slightly narrower than the joint you want to fill. If it’s too large, too much material will flow into the joint, leading to waste and a messy finish. If it’s too small, the joint may not fill completely. A system such as the : INNOTEC tip for Easy Gasket has an advantage here: its precision opening is already shaped for many standard applications.
Pro tip
Use the angled piece of the Innotec tip for joints in corners or behind fixtures. It lets you hold the cartridge straight while positioning the tip at a 90-degree angle to the wall. This helps prevent slipping and gives you a neat finish in the corner.
Choose the right caulk gun
Choose a sturdy caulk gun with good leverage. Cheap guns made from thin sheet metal can bend under pressure, and their feed is often jerky and hard to control. A good gun applies force evenly for a smooth, controlled flow of material. That’s essential for an even bead.
How can I tell if I'm smoothing caulk incorrectly? (Mistake 4)
Applying the caulk is only half the job. Smoothing, also called tooling, shapes the joint, gives it a neat finish, and helps the material adhere well at the edges. The biggest mistake is using a dry finger.
The right technique for tooling
A dry finger sticks to the caulk. Instead of smoothing it, you pull the material out of the joint. The result is an uneven, smeared surface. Use a smoothing solution instead. A simple mixture of water and a few drops of dish soap in a spray bottle works well. Moisten the joint and your fingers or a caulking tool with it. This creates a lubricating film that lets you shape the joint neatly.
Plastic or rubber caulking tools are an even better option. They come in different profiles for concave or straight joints and produce a smooth, even finish. Pull the tool over the joint with light pressure in one continuous motion. Excess material collects on the tool and can be wiped off with a cloth.
Additional advice
Work in sections you can smooth within 5-10 minutes. Caulk starts to form a skin quickly. Once that skin forms, you can no longer smooth the joint neatly. You will tear the skin, leaving an unattractive finish.
Timing is everything
The time between applying and smoothing caulk is critical. As soon as it reacts with moisture in the air, it begins to form what is known as a skin. With most silicone and acrylic caulks, this happens within 10 to 15 minutes. Be sure to smooth the joint before then. If you have a long run to caulk, divide it into shorter sections. Apply the caulk, smooth it, then move on to the next section.
Mistake 5: Ignoring cure time and choosing the wrong material
The job is done and the joint looks perfect. The final mistake you can make now is being impatient. Every caulk needs time to reach its full strength and sealing performance. Choosing the wrong material for the job will also inevitably lead to problems.
Be patient while the caulk cures
The cure time stated on the cartridge is a guideline for standard conditions. In cool or very dry environments, curing can take significantly longer. Keep a bathroom joint away from direct water for at least 24 hours, or preferably 48 hours. Avoid mechanical stress for even longer. Applying stress too soon can cause cracks and loss of adhesion.
Choose the right caulk for the job
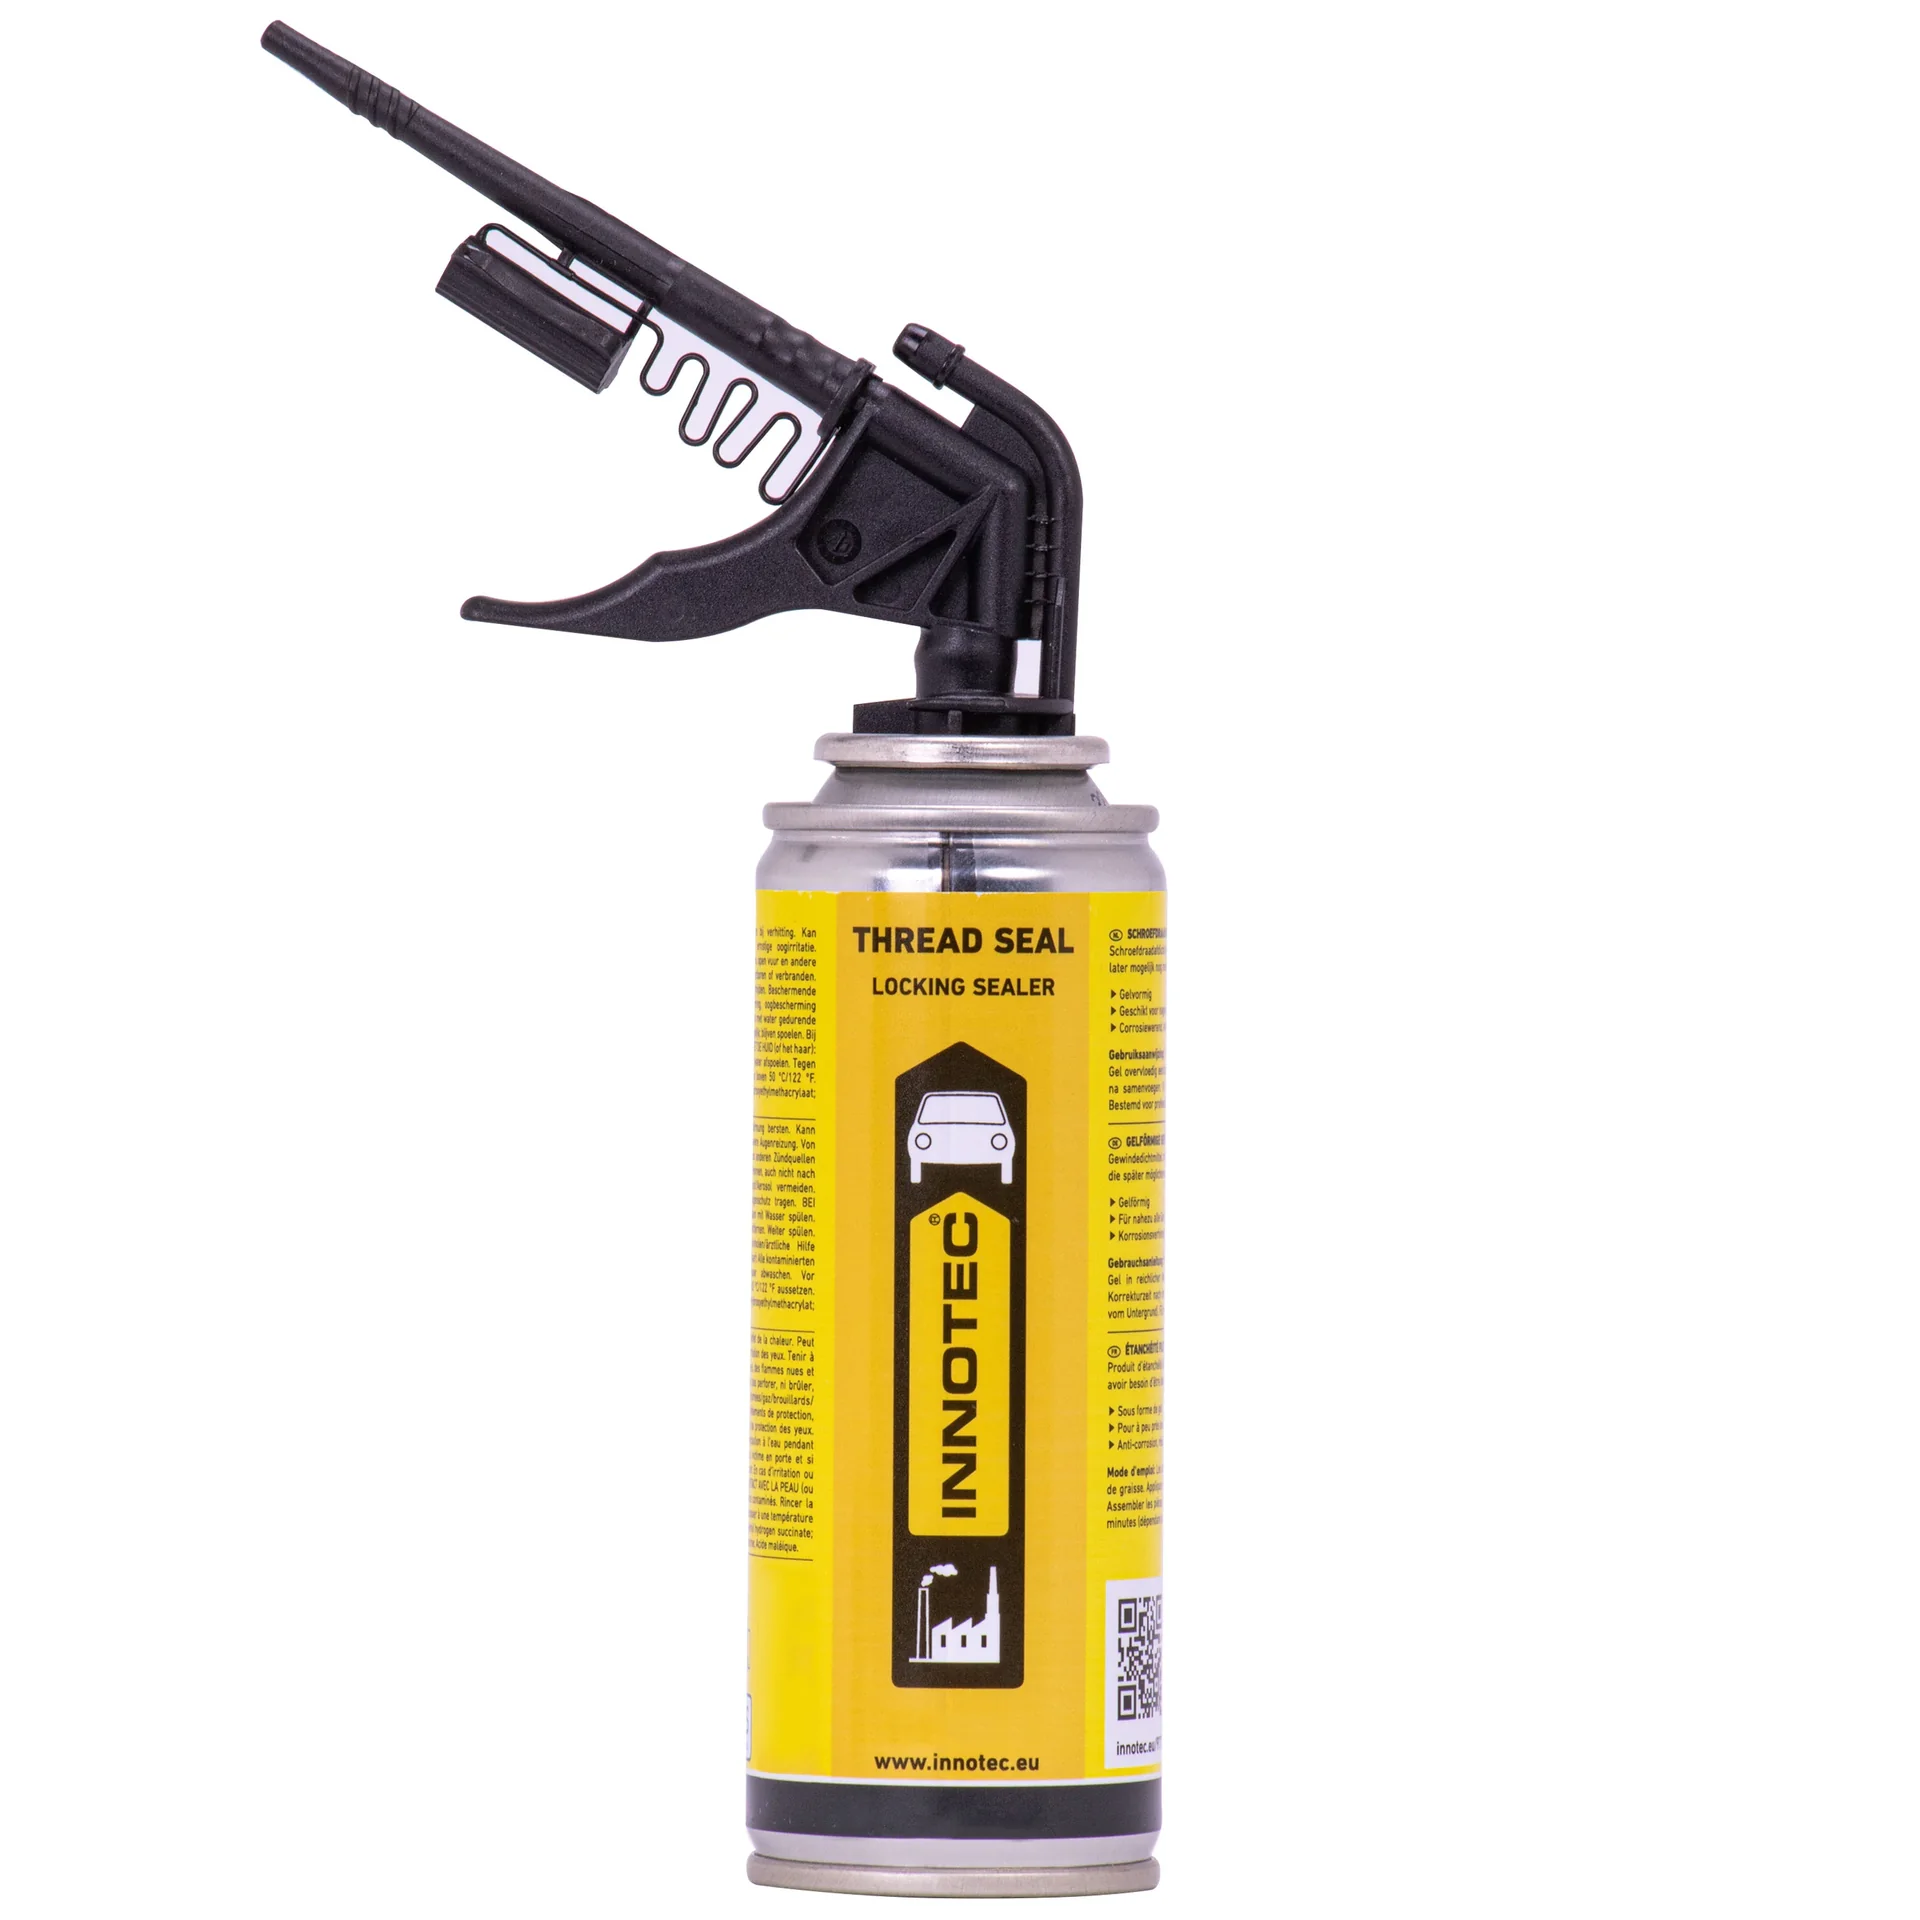
Not every caulk is suitable for every application. Acrylic caulk can be painted, but it is not suitable for areas that stay damp. Kitchen and bath silicone contains fungicides to prevent mold, but it cannot be painted. For special applications such as sealing threads on pipes or hoses in the Plumbing + Irrigation sector, you need specialty products. Here, a liquid thread sealant such as the : INNOTEC Thread Seal 100 ml thread sealant is the right choice. It replaces traditional hemp, is easy to use, and provides a reliable, long-lasting seal.
The longevity of a repair depends 80% on choosing the right material. Anyone who cuts corners on caulk will pay twice later for rework.
Conclusion: Perfect joints are no coincidence
Clean, long-lasting sealed joints come from good preparation, the right technique, and suitable tools. Avoid the five mistakes listed above and your caulking projects will go smoothly. Invest in thorough cleaning, take your time to apply an even bead, and use aids such as the : INNOTEC tip for Easy Gasket to make the job easier. With patience and the right know-how, you can create professional-quality joints. Browse our workshop supplies for more useful helpers.
Frequently Asked Questions
- How long does caulk take to dry?
- Drying time varies considerably depending on the type of caulk, joint depth, and conditions. Always follow the manufacturer's instructions on the cartridge. A surface skin often forms quickly, but full curing can take anywhere from 24 hours to several days.
- Can I apply new caulk over old silicone?
- No, you should avoid this. New silicone will not adhere reliably to old, cured material, which can cause the joint to leak. Always remove old caulk completely using mechanical and chemical methods before resealing the joint.
- Why is my acrylic caulk cracking?
- Cracks in acrylic caulk joints are often caused by the material drying too quickly or too much movement in the surface before it has fully cured. A layer that is applied too thinly can also crack. Apply acrylic caulk generously and avoid drafts.
- What is the best caulk for outdoor use?
- UV- and weather-resistant caulks such as neutral-cure silicone or MS polymer are suitable for outdoor use. Check the product description carefully. Traditional acetoxy-cure kitchen and bath silicone is often not suitable for outdoor applications.
- How can I get a clean edge when applying caulk?
- For a razor-sharp edge, mask both sides of the joint with painter's tape. Apply the caulk, smooth it right away, and remove the tape while the caulk is still wet. This prevents the surface skin from tearing away.
You might also be interested in
- Attach an Easy Gasket nozzle: Apply caulk precisely
- How to use caulk spray correctly: The 5 most common mistakes
- How to seal properly: 7 mistakes to avoid with clear caulk
- How to install insulation tubing: The 5 most common mistakes
- Find and seal leaks: Quick help with Allesdichter Spray
- How to secure scaffold sheeting: The 5 most common mistakes and how to avoid them