
In brief: To attach scaffold sheeting correctly, always start at an upper corner and work systematically. Use every eyelet to secure it with robust cable ties or bungee cords. Tension the sheeting firmly to minimise wind load, and when using several sheets, overlap them from top to bottom.
A building site is exposed to the elements. Rain, wind and strong sunlight can damage the structure, delay work and affect the wellbeing of tradespeople. Professionally installed scaffold sheeting is the first and most important step towards effective weather protection for scaffolding. It not only protects the façade but also creates a controlled working environment. However, installation has its pitfalls. If secured incorrectly, the sheeting itself can become a hazard.
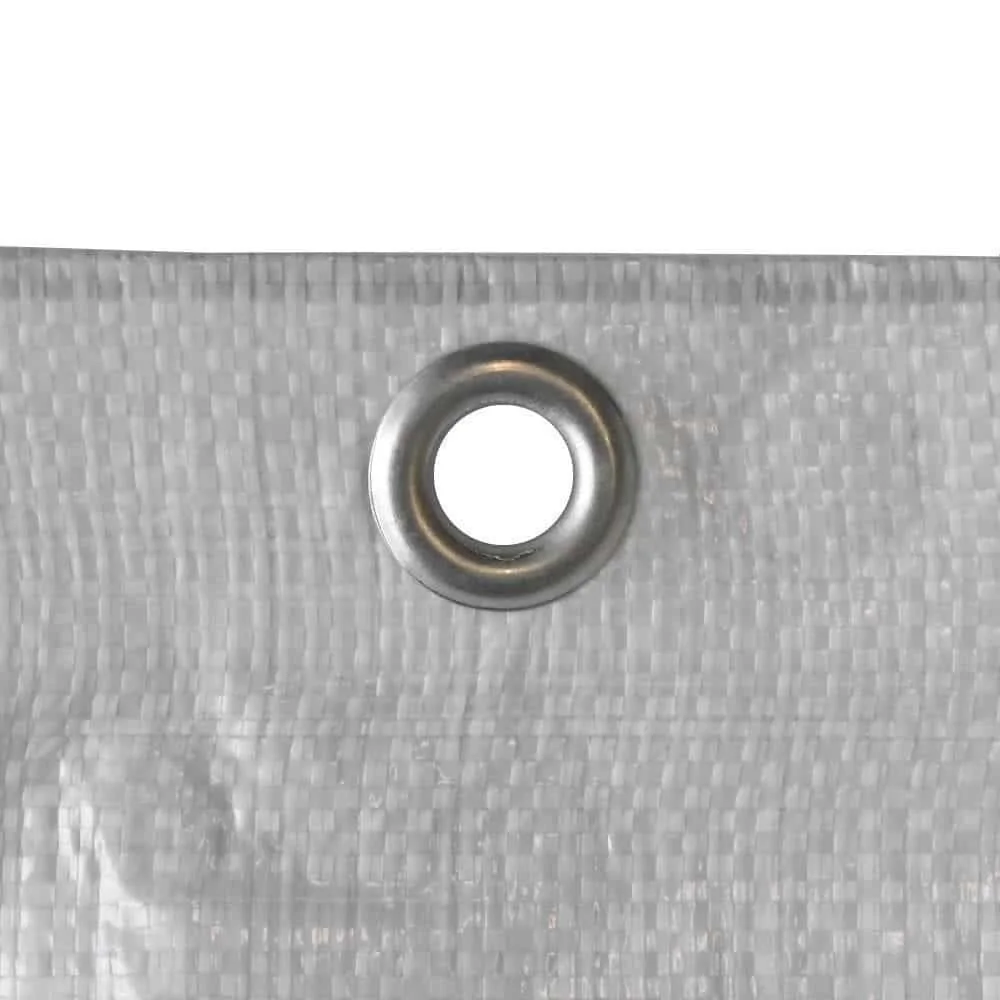
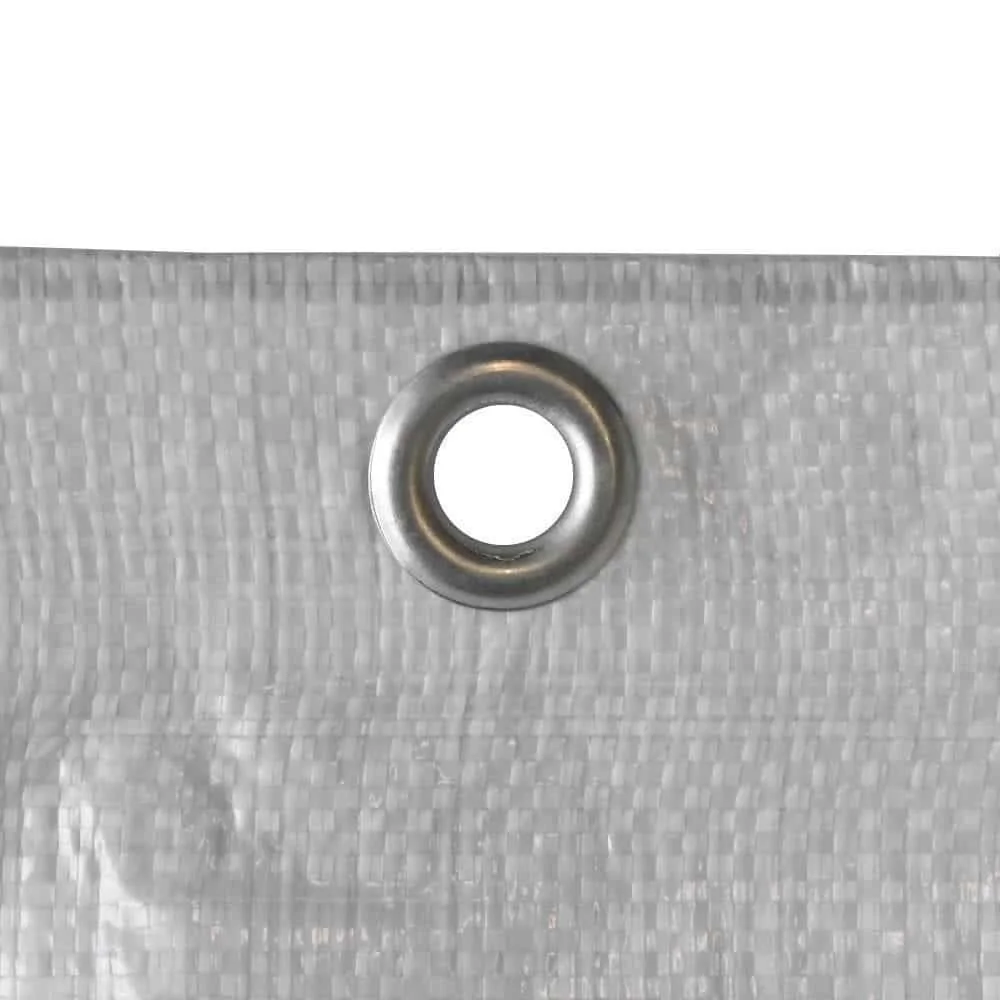
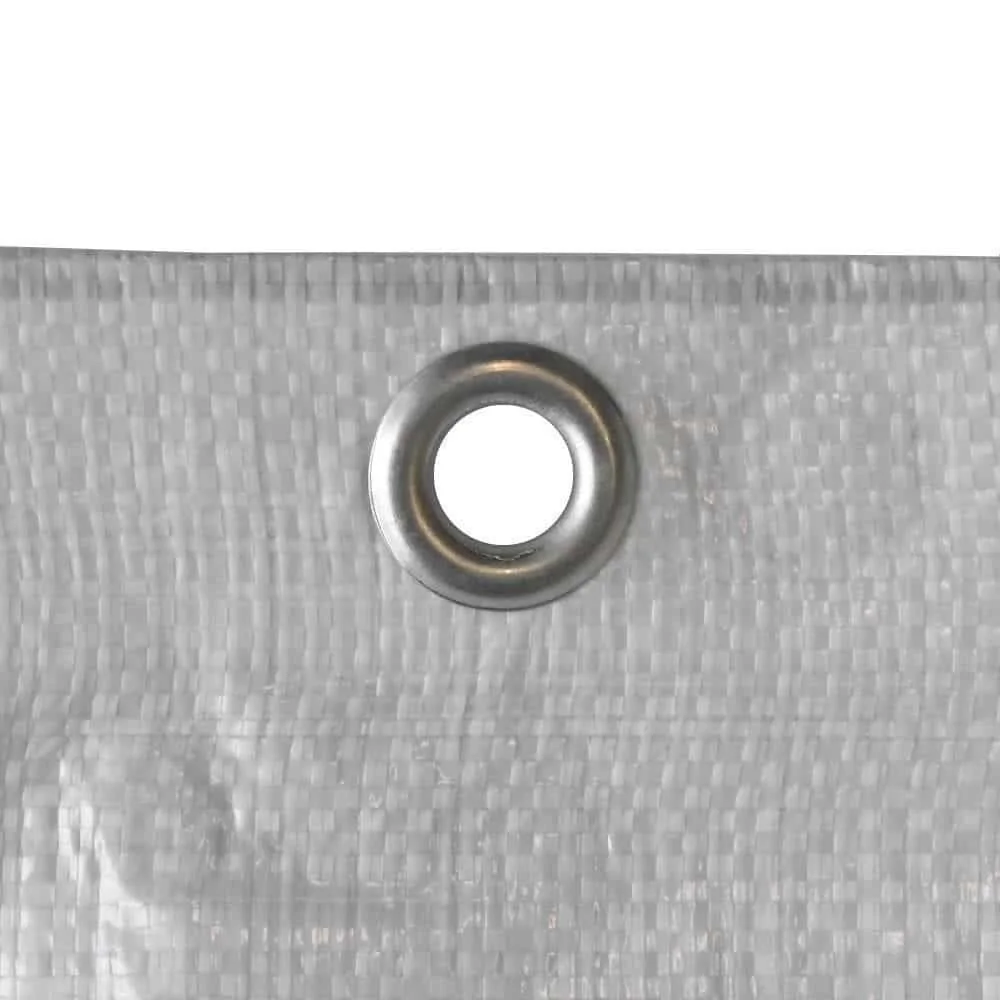
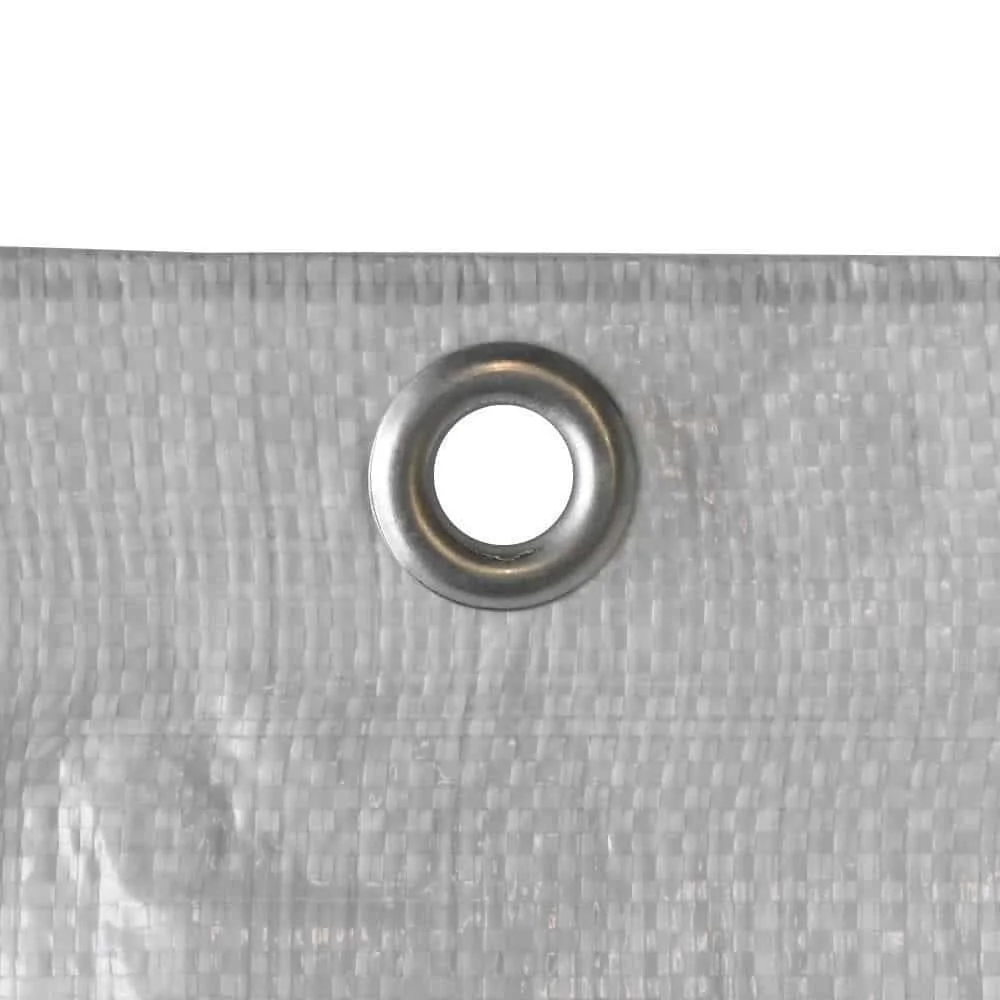
The foundation of every successful application is robust and reliable sheeting. The Scaffold sheeting 2,60 x 10 m with 150 g/m² offers exactly the right balance of tear resistance and flexibility. With its reinforced edges and sturdy metal eyelets spaced 50 cm apart, it is designed for the typical demands of a building site. Its dimensions fit standard scaffold bays perfectly, enabling quick and secure installation.
Why is it so important to secure scaffold sheeting correctly?
Scaffold sheeting transforms open scaffolding into a huge enclosed surface. This has a major impact on wind load. If installed incorrectly, building sheeting acts like a sail in strong winds. The forces generated can not only tear the eyelets out of the sheeting but, in the worst case, compromise the stability of the entire scaffold. Correctly anchoring the scaffolding to the façade is therefore essential.
The safety of workers and passers-by is the top priority. Sheeting that comes loose and falls from the scaffolding presents a considerable accident risk. An intact sheet also protects against falling small materials or tools, helping to keep the area around the building site clean and safe. Correct installation is therefore not a minor detail but a central aspect of site safety.
Sheathing also safeguards the quality of your work. It keeps driving rain away from the fresh façade, protects plaster from drying out too quickly in direct sunlight and allows work to continue even in adverse weather conditions. Investing in the right installation method pays off through less weather-related downtime and better results.
Scaffold sheeting is only as strong as its weakest fastening. Every unused eyelet is a potential weak point that can become a serious problem with the next gust of wind.
What preparations do you need to make before installation?
Before you roll out the first sheet, several important preparations are essential. Good planning prevents problems later and ensures a smooth process. Take the time to carry out a thorough inspection and prepare all the materials you need.
Inspect the scaffolding
Check the scaffolding for stability and correct anchoring. All connections must be secure. Pay particular attention to sharp edges or protruding screws that could damage the sheeting. If necessary, cover or pad these areas with adhesive tape or protective material. Make sure there are enough attachment points on the scaffolding itself and that they are easy to reach.
Choose the right materials
The size of the sheeting must match the scaffolding. Measure the area to be covered accurately. The mentioned above is suitable for standard scaffolding. For wider scaffold bays, the Scaffold sheeting in 3,10 x 10 m is a good choice, while the Scaffold sheeting measuring 2,10 x 10 m is suitable for narrower areas. Prepare enough fastening material. High-quality, UV-stable cable ties or elastic bungee cords are the best choice.
Important note
Never install scaffold sheeting in strong winds or when a storm is approaching. Even in moderate winds, a large sheet generates enormous forces and becomes uncontrollable. The risk of injury to you and your team is then extremely high. Always check the weather forecast.
How do you attach scaffold sheeting step by step?
A systematic approach is the key to success. Always work in pairs and carefully follow the steps below to achieve a safe, long-lasting result. A well-planned approach saves you from laborious corrections.
- Start at the top: Always begin at one of the upper corners of the scaffold section to be covered. Secure the first eyelet to the scaffold tube. This is your anchor point.
- Secure the top edge: Work your way from the first corner along the top edge of the sheeting. Attach each individual eyelet to the highest horizontal scaffold tube. Pre-tension the sheeting slightly as you go.
- Secure one long side: Return to the starting corner and now work your way down the vertical edge. Attach each eyelet to the vertical scaffold upright. Pull the sheeting taut downwards as you go.
- Tension the sheeting: Now move to the opposite vertical side. Start at the top again and pull the sheeting firmly to the side before securing the first eyelet. Then work your way down eyelet by eyelet, tensioning the sheeting both horizontally and vertically.
- Finish with the bottom edge: Finally, secure the bottom edge of the sheeting. Make sure the tension is even here too, to prevent creases and bulges.
- Install overlaps: If you need several lengths, for example for large areas where a scaffold sheet measuring 20 m in length is not sufficient, always work from top to bottom. The top sheet must overlap the one below by at least 20-30 cm so that rainwater can run off on the outside rather than running behind the lower sheet.
Pro tip
Use bungee cords instead of rigid cable ties for fastening. The elasticity of the cords absorbs sudden gusts of wind, reduces the strain on the eyelets and significantly extends the service life of your sheeting. The fasteners can also be reused.
How can you tell if scaffold sheeting has been improperly secured?
A quick look at a covered scaffold is often enough to reveal whether it has been professionally installed. Look out for typical signs of incorrect fastening. These indicate more than just an untidy appearance; they are serious safety issues that should be rectified immediately.
The most obvious signs are sagging areas and bulges where the wind can catch. Correctly installed sheeting lies taut and almost crease-free against the scaffold. If you hear loud, rhythmic flapping or banging, this is a clear sign that the sheeting is too loose. This constant movement puts extreme strain on the material and eyelets, leading to premature wear.
Check the fastening points carefully. Are any eyelets torn out or badly deformed? Have any eyelets been skipped and left unused? Are the cable ties twisted or already partly torn? All of these are warning signs. A chain is only as strong as its weakest link, and with scaffold sheeting, every individual fastening is one of those links.
Flapping sheeting is more than just a nuisance. It is a silent alarm indicating impending material fatigue and a potential safety risk.
Which fasteners are best suited to scaffold sheeting?
Choosing the right fastener has a major impact on the durability and safety of the sheeting installation. There are various options, each with its own advantages and disadvantages. The choice often depends on the intended use, the expected weather conditions and the budget.
Cable ties
Cable ties are the quickest and often the cheapest method. They are easy to use and provide a firm hold. Always choose high-quality, UV-resistant ties, as inferior products can quickly become brittle and snap when exposed to sunlight. Their disadvantage is that they are rigid, cannot absorb gusts of wind and cannot be reused.
Bungee cords / elasticated ropes
These elasticated ropes with hooks or a ball at the end are the more professional solution. Their flexibility allows the sheeting to give slightly in gusts of wind, drastically reducing the sudden forces exerted on the eyelets. This protects the material and extends its service life. They can be reused and are therefore often the more economical choice in the long term. In our range of tarpaulins + nets, you will find suitable accessories.
Additional advice
Combine fastening methods. At corners that are particularly exposed to wind, you can add a cable tie as a final safeguard alongside the bungee cords. This provides extra security should a cord ever come unhooked.
Care and maintenance of your scaffold sheeting
High-quality scaffold sheeting is an investment that will pay off over many uses if properly cared for. Regular inspection and correct storage are essential for a long service life. This ensures that your weather protection remains fully functional for your next project.
Inspect the installed sheeting regularly, especially after strong winds or rain. Check that the fasteners are secure and re-tension any loose areas. Remove coarse dirt with a soft brush and clean water. Do not use aggressive cleaning products, as they can damage the fabric coating.
After use, the sheeting must be completely dry before storage to prevent mould and material deterioration. Fold the sheeting carefully instead of crumpling it. This prevents creases and weak spots from forming in the fabric. Store it in a dry place protected from direct sunlight. It will then be ready for its next use, whether as scaffold protection, an alternative to privacy + windbreak netting or as temporary cover. For applications where protection from dirt but not rain is required, breathable scaffold netting may be the better choice.
Frequently Asked Questions
- Which fasteners are best for scaffold sheeting?
- Heavy-duty cable ties or elastic bungee cords are ideal for securing scaffold sheeting. Bungee cords absorb wind loads better and are gentler on the eyelets. Cable ties are an affordable and quick solution, but they should be UV-stabilised to prevent them from becoming brittle.
- How do I tension scaffold sheeting correctly?
- Tension the sheeting evenly and firmly, but do not pull it excessively. Start along one long side and work your way towards the opposite side. Properly tensioned sheeting prevents “wind pockets” from forming and reduces the strain on the scaffold and fastening points.
- Can I install scaffold sheeting on my own?
- Installing scaffold sheeting requires at least two people. A large sheet can quickly become difficult to control, especially in windy conditions. Working as a team not only ensures safety, but also makes it much easier to tension the sheeting correctly and securely.
- How far apart should the fastening points be?
- Use every eyelet on the scaffold sheeting for fastening. The eyelet spacing is selected by the manufacturer to distribute forces as effectively as possible. Leaving eyelets unused creates localised overloading, which can cause the remaining fasteners to tear out in strong winds.
- What happens if scaffold sheeting is not tight enough?
- Loose scaffold sheeting catches the wind like a sail. This creates enormous forces that can damage not only the sheeting and eyelets, but in extreme cases also threaten the stability of the entire scaffold. Flapping sheeting also causes noise and wears out more quickly.
You may also be interested in
- When to Use Scaffold Sheeting: Weather Protection for Building & Gardening
- 150 g/m² Scaffold Sheeting: When It Is the Perfect Choice
- Cleaning & Caring for Scaffold Sheeting: How to Keep It White and Durable
- Make Privacy Netting Stormproof: How to Protect Your Fence from Wind & Weather
- Tarpaulin Test & Comparison 2026
- Balcony Screening: Privacy & Wind Protection for Your Balcony