
In brief: You can build a sturdy workbench yourself from solid wood such as spruce or beech. Start by planning the dimensions and features. The basic design consists of a strong frame and a workbench top at least 40 mm thick. Use screws and wood glue to join the parts for maximum stability. You’ll need basic woodworking skills, the right tools and some patience.
How to Build a Workbench: Complete DIY Guide
A workbench is the heart of any workshop. It gives you a stable surface for all kinds of projects, from building furniture to repairing bicycles. A workbench designed to your specifications can fit your space and needs perfectly. Building one takes basic woodworking skills, suitable materials and some time.
The advantages are clear: you choose the size, height and features. You can often save money compared with a ready-made workbench. And you’ll end up with a sturdy piece of equipment you can be proud of. This guide walks you through planning, choosing materials and building your workbench.
How do I plan my own workbench?
Start with a few key questions. Where will the workbench go? How much storage do you need underneath? What kinds of jobs will you be doing? Write down your requirements before you start drawing.
Height is the most important factor for comfort. A workbench that’s too high can strain your shoulders, while one that’s too low can cause back pain. Check your ideal working height against a surface you already use comfortably. For most people, it’s between 85 and 95 centimetres.
The workbench top should be at least 60 centimetres deep. That gives you enough room for workpieces and tools. Its length depends on the space available. A length of 150 to 200 centimetres is a good standard. Also consider the room’s depth so you have enough space to move around in front of the workbench.
The best workbench is the one that suits the craftsperson. Take your time planning, because making changes to the finished frame can be time-consuming.
Materials list for building a workbench
Make a detailed cut list. For a traditional wooden workbench, you’ll need solid wood. The workbench top can be made from glued spruce or beech boards at least 40 millimetres thick. Spruce timber measuring 80x80 millimetres works well for the frame.
Fasteners are key. Use galvanised or stainless steel screws. Wood glue strengthens every joint. For the finish, you’ll need sandpaper in different grits and protective oil or hard wax.
- Workbench top: laminated board or glued solid wood panel, approx. 40 mm thick
- Frame: 80x80 mm timber for the legs, 60x80 mm for the cross braces
- Joints: wood screws (6x80 mm, 6x120 mm), wood glue, optional dowels
- Finish: abrasives (grit 80, 120, 180), linseed oil or hard wax
- Accessories: bar clamps, optional workshop trolley or material stand
Pro tip
Buy the wood for the workbench top a few days before you start building and store it indoors in a dry place. This lets it acclimate and reduces the risk of warping after assembly. A tarp will protect it from direct sunlight.
What tools do I need to build a workbench?
You’ll need the right tools for the job. Fortunately, you don’t need a fully equipped professional workshop to build a simple workbench. A basic set of power tools and hand tools will do.
A circular saw or a good jigsaw is essential for making precise cuts. A sufficiently powerful cordless drill and a range of bits make assembly easier. Use a spirit level and a long metal square to make sure your joints are at right angles.
A hand plane or power planer is useful for woodworking. These tools smooth the edges of the workbench top. A sander saves a lot of time when finishing the surface. Don’t forget workshop essentials such as screwdrivers and socket wrenches from our range of workshop supplies.
Tool checklist
- Cordless drill with bits
- Circular saw or jigsaw
- Sander (random orbital sander)
- Optional: router for grooves and rebates
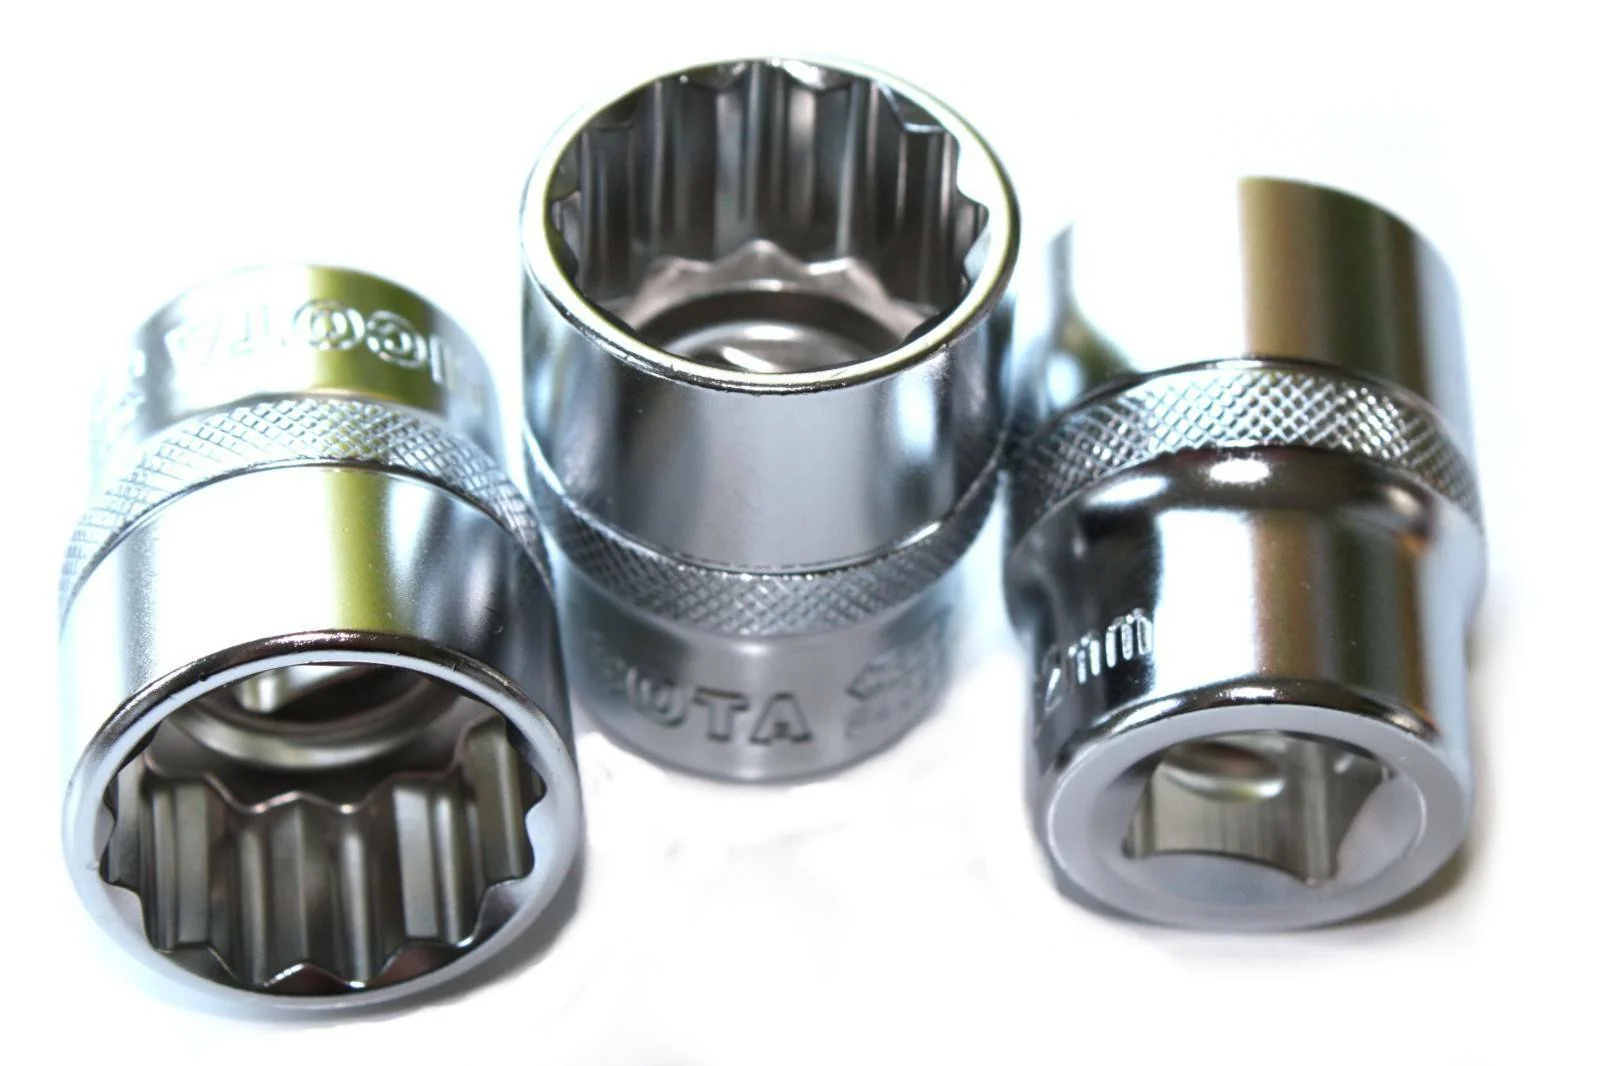
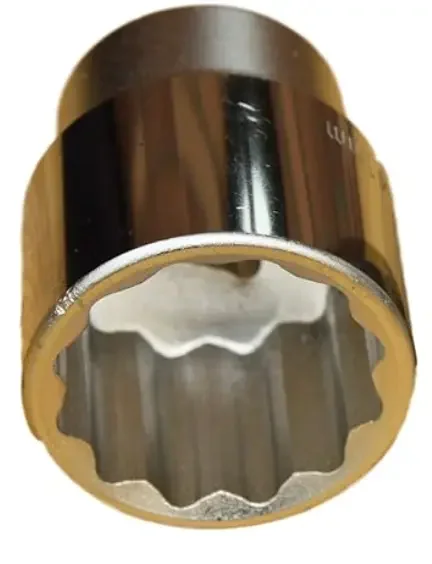
Important note
Always wear protective gear when using circular saws and sanders. Safety goggles keep wood chips out of your eyes. Wear a respirator when sanding. Products such as these
(assembly gloves) protect your hands from splinters and dirt.
How do I build a sturdy workbench base?
The base supports the weight of the worktop and your projects, so stability is essential. The classic design has four solid legs connected by rails.
Start by cutting the legs to size. To calculate their length, subtract the worktop thickness from your desired bench height. Cut the crosspieces (rails) for the short and long sides. They connect the legs at floor level and directly beneath the worktop.
Join the parts with half-lap joints or simple screw connections. Always pre-drill to prevent the wood from splitting. Apply wood glue to the contact surfaces before screwing the joints together. Check that everything is square after each step.
The key to assembling the frame is working on a perfectly level surface. Assemble it in its final location or on a large, straight table. This helps prevent you from ending up with a wobbly, three-legged bench.
Step by step: assembling the frame
Place two legs and the lower and upper cross rails for one side parallel on the floor. Align everything precisely with a square. Secure the joints with clamps.
Use a metal drill bit to make the necessary screw holes. The screws should not go all the way through the wood. Use countersinks so the screw heads sit flush.
Screw and glue the joints together. Repeat the process for the second side of the frame. Then connect both sides with the long cross rails to create a sturdy frame. A diagonal brace further increases torsional rigidity.
Additional tip
Reinforce the corner joints with triangular wooden strips or metal brackets. This takes little material and time but significantly increases the stability of the bench. It’s especially recommended for softer woods such as spruce.
How do I attach the worktop correctly?
The worktop is the heart of the workbench. It must sit perfectly flat and be firmly attached to the base. Prepare the worktop before installing it by thoroughly sanding the surface and edges.
Place the completed base on the upside-down worktop. Carefully center it. Mark the mounting screw positions from underneath. Drill through the frame’s cross rails into the worktop.
Use long-shank screws that penetrate deeply into the worktop without going all the way through it. Space the fasteners evenly. Eight to twelve screws are needed for a secure connection. A workshop cart next to the bench keeps frequently used tools within easy reach.
Finish and protect the surface
An untreated wooden worktop absorbs oil, paint, and moisture. It quickly becomes unattractive and unhygienic, so a protective finish is essential. Hardwax oil is the best choice for workbenches.
It penetrates deep into the wood, hardens, and creates a dirt-resistant surface. Linseed oil is a natural alternative, but it dries very slowly. Apply the oil or wax generously and evenly with a brush or cloth.
Allow the first coat to soak in completely. After 24 hours, lightly sand the surface with fine-grit sandpaper (240 grit). This raises the wood fibers. Apply a second, thinner coat. Once it has dried completely, the bench is ready to use.
How do I equip my workbench with accessories?
A basic workbench gets the job done. Add clever accessories and it becomes a multifunctional work center. Adding clamps is a good first step. Bench clamps fit into pre-routed grooves along the front edge.
A grid of holes in the worktop offers plenty of clamping options. Use a router and cross slide to make evenly spaced 20-millimeter holes. Matching bench dogs and anvils complete the system. For storage, workshop cart accessories such as hook rails or drawers are practical.
Don’t forget lighting. A flexible LED work light attached to the bench eliminates shadows. A dust collection port near the sawing or sanding area helps keep the workspace clean. Products such as the
(sliding handle) make it easier to change tools on the torque wrench.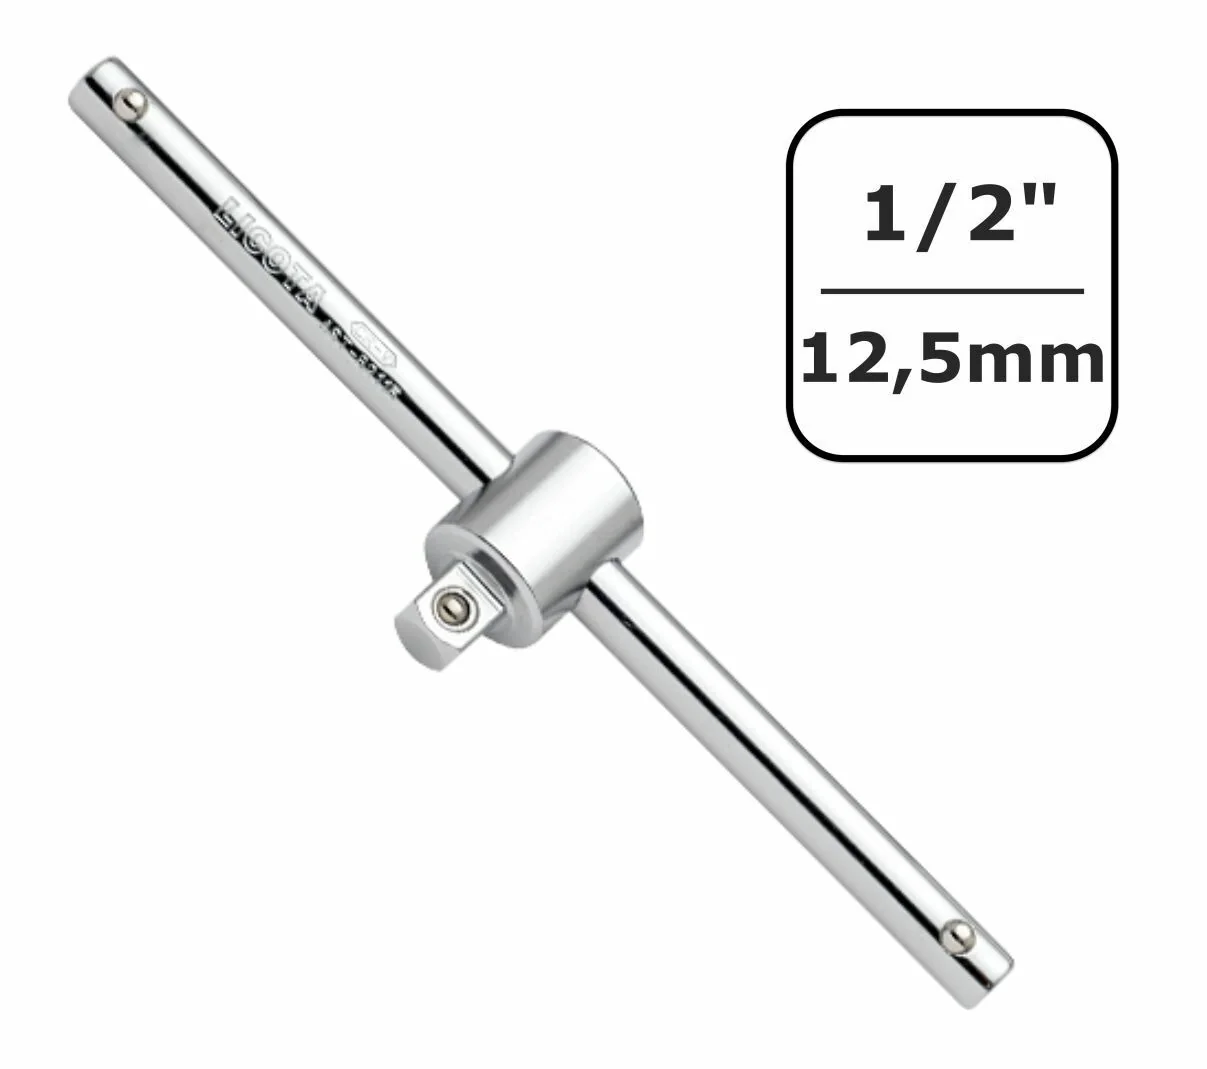
Final checks and putting the bench to use
Before using the workbench for the first time, check that all screw connections are tight. Correct minor unevenness with adjustable feet or thin shims. Keep your tools and materials nearby.
Start with a small project to test the bench. Do you feel vibrations or hear creaking? If so, make further adjustments. A well-built workbench will be a reliable partner for many years.
Investing in planning and quality materials pays off. Your homemade workbench is ready for all your upcoming DIY projects. From repairs to furniture making, you’ve created the perfect workspace.
Frequently Asked Questions
- What’s the best wood for a DIY workbench?
- For the worktop, use solid wood such as beech or oak, or laminated spruce boards at least 40 mm thick. Build the frame from sturdy softwood beams (e.g. 80x80 mm or 100x100 mm) made from spruce or fir. Hardwood is more durable, while softer woods such as spruce are more affordable and easier to work with.
- How do I choose the ideal workbench height?
- The ideal height is around 90 % of your height. Stand upright and let your arms hang loosely at your sides. The worktop should be just below your wrists. A higher bench is better for precision work such as stonework, while a slightly lower one is better for heavy-duty planing.
- Do I need a clamp for my workbench?
- Yes, clamps are essential. Plan to install at least one bench clamp at the front. Ideally, use two clamps: one at the front and one at the side. This lets you hold workpieces securely while sawing, planing, or sanding. Make sure the clamp guide is securely mounted directly to the bench frame.
- Can I build a workbench without a planer or router?
- Yes, you can build one with basic tools. You’ll need a jigsaw or circular saw for cutting, a cordless screwdriver, a square for marking, and a tape measure. Buy planed lumber and laminated wood panels directly from a home improvement store. A router or table saw is useful for making precise joints.
- How do I make my DIY workbench stable and tip-proof?
- Use solid timber beams (at least 80x80 mm) for the legs and connect them at the bottom with a sturdy frame. Add diagonal braces between the legs. A heavier bench with a thick worktop will be more stable. For mobile use, fit heavy-duty casters with brakes.
You might also be interested in
- Build Your Own Garden Shed: Step-by-Step Guide
- Build Your Own Industrial Shelving: Step-by-Step Guide
- Build Your Own Home Bar: The Perfect Guide to DIY Bar Furniture
- Creative DIY Projects: Ideas for Your Workshop
- Build Your Own Furniture: Creative Projects for Your Home
- Build Your Own Potting Bench: Practical DIY Guide