
In brief: Building indirect ceiling lighting yourself requires careful planning. You need a wooden or plasterboard substructure that is attached to the ceiling or walls. LED strips are integrated into this structure, also known as a cove or ceiling raft. They cast their light onto the ceiling, from where it is softly reflected into the room without glare.
Table of contents
A good lighting concept can turn a house into a home. Direct light is functional, but indirect lighting creates an atmosphere of warmth and cosiness. Instead of harsh spotlights, you get soft, diffuse light that makes the room feel larger and more inviting. The good news is that you do not need to hire an expensive lighting designer. With some DIY skills and the right instructions, you can easily build your own indirect ceiling lighting.
This project not only enhances your living room, but is also perfect for bedrooms, hallways or even a modern kitchen. We will guide you through the planning, choice of materials and construction so that your home can soon shine in a new light.
Why is indirect ceiling lighting so popular?
Indirect light does not cause glare. The light source itself remains hidden and casts its light onto the ceiling or walls. From there, it is softly reflected into the room. This effect offers several benefits that make up a well-designed lighting concept.
Atmosphere and wellbeing: The soft, low-shadow light has a calming and relaxing effect. It creates a cosy environment, ideal for relaxing evenings in the living room or as gentle ambient lighting in the bedroom.
Makes rooms look larger: A brightly lit ceiling makes the room appear higher and more open. This trick can work wonders, especially in rooms with low ceilings, creating a greater sense of space.
Modern aesthetics: Indirect lighting looks elegant and modern. It highlights architectural features without drawing attention to itself. Hidden light strips create a clean, uncluttered look.
You cannot see light, but you see everything through light. Good lighting creates more than brightness: it creates atmosphere and wellbeing.
What do you need for your DIY project?
A successful DIY project starts with choosing the right materials and tools. The key components of your indirect ceiling lighting are the light sources and the substructure in which they are concealed.
Choosing the right light source: LED strips in focus
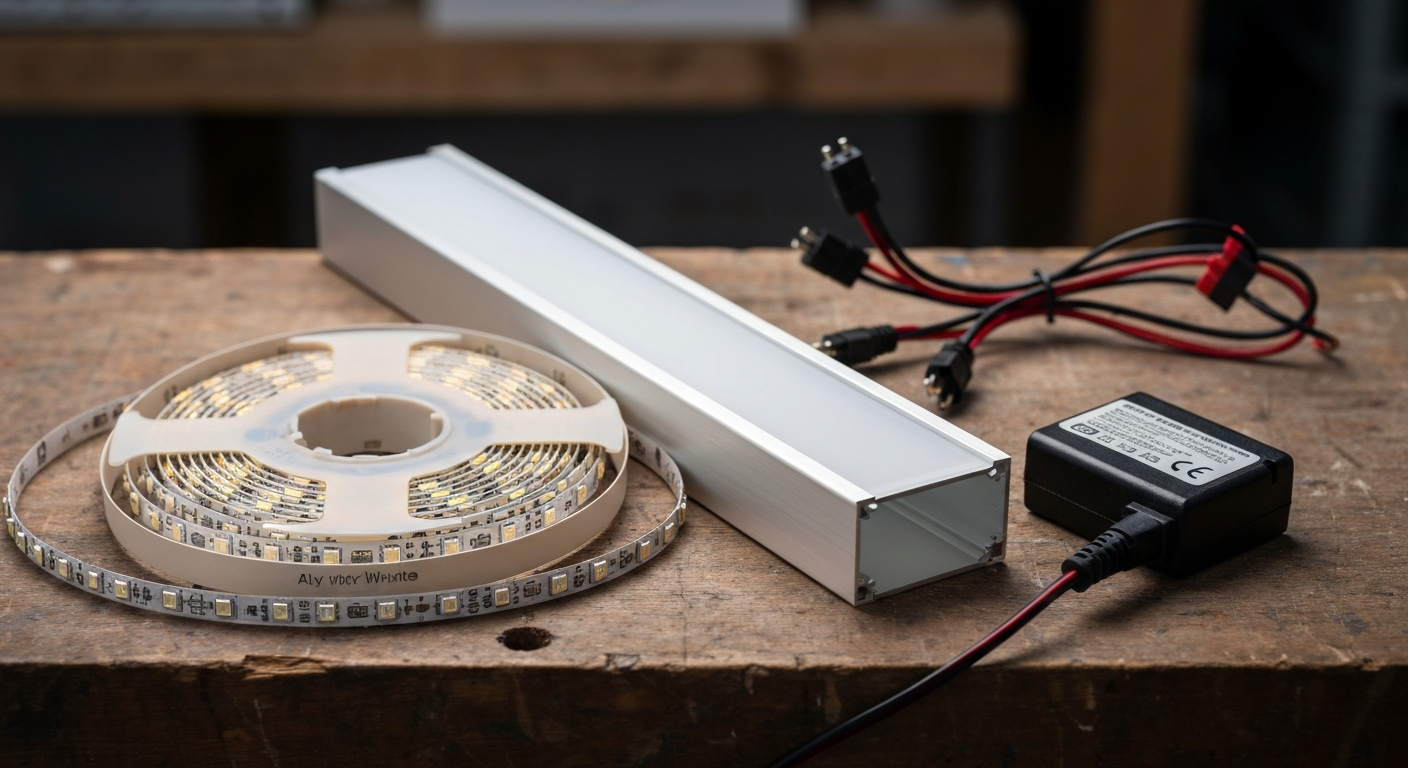
Flexible LED strips are the ideal choice. They are energy-efficient, long-lasting and easy to install. Look out for the following features:
- Colour temperature (Kelvin): Warm white (approx. 2,700 to 3,000 Kelvin) is best suited to living spaces. It creates a cosy atmosphere. Neutral white (approx. 4,000 Kelvin) is more energising and works well in kitchens or work areas.
- Brightness (lumens per metre): For ambient lighting, choose strips with at least 1,000 lumens per metre. Dimmable models offer maximum flexibility.
- Colour rendering index (CRI): A high CRI value (above 90) ensures that colours in the room look natural and vibrant.
- LED profiles: Aluminium profiles not only provide cooling and extend the life of the LEDs, but also ensure particularly even light distribution without visible hotspots when fitted with a milky cover.
The substructure: wood, plasterboard or cornice profiles
The substructure, often referred to as a lighting cove, cornice or ceiling raft, conceals the LED strips and directs the light towards the ceiling. You have several options:
- Wooden battens and plasterboard: The most common DIY method. You build a frame from wooden battens, attach it to the wall or ceiling and then cover it with plasterboard. This option offers plenty of flexibility in design.
- Prefabricated cornices: Profiles made from polystyrene or polyurethane are lightweight, easy to install and already designed to accommodate LED strips. They are simply glued to the wall.
- Cable trunking: For a minimalist solution, you can also use wider plastic cable trunking. Attach the lower section to the wall and use the cover as a light shield.
Additional tip
Consider smart controls. RGBW LED strips allow you to create coloured light and adjust the shades of white. When connected to a smart home system, you can control your lighting by app or voice and create different lighting scenes for film nights or gatherings.
Tools needed for the build
Building the substructure requires a basic set of tools. Make sure you have the following to hand:
- Cordless screwdriver
- Drill with suitable drill bits
- Spirit level and tape measure
- Saw (e.g. jigsaw or mitre saw for wood, drywall saw for plasterboard)
- Filling knife and sandpaper for filling the plasterboard joints
- Utility knife
The right power tools make the work much easier and help you achieve precise results.
How do you plan your lighting concept correctly?
Careful planning is half the battle. Before you buy materials and reach for the saw, you should think through your project in detail. A well-designed lighting concept takes the characteristics of the room into account.
Analyse the room size and ceiling height
Measure your room precisely and create a simple sketch. Where should the recessed light coves run? Along all four walls, along just one wall, or perhaps as a floating ceiling panel in the centre of the room? The construction should be about 10-15 cm from the ceiling so that the light can spread beautifully. The ideal distance from the wall is 15-20 cm.
Determine the light colour and brightness
Consider what function the indirect lighting should fulfil. Will it serve as the sole source of ambient lighting or complement other lamps? For a 20 m² living room, you need approximately 2.000 to 3.000 lumens in total for general illumination. Plan the length of your LED strips accordingly. A dimmer is almost always a worthwhile investment.
Choosing the right light colour is crucial. Warm white light of around 2.700 Kelvin creates a cosy, homely atmosphere, while neutral white light of around 4.000 Kelvin has a more functional feel and is suitable for work areas.
Positioning the light coves or suspended ceiling
A continuous light cove along all the walls provides very even illumination. A ceiling panel creates a central accent, ideally above the sofa or dining area. A single illuminated wall can serve as a design highlight and, for example, showcase a picture gallery. Also take the position of windows and doors into account when planning.
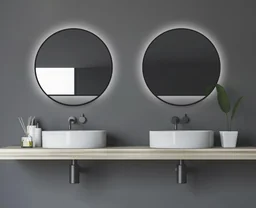
If you prefer a simpler solution, you can also use ready-made elements. Decorative mirrors with integrated LED lighting, such as the
or the slightly larger , create a similar atmospheric effect on the wall without having to build a complete supporting structure.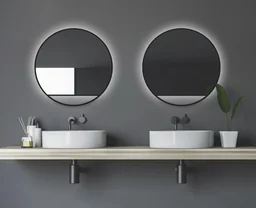
Step-by-step guide: Build indirect lighting yourself
Here we describe the most common method using a wooden and plasterboard supporting structure. The steps can be adapted to other versions.
1. Build the supporting structure
Cut the squared timber to size for the frame. Attach the first piece of squared timber horizontally to the wall at the desired height. Use a spirit level! Mount vertical pieces of timber at intervals of approx. 50-60 cm to act as spacers for the front fascia. Attach the front piece of squared timber to these, running parallel to the wall. This creates a stable, open box.
2. Cut and install the plasterboard
Measure the required pieces for the underside and front fascia. Score the plasterboard with a utility knife and snap it over an edge. Screw the boards to the wooden frame using drywall screws. The screw heads should be slightly countersunk into the board.
3. Fill and sand
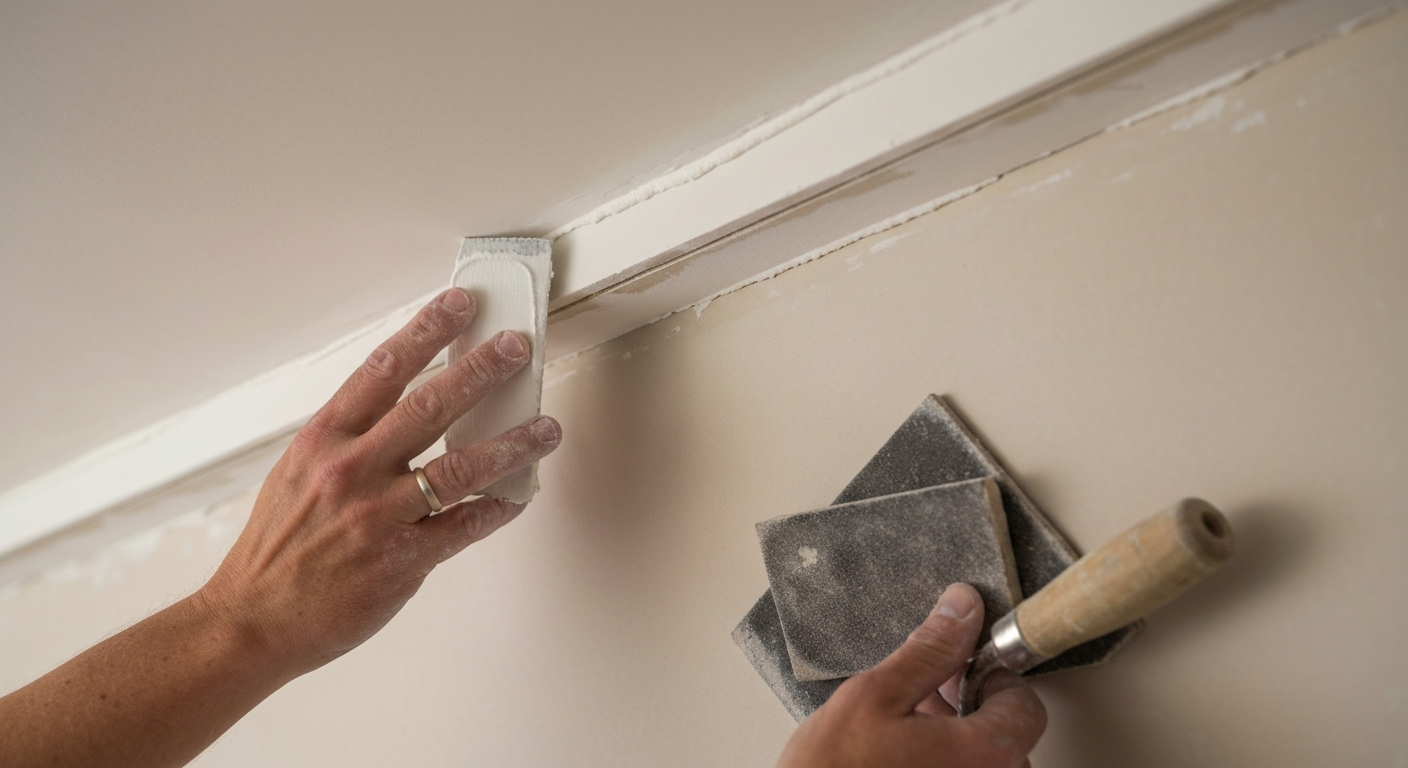
Fill all screw holes and joints between the plasterboard panels. Apply two to three thin coats. After each drying phase, sand the areas smooth until an even surface is achieved. This step is crucial for a clean final result.
Pro tip
Paint the inside of your construction, where the LED strip will later be installed, as well as the ceiling above it, in a bright white, matt colour. White reflects light best and ensures maximum light output and even distribution.
4. Install the LED strips
Stick the self-adhesive LED strips (ideally in an aluminium profile) into the finished construction. Plan the position of the power supply (transformer) so that it remains accessible if it ever needs to be replaced. You could hide it inside the light cove or in a nearby junction box, for example.
5. Electrical connection
Connecting to the 230V mains is the most delicate part. Safety must always come first. Connect the transformer to the power outlet in the ceiling or wall according to the instructions. Then connect the LED strip to the transformer's low-voltage output. The systems are often plug-in.
Important note
Work on 230V electrical installations may only be carried out by qualified professionals. Before starting any work, switch off the fuse and check that the circuit is de-energised using a two-pole voltage tester. If you are unsure, be sure to call in an electrician.
What mistakes should you avoid?
Some common pitfalls can detract from the result. Pay attention to these points to ensure your project is a complete success.
Incorrect spacing: If the fascia is too close to the ceiling, only a narrow, bright strip will be created instead of a wide spread of light. If it is too far away, you may be able to see the LEDs from below, which ruins the indirect effect.
Visible light spots: Use LED strips with a high LED density (at least 120 LEDs/m) and a milky diffuser on the aluminium profiles. This prevents the “string of pearls effect” and gives you a homogeneous strip of light.
Inadequate cooling: Never stick LED strips directly onto wood or plasterboard. The heat cannot escape, which drastically reduces their service life. Aluminium profiles are essential here.
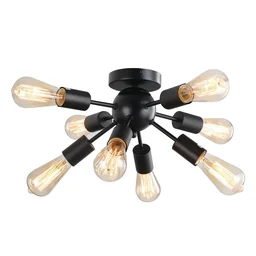
Combining with other lights: Indirect lighting is an excellent source of ambient lighting. However, for tasks such as reading or cooking, you also need additional direct light. A combination, for example with a ceiling light such as the
With the right planning and careful execution, you can create individual, atmospheric ceiling lighting that transforms your rooms. You are investing not only in light, but in quality of life.
Frequently asked questions
- What is indirect lighting?
- With indirect lighting, the light source itself is not visible. The light is directed onto a surface such as the ceiling or a wall, from where it is reflected into the room. The result is soft, diffuse and glare-free light that creates a very pleasant atmosphere.
- Which LEDs are best for indirect ceiling lighting?
- LED strips are the first choice for DIY projects. They are flexible, self-adhesive and available in various lengths, light colours and brightness levels. Look for a high colour rendering index (CRI > 90) and use aluminium profiles for better cooling and more even light distribution.
- How much space should there be between the fascia and the ceiling?
- A gap of 10 to 15 centimetres between the top edge of your construction (e.g. the cove) and the ceiling is ideal. This gives the light enough room to spread softly and evenly without creating harsh edges or overly bright spots.
- Can I dim indirect lighting?
- Yes, most LED strips are dimmable. You will need a dimmable power supply and a compatible dimmer, often in the form of a wall switch or remote control. Dimming is highly recommended, as it allows you to adjust the lighting atmosphere flexibly at any time.
- Is indirect lighting sufficient as the only room lighting?
- This depends on the brightness (lumens) of the LEDs and the size of the room. Indirect lighting often serves as atmospheric ambient lighting. For a complete lighting concept, supplement it with targeted light sources such as reading lamps or a pendant light above the dining table.
You might also be interested in
- Build your own industrial shelving unit: step-by-step guide
- Painting a ceiling: step by step to a perfect result
- Build your own flexible room dividers
- Reduce electricity consumption: LED lighting in the home
- Build your own porch canopy: effective weather protection for your entrance
- Ceiling lights review & comparison 2026