
In brief: Choose pavers by weighing three factors: the expected load, your budget and the look you want. For busy driveways, choose frost-resistant concrete or natural stone pavers with high compressive strength. For shady garden paths, a slip-resistant surface is essential. Proper sub-base preparation matters more than the material you see on the surface.
Choosing pavers for garden paths and driveways
Your garden path winds through the greenery. Your driveway supports the weight of your car every day. The pavers you choose affect how well each surface performs for decades. You need a material that can handle the load, complement your home's style and fit your budget.
We explain the differences between concrete pavers, natural stone and clay pavers. You will learn what to consider when planning your project. Proper ground preparation is half the battle. A well-planned path can save you time and money later.
Which materials are suitable for paving?
There is a wide range of pavers to choose from. Each material has its own properties, advantages and disadvantages. Your choice affects durability, maintenance and the overall appearance.
Concrete pavers: The all-around choice
Concrete pavers are a popular choice for driveways and paths. They are made by pressing cement, water and aggregates into shape. Manufacturers offer them in a wide range of colors, formats and surface textures.
The advantages include an affordable price and high compressive strength. Concrete pavers are frost-resistant and can withstand de-icing salts. Disadvantages include their sometimes sterile appearance and the possibility of efflorescence. These harmless white lime deposits can detract from the look, but they fade on their own over time.
For a driveway, choose pavers with a compressive strength class of 6 or higher. Look for a rough, slip-resistant surface. In our garden equipment range, you will find the right tools for installation.
Pro tip
Always buy concrete pavers from a single production batch. Even slight color differences between batches can stand out across a large driveway. Check the pavers for damage before the delivery truck unloads.
Natural stone pavers: The premium choice
Natural stone such as granite, basalt or quartzite gives your outdoor space a timeless, high-quality look. Every stone has its own color and grain. Its natural hardness makes it exceptionally durable and resilient.
Natural stone stands out for its appearance and virtually unlimited lifespan. Granite pavers can last for generations. The main drawback is the cost: natural stone is considerably more expensive than concrete. Installation is more demanding because the stones vary in thickness and format.
Granite and basalt are ideal for driveways. Sandstone and limestone are better suited to lightly used patios or garden paths because they are softer. You will need sturdy accessories for any work with stone and soil. A garden tool bag like
keeps your tools organized and close at hand.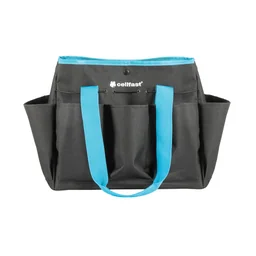
Clay pavers and bricks: Classic appeal
Clay pavers are made from clay-rich loam fired at very high temperatures. The result is an extremely hard, water-repellent and frost-resistant paver. Their signature red and brown tones suit older homes and rustic garden styles.
Clay pavers resist dirt and are easy to maintain. They cost more than concrete pavers but are often less expensive than natural stone. One drawback is the more limited color selection. Improper installation can also leave black scuff marks ('brick residue') on light-colored surfaces.
Always use jointing sand made for clay pavers. Regular jointing sand can cause unattractive efflorescence. Installation takes care because clay pavers are very hard and brittle. You will find suitable tools for the job in the industrial supplies category.
The foundation of good paving is hidden beneath the ground. A well-designed layer structure with frost protection and a sub-base matters more than the pavers visible on the surface. Never cut corners on the sub-base.
How do I plan the project properly?
Good planning helps prevent costly mistakes. Before you buy your first paver, answer a few key questions. What loads will the surface need to support? What is your budget? Do you need a permit?
Define load classes
Divide your project into load zones. A driveway for a family car (car class) has different requirements from a parking area for a van or truck (truck class). Garden paths for pedestrians (footpath class) require less.
For car driveways, 8 cm thick pavers with a compressive strength class of at least 6 are standard. For trucks or frequent use by heavy vehicles, choose 10 cm thick pavers in class 8. For pedestrian paths, 6 cm thick pavers are often sufficient.
Don't forget the edges. Sturdy edge restraints made from larger-format pavers or a concrete edge foundation keep the entire surface from shifting sideways. The right edging helps stabilize the installation.
Important note
Before starting work, check whether you need a permit. This is often the case when a new driveway crosses a public sidewalk, or if you live in a historic district or conservation area. Check with your local government. Don't start building until you've confirmed this.
Calculate quantities and order materials
Calculate the amount of pavers you need in square meters. Measure the length and width of the planned area. Add around 10% for waste when cutting pavers at the edges or creating complex patterns. For natural stone, allow up to 15%.
For the subbase, you'll need crushed stone (frost protection layer), stone screenings (base layer) and jointing sand. Calculate the amount of crushed stone using this formula: area (m²) x layer height (m) x 1.5 (loosening factor). 1 m³ of loose crushed stone becomes approximately 0.65 m³ after compaction.
Order all your materials at the same time to make sure the colors and batches match. Plan for delivery by truck. Heavy materials such as crushed stone can't be transported in a car.
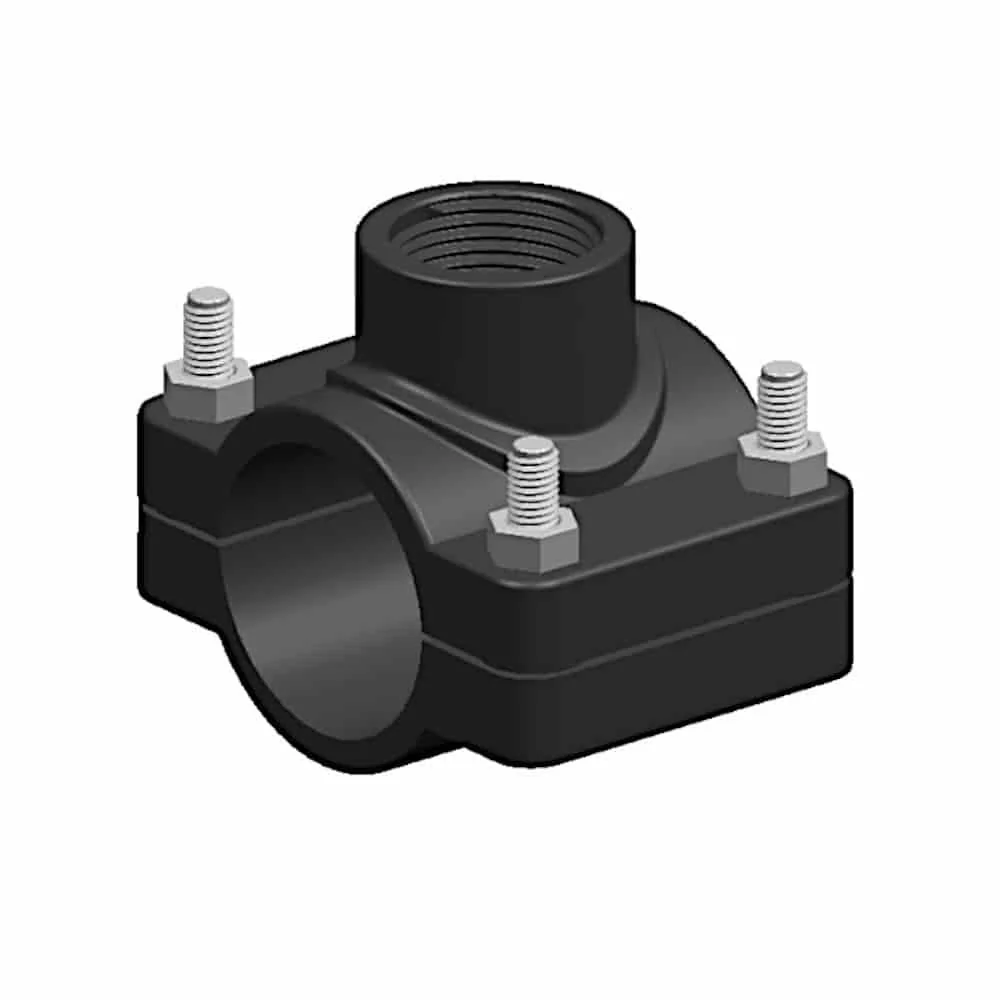
Temporary accessories can be useful for watering adjacent flowerbeds during construction. A
or makes it easy to connect to an existing water pipe.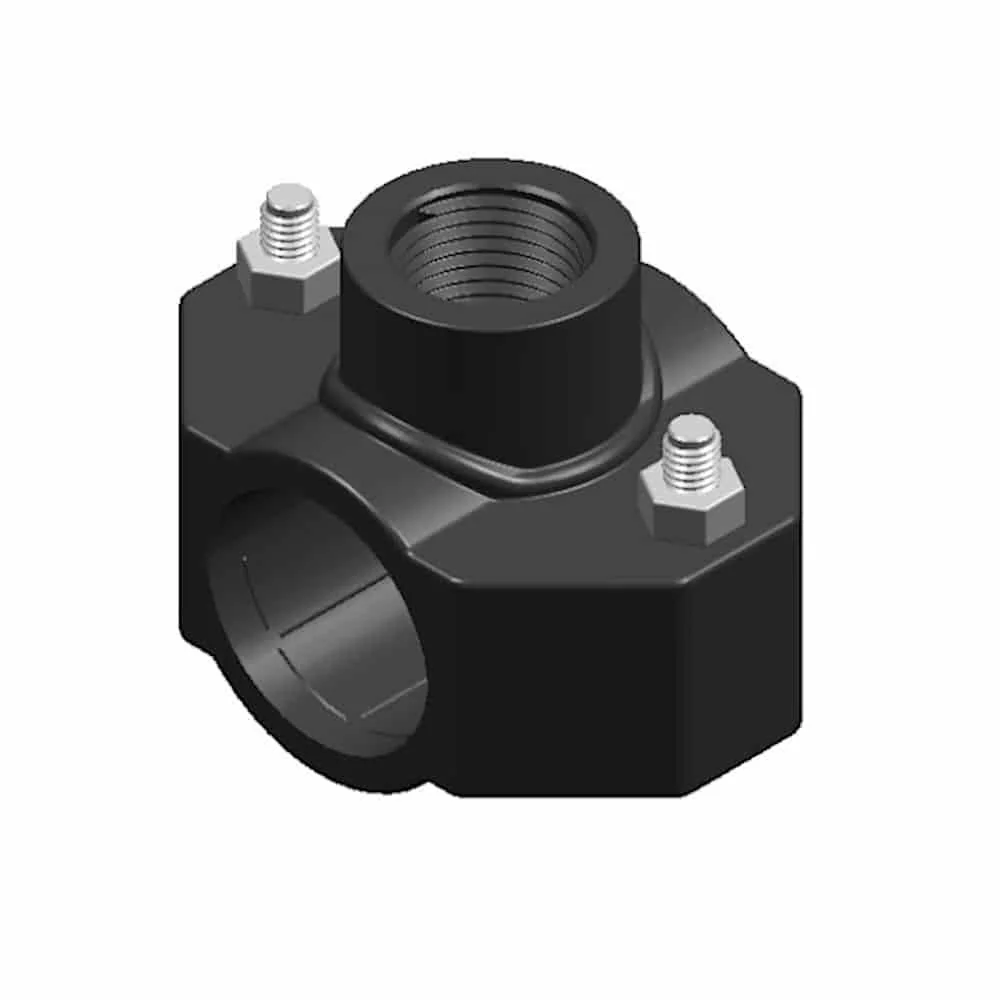
The slope is the unsung hero of a dry driveway. Plan for a slope of 2,5% to 3% away from the house. That means a height difference of 2,5 to 3 cm over a length of one meter. This helps rainwater drain reliably and prevents puddles from forming.
How do I install pavers properly?
Installing pavers follows a clear, practical process, with each step building on the one before it. Rushing is the biggest mistake you can make. Take your time with the groundwork.
Prepare the subbase
Excavate the soil. The depth depends on the planned layer structure. A typical driveway requires an excavation depth of 50-60 cm. Remove all roots and plant debris, which could rot later and leave voids.
Compact the existing soil with a plate compactor to create a solid foundation. Then lay a water-permeable geotextile fabric (membrane). It keeps the layers from mixing and prevents fine soil from rising.
Add the frost protection layer of crushed stone (grading 0/32 or 0/45). This layer is essential for stability and drainage. Level and compact it in stages (in layers of approximately 15 cm). The finished height must match your plan exactly.
Additional advice
Mark the levels with a spirit level and strings stretched between stakes. This helps you keep the planned slope in view at all times. Work from a fixed reference point, such as the house wall or an existing path.
The base layer and pavers
Spread the base layer of finer stone screenings (grading 2/5 or 5/8) over the compacted frost protection layer. This layer is approximately 5 cm thick. Roughly level it, but don't compact it. It provides a precise bedding layer for the pavers.
Start along a straight edge, such as the house wall or a taut string. Place the pavers tightly together in your chosen pattern. Gently tap each paver into the screenings with a rubber mallet, making sure they are all at an even height.
Cut edge pavers to size with a stone-cutting machine or a brick hammer and chisel. Always wear safety goggles and gloves. The finished surface should be level and have the planned slope.
For water connections around the patio or future lawn irrigation, high-quality fittings such as our tapping saddles are a reliable solution.
How do I compact the pavers and fill the joints?
Laying the pavers isn't the last step. Compacting the surface and filling the joints makes it stable and completes the look. This step helps prevent water infiltration and weeds.
Initial compaction and joint filling
Run a plate compactor over the entire dry paved surface. Always place a protective mat under the plate to avoid damaging the paver surfaces. The vibration settles the pavers into the base layer and evens out minor height differences.
Spread dry, quartz-based jointing sand (particle size 0-2 mm) generously over the surface. Sweep it into all the joints with a broom. Keep sweeping until every joint is completely filled.
Compact the surface a second time with the plate compactor. This locks the jointing sand in place and compacts it in the joints. This step is essential for stability. Finally, add more sand and sweep it into the joints.
Final cleaning and care
Remove all excess sand from the surface after the second compaction. You can use a leaf blower or stiff broom. The surface is now ready for traffic and can withstand loads.
During the first weeks and months, the sand will continue to settle in the joints. Top up any areas where the sand has sunk. This is normal and part of the settling-in process.
Sweep your paved surfaces regularly. For oil or moss stains, specialist cleaners from trade suppliers can help. Avoid using a pressure washer directly on the joints, as it can wash out the sand and destabilize the surface.
With the right preparation, suitable materials and careful workmanship, you can create paths and driveways that last for generations. For your other home and garden projects, find inspiration and accessories in our main category Garden + Outdoor.
Frequently Asked Questions
- How deep should I excavate for a paved driveway?
- For a stable driveway, excavate to a depth of about 50 to 60 centimetres. This includes a 30 cm-thick frost protection layer of crushed stone, a 5 cm-thick base layer of stone chips, and the pavers and joints. The exact depth depends on the ground conditions. Clay soil that is prone to waterlogging needs deeper drainage.
- Which pavers are easiest to maintain?
- Gray or anthracite concrete pavers are the easiest to maintain. They resist road salt, oil, and UV light. Regular sweeping and an occasional rinse with a hose are enough. Natural stone such as granite is durable, but can become stained if cleaned incorrectly. With any pavers, avoid spraying the joints directly with a pressure washer.
- Can I lay pavers myself?
- Yes, paving a level garden path is a manageable DIY project. You’ll need patience, basic know-how, and the right tools, such as a plate compactor. For driveways, slopes, or complex patterns, we recommend hiring a professional because the structural requirements and drainage needs are more demanding. Browse our garden tools for suitable equipment.
- How much does a paved driveway cost?
- A paved driveway costs between 80 and 180 euros per square meter. The price includes materials (for example, concrete pavers from 20 €/m² and natural stone from 50 €/m²) and labor. Simple patterns cost less than elaborate designs such as herringbone or circular patterns. Always allow for 10% extra material to account for waste.
- How can I prevent weeds from growing between pavers?
- Prevent weeds with professional-grade jointing material. Use quartz-based jointing sand (grain size 0-2 mm) and compact it thoroughly with a plate compactor. Resin-based flexible jointing compounds are a good long-term solution. They let water pass through but harden to form a sealed surface. Mechanical removal is the eco-friendly alternative.
You may also be interested in
- 5 brilliant ideas for driveable grass: parking spaces, driveways & paths
- Laying stone strips: step-by-step guide for patios & paths
- Natural stone in the garden: sustainable & durable design
- Paving a stone patio: step-by-step guide for DIY enthusiasts
- Grass paving grids or gravel turf? The stable, green solution
- Building a dry-stone wall in the garden: the sustainable guide