
In short: Clean the Innotec Easy Gasket nozzle immediately after use. Wipe off exterior residue, remove the nozzle and loosen internal residue with a suitable cleaner and a thin wire. Allow all parts to dry completely before storing them.
You know the situation: you start an important sealing job, but the nozzle spits, sealant squeezes out at the side and the joint looks untidy. The cause is almost always a clogged or poorly maintained nozzle. Thoroughly cleaning the Innotec Easy Gasket nozzle not only ensures clean results, but also saves material, time and frustration. With the right technique, you can make your nozzle last longer and work more efficiently.
Before you hastily discard a clogged nozzle, try cleaning it thoroughly. However, if it shows cracks or the blockage is too stubborn, replacement is unavoidable. The suitable replacement is the INNOTEC nozzle for Easy Gasket. With good care, however, you will need it less often.
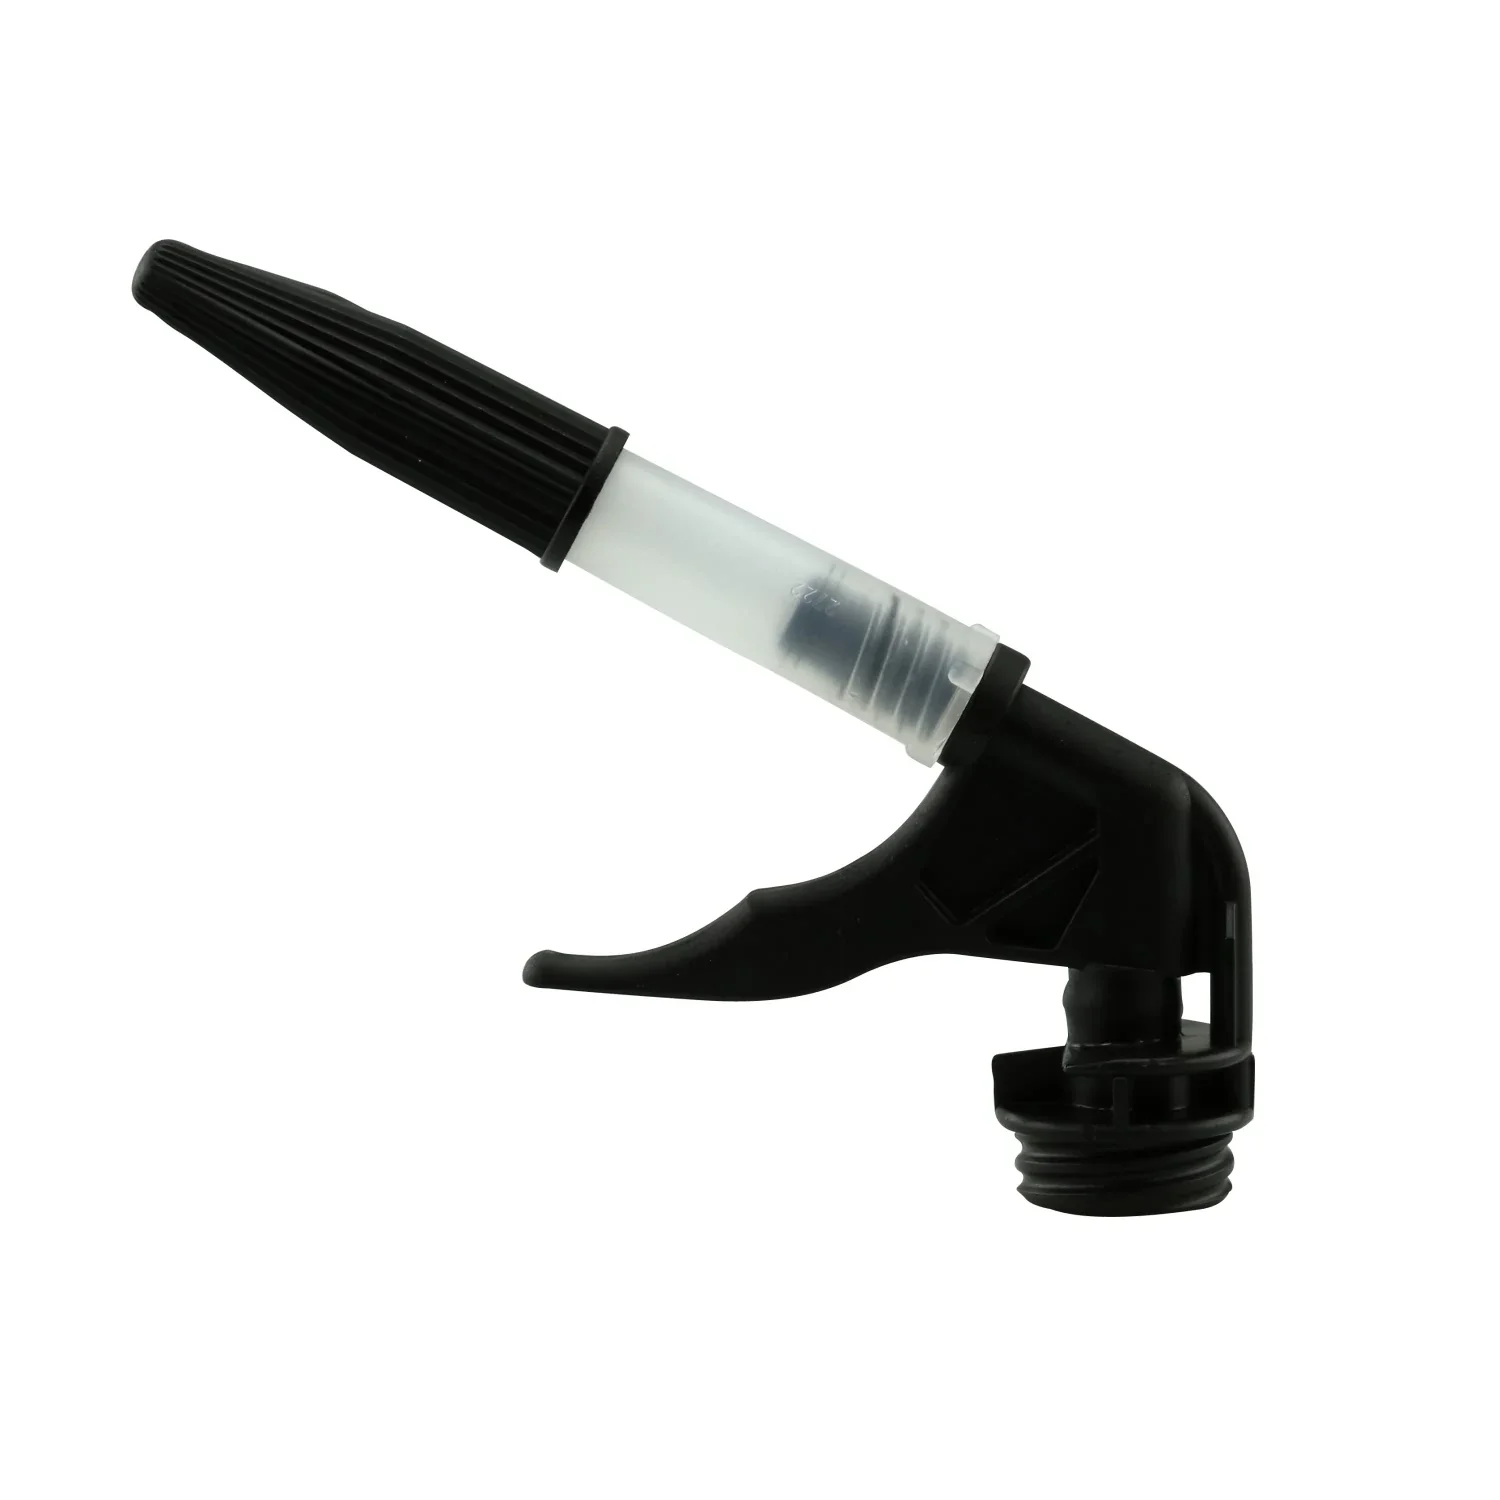
Why a clean Easy Gasket nozzle is essential
The quality of your seal depends on how the material is applied. A clean nozzle is not merely a matter of appearance; it is the basis for a professional, long-lasting seal. Only a clear, undamaged nozzle allows sealant to flow evenly and in a controlled manner. The result is a clean, smooth joint that adheres optimally and performs its function.
Blockages cause the material to come out unevenly. Pressure builds up in the cartridge, and the sealant emerges in bursts. This makes the job more difficult and can lead to air pockets in the seal. These weak points can later cause leaks. You also waste valuable sealant such as the
INNOTEC Easy Gasket, which squeezes uncontrollably out of the nozzle.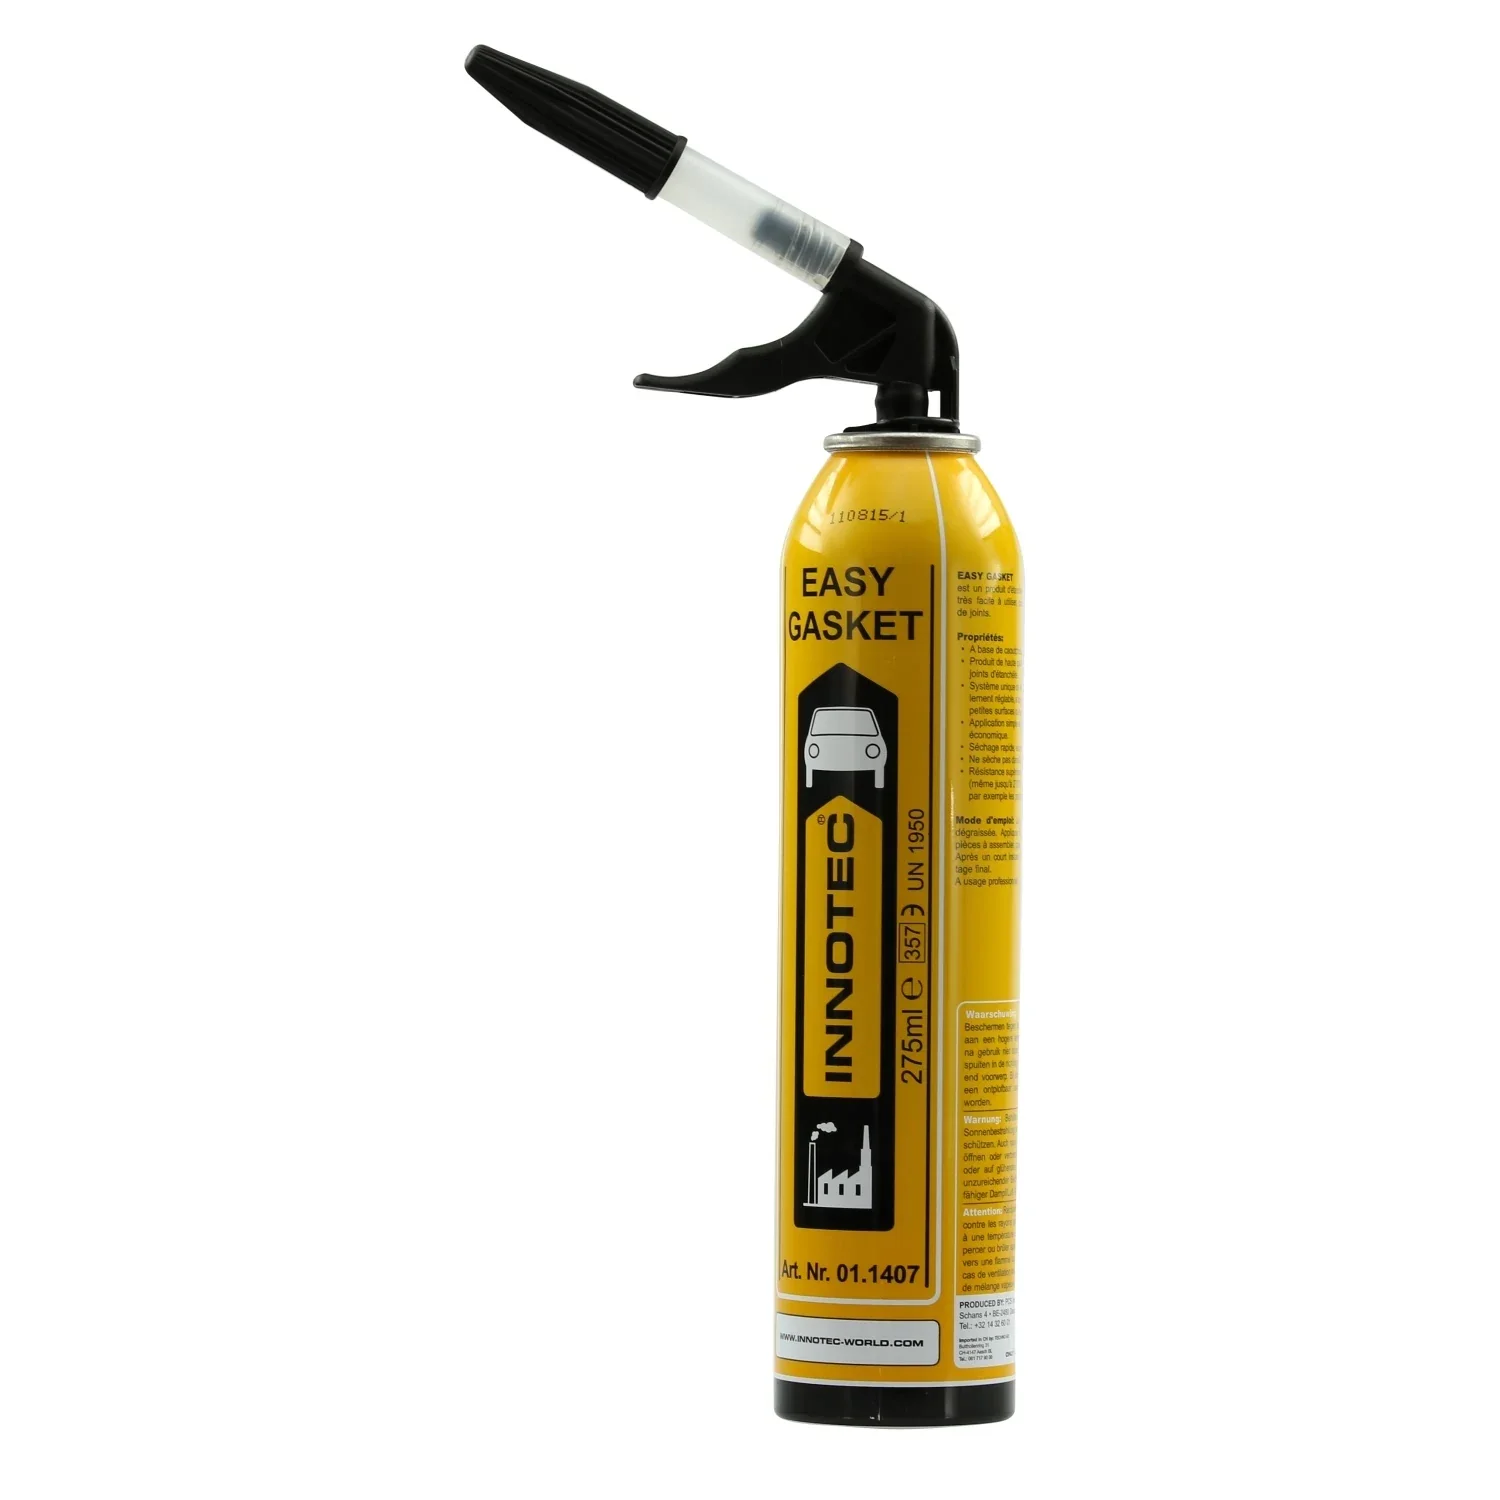
In the long term, proper care pays off. You save money because you need to buy fewer replacement nozzles and can use the sealant completely. Your work progresses more quickly because you do not have to struggle with an unreliable nozzle. Taking care of your tools is a sign of professionalism and directly affects the quality of your results.
A tool is only as good as its condition. A clean sealing nozzle is not a luxury; it is the prerequisite for a joint that lasts for years.
The anatomy of the Innotec nozzle: what you need to know
To clean the Innotec nozzle effectively, you need to understand its components. The system is designed for precision and ease of use. It typically consists of three main components that work together perfectly.
The nozzle itself is the frontmost part. This is where you cut the opening to the desired joint width. Its conical shape allows very precise dispensing. The inside is smooth to optimise material flow. This is exactly where most residue builds up.
The angle piece connects the cartridge and the nozzle. It allows you to work precisely even in hard-to-reach areas without having to hold the cartridge at an awkward angle. Material residue can also accumulate in this curved part, so you must not neglect it when cleaning.
The protective cap is a small but important part. After working or during short breaks, place it on the nozzle to protect the sealant from drying out through contact with air. It seals the opening and prevents dirt from entering the nozzle.
Additional tip
After cleaning, store the individual parts together in a small, labelled bag. This keeps nothing from getting lost and ensures that you have the complete, clean set ready for the next use.
Guide: How do you clean the Innotec Easy Gasket nozzle properly?
Systematic cleaning immediately after use is the key to success. Follow these steps to keep your nozzle in top condition.
Step 1: Preparation is everything
Gather all the required items before you begin. You will need lint-free cloths or workshop paper, protective gloves, a suitable cleaner (e.g. Innotec Seal and Bond Remover or isopropanol) and a tool for stubborn residue. A thin, sturdy wire, an unfolded paper clip or a long needle are suitable. Work on a surface that is resistant to damage to prevent contamination.
Important note
Always wear suitable protective gloves when working with cleaning products and solvents, and ensure your workspace is well ventilated. Read the safety instructions for the cleaner you are using.
Step 2: Initial cleaning
This step should be carried out immediately after finishing the sealing work. The fresher the sealant, the easier it is to remove. Unscrew the complete nozzle from the cartridge. Use a dry cloth to wipe as much excess sealant as possible from the outside of the nozzle tip and elbow piece. Then use a cloth or paper to push the largest pieces of material out of the inside of the nozzle through the wide opening.
Step 3: Detailed cleaning for stubborn residue
Now it is time to focus on the details. Soak a clean cloth in the chosen cleaner and thoroughly wipe the inside and outside of the nozzle. To clean the inside of the narrow tip, wrap a small piece of the soaked cloth around your wire or use a pipe cleaner. Carefully insert the tool into the tip and twist it to loosen any adhering residue. Repeat this process until no more residue sticks to the cloth.
Patience during detailed cleaning saves frustration the next time you use it. Invest a few extra minutes and the nozzle will work like new.
The same cleaning principles also apply to nozzles for other sealants and adhesives, such as
INNOTEC Adheseal. Consistent care across your entire range of workshop supplies ensures reliability.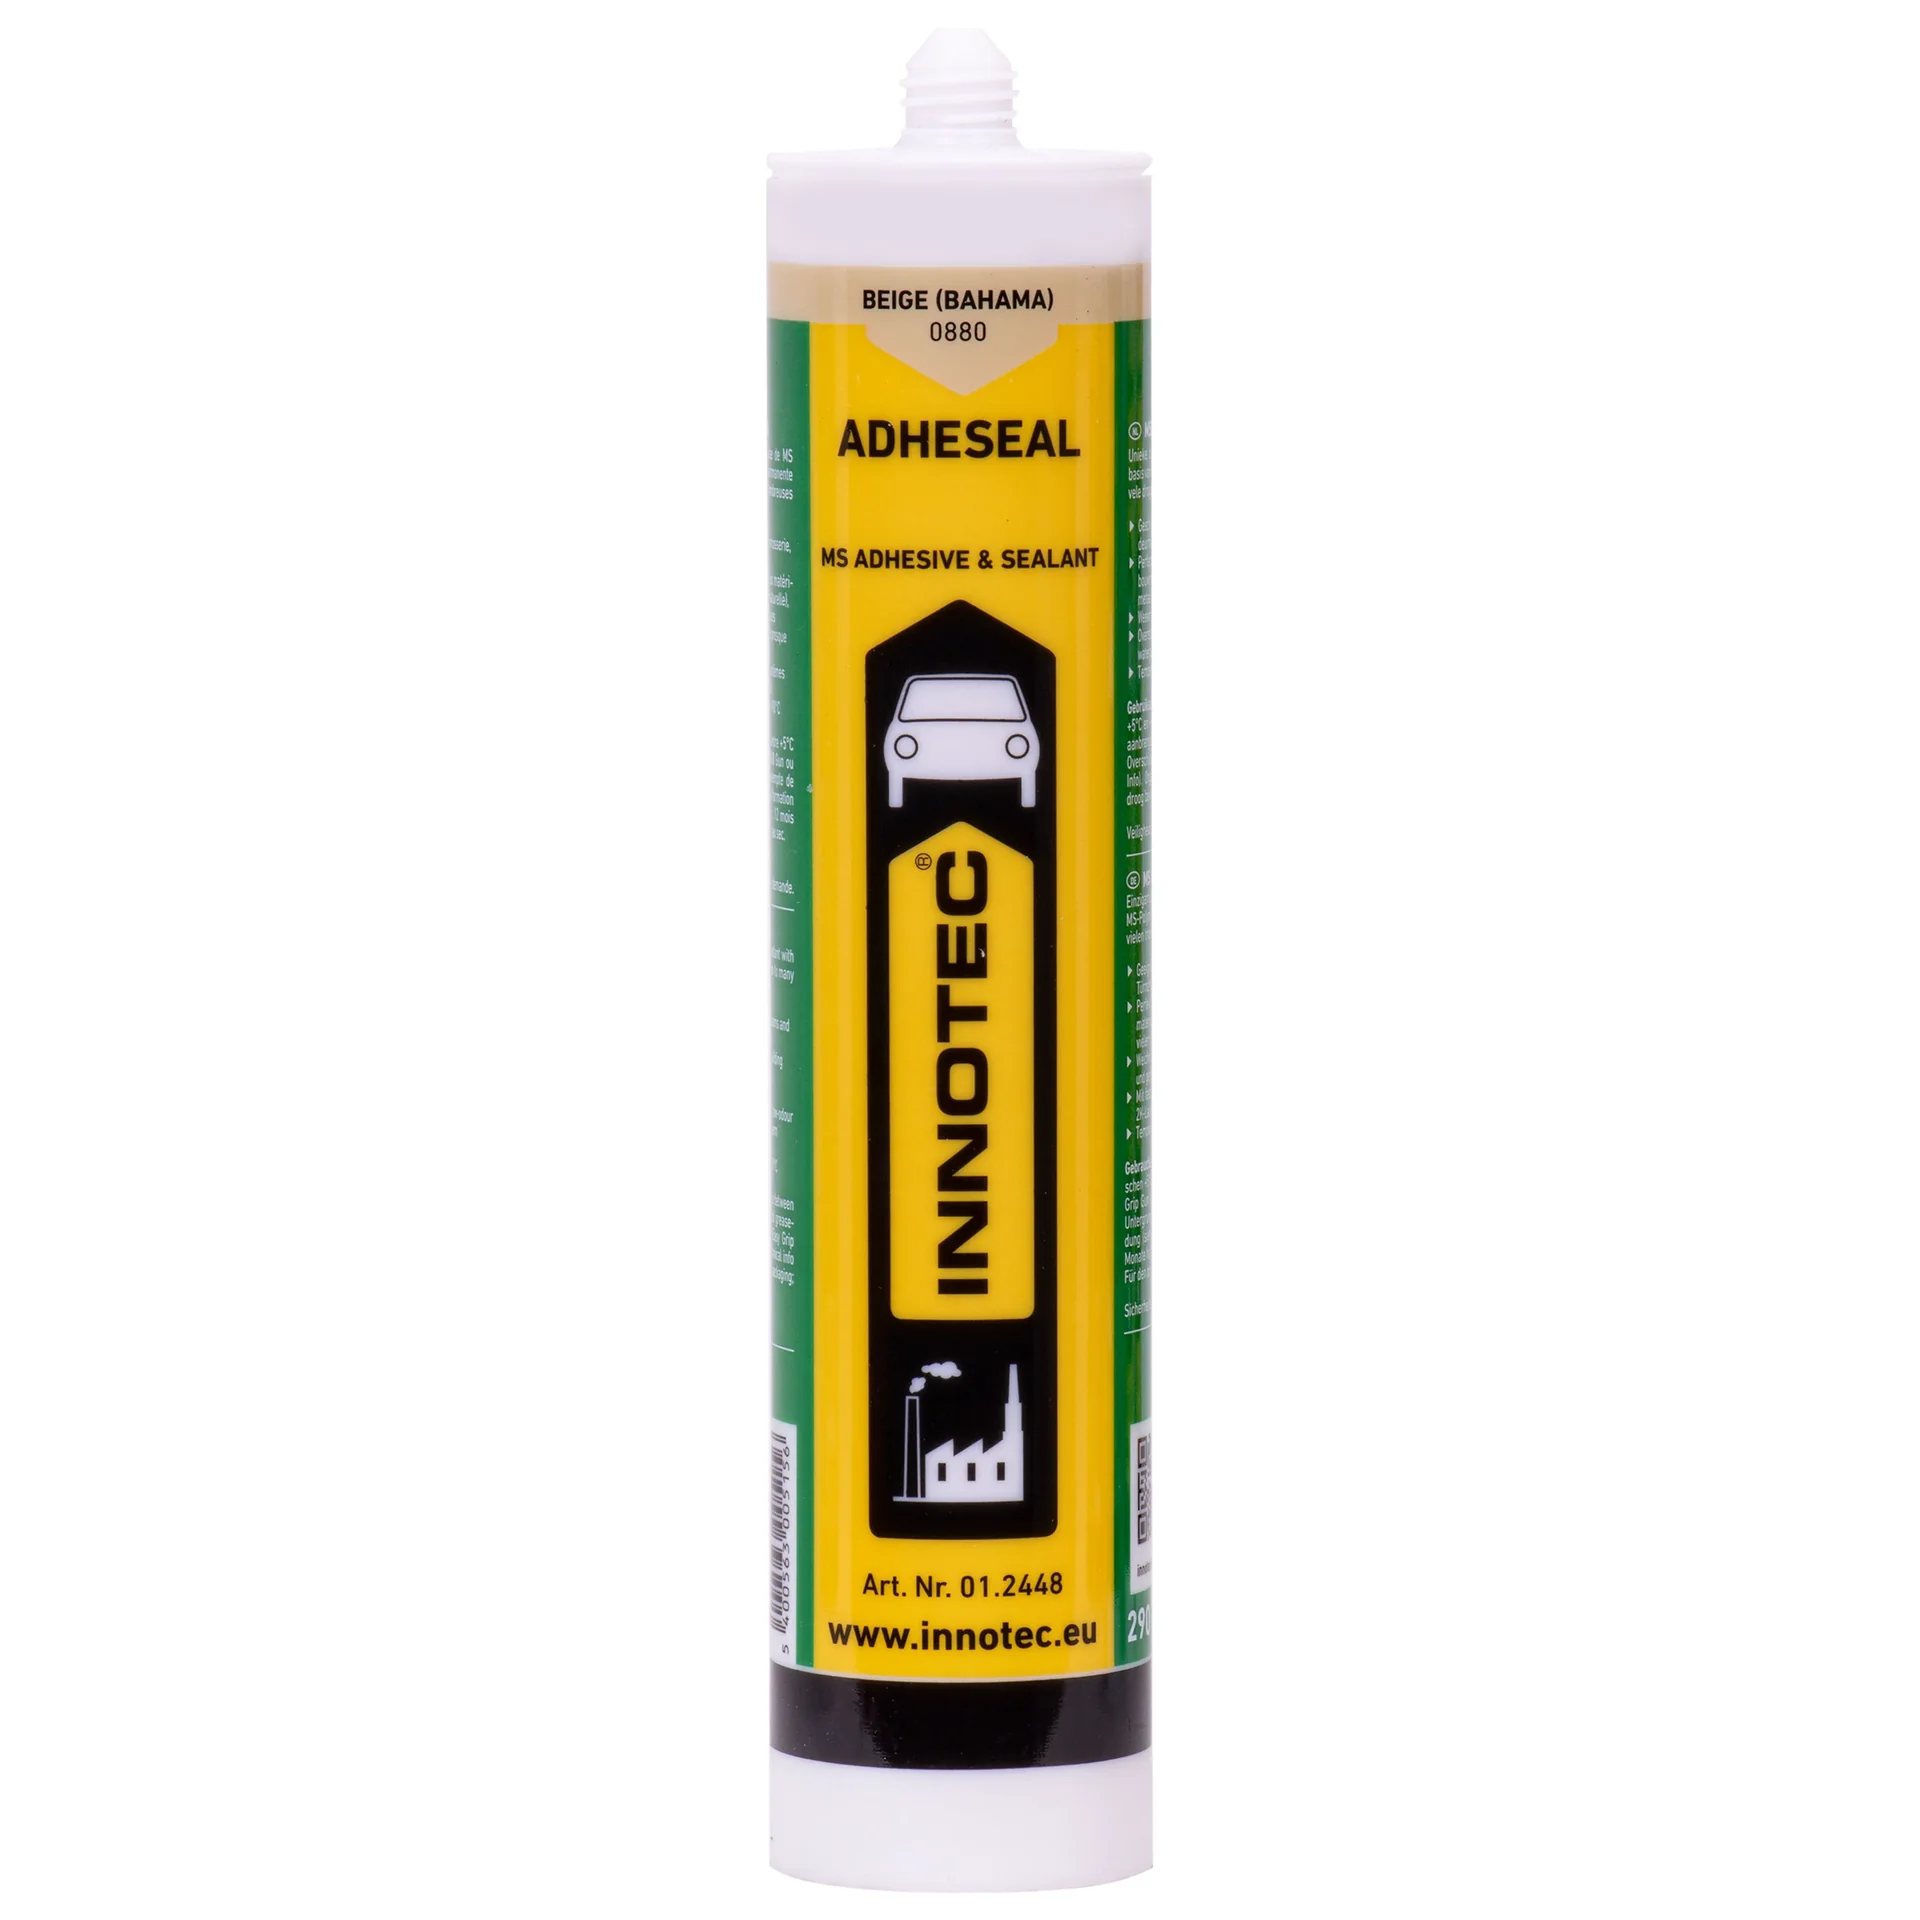
Step 4: Drying and storage
Once all parts are clean, they must be allowed to dry completely. Residual moisture or remaining solvent can affect the next sealant. Place the nozzle, elbow piece and cap in a well-ventilated, dust-free location. Carefully blow out the parts with compressed air to speed up the drying process and remove any remaining particles. Once everything is dry, put the parts back together and store them ready for the next use.
How can you tell if a nozzle is blocked or damaged?
Sometimes even the best cleaning is no longer enough. Look out for clear signs that indicate when replacement is necessary. Identifying problems early prevents untidy work and wasted material.
Clear symptoms include:
- Irregular material flow: The sealant comes out of the tip in spurts or “spits”.
- Excessive force required: You have to operate the cartridge gun extremely forcefully to get material out.
- Material escaping from the side: The sealant comes out at the thread or through cracks in the nozzle instead of through the front opening.
- Deformed tip: The opening is frayed, cracked or widened by aggressive cleaning tools. A precise bead is no longer possible.
Pro tip
Hold the nozzle up to a light source. This makes it much easier to spot small cracks in the plastic or stubborn particles stuck inside, which are often invisible to the naked eye.
If you notice any of these problems and cleaning does not improve the situation, it is time to use a replacement nozzle. Trying to continue using a defective nozzle almost always leads to poor results and more rework.
Professional tool maintenance: More than just cleaning nozzles
Looking after your Innotec nozzles is a small but essential part of comprehensive tool maintenance. This principle applies to all your tools and materials. A well-organised and well-maintained workspace is the foundation for efficient and safe projects, whether in the workshop, garden or during plumbing installations.
Think about the applications: A perfectly sealed connection is essential when installing pipes in plumbing systems or connecting flexible hoses for garden irrigation. Poor sealing can cause expensive water damage. Investing in equipment maintenance is an investment in the longevity and safety of your projects.
Take time regularly to inspect, clean and store all your tools. A clean compressor, an oiled saw blade or simply a clean sealant nozzle can make the difference between tedious DIY work and professional results. Proper care ensures that your equipment works reliably when you need it most.
Frequently asked questions
- How often should I clean the Easy Gasket nozzle?
- Ideally, clean the nozzle immediately after every use. Fresh sealant is much easier to remove than material that has fully cured. Quick cleaning prevents blockages and ensures the nozzle works properly the next time you use it.
- Can I still clean the nozzle if the sealant has already hardened?
- Yes, but it takes more effort. Soak the nozzle in a suitable solvent and carefully try to push out the cured residue with a thin wire or needle. Take care not to damage the plastic.
- Which cleaning product is best for Innotec nozzles?
- Use a cleaner suitable for MS polymer-based sealants, such as Innotec Seal and Bond Remover. Aggressive thinners can damage the plastic nozzle. Test the cleaner on an inconspicuous area first.
- What should I do if the nozzle remains blocked after cleaning?
- If the blockage cannot be removed or the nozzle is damaged, you should replace it. A new nozzle ensures clean, precise sealant application and prevents material waste caused by uncontrolled discharge.
- Can I leave the nozzle on the cartridge?
- For short breaks, you can screw a bolt into the opening to seal it airtight. For longer-term storage, however, it is better to remove the nozzle, clean it thoroughly and close the cartridge with its original cap.
You may also be interested in
- How to apply sealant like a pro: 5 mistakes to avoid
- Angled sealant nozzle: Easy Gasket accessories explained
- How to use Allesdichter Spray correctly: The professional guide
- Sealing leaks: The solution for roofs, balconies and more
- Dull utility knife blades? 5 tips for keeping them sharp longer
- Cleaning joints: The best time to clean your tools