
In brief: After use, clean your pond net thoroughly with a soft brush and water to remove leaves and algae. Allow the net to air-dry completely to prevent mould. Then store it in a dry, dark and cool place, ideally in a breathable bag.
A pond protection net is an essential helper in the Garden + Outdoor area. In autumn, it keeps leaves and branches out of the water, protects your fish from herons and cats, and helps maintain a stable pond ecosystem. Yet after the job is done, the net is often tossed carelessly into the shed. This is a mistake that can drastically shorten its service life. With the right cleaning and storage, you can ensure your protective net lasts for many seasons.
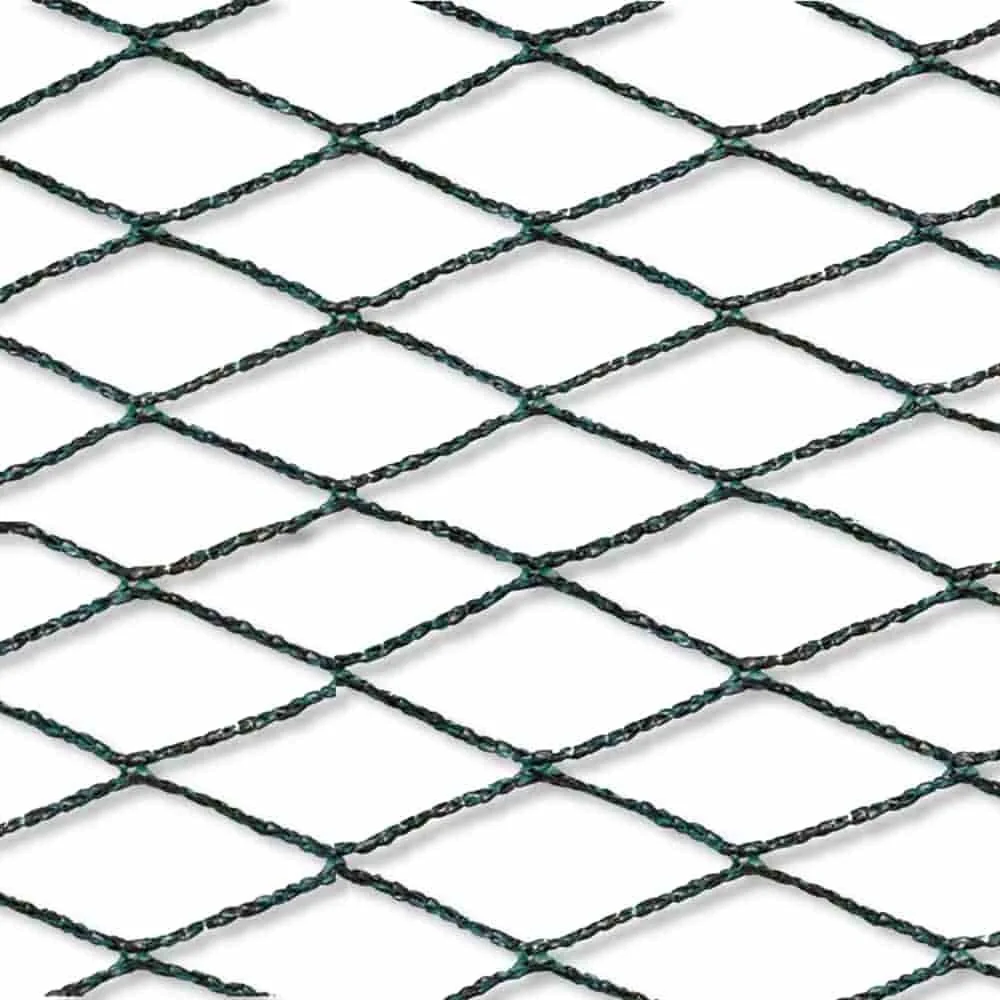
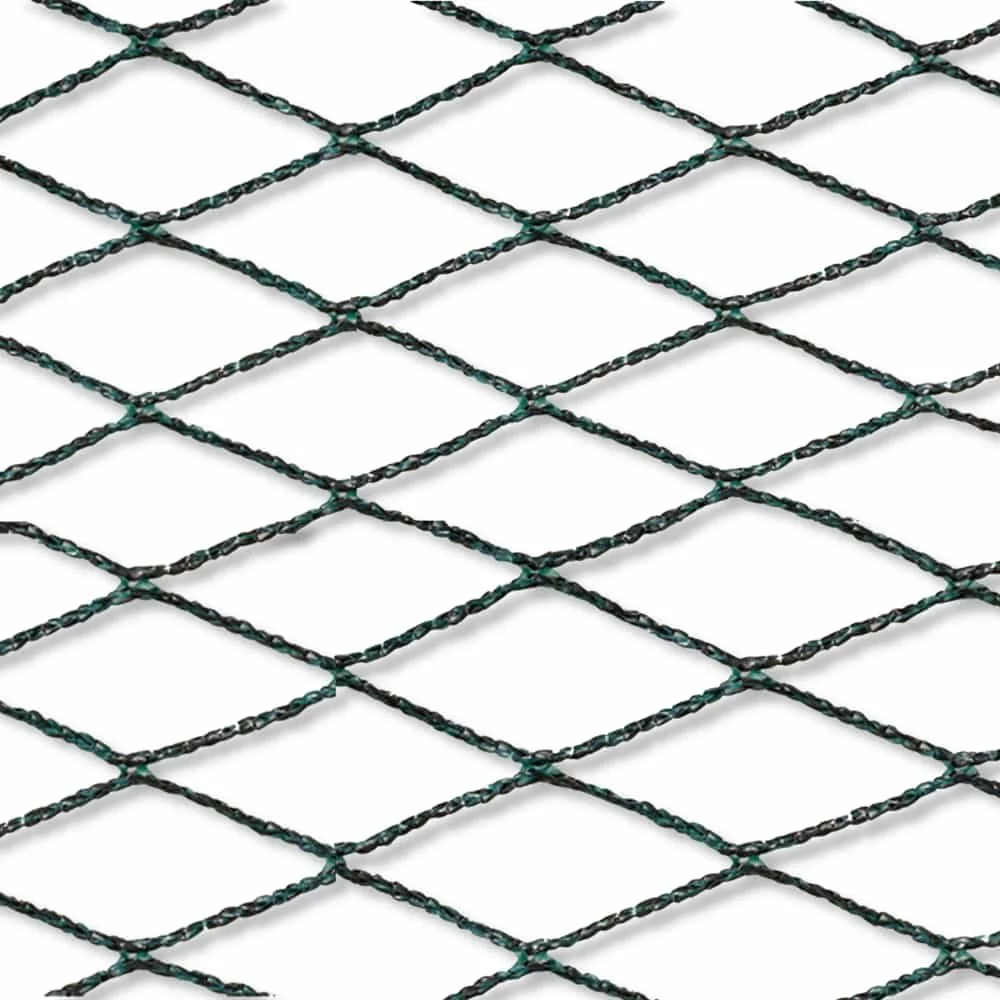
Proper care does not take much effort, but it makes a significant difference. It helps prevent material fatigue, mould and tears. A well-maintained net is an investment that pays off. For most medium-sized garden ponds, a robust, correctly sized net such as the ideal. Its 30 m² cover a generous area, and the durable material can withstand even rough handling when you care for it properly.
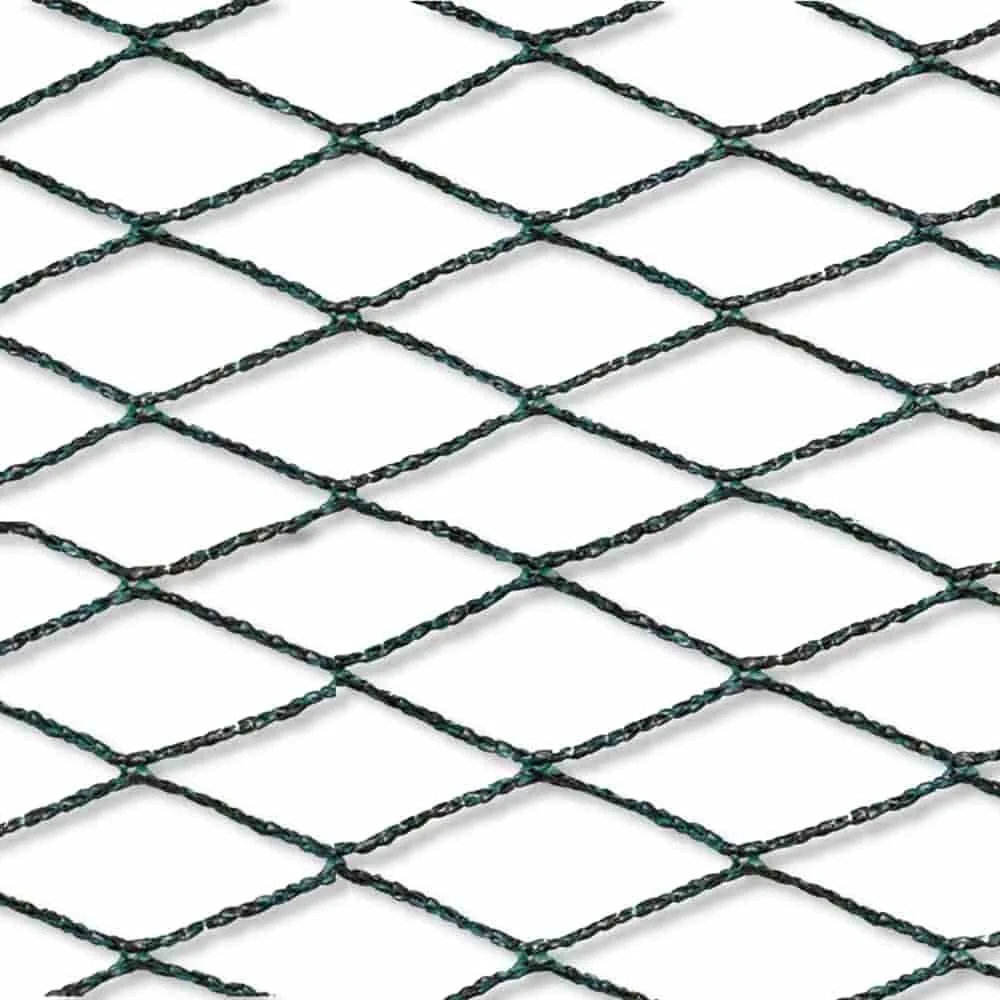
Why is cleaning your pond protection net correctly so important?
A pond net is exposed to numerous stresses while in use. Wet leaves, algae, bird droppings and constant moisture all take their toll on the material. If you store the net without cleaning it, you create the perfect breeding ground for mould, fungi and bacteria. These microorganisms slowly but surely break down the plastic fibres. The net becomes brittle and tears under the slightest strain next season.
Organic residue left on the net hardens over winter. By the following spring, it is much harder to remove and may damage the fibres in the process. There is also a risk of introducing germs and pathogens into your pond with a dirty net. Thorough net care therefore not only preserves its value, but also makes an important contribution to pond hygiene.
A pond protection net is like any other garden tool. Regular maintenance not only ensures it works properly, but also greatly extends its service life. A clean, dry net is a reliable net.
Step-by-step guide: How to clean your pond protection net correctly
Cleaning the net is straightforward. Choose a dry, sunny day so that it can dry thoroughly afterwards. With the right approach, the job will be done quickly.
Preparation: Remove the net from the pond safely
Before starting the actual cleaning, carefully remove the net from the pond. Take out all fixing anchors or pegs. Ideally, lift the net with two people. One person at each long side can keep the net taut while you carry it away from the pond. Shake off loose leaves and branches immediately, but take care not to let the dirt fall back into the water.
Initial cleaning: Remove leaves, branches and dirt
Spread the pond net out on a clean, spacious surface. A patch of lawn, a clean patio or a large tarpaulin are all suitable. Use a soft brush or simply your gloved hands to remove all coarse debris, such as leaves, small twigs and mud. Work systematically from one corner to the other.
Pro tip
Use a leaf blower on its lowest setting to remove dry dirt and leaves quickly and efficiently. Keep a sufficient distance to avoid damaging the net. This can save you a lot of time during manual pre-cleaning.
Wet cleaning: Remove algae and stubborn dirt
After dry cleaning comes washing. A garden hose with a spray nozzle is your best tool for this job. Lay the net flat and spray it thoroughly on both sides. A gentle to medium water stream is ideal. Avoid using a pressure washer, as the powerful jet can damage or even tear the fine net fibres.
For stubborn algae deposits or bird droppings, use a soft brush and a bucket of lukewarm water. Gently scrub the affected areas until the dirt comes away. Then rinse everything thoroughly with clean water to remove all loosened particles.
Important note
Do not use harsh chemical cleaners, bleach or abrasive products. Residues from these substances could enter the pond water next season and harm your fish and plants. If you need a cleaning product, choose a mild, fully biodegradable soap and rinse the net extremely carefully afterwards.
Thorough drying: The most important step before storage
Moisture is your net's greatest enemy during storage. Even a slightly damp net can quickly develop mildew and mould. Hang the cleaned net in an airy, sunny place. A washing line, fence or rope stretched between two trees are ideal. Turn the net over after a while so that the knots and overlapping areas also dry completely. Depending on the weather, allow several hours or up to a full day for this.
How can I identify damage to my pond net and repair it?
The time spent cleaning and drying the net is the perfect opportunity for a thorough inspection. A small hole can quickly develop into a large tear, allowing herons or leaves back into the pond. Timely repairs ensure the net continues to work properly next season.
Inspecting the net after cleaning
Check the drying net section by section. Hold it up to the light to make small holes or thin areas easier to spot. Look for tears, frayed fibres or loose knots. Pay particular attention to the edges, as these are often subject to the greatest strain. An intact pond net is essential for effective protection.
Repairing small holes and tears easily
You can easily repair minor damage yourself. For holes about the size of a coin, a strong, UV-resistant thread is often sufficient, such as tough fishing line or specialist outdoor nylon thread. Sew the hole together with a few simple cross stitches. For larger tears, you can sew on a patch made from a piece of an old net. The important thing is that the repair is secure and does not create any new gaps.
Material fatigue is a gradual process. An annual inspection is essential to maintain the structural integrity of synthetic-fibre nets. Repairing a hole in good time often prevents complete failure during the next storm season.
The Best Way to Store Your Pond Net Safely Over Winter
Once the net is clean, dry and inspected, it is time to store it properly. The wrong storage location can undo all your cleaning efforts. With a few simple rules, your net will stay in top condition until next autumn.
Choose the Right Storage Location
The ideal storage location meets three criteria: it is dry, cool and dark. UV radiation is the main enemy of plastic and makes it brittle. Therefore, never store the net outdoors or in a sunny place. A dry basement, garage or frost-free garden shed is perfect. Avoid places with significant temperature fluctuations, as these can lead to condensation.
Use the Right Packaging for Your Net
Loosely fold or roll up the dry net. Do not compress it too tightly, as sharp creases can weaken the fibres over time. The best packaging is a breathable bag, such as an old jute sack, pillowcase or special storage bag for garden tools. These covers protect against dust and dirt while allowing any residual moisture to escape. Airtight plastic bags are unsuitable because they trap moisture and encourage mould growth. Proper storage is just as important as choosing the right protective covers for your garden furniture.
Additional Tip
Clearly label the storage bag with “pond net” and, if necessary, its dimensions. This will help you find it quickly next autumn and avoid a long search among all the other protective nets and covers.
Protect Against Pests
A loosely stored net can be attractive nesting material for mice and other rodents. To prevent gnawing damage, it is best to store the bag containing the net in a lockable plastic or metal box. Alternatively, you can hang the bag from a ceiling hook, where it will be out of reach of most pests.
Proper care protects your investment, whether you own a standard size such as the for smaller ponds or a large solution such as the for large bodies of water. Spending one to two hours a year on maintenance pays off through significantly greater durability and reliable performance.
By cleaning and storing your pond protection net properly, you can ensure that it serves you reliably for many years. You not only save money on an early replacement, but also actively contribute to the health and cleanliness of your garden pond. A small effort with a big impact for a long-lasting net.
Frequently Asked Questions
- Can I wash my pond net in the washing machine?
- No, this is not recommended. The mechanical stress can damage the net's fine fibres and weaken its structure. Gentle hand washing with a brush and garden hose is the safest and most effective method.
- Which cleaning products are safe for a pond net?
- It is best to use only clean water. For stubborn dirt, use a mild, biodegradable soap solution. Rinse the net extremely thoroughly afterwards to ensure that no residue enters the pond water during the next season.
- How often should I clean my pond protection net?
- A thorough cleaning is required at least once a year, before storing the net for winter. During use, regularly remove coarse dirt and leaves to prevent the net from sagging and decomposing in the water.
- My net has a small tear. Do I need to replace it?
- Not necessarily. You can often repair smaller holes or tears yourself. Use a UV-resistant nylon thread or thin fishing line for this. A quick repair prevents the damage from getting worse and the net from losing its protective function.
- What is the best place to store a pond net?
- The ideal storage location is cool, dry and, above all, dark, as UV light breaks down the material. A basement, garage or well-ventilated garden shed is perfect. Store it in a breathable bag to prevent moisture and mould.
You May Also Be Interested In
- How to Install a Pond Protection Net: The Ultimate Guide to a Clean Pond
- Pond Net vs. Pond Fence: Which Protection Is Right for Your Pond?
- How to Care for Privacy Netting: Keep Your Privacy Screen Clean & Long-Lasting
- How to Care for a Rain Barrel Net: Maximise Its Lifespan
- Prevent Leaves in Your Pond: Effective Protection Against Herons & Cats
- Bird Protection for Your Pond: Buy the Right Pond Grid