
In brief: Attach the Easy Gasket nozzle by screwing it firmly onto the cartridge. Cut the nozzle at a 45-degree angle to the desired joint width. Use the included angled adapter for hard-to-reach areas. This lets you apply sealant in a controlled and precise way.
An untidy silicone joint can ruin the overall appearance of an otherwise perfect project. Whether in the bathroom, kitchen or around a window frame, applying sealant precisely is what separates the DIY enthusiast from the professional. The good news is that perfect joints are not rocket science. With the right technique and suitable tools, you can achieve results that not only look good but also provide a durable seal. The key is controlling the material, and that control starts at the cartridge nozzle.
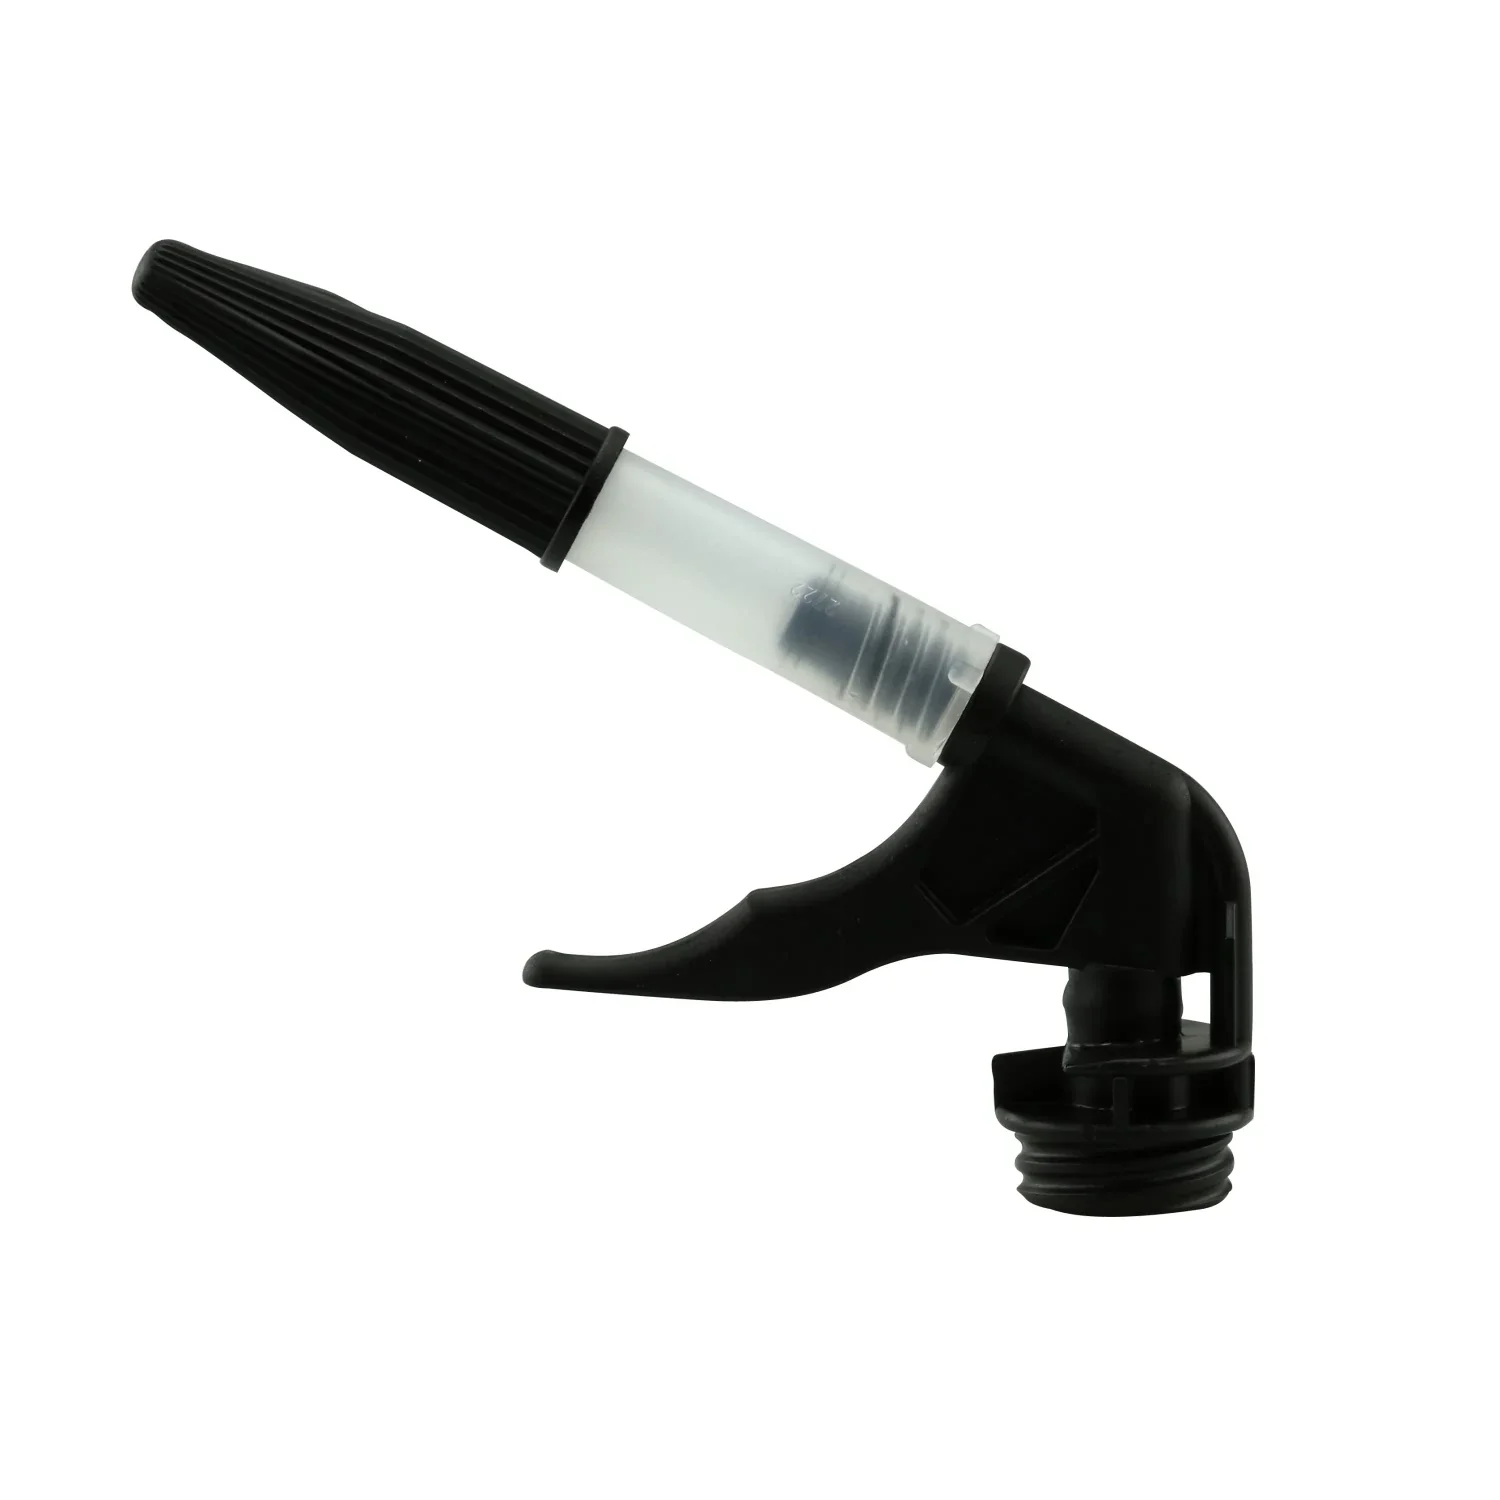
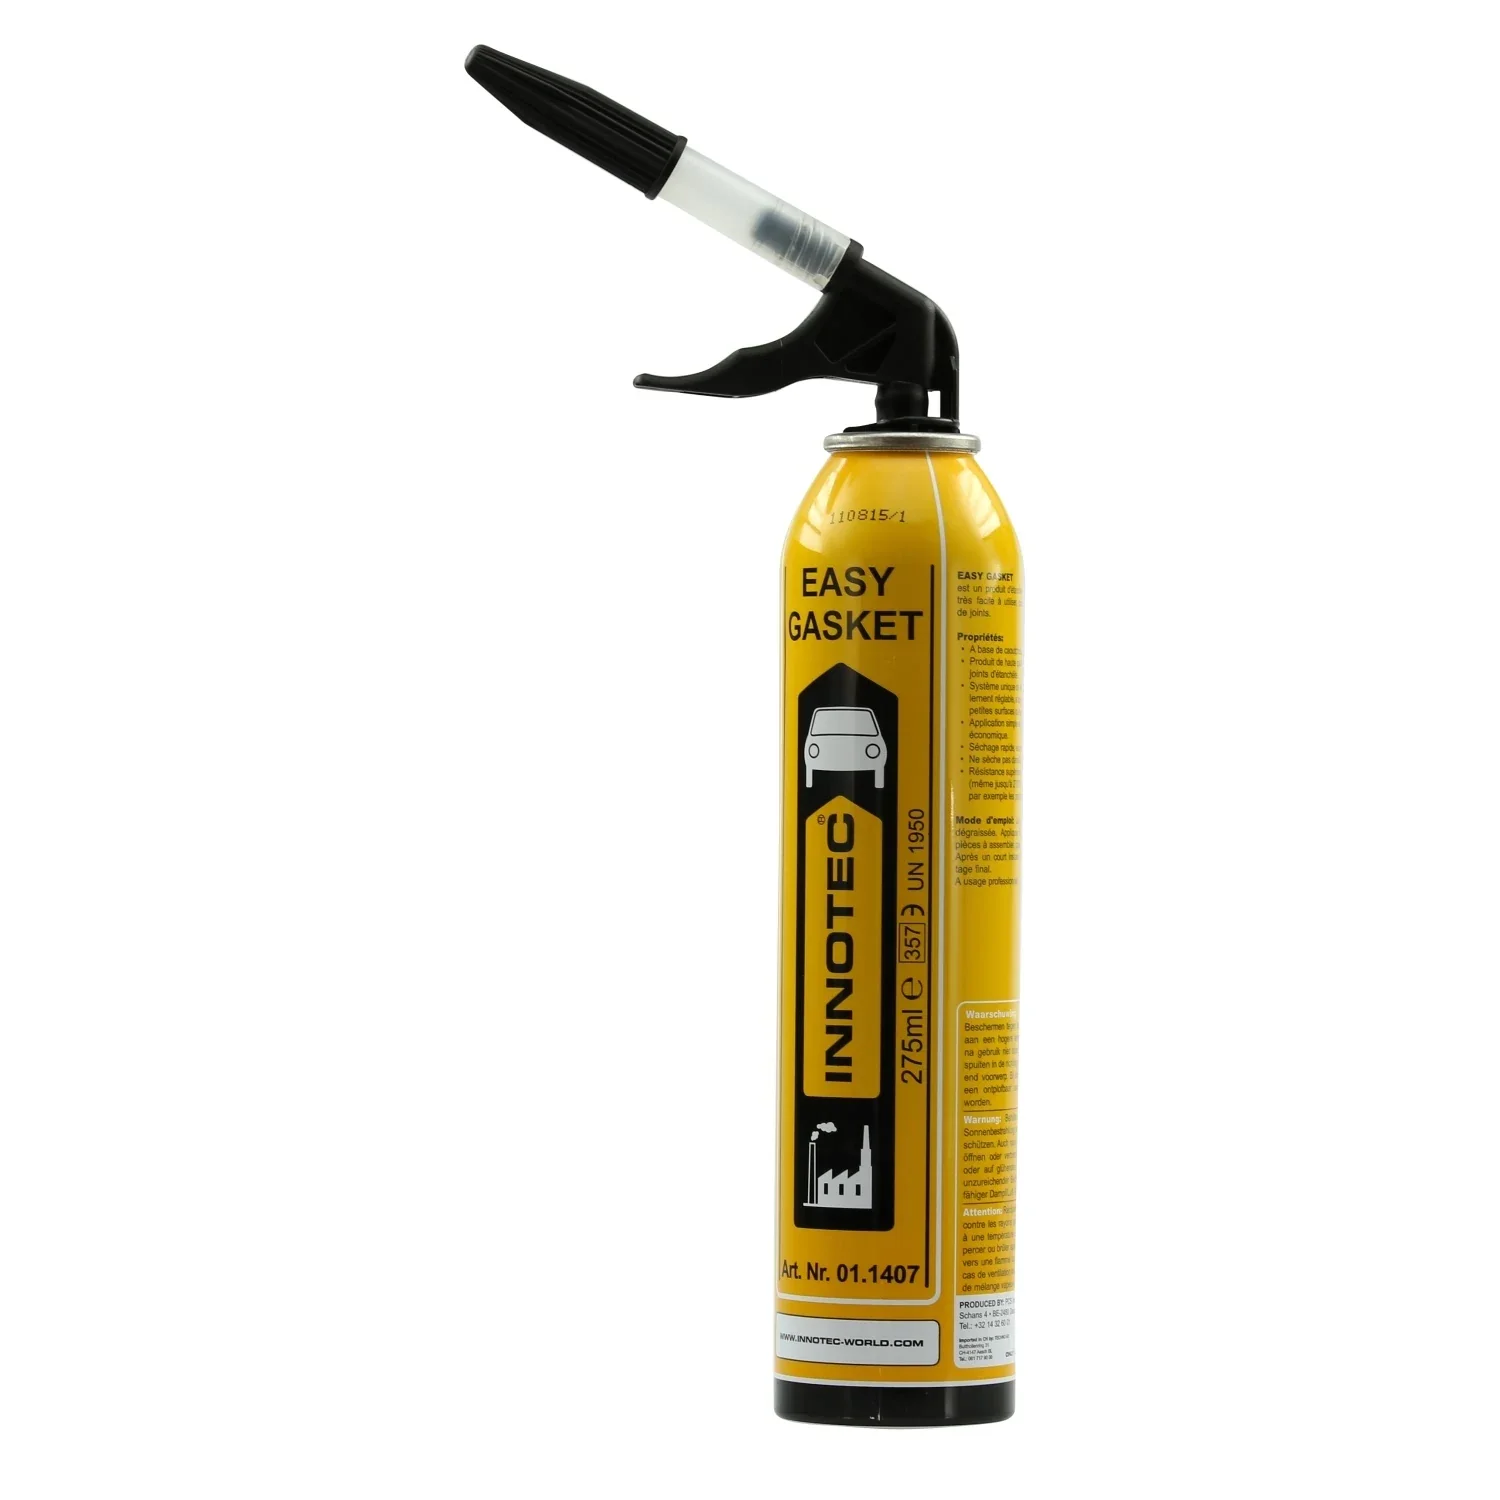
Forget standard nozzles that are imprecise and difficult to handle. For professional results, you need a tool that offers flexibility and accuracy. The INNOTEC Easy Gasket nozzle has been developed specifically for this purpose. Its thoughtful design, practical angled adapter for hard-to-reach areas and protective cap for reuse make it the foundation of any clean sealing job. Combined with suitable sealant such as INNOTEC Easy Gasket sealant, these products make an unbeatable team.
How do I prepare the joint properly?
A perfect joint does not begin with applying sealant, but long before that. Preparing the surface is crucial for the seal's adhesion and durability. A poorly prepared joint inevitably leads to cracks, mould growth and premature seal failure.
Cleaning is essential
The surface must be completely clean, dry and free of grease. First, remove all old sealant residue. A sharp utility knife and a joint scraper are your best tools for this. Work carefully to avoid damaging the adjacent surfaces.
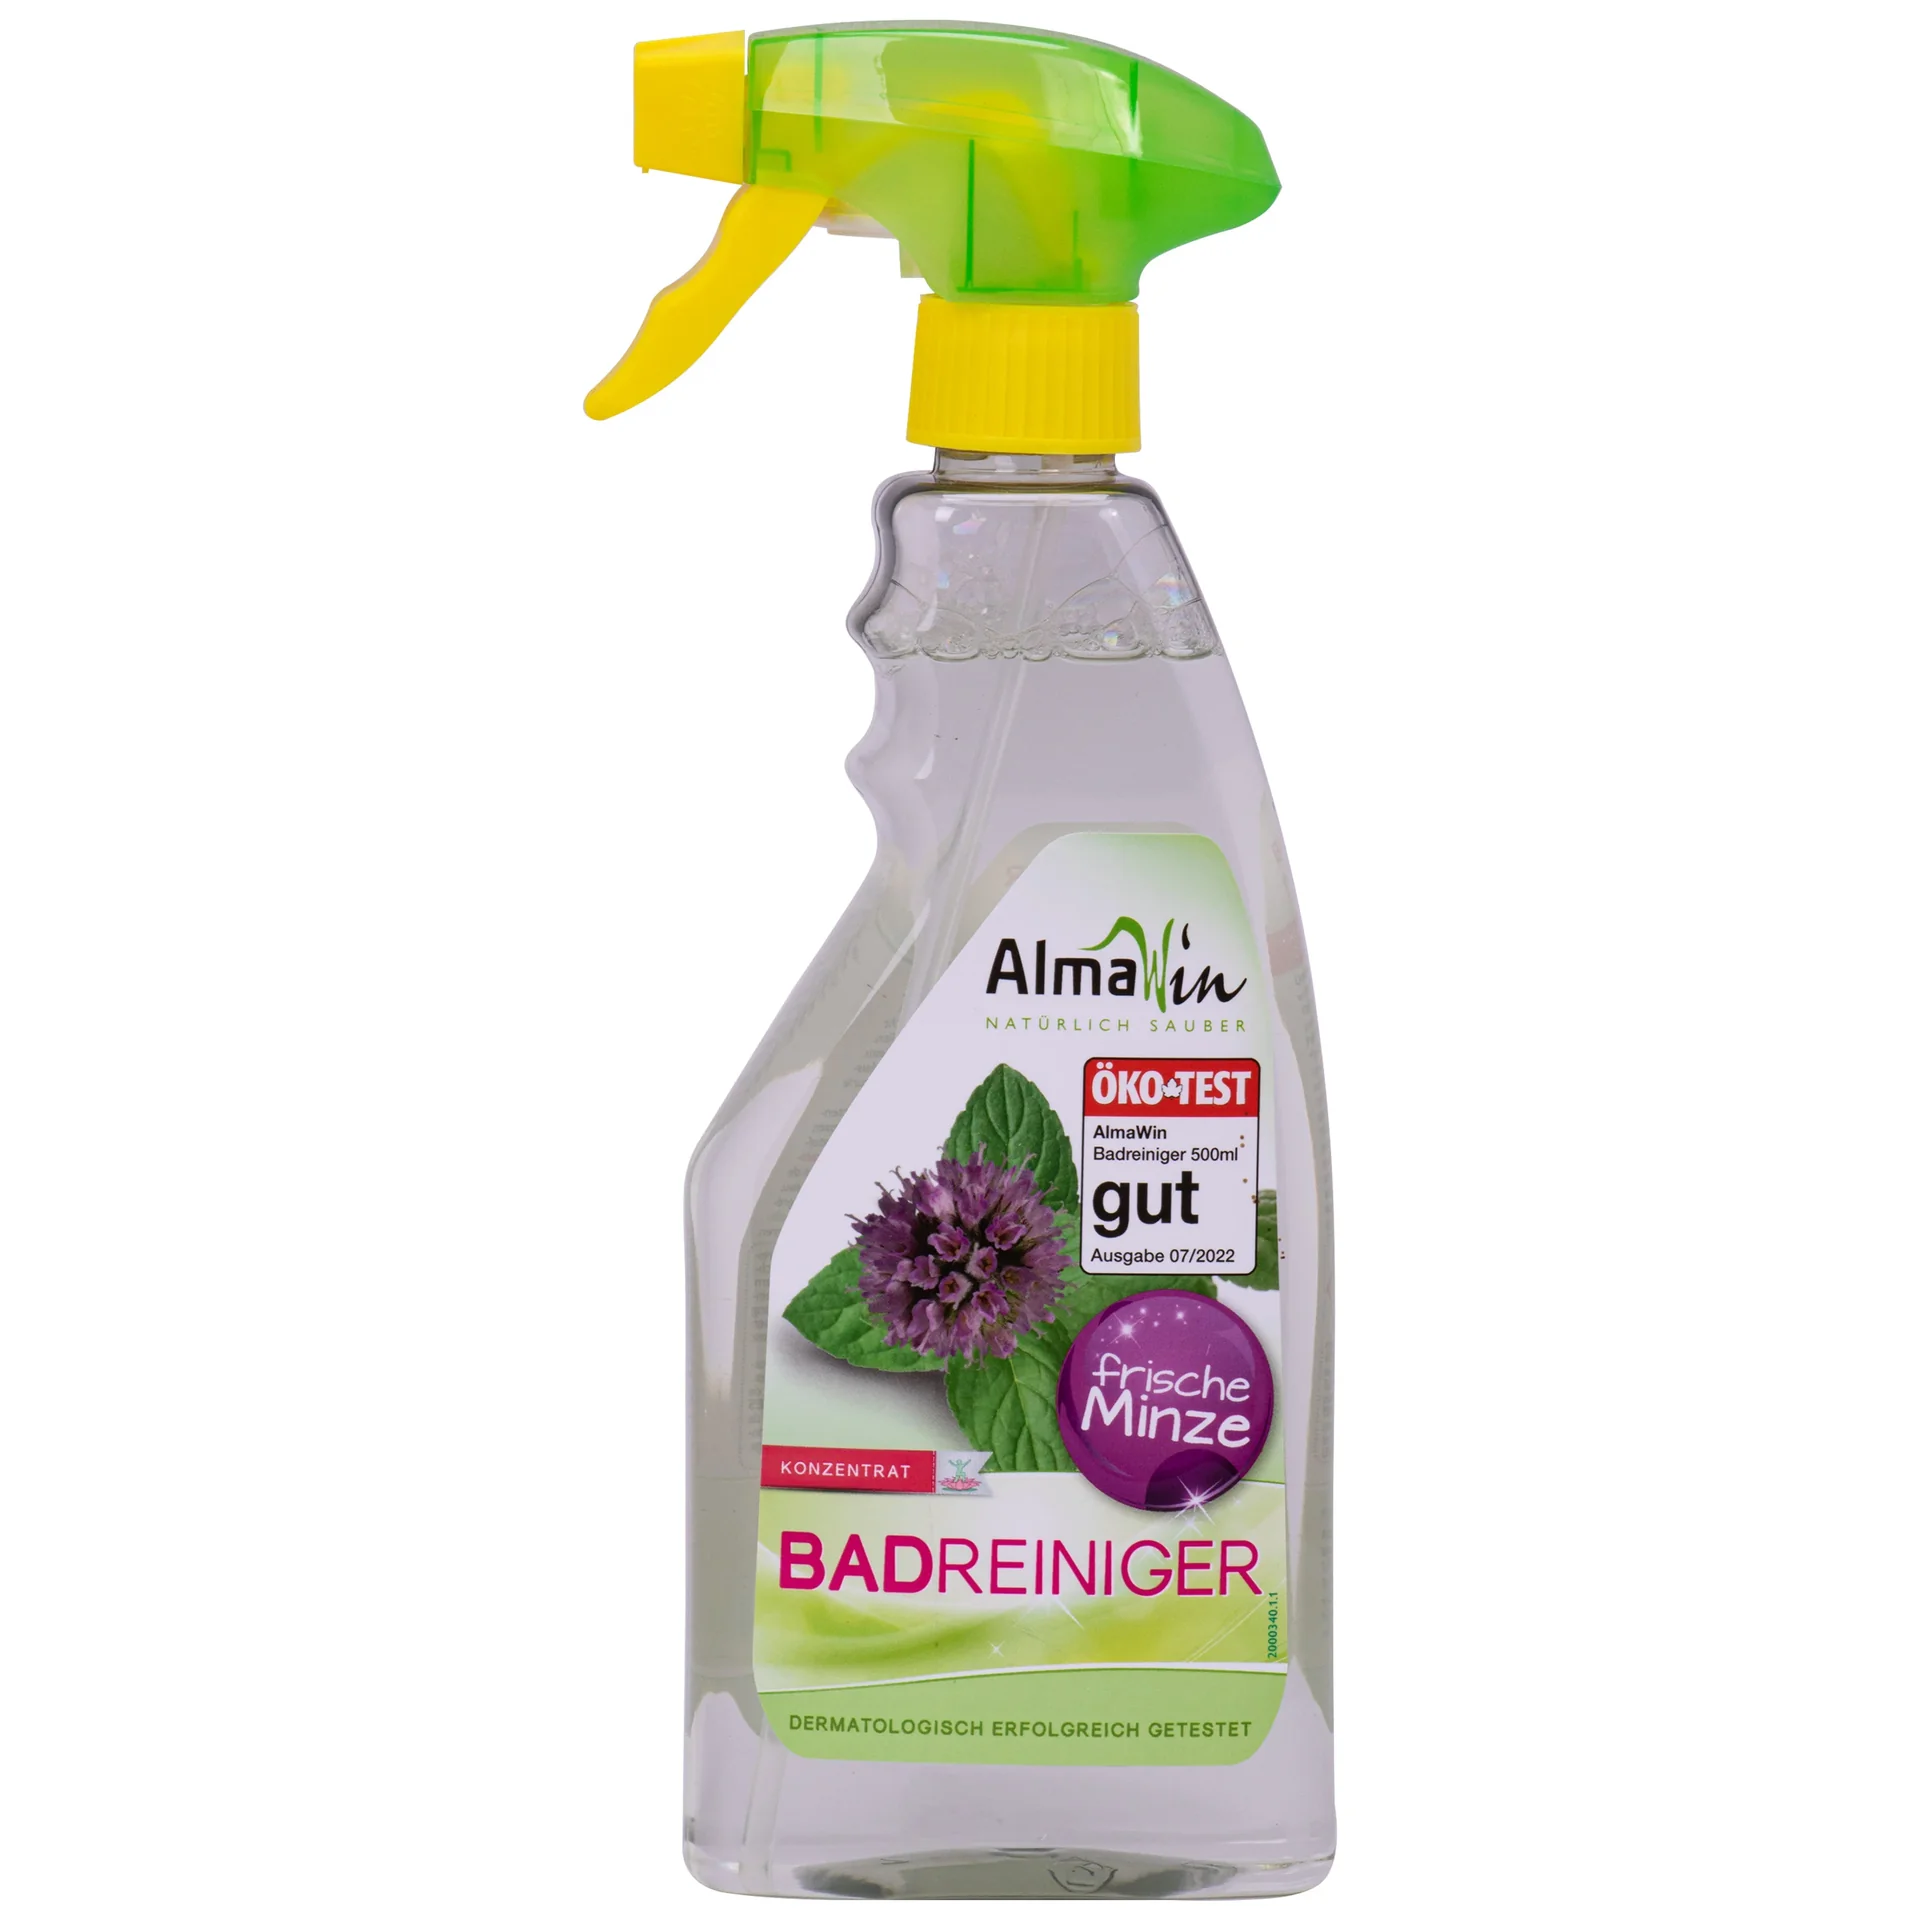
Then clean and degrease the joint area thoroughly. Dust, soap residue, oils and old dirt prevent a secure bond between the sealant and the material. For work in the bathroom or kitchen, a powerful cleaner such as ALMAWIN bathroom cleaner is ideal for reliably removing limescale and soap residue. After cleaning, allow the surface to dry completely. A hairdryer can speed up this process if necessary. This step is particularly important in the Plumbing + Irrigation area.
The most common cause of sealant joint failure is inadequate surface preparation. Spend more time cleaning than you do on the actual sealing.
Masking for razor-sharp edges
For a visually flawless result, mask the edges of the joint with high-quality masking tape. Position the tape exactly parallel to the joint on both sides. The distance between the two strips of tape determines the final joint width. Press the tape down firmly to prevent sealant from running underneath. This small extra effort saves you laborious cleaning later and guarantees perfectly straight edges.
How do I fit and cut the Easy Gasket nozzle correctly?
The cartridge nozzle is your brush. Its shape and size determine how the material—in this case, sealant—is applied. The INNOTEC Easy Gasket nozzle offers significant advantages over standard products.
Step 1: Open the cartridge
Screw the cap off the sealant cartridge. Now use a utility knife to cut off the tip of the plastic thread. Take care not to damage the thread itself.
Step 2: Fit and cut the nozzle
Screw the Easy Gasket nozzle firmly onto the thread. Now comes the most important part: cutting it to size. Use a sharp knife to cut the nozzle at a 45-degree angle. The resulting opening should be slightly narrower than the desired joint width. It is best to start with a smaller cut; you can enlarge the opening at any time.
Important note
Always cut the nozzle away from your body. A sharp knife can easily slip. For safety, always wear work gloves to prevent cut injuries.
When should I use the angled adapter?
The included angled adapter is a tremendous help for hard-to-reach areas. It lets you easily work around corners, behind pipes or under washbasins. Simply screw the angled adapter between the cartridge and the cut nozzle. This allows you to hold the caulking gun in a comfortable position while guiding the nozzle precisely along the joint. It is also ideal for sealing hoses and connections in tight cupboards.
How do I apply sealant precisely and evenly?
Preparation is complete and the nozzle is fitted. Now it is time for the actual caulking. Consistent pressure and a steady hand are the keys to success.
The right grip and speed
Place the cartridge in a sturdy caulking gun. Position the cut nozzle at a 45-degree angle at the start of the joint. The bevelled side should lie flat against the surface. Apply even pressure to the gun trigger and pull the nozzle along the joint in one smooth motion. Choose a speed that completely fills the joint without leaving air pockets. Pull the sealant towards you rather than pushing it.
Pro tip
Not sure? Practise first on a piece of cardboard or an old tile. This will help you get a feel for the right pressure and ideal speed before tackling the actual joint.
Run the bead in one continuous pass
Try to run each length of joint without stopping. Every stop creates a small excess of material that can later result in an unsightly spot. Plan your movement before you begin and make sure nothing is in the way. If you do have to stop, do so in an inconspicuous spot or in a corner.
How do I know when the joint needs smoothing?
After application, the sealant must be smoothed. This is not just for appearance; it also ensures that the material is pressed firmly against the sides of the joint and forms a lasting bond.
The right time to smooth the sealant
Timing is critical. You must act before the sealant forms a skin. This so-called skin-over time varies depending on the product and environmental conditions (temperature, humidity). You can find this information on the sealant packaging. If you wait too long, the surface will tear when smoothed and the result will be ruined. If you start too soon, you will smear too much material.
Smoothing shapes the joint and ensures contact with its sides. A clean caulk finishing tool and a little tooling solution are essential for this. Soapy water works, but professional tooling solutions help prevent discoloration of the joint.
Tools and techniques for smoothing
Lightly spray the freshly applied bead and the surrounding areas with a tooling solution or neutral soapy water. Then use a caulk finishing tool or your finger (wearing a glove) to smooth the joint with light, even pressure. Remove excess material from the tool immediately. Remove the painter's tape while the sealant is still wet. Pull it away from the joint at an angle to create a clean edge. You can find these tools and accessories in the Business Supplies section.
How do I avoid common mistakes when applying a bead?
Even with the best preparation, mistakes can happen. Here are the most common pitfalls and how to avoid them.
- Too much sealant: Cutting the nozzle too wide produces a thick bead that is difficult to smooth and wastes a lot of material. It is better to cut the nozzle slightly too small than too large.
- Uneven application: Jerky movements or varying pressure result in a wavy joint. Practise maintaining a consistent speed.
- Wrong angle: Do not hold the nozzle too steeply or too flat. A 45-degree angle is ideal for filling the joint cleanly.
- Smoothing too late: Skin-over time is critical. Once the surface has dried, clean smoothing is impossible. Work in sections that you can finish within this time.
- No cleaning: Never skip thorough cleaning and degreasing. Even the best sealant will not adhere to a dirty surface.
Additional advice
Did you not use the entire cartridge? No problem. The protective cap of the INNOTEC nozzle seals the opening airtight. This prevents the material from drying out, allowing you to store the opened cartridge for your next project in the Garden + Outdoor section.
Creating perfect joints is a skill that can be learned. It requires patience, the right preparation and, above all, the right tool. With the INNOTEC nozzle for Easy Gasket, you have the control you need to achieve precise, clean results that not only look professional but also provide long-lasting protection. Invest in good tools and take the time to work carefully—it will pay off with every project.
Frequently Asked Questions
- Can I reuse the Easy Gasket nozzle?
- Yes, the nozzle is reusable. Clean it thoroughly immediately after use. The supplied protective cap seals the nozzle and cartridge airtight, allowing you to reuse opened sealant later without the material hardening.
- At what angle should I cut the sealant nozzle?
- Always cut the nozzle at a 45-degree angle. This bevel allows you to position the nozzle flat against the joint and press the sealant neatly into it while moving the cartridge forward. This creates an even joint.
- Why is an angled adapter useful for a sealant nozzle?
- The angled adapter is ideal for hard-to-reach areas. It allows you to apply sealant precisely around corners, behind pipes or underneath sinks, where a straight nozzle would not reach. It gives you greater flexibility and control for complex sealing jobs.
- How do I determine the right cut size for the nozzle?
- The nozzle opening should be slightly smaller than the joint width. Start with a small cut and test the bead width. If necessary, gradually enlarge the opening until you achieve the desired width. This helps prevent applying too much material.
- Do I always need to mask the joint with painter's tape?
- It is not essential, but it is highly recommended, especially for beginners or when working with contrasting colors. Painter's tape creates precise, clean edges and minimizes cleanup. With a steady hand and the right tools, you can achieve perfect results without masking.
You may also be interested in
- How to seal correctly: 7 mistakes to avoid when using clear sealant
- Sealant spray vs. sealant: The best sealing solution for your project
- How to use Allesdichter spray correctly: The professional guide
- Applying silicone joints: How to achieve a perfect finish
- Stop drips: Quick help for leaks
- Applying plaster with a trowel: The right technique