
In brief: Install a pond protection net by first clearing the edges of the pond. With a second person, spread the net over the entire water surface. Starting along one long side, secure it with the supplied ground pegs. Then pull the net taut towards the opposite side and fasten it before securing the short sides.
A garden pond is an oasis of calm, but in autumn, falling leaves can quickly become a threat to the biological balance. Decomposing leaves remove oxygen from the water and encourage algae growth. A pond protection net helps prevent this and also protects your fish from herons and other unwanted visitors. Installation is easier than you might think. This guide takes you through every step.
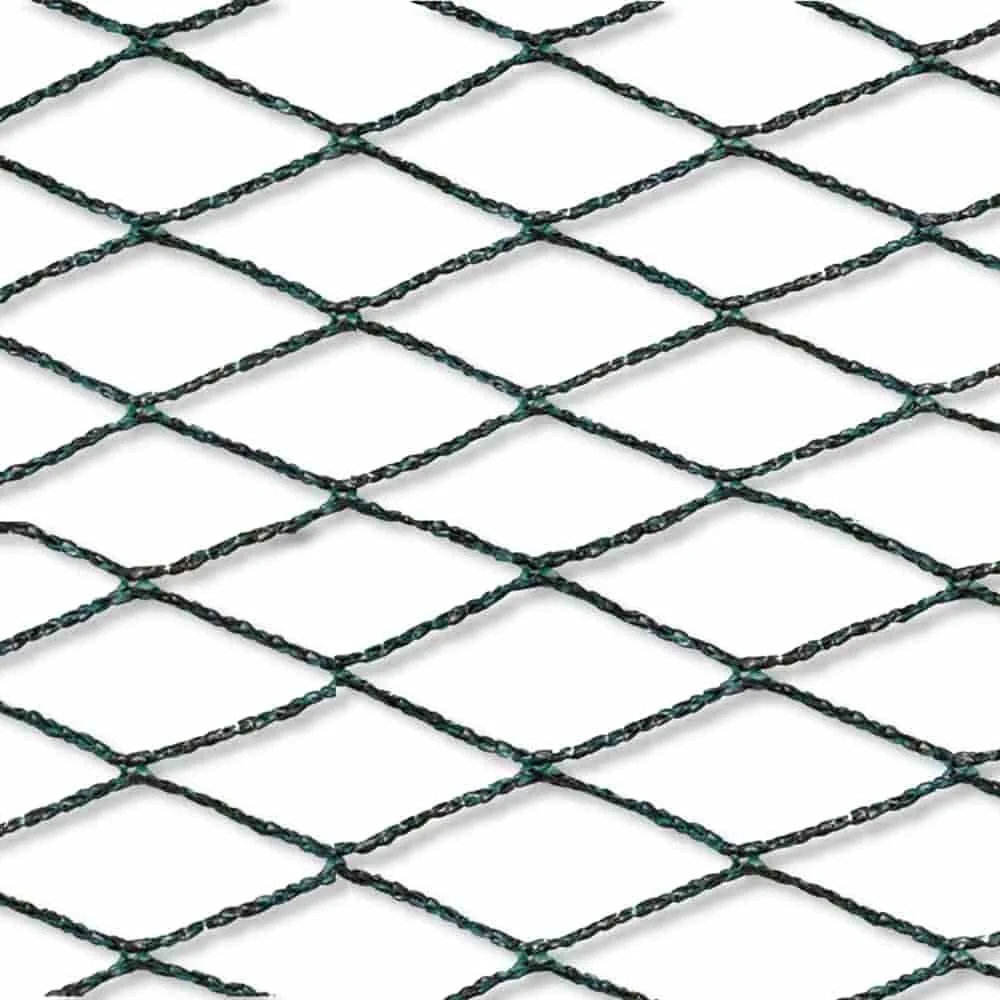
For most medium-sized garden ponds, the : Pond protection net 5 m x 6 m (30m²) is an ideal choice. It is tear-resistant, weatherproof and, with an area of 30 square metres, perfectly suited to many common pond sizes. The supplied ground pegs allow for quick and straightforward installation.
Why is a pond protection net essential in autumn?
Autumn brings a flood of leaves that inevitably end up in your pond. Without protection, this organic material begins to rot on the bottom of the pond. This decomposition process consumes large amounts of oxygen – oxygen that your fish and other pond inhabitants need to survive. A lack of oxygen can lead to fish deaths and an imbalance in the ecosystem.
In addition, nutrients such as nitrates and phosphates are released as the leaves decompose. These substances act as fertiliser for algae. The result is often an explosive algal bloom the following spring, making the water cloudy and unattractive. A pond net catches most of the leaves before they even reach the water. This saves you the effort of repeated netting and actively protects water quality.
A good leaf protection net is the best and simplest preventive measure for keeping water quality stable over winter and avoiding an extensive spring clean.
How do you find the right pond protection net for your garden?
Choosing the right net is crucial to its effectiveness. Three factors play the main role: size, material and mesh size.
Determining the right size
Measure your pond at its longest and widest points. Add at least one metre to both measurements to allow enough overhang for securing the net. The net should rest on the edges and not end directly at the water's edge. For irregularly shaped ponds, use the maximum dimensions as your guide. For smaller water areas, the
: Pond protection net 3x6m (18m²) is suitable, while for very large ponds you can choose products such as the : Pond protection net 10 m x 25 m (250m²).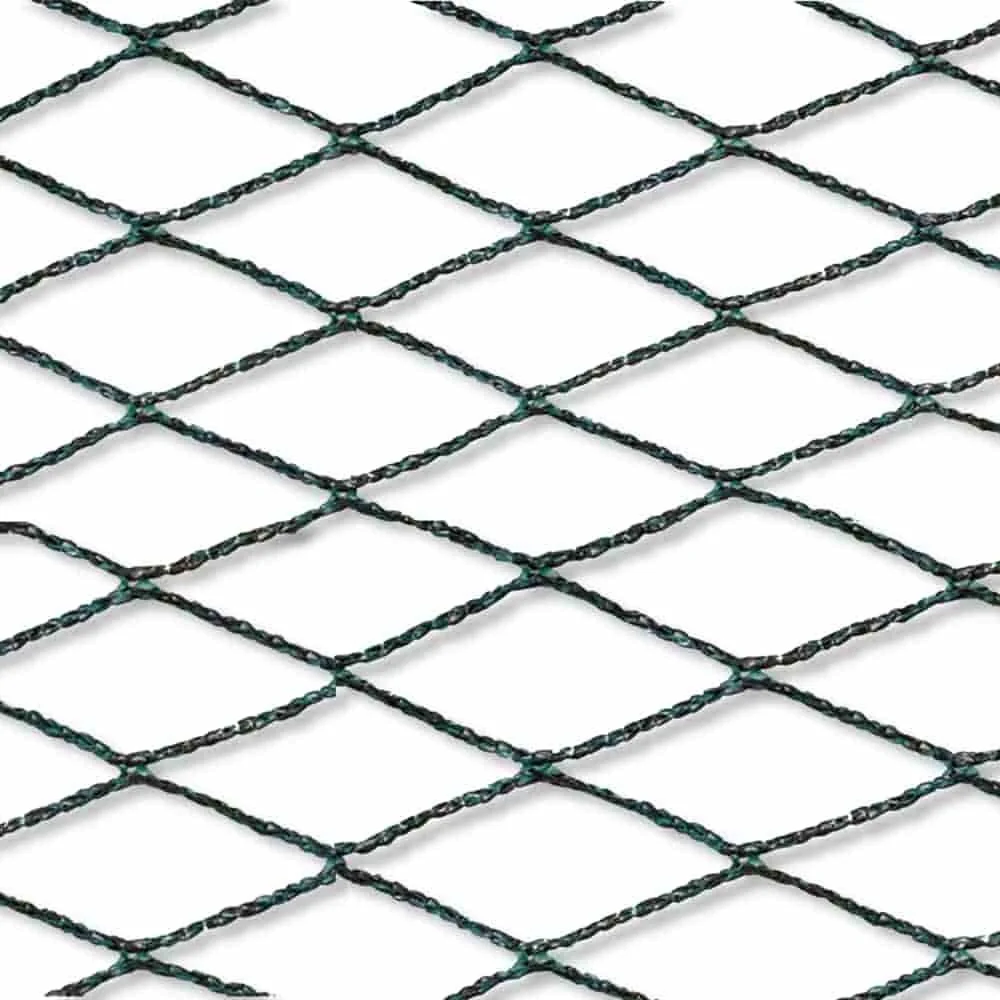
Material and mesh size
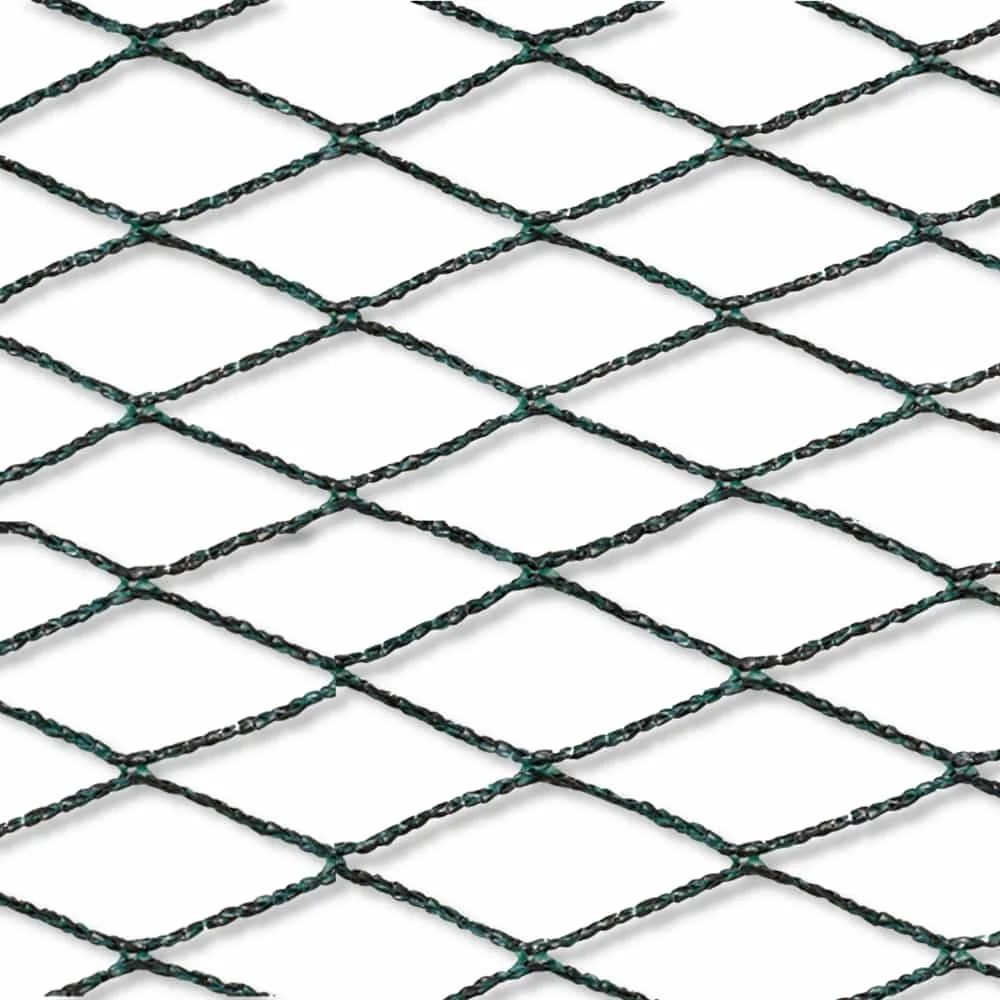
High-quality pond nets are made from weatherproof and UV-resistant plastics such as HDPE (High-Density Polyethylene). This material is tear-resistant and durable. A mesh size of around 20 x 20 mm has proven ideal. It is fine enough to catch leaves, needles and small branches, but open enough to keep the net unobtrusive and let sunlight through. Such protection nets also provide excellent protection from birds without keeping out smaller insects.
How to Install a Pond Net: The Detailed Step-by-Step Guide
Installing a pond net is not rocket science. With the right preparation and technique, the job can be completed quickly. It is best to carry out the installation with two people, as this makes tensioning the net much easier.
Preparation: What to Do Before Installation
Before spreading out the net, prepare the edge of the pond. Remove leaves, dead plant matter and loose stones from the bank area. Trim back overgrown marginal plants if necessary. A clean edge ensures that the net lies flat and prevents gaps through which leaves could fall or animals could squeeze. Have the net, fixing anchors and a rubber mallet ready.
Pro tip
Always work with two people. One person holds the net securely on one side while the other pulls it across the pond and tensions it. This prevents the net from ending up in the water and makes it much easier to achieve a tight fit.
Step 1: Spread Out the Net
Unpack the net and carefully spread it out next to the pond. Make sure it does not get caught on branches or shrubs. With your helper, each take a corner on one long side and slowly and evenly pull the net across the entire water surface. Lay it down loosely without tensioning it straight away.
Step 2: Anchor the First Side
Start on one of the pond’s long sides. Position the first ground peg about 30-50 cm from the edge of the pond. Push the peg through a mesh opening at the edge of the net and hammer it firmly into the ground with the rubber mallet. Place the next pegs approximately 1 to 1.5 metres apart along the entire first side.
Step 3: Tension the Net and Secure the Opposite Side
Now move to the opposite long side. Pull the net tight so that it no longer rests on the water surface. It should be slightly tensioned and float a few centimetres above the water. Start in the middle of this side with the first anchor. Then secure the remaining pegs to the left and right while keeping the net continuously taut.
Step 4: Secure the Short Sides
Once both long sides are secured, repeat the process for the short sides. Pull the net tight here too and place the anchors at the same distance apart. Pay particular attention to the corners to ensure that no gaps form. The net should now be evenly tensioned across the entire pond.
Step 5: Final Check and Adjustment
Walk around the entire pond and check the tension and position of the net. Are all the pegs firmly secured in the ground? Are there any areas where the net is sagging? Adjust it if necessary. If there is a lot of excess netting around the edges, you can either hide it under the edging stones or carefully trim it with scissors. Always leave enough excess material for secure fastening.
What Alternative Fixing Methods Are Available?
Not every pond is surrounded by a lawn where ground pegs can easily be hammered in. However, there are suitable solutions for ponds with paved paths, stone edges or walls too.
Important note
Make absolutely sure that the net is pulled tight and does not hang into the water. A sagging net can become a deadly trap for frogs, birds or hedgehogs, which can become entangled in it. Check the tension regularly.
Fixing the Net to Stones or Paving Slabs
If your pond is next to a patio or paved path, you can weigh down the net with heavy, flat stones or paving slabs. Lay the edge of the net on the ground and place the stones on top at regular intervals. This method is flexible and does not require drilling. Alternatively, you can screw small hooks into the joints between the slabs and hang the net from them.
Building a Raised Structure
If you have tall plants around the pond or want to prevent wet leaves from sticking to the net and pushing it down, raised installation is a sensible option. To do this, drive sturdy posts into the ground at the corners of the pond. Stretch a wire frame between these posts and lay the Tarpaulins and Nets over it. This creates a kind of tent roof over the pond. Leaves slide off more easily and the distance from the water is greater. This method is also ideal for keeping herons away, as is possible with the robust
: pond net 12x25m HDPE UV-stable against birds.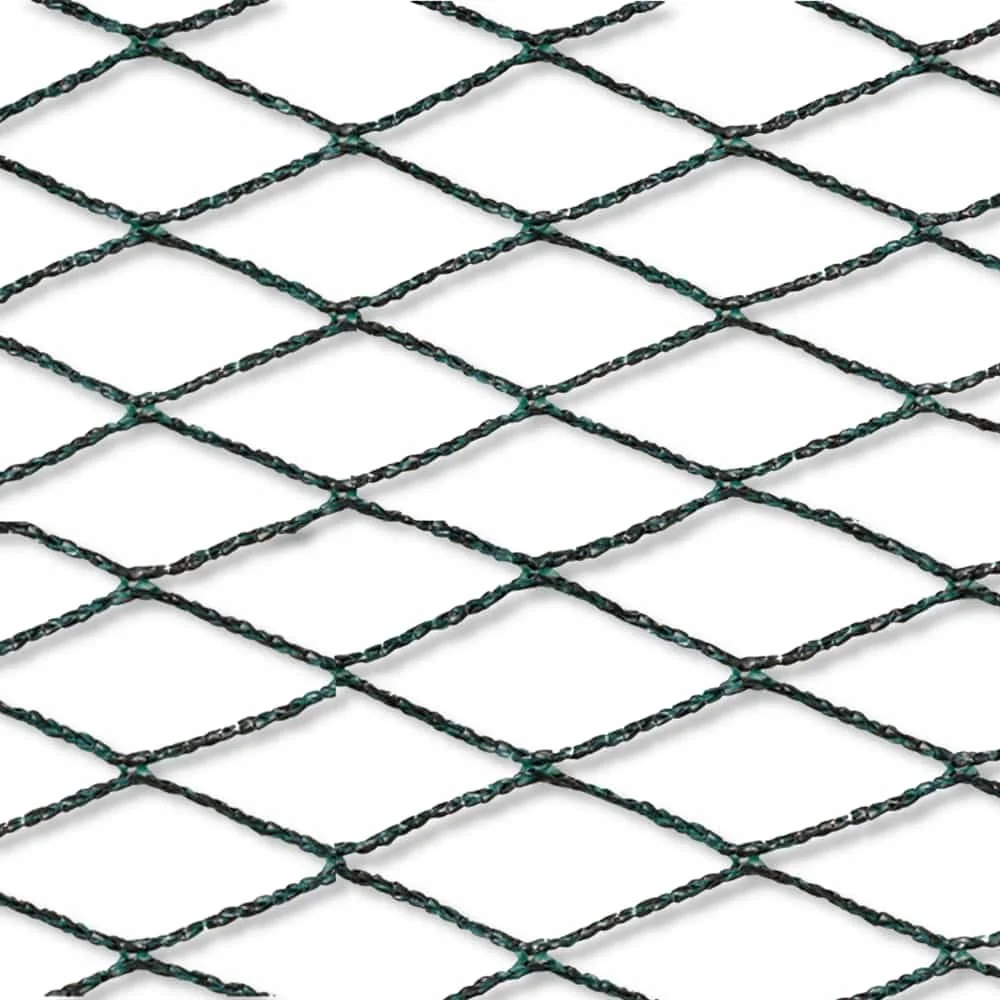
Caring for and Storing Your Pond Net
A high-quality net is an investment that can last for several years. With the right care, you can significantly extend its service life. Regularly remove leaves that have collected on the net, preferably with a leaf blower or a soft brush. A leaf vacuum is not suitable, as it could damage the fine mesh.
I have been using my Westfalia pond net for the third season now. After autumn, I give it a quick clean with the garden hose, let it dry and roll it up. In spring, it is as good as new.
Once the leaf fall has finished in late autumn, you can remove the net. Clean it thoroughly to remove dirt and plant residue. Allow it to air-dry completely before folding or rolling it up. Storing it while damp can lead to mould. Keep the net in a dry, sheltered place such as a garden shed or cellar.
Additional advice
Check the net for any tears or holes before storing it. Minor damage can often be repaired easily with a special net repair kit or strong thread. This ensures it is fully functional for the next use in autumn.
Investing in a good pond net and spending a little time installing it pays off in several ways. You protect the health of your pond ecosystem, safeguard your fish and save yourself a lot of work in spring. Browse the selection of Garden + Outdoor products and find the perfect solution for your pond.
Frequently Asked Questions
- How do I tension a pond net properly?
- Make the net taut enough that it does not sag into the water, even when wet leaves collect on it. However, it should not be under extreme tension, as this could overload the fixing points. A slight upward curve is ideal.
- Can I leave a pond net in place all year round?
- UV-stabilised nets can theoretically remain in use all year round. However, it is advisable to remove the net after the leaves have fallen and before heavy snowfall. Snow can become very heavy and damage the structure. Store it in a dry place to extend its service life.
- What mesh size is best for a pond net?
- A mesh size of around 20x20 mm is a good all-rounder. It reliably keeps out leaves, branches and most birds, such as herons. At the same time, it is large enough to allow beneficial insects such as dragonflies access to the water.
- How do I secure a pond net without grass around the edge?
- For ponds with stone or paving-slab edging, use heavy, flat stones to secure the net at ground level. Alternatively, you can drill hooks into the joints or use special brackets designed for installation on solid surfaces.
- Does a pond net also protect against cats and herons?
- Yes, a correctly and tightly tensioned pond protection net is highly effective against fish-eating herons and cats. The animals cannot reach the fish through the net and usually look for easier hunting grounds after a few attempts.
You may also be interested in
- Cleaning & storing pond netting: How to make your protection last longer!
- Installing pond netting: The complete bird protection guide
- Installing privacy netting: How to do it properly
- Installing a rain barrel net: Instructions in 5 easy steps
- Pond cover: Grid, net or tarpaulin for your pond?
- Pond protection grid: Protection from leaves, herons & cats