
In brief: Installing laminate flooring is a classic DIY project. You’ll need the right tools, a dry, level subfloor and a vapor barrier. Care is simple: wipe up spills, use a laminate cleaner and protect the floor from scratches. These steps will keep your new flooring looking great for years.
How to Install and Care for Laminate Flooring
New laminate flooring can transform a room. Installing it is a project for confident DIYers. With the right preparation and technique, you can get great results. This guide walks you through every step.
What should you consider before installing laminate flooring?
Planning is key to success. Measure your room carefully and add about 5% for waste. Think about which direction to lay the planks. Running them parallel to the light can make the room feel more open.
The subfloor must be dry, clean and level. Smooth out any uneven areas greater than 3 mm per meter with self-leveling compound. Check that existing wood floors are securely fastened.
Important note
Let the laminate flooring acclimate before installation. Leave the unopened packages in the room for at least 48 hours. This gives the material time to adjust to the room’s temperature and humidity, helping prevent problems later.
Gather the right tools. A jigsaw or miter saw is essential. A pull bar, tapping block and rubber mallet are basic equipment. Don’t forget spacers to maintain an expansion gap along the walls.
Choosing the right material
The use class indicates how much wear the flooring can handle. For living spaces, choose at least class 23. Class 33 is recommended for hallways or kitchens. The thickness of the wear layer affects how long the flooring will last.
Appearance comes down to personal taste. Large-format planks look modern, while long planks mimic wood flooring. Look for realistic surface textures to give the floor an authentic look.
How do you prepare the subfloor properly?
Remove old flooring down to the load-bearing screed or concrete slab. Vacuum and clean the surface thoroughly. Fill any cracks with a suitable filler. The subfloor must be dust-free.
Check the residual moisture, especially in new buildings. A professional can measure it with a CM meter. On old tile, you can lay a thin underlayment directly.
Pro tip
Lay PE film as a vapor barrier. It’s required over all mineral subfloors, such as screed. Overlap the sheets by at least 20 cm and seal the seams with wide tape.
Lay the underlayment on top. It smooths out minor imperfections and makes the floor more comfortable to walk on. Roll it out flat, butting the sheets together without overlapping. Secure the seams with tape.
Tools for preparing the subfloor
Find the tools you need for this job in our power tools category. A level will help you spot uneven areas. For larger leveling jobs, you’ll need a mixing paddle and a bucket.
A level subfloor is key to a professional-looking result. Take your time here. Any mistakes may become visible and audible later.
How do you install laminate flooring step by step?
Start in the left-hand corner of the room, along the longest wall. Lay the first plank with the groove facing the wall. Place spacers about 8 mm wide against all the walls. This expansion gap is essential.
Connect the next plank along the long edge. Tilt it into place, then press it down. A gentle tap with a rubber mallet and tapping block helps lock it securely in place.
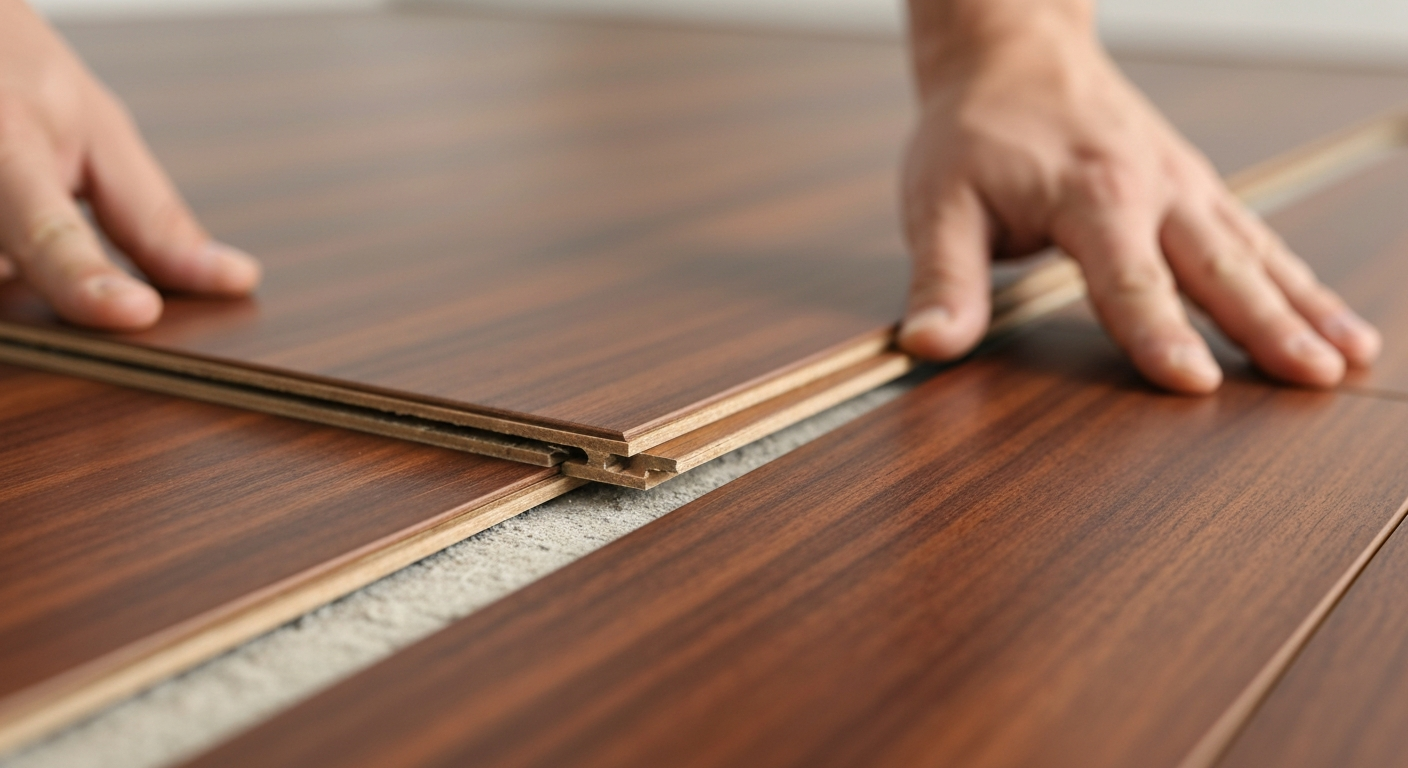
Cut the last plank in each row to fit. Measure the distance to the wall, subtract the expansion gap and mark the length. Cut it with a saw. Start the next row with the offcut, as long as it’s at least 40 cm long.
Additional advice
Use a pull bar for the last row. It lets you pull the planks snugly against the previous row without prying. Work carefully to avoid damaging the tongue-and-groove joint.
Working around door frames and radiators
Cut the laminate to fit under door frames. Place a plank with underlayment on the floor you’ve already installed. Set a saw on top of the plank and trim the frame to match its height.
Radiators often require small pieces of flooring. First connect the pieces outside the row, then slide the whole section under the radiator. Lift it carefully and click it into place.
Sharp tools are essential for cutting and precision work. Visit our garden tools category for sturdy knives and saws.
How do you care for laminate flooring?
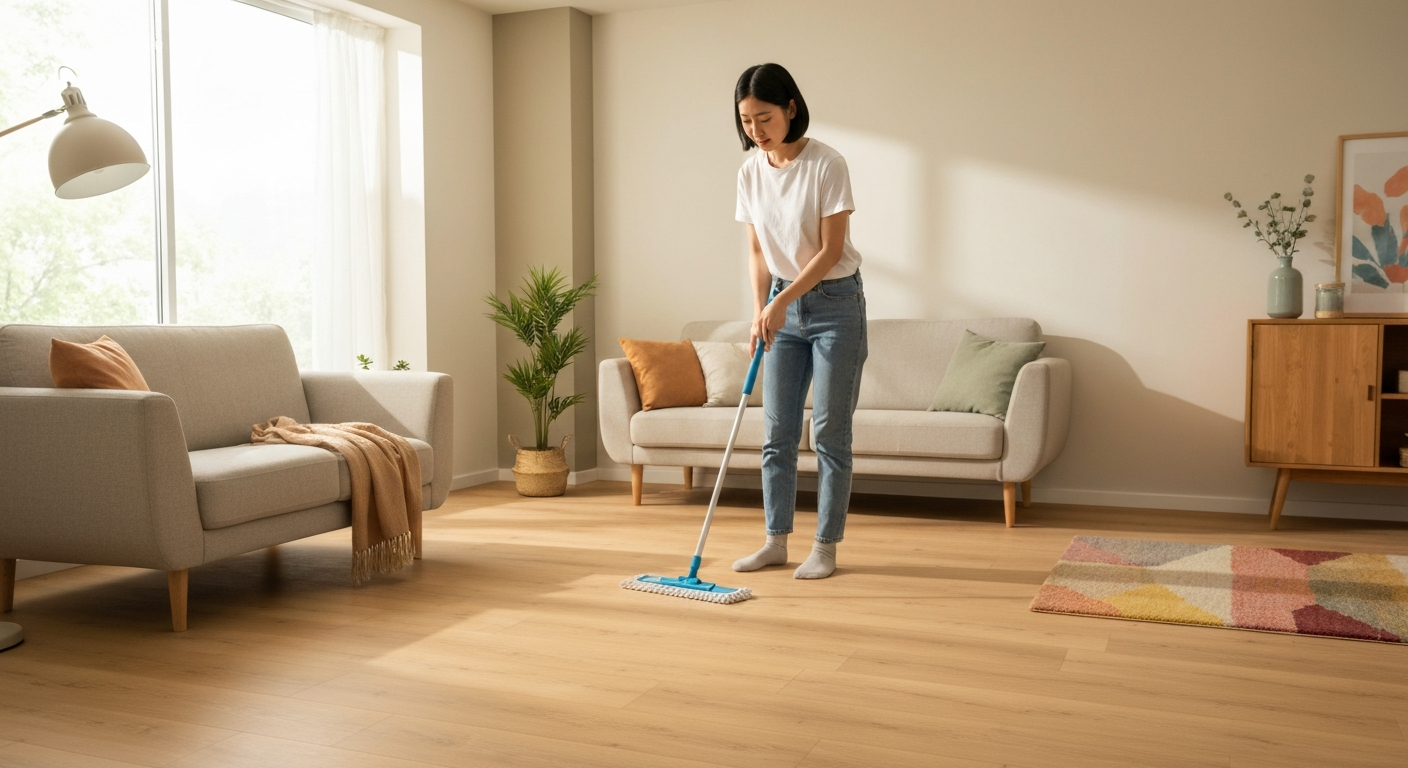
Daily care is simple. Vacuum or dry-mop with a soft-bristled broom to remove sand and dust that can scratch the surface. Avoid coarse straw brooms.
For damp cleaning, use a well-wrung mop. Use only cleaners made for laminate flooring; they dry without leaving residue. Household products such as vinegar or all-purpose cleaner can damage the surface.
A good care set makes cleaning easier. The
has everything you need for gentle cleaning. It helps prevent streaks and greasy residue.
Moisture is laminate’s biggest enemy. Any water that seeps into the joints can cause the floor to swell. The rule is simple: use a damp mop and dry the floor right away.
How to prevent scratches and wear
Put felt pads under all furniture legs. Never drag heavy furniture across the floor; lift it instead. Place clean doormats by entryways to catch most of the dirt.
If you have pets, trim their claws regularly. Wheelchairs and office chairs need special soft casters. You can also find floor care products in business supplies.
Which products can help you install and care for laminate flooring?
The right tools and supplies make all the difference. In addition to the laminate flooring itself, you’ll need a few accessories. High-quality underlayment with sound insulation makes the floor more comfortable to walk on. It reduces impact noise and helps smooth out minor unevenness.
For a clean finish, install baseboards. They cover the required expansion gap. Choose a color that matches the flooring or walls, and attach them with adhesive instead of nails.
Our range includes laminate flooring to suit your style. The in the Alpine Oak design brings an airy alpine feel to your home. For a modern, urban look, choose the Bali Driftwood.
If you love classic wood looks, choose the Baronial Oak. All these floors are easy to install and built to last. You can find more inspiration in the garden equipment category, including ideas for the transition to your patio.
Repair and long-term care
Even with the best care, minor damage can happen. Repair pencils are ideal for scratches. They fill the groove with a matching color. Use a specialized repair compound to fill deeper damage.
If a plank is badly damaged, replace it. This takes patience. Remove the rows up to the damaged plank, then reinstall them after replacing it. It’s a good idea to keep a few spare planks on hand.
For all your indoor and outdoor home and garden projects, take a look at our shop. You’ll find tools, materials, and inspiration for your next project.
Installing laminate flooring yourself is rewarding. You save money and get the satisfaction of doing it yourself. With the right care, you can enjoy your new floor for many years. Start planning today.
Frequently asked questions
- Can I install laminate flooring over old tile?
- Yes, as long as the tiles are firmly installed and the surface is completely level. Lay a thin sound-insulating underlayment to help smooth the surface. Check that the floor is level with a spirit level. Otherwise, uneven spots may show through the laminate flooring.
- How long does laminate flooring need to acclimate before installation?
- Leave the unopened packages in the room where you’ll install the flooring for at least 48 hours. The room’s temperature and humidity should match the conditions the flooring will be exposed to after installation. This helps prevent tension and warping later.
- What tools do I need to install laminate flooring?
- Essential tools include a jigsaw or miter saw, a pull bar, a tapping block, a metal try square, and a rubber mallet. Spacing wedges help you maintain the correct gap from the wall. To prepare the floor, you’ll need a spirit level and possibly leveling compound.
- Can I clean laminate flooring with a wet mop?
- No. Use only a well-wrung, slightly damp mop or microfiber cloth. Standing water can damage the joints and cause the flooring to swell. Use a laminate floor cleaner that dries without leaving residue or a greasy film.
- How should I fix deep scratches in laminate flooring?
- Use special repair pencils to cover minor scratches. For deeper damage, use color-matched repair filler. If a large area is damaged, replace the individual plank. To do this, remove the neighboring rows up to the damaged area.
You might also be interested in
- Installing laminate flooring: The complete DIY guide
- Repairing laminate flooring: Easily fix scratches and dents yourself
- Installing laminate flooring correctly: Which direction is best?
- Installing engineered wood flooring: Install your own wooden floor
- Installing vinyl flooring: Step by step to a new look
- Gluing laminate flooring: When it makes sense and how to do it correctly