
In brief: Install cable raceway correctly by carefully planning the route, choosing the right profiles, and securing them properly. Measure the route and account for doors and corners. Cut the raceway to size with a hacksaw. Secure it straight and firmly to the wall using screws or adhesive. Place the cables neatly inside and attach the cover.
How to Install Cable Raceway: DIY Tips
Messy cables are more than an eyesore. They can create a tripping hazard and get damaged. Cable raceway is the solution. It protects cables and keeps your wiring neat. This guide shows you how to install cable raceway like a pro.
Planning: The First Step to a Neat Installation
Start with a detailed plan. Draw the cable route on the wall. Account for door frames, radiators, and outlets. Measure the length of cable raceway you need. Always buy a little extra material to allow for corners and cutouts.
Choose the right type of raceway. Baseboard raceway blends in with the room. Surface-mounted wall raceway is easy to install. For outdoor areas, choose weather-resistant models. Find suitable products in our workshop supplies category.
Careful planning saves time and reduces material waste later. A good plan is half the job.
What Tools Do You Need?
The right tools make the job easier and more precise. You need a pencil and tape measure to mark the route. A level helps you draw straight lines. Use a hacksaw or sharp utility knife to cut the raceway to size.
For installation, you need a drill with masonry bits. Use a screwdriver to install the wall anchors and screws. A rubber mallet can help snap the cover into place. High-quality power tools are a worthwhile investment.
Pro tip
Cut cable raceway with a hacksaw and miter box. This gives you clean, straight cuts and precise 45-degree angles for corners. File the cut edges smooth afterward so they don't chafe the cables.
Choosing Materials: Raceway, Cables, and Accessories
Choose raceway with a large enough cross-section. The cables should not be squeezed. Allow for possible extensions. Buy matching corner pieces, connectors, and end caps for a finished look.
Always use cables with intact insulation. NYM-J cables are suitable for fixed installations. NYY-J cables are required outdoors. Arrange the cables before placing them inside the raceway. Use cable ties to bundle them neatly.
How Do You Measure and Cut Accurately?
Hold the cable raceway where you plan to install it. Mark the required length with a fine line. For corner pieces, always measure along the inner edge. Cut the raceway with a sharp saw. Work slowly and apply even pressure.
For outlets or switches, you'll need to cut openings. Mark the exact area. Drill a starter hole, then cut the opening with a jigsaw. The opening should be only slightly larger than the electrical box. This ensures everything fits neatly and securely.
Important note
Always turn off the circuit breaker before working near existing electrical cables. Use a two-pole voltage tester to check that the cable is not live. Never work on live cables. If you're unsure, consult a professional.
Installation: Step by Step to a Secure Fit
Hold the raceway against the marked line. Check the alignment with a level. Mark the drilling points through the raceway's mounting holes. Drill the holes, insert the wall anchors, and screw the base section firmly in place. Space the screws evenly.
For long runs, install the corner and connecting pieces first. Then fit the straight raceway sections between them. This helps prevent measurement errors. For heavy cable bundles or outdoor use, a closed cable protector such as the
is a good choice.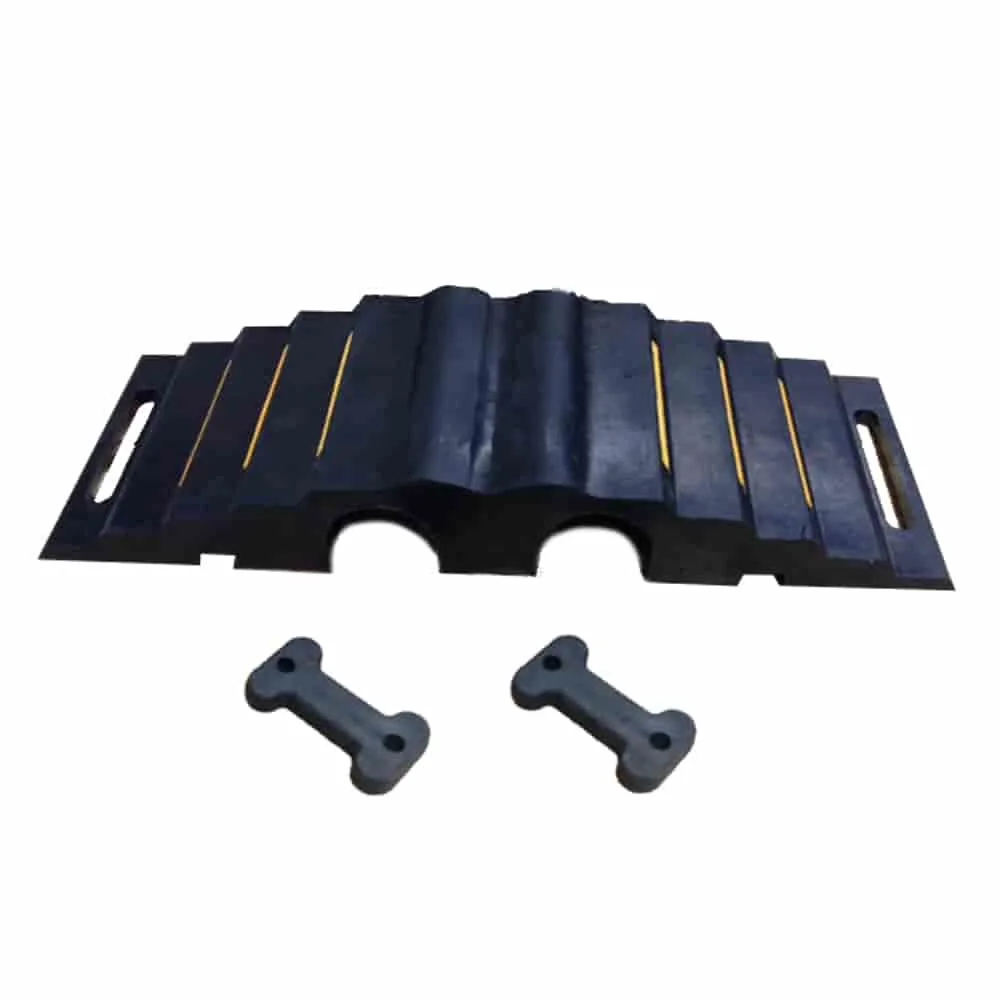
The strength of the installation is often underestimated. Loose cable raceway not only looks untidy, it can also come loose over time and expose the cables.
Inserting Cables and Closing the Raceway
Place the cables neatly in the base section without forcing them. Avoid sharp bends. Leave enough slack at junctions and connection points. Secure the cables inside the raceway with a cable tie every 50 cm to keep them from slipping.
Now fit the cover. Start at one end and snap it into place along the entire length. Work your way along the raceway. A second person can help with long sections. The cover should snap into place evenly and sit flush all the way along.
Additional advice
Label the cable ends before closing the raceway. Use simple labels or labeled cable ties. This saves time when you add to the installation or troubleshoot later. A small folder with the installation plan is also invaluable.
Special Challenges: Corners, Doors, and Outdoor Areas
Inside and outside corners require precise cuts. Cut the ends of the raceway at a 45-degree angle. Use premade corner pieces for a perfect fit. At doorways, install the raceway as high above the frame as possible or use flexible floor cable covers.
For garden irrigation or outdoor lighting, use cable raceway designed for outdoor use. It is UV-resistant and waterproof. An open cable protector
is ideal for temporary installations on patios.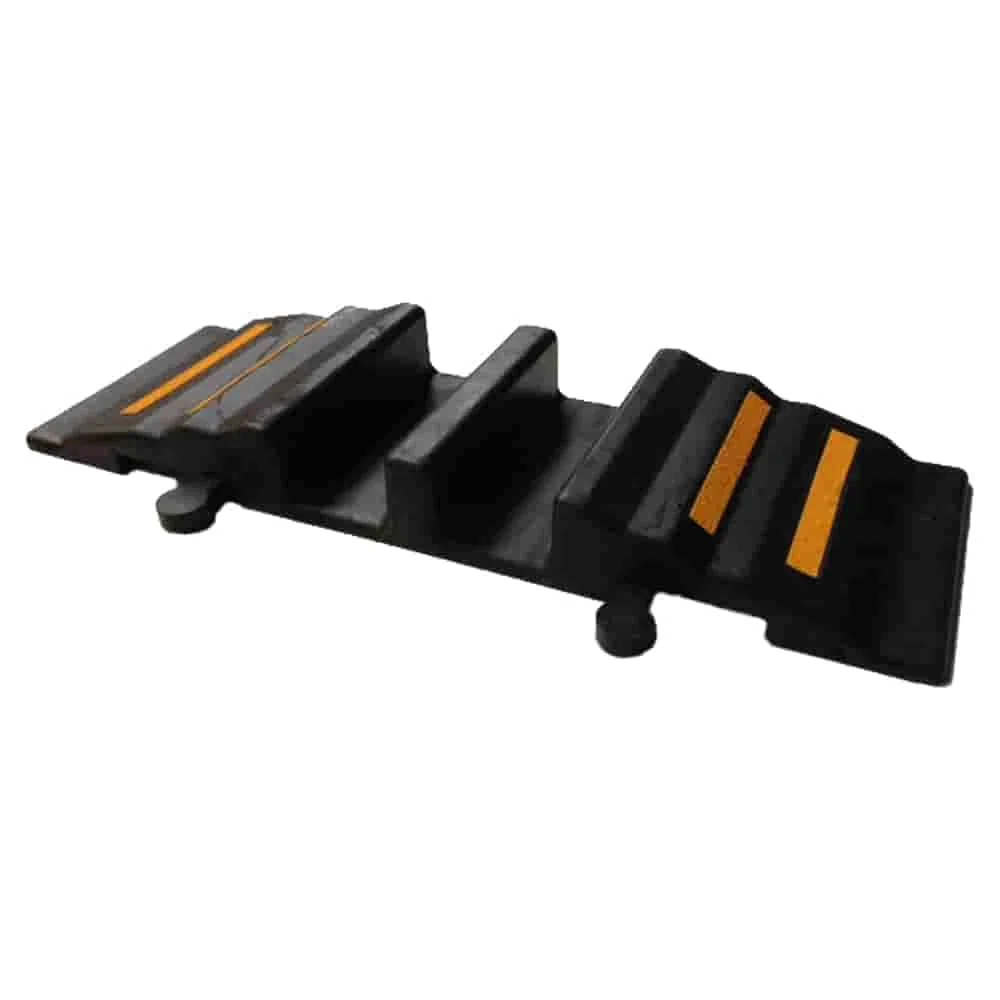
Cable Protection in Gardens and on Paths
Running cables across garden paths or driveways requires sturdy protection. Cable protector ramps are ideal for this purpose. They distribute the load and protect cables from moisture and mechanical damage.
Lay the cable in a shallow trench. Place it loosely inside with a little sand. Position the protector ramp over it, making sure it sits flush with the path surface. Our is a durable, enclosed solution for this purpose.
For lifting heavy pavers or manhole covers, a
Finishing Touches and Quality Check
Check the entire installation once it’s complete. Are all the covers securely in place? Are the cables free of kinks and pinches throughout? Do the connected devices work? Wipe down the cable raceway to remove dust and fingerprints.
For outdoor installations, check the seals around plugs and cable entries. Make a note of the cable route for future reference. A neat installation will last for years and improve your home. Find more ideas in our Garden Equipment category.
Frequently Asked Questions
- What types of cable raceway are available?
- You can choose between baseboard raceway, which runs where the wall meets the floor, and surface-mounted raceway for straight sections of wall. Flexible cable raceway works well on uneven surfaces. For gardens and other outdoor areas, choose a weather-resistant model with a high IP rating.
- Can I run power and data cables in the same raceway?
- Yes, but you’ll need to prevent interference. If possible, run power cables (230V) and low-voltage data cables (LAN, telephone) in separate compartments. Alternatively, keep them at least 10 cm apart. Use shielded cables to minimize electromagnetic interference.
- How can I attach cable raceway without drilling?
- Use an adhesive designed for cable raceway. The surface must be completely clean, free of grease, and suitable for bonding. Press the raceway firmly in place for several minutes. This method works on smooth tile or painted walls, but is often less durable than mounting it with screws.
- What should I consider when installing outdoor electrical wiring?
- Use only cable raceway or conduit rated for outdoor use and resistant to UV radiation and water. All outlets and switches must have an appropriate protection rating (at least IP44). Plan the installation in the Garden + Outdoor area so the cables are protected from damage by shovels.
- How do I run cables across a path or driveway?
- Enclosed cable protector ramps are a safe solution. Models such as our PRODUCT_23167 protect cables from vehicle traffic and the weather. Dig a narrow trench, lay the cable loosely inside, and place the protector ramp over it. The surface stays level and safe to walk on.
You may also be interested in
- Home Electrical Installation: Safe DIY Tips
- Installing Electrical Cables in the Garden: Wiring, Safety, and Regulations
- How to Install Lawn Edging: A Step-by-Step Guide
- Clever DIY Tips for Your Home Improvement Project
- Installing Heating Pipes: A DIY Guide to Efficient Heating
- How to Drill Properly: Tips and Techniques for DIY Projects