
In brief: Install flexible lawn edging in just a few steps: plan the layout, dig a narrow trench, insert and align the edging. Then fill the trench with soil and compact it to stabilize the edging permanently.
A well-kept garden is defined by clear structure. Neat transitions between lawns, flower beds and paths create a harmonious overall look. But grass spreads relentlessly into flower beds, bark mulch ends up on the lawn and gravel paths lose their shape. The solution is simpler and more affordable than you might think: flexible lawn edging. It separates different areas neatly and makes garden maintenance much easier.
With the right technique, you can install this type of garden edging in an afternoon. A particularly practical and affordable option is flexible plastic lawn edging. It adapts to any shape, is weather-resistant and can be installed without specialist tools. This guide takes you through every step of installing garden edging.

Why is lawn edging the unsung hero of your garden?
Flower bed edging is more than just a visual border. It performs several important functions that save you time and effort in the long term. Think of it as a one-off investment in the order and health of your garden.
The most obvious benefit is the clear structure it creates. A defined edge between lawn and flower bed instantly makes the entire garden look tidier and more professional. This visual separation highlights the different areas and directs attention to your plant arrangements. Without this border, transitions often look ragged and untidy.
Another major benefit is the considerable reduction in maintenance work. Tediously re-cutting lawn edges by hand with a spade becomes unnecessary. You can mow directly along the edge without damaging the plants in the flower bed. This not only saves time but also protects your back. At the same time, the barrier prevents ground cover plants and grass roots from spreading uncontrollably into the beds, where they would compete with your flowers and shrubs.
A well-installed lawn edge is the foundation of a low-maintenance flower bed. It keeps not only the grass under control, but also the soil and mulch where they belong.
Materials such as bark mulch, decorative gravel and wood chips also stay in their intended place thanks to the edging. During heavy rain or when children are playing, these materials are no longer washed onto the lawn or patio. This keeps the garden clean for longer and reduces material loss.
What types of lawn edging are available, and why is plastic often the best choice?
When choosing the right flower bed edging, you have several materials to consider. Each has specific advantages and disadvantages in terms of appearance, durability, price and installation effort.
Traditional materials at a glance
- Metal (steel, aluminium, Corten steel): Metal edging is highly durable, thin and unobtrusive. Corten steel develops a distinctive rusty patina that is very popular in modern gardens. One example is the 10-piece set Corten steel lawn edging. The downside is that metal is more expensive and less flexible than plastic, making curved installation more difficult.
- Stone or concrete: Paving stones and concrete edging are extremely robust and durable. They provide a bold, distinctive look. However, installation is very time-consuming, often requires a concrete foundation and is physically demanding. They are hardly suitable for curved lines.
- Wood: Wooden edging looks natural and works well in rustic gardens. Untreated wood rots within just a few years, however. Pressure-treated wood lasts longer but can release chemicals into the soil.
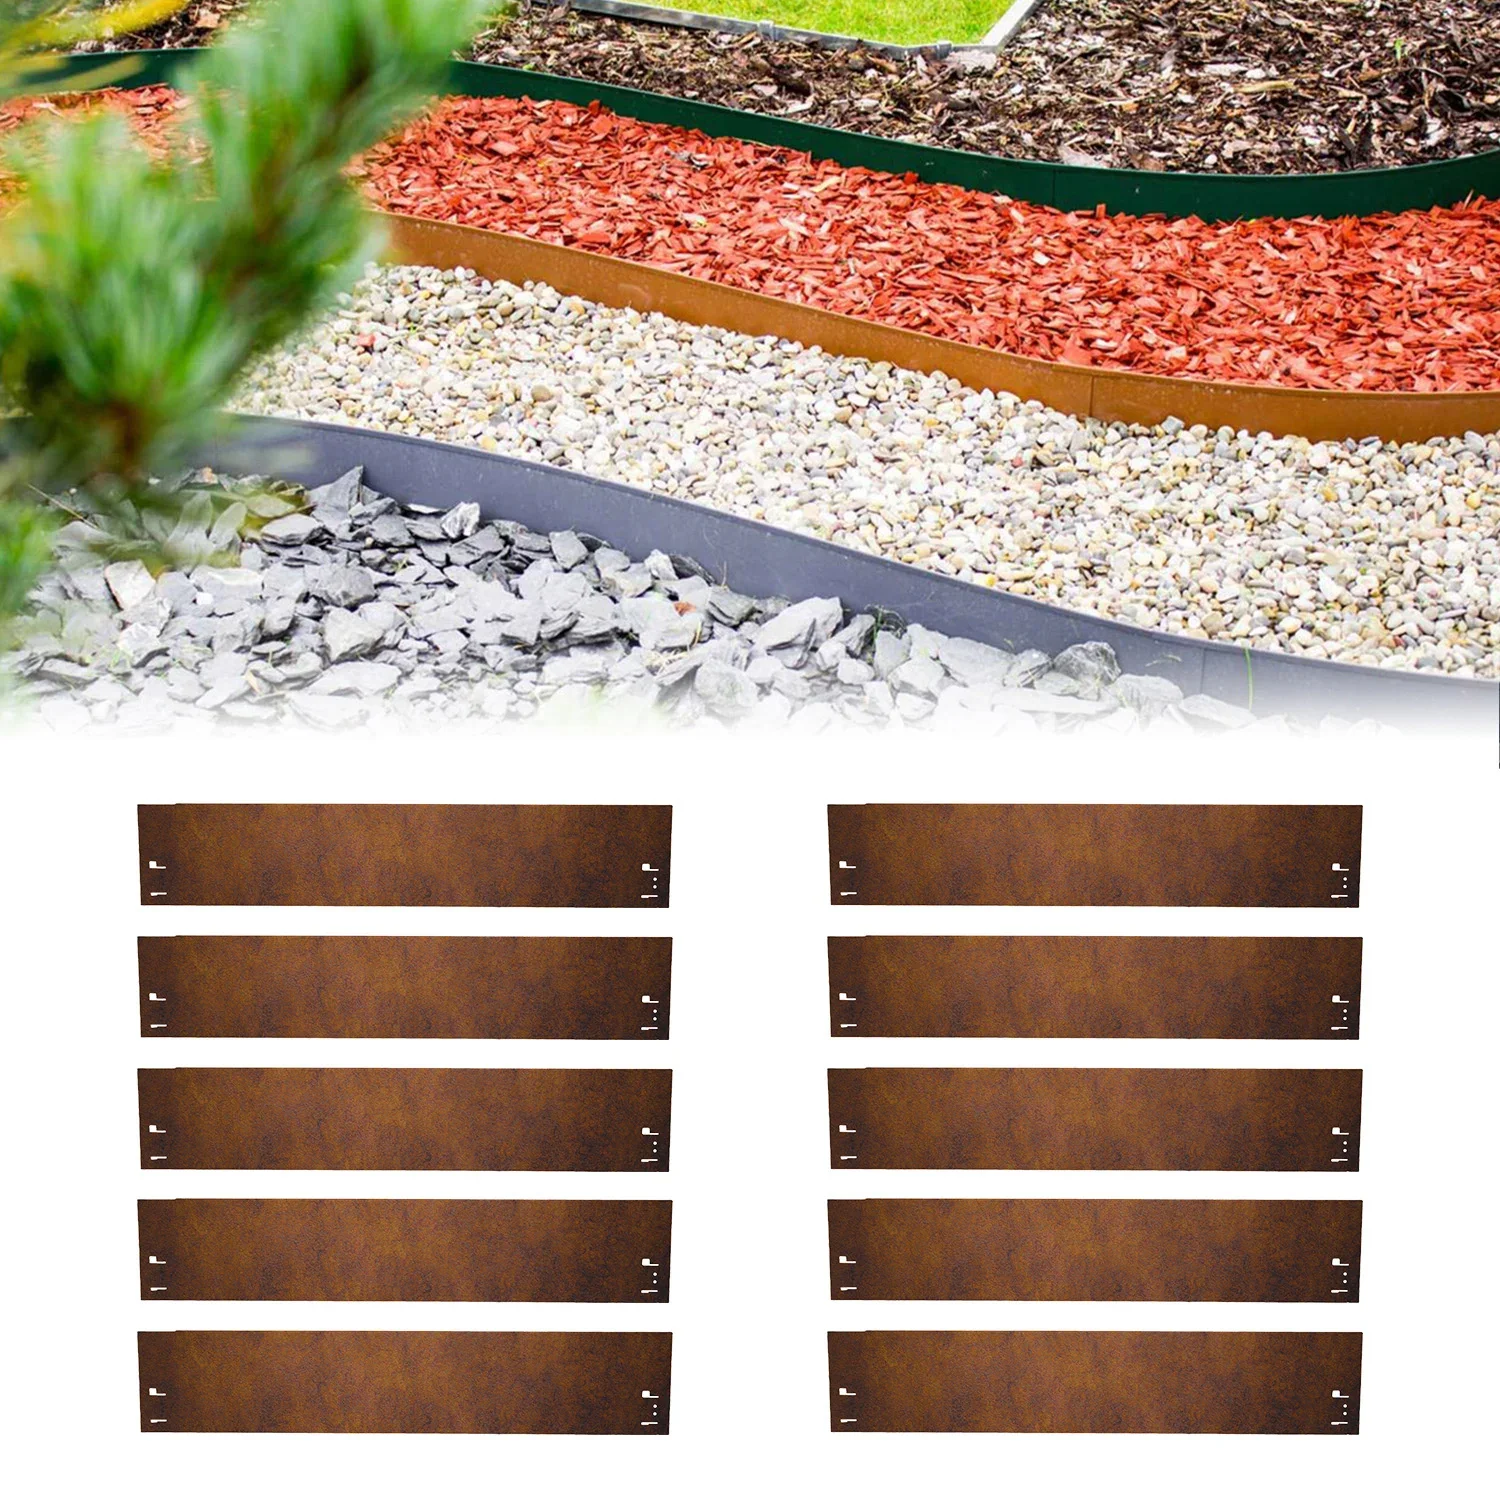
The benefits of flexible plastic
For most garden projects, especially if you plan to do the work yourself, flexible plastic lawn edging is the ideal solution. It combines many advantages while minimizing the drawbacks of other materials.
Its greatest strength is its flexibility. You can easily use it to create organic shapes, tight curves around trees or flowing flower bed borders. This is hardly possible with rigid materials such as stone or metal. Plastic is also extremely lightweight, so you can transport and handle many metres of lawn edging without difficulty.
Modern plastics are UV-stabilized and weather-resistant. They do not rot or rust and will not become brittle in frost. The material is also very affordable, making garden design accessible even on a small budget. Easy installation without specialist tools or a foundation makes it the perfect DIY product for every level of experience with garden equipment.
Additional advice
When buying plastic lawn edging, look for recycled material. Many high-quality products are now made from recycled plastic in an environmentally friendly way while offering the same durability and functionality.
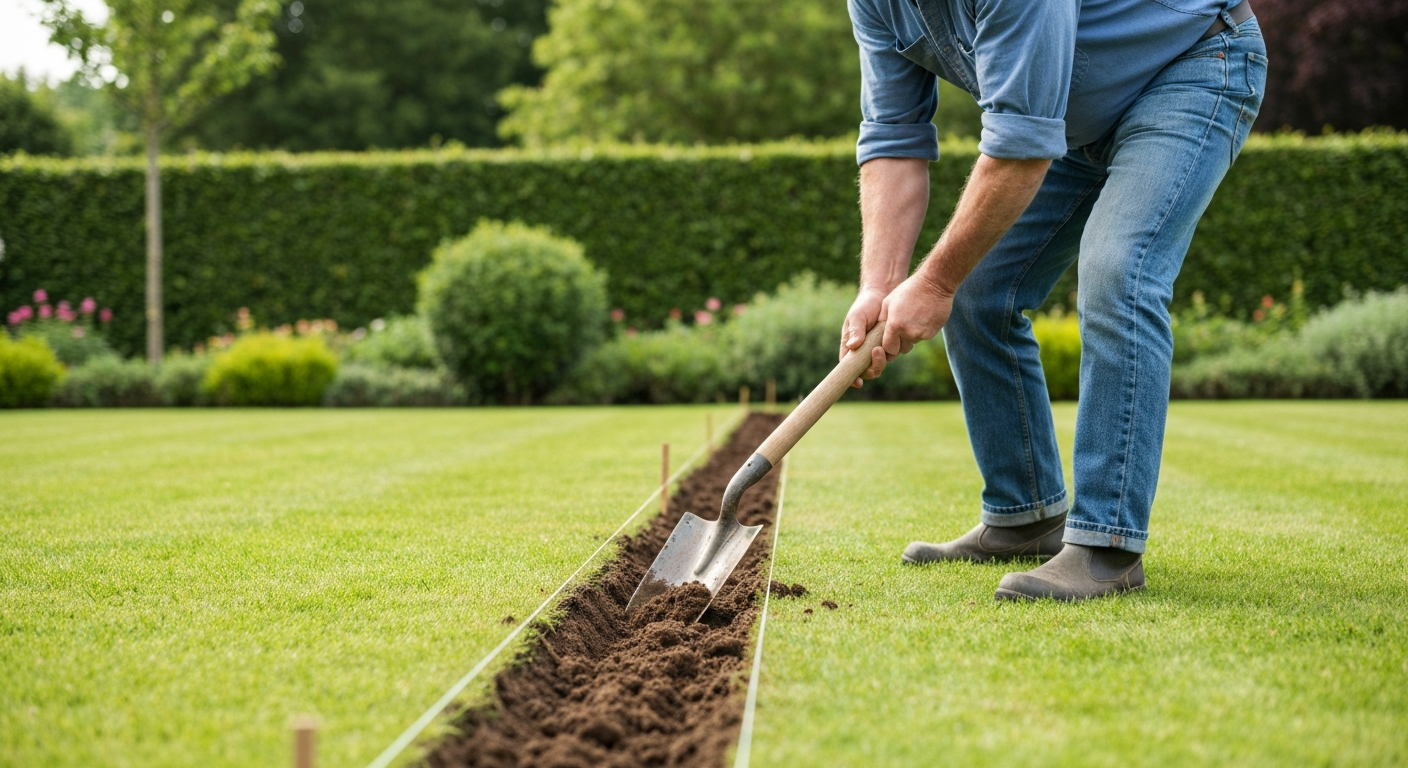
How do you install flexible plastic lawn edging? A step-by-step guide
Installing plastic lawn edging is straightforward. With the right preparation and technique, you can achieve a professional-looking result. Simply follow these steps.
Step 1: Planning and preparation
Good planning is half the job. First, determine the exact path of the edging. For straight lines, stretch a mason's line between two stakes. For curves, use a garden hose, laying it on the ground and adjusting it until you are happy with the shape. Then mark the path with some sand or marking spray.
Measure the total length of the area to determine how much lawn edging you need. Get all the tools ready: a sharp spade (ideally a lawn edging spade), a rubber mallet, a spirit level, work gloves and, if necessary, garden shears or a small saw for trimming the edging.
Pro tip
Place the rolled-up plastic lawn edging in the sun for a few hours before installation. This makes the material softer and more flexible. It is then easier to bend and install in the desired shape, especially around tight curves.
Step 2: Dig the trench
Now use the spade to cut a narrow trench along your markings. The trench should be slightly shallower than the total height of the lawn edging. For the 4.5 cm-high , a trench depth of around 3 to 4 cm is ideal. This allows the top edge to finish flush with the turf later or sit just below it.
Make sure the trench is as narrow as possible. It only needs to be wide enough to accommodate the edging. The less empty space there is, the more securely the edging will sit later. Remove any stones and larger roots that are in the way.
Step 3: Insert and align the lawn edging
Start at one end and place the lawn edging in the prepared trench. If you need to connect several sections, use the designated interlocking system. Carefully tap the edging into the ground with the rubber mallet until it reaches the desired height. A regular hammer could damage the plastic.
Check the alignment regularly with the spirit level. The edging should be straight both along its length and across its profile. The top edge should not protrude above the turf, as it could otherwise become a trip hazard and interfere with mowing.
The perfect height for lawn edging is reached when the lawn mower's wheel can roll safely over it without the blade touching the edging.
Step 4: Stabilise and backfill
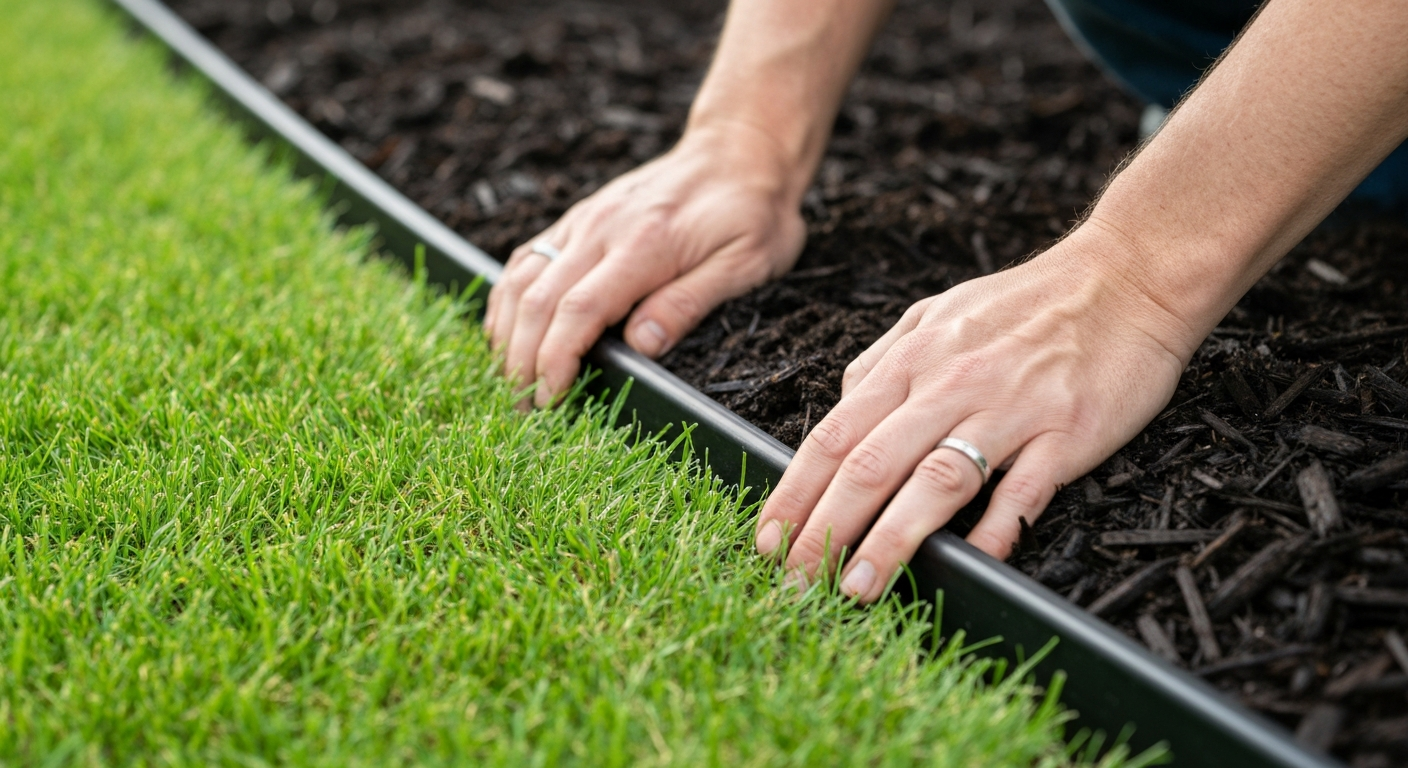
Once the lawn edging is correctly positioned, refill the trench on both sides with the excavated soil. Press the soil firmly against the edging to eliminate any gaps. You can use your hands, a wooden handle or your feet for this. The better the soil is compacted, the more stable the entire structure will be.
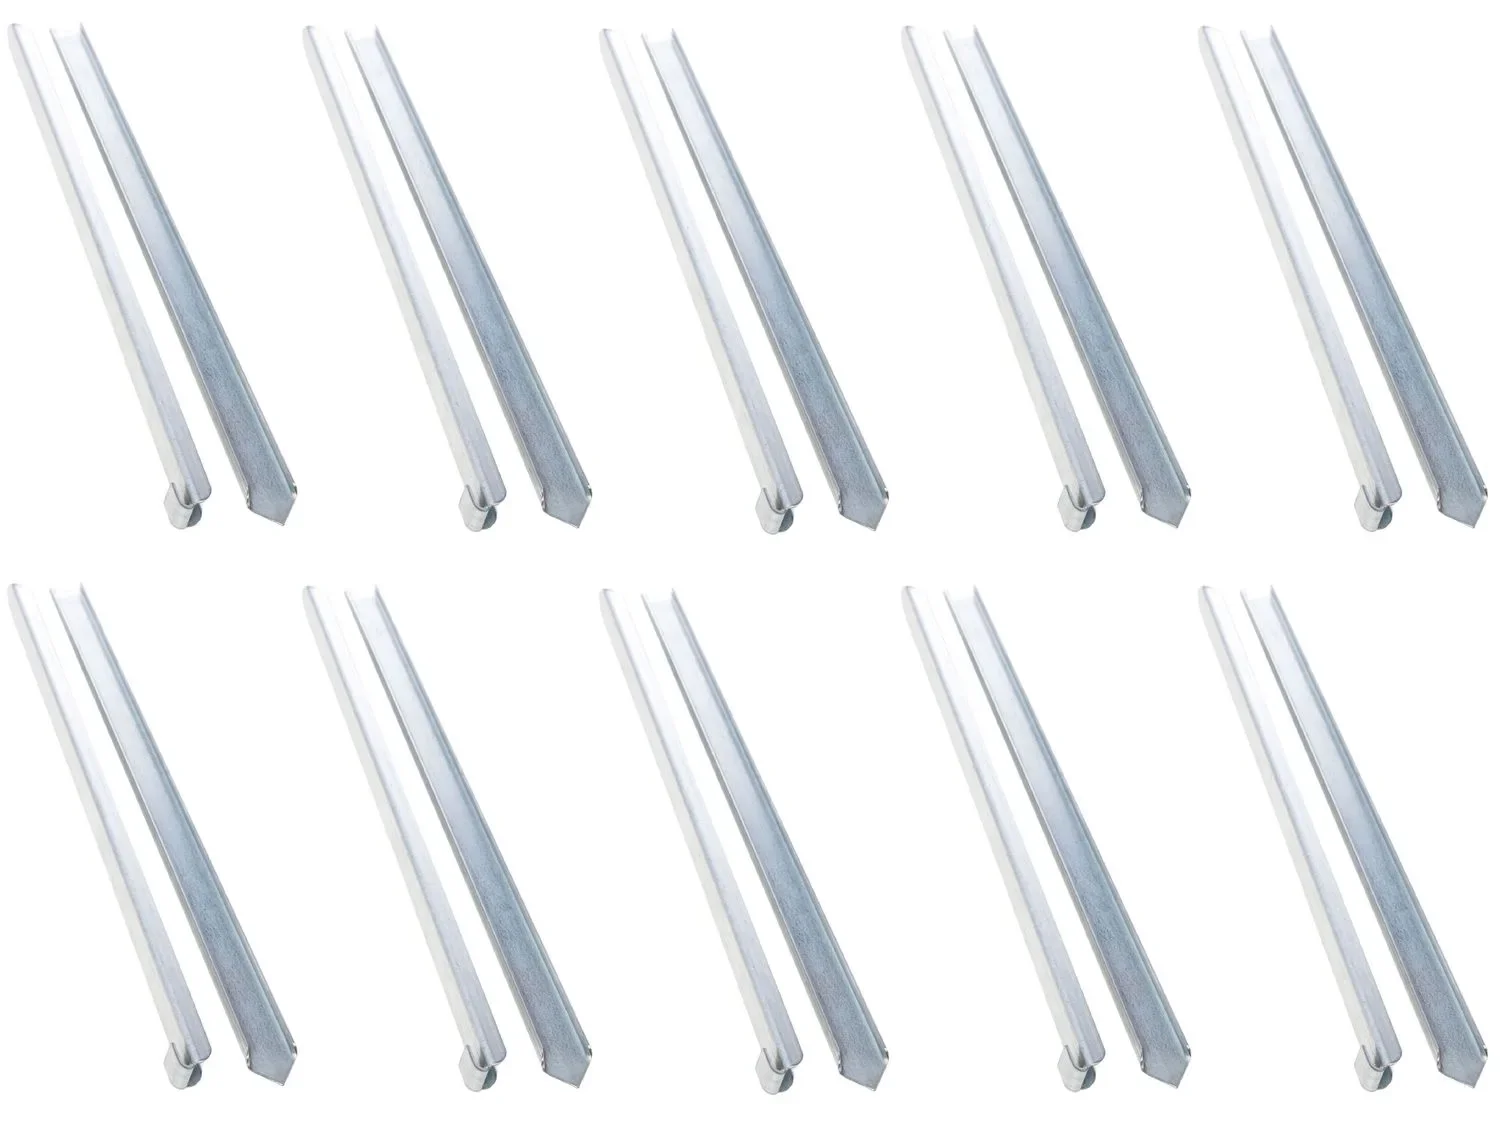
Additional anchoring is recommended for particularly long straight sections, soft soil or heavily used areas. Special ground anchors are driven into the ground behind the edging to secure it firmly. Position the anchors approximately every 50 to 100 cm, especially at connection points and in the middle of curves.
Step 5: Finishing touches
Remove any excess soil and sweep the surrounding areas clean. Water the area along the edging thoroughly. The water helps settle the refilled soil and close any remaining air pockets. Finally, spread the bark mulch or gravel in the bed evenly up to the new edging. Your project is now complete, and you can enjoy a neat, durable separation. The right garden and plant accessories make jobs like this a pleasure.
What should you consider when caring for your new garden bed edging?
Plastic lawn edging is extremely easy to maintain, but a few checks each year will help ensure its longevity. In spring, check whether frost has pushed the edging up in any places. If so, simply tap it back down to its original level with the rubber mallet.
If necessary, clean any soil or moss stuck to the edging with a brush and a little water. When using a string trimmer, take care not to aim it directly at the plastic edging, as the rapidly rotating line can damage the material over time.
Important note
Make sure the lawn edging is flush with the ground or sits slightly below it. Edging installed too high is not only a trip hazard, but can also damage your lawn mower blades if you accidentally drive over it.
Creative ideas for using flexible lawn edging
Flexible lawn edging is incredibly versatile in garden design and can be used for much more than traditional flower bed borders. Its flexibility opens up numerous creative ways to add structure to your entire garden and outdoor area.
- Border tree rings: Create a neat ring around your trees. This protects the trunk from damage caused by the lawn mower and makes watering easier. You can also design the tree ring with mulch or ground-cover plants.
- Create paths: Design curved garden paths from gravel, wood chips or bark mulch. The lawn edging acts as a side border and prevents the path material from spreading into adjacent beds or onto the lawn.
- Create island beds: Add visual interest by creating small “islands” in the lawn. A round or kidney-shaped border planted with tall grasses, a small ornamental shrub or seasonal flowers becomes an eye-catching feature.
- Separate vegetable beds: Keep your kitchen garden organised. Clearly separate individual plots for different types of vegetables. This makes cultivation easier and prevents herbs such as mint from spreading uncontrollably.
- Robotic lawn mower boundary: A physical barrier such as lawn edging can be a useful addition to a robotic lawn mower's boundary wire. It prevents the mower from crossing the edge into certain zones or getting stuck in mulch.
A neat edge is a small detail with a big impact. It can transform a good garden into a great one. With flexible plastic lawn edging, you invest little time and money in a durable, professional result that makes gardening easier and enhances the beauty of your plants.
Frequently Asked Questions
- How deep should the trench be for lawn edging?
- The trench should be slightly shallower than the height of the lawn edging. This allows the top edge to sit flush with the grass or slightly below it, making lawn mowing easier. For edging that is 4,5 cm high, a depth of approx. 3-4 cm is ideal.
- Can plastic lawn edging be installed without digging a trench?
- A small trench is essential for a stable, long-lasting result. It gives the edging the necessary support in the soil. Simply driving it into the ground without a trench often causes the edging to loosen or shift quickly, or to be pushed back up by frost.
- How do you join multiple pieces of lawn edging?
- Most plastic lawn edging features a simple interlocking system. The ends are pushed together to create a seamless, secure connection. For additional stability, ground anchors can be inserted at the joints to prevent the sections from moving apart.
- How do you bend flexible lawn edging around curves?
- Flexible plastic edging is naturally bendable. For tight curves, place the lawn edging in the sun for a while before installation. The heat makes the material even more pliable, making it easier to create perfect curves and arcs in your garden.
- Does plastic lawn edging need to be removed in winter?
- No, high-quality plastic lawn edging is weather-resistant and frost-resistant. It can remain in the ground all year round without becoming brittle or damaged. The material is designed to withstand the typical stresses in the garden over the long term.
You may also be interested in
- 5 brilliant lawn edging ideas: Create a flexible garden design
- No more grass in your flower beds: Flexible lawn edging as a weed barrier
- Buying plastic lawn edging: The ultimate guide
- Enjoy your lawn edging for longer: Care and cleaning tips
- Lawn edging and lawn grids: The guide to securing them
- Get your garden ready for spring: Is it time to install lawn edging?