
In brief: You can safely set up a pool on a slope by carefully assessing the grade first and creating a stable, completely level base. You can do this by removing soil, adding fill and compacting it, or using a self-leveling base such as sand, stone chips or special pool base panels. Checking with a level in every direction is essential. This is the only way to distribute the water pressure evenly and prevent uneven strain on the pool frame.
How to Set Up a Pool on a Slope Safely
Having your own pool in the backyard is a summer dream for many homeowners. However, not every yard has a perfectly level area. A slight grade or a steep slope can present a challenge. Improper installation on uneven ground can compromise your pool’s stability and lead to costly damage.
With the right preparation and method, you can set up your pool safely and securely, even in a challenging location. This article guides you through the planning and installation process step by step.
Why a level base is essential
An above-ground frame pool is an engineered system. Its walls withstand the pressure of several tons of water. The metal or plastic frame distributes this load evenly.
If the pool is not level, the weight is distributed unevenly across the individual supports and connections. This causes localized overloading. The result can be deformation, leaks at the seams or, in extreme cases, structural collapse.
A level base is not just about appearance; it is a safety requirement. It protects your investment and everyone who uses the pool.
How do I assess my ground correctly?
Before buying materials or moving soil, carefully assess the site. It can be easy to underestimate the true grade by eye.
Mark the planned pool area with stakes and string. Use a long level and a tape measure to check the height differences at several points. Note where the ground is lowest and highest.
This assessment will help you decide how to proceed. A difference of just a few centimeters across the length of the pool is easy to level. With steeper slopes, you may need to consider more extensive earthwork.
What methods are available for leveling the ground?
There are two basic ways to create a level base on a slope: remove or add soil, or build an artificial, leveled foundation.
Method 1: Level the entire area
This method takes more work, but it is the most permanent solution, especially for larger pools or permanent installations. You level the entire area to a uniform height.
To do this, remove soil from the highest point and use it to fill the lowest point. Compact each new layer thoroughly with a plate compactor. Work in several thin layers to create a stable, load-bearing base.
Important note
For fill, use only compactable materials such as crushed stone or mineral soil. Organic materials such as topsoil or compost settle over time and cause the ground to sink. The top, finer layer should consist of sand or stone chips.
Method 2: Level the base
With this method, you keep the natural slope and create a level surface using fill material or pool base panels. This is a common approach for seasonal above-ground pools.
You can use fine sand, stone chips or special rigid foam panels. These materials can be leveled with millimeter accuracy. The advantage is less digging and hauling. The disadvantage is that the pool will sit slightly higher on the downhill side, which can affect access.
The most common mistake is rushing. Spend twice as long preparing the base as you do setting up the pool itself. One day spent leveling carefully can save you an entire season of trouble.
Step-by-step guide: Creating a safe base
Follow these steps to create a perfectly level site for your pool.
Step 1: Clear and mark the area
Remove all stones, roots and uneven spots from the planned area, plus a 50 cm safety margin. Remove the sod. Mark the exact outline with sand, string or spray paint.
Step 2: Create the support layer
Fill the cleared area with a 5-10 cm thick layer of fine-grained sand or stone chips. This is your leveling layer.
Roughly spread the material with a rake. For finer spreading and smoothing, use a long, straight board. Pull it across the area and check constantly with the level.
Pro tip
Attach two boards to the ends of your leveling board. Their height should match the desired sand layer. This lets you create a perfectly level surface without having to measure constantly.
Step 3: Compact and make a final check
Lightly dampen the sand layer. This makes it easier to compact and helps prevent the ground from sinking later. Compact the area with a hand tamper or a small plate compactor.
After compacting, go over the entire area once more with the level. You can still fill any small dips with a little extra sand at this stage.
Choosing the right material
The quality of your base depends on the material. Here is an overview.
Builder’s sand or play sand: Affordable and easy to compact. Play sand is washed and free of sharp particles that could damage the pool liner. Heavy rain can wash sand away.
Stone chips (grain size 0-5 mm): Provide a very stable, well-draining support layer. They shift less than sand but still need to be compacted thoroughly.
Rigid foam pool base panels: A clean, quick solution. Simply lay the panels on the prepared ground; they help compensate for minor unevenness. They also provide insulation and protect the pool liner from below. Ideal for gentle to moderate slopes.
For watering and pool maintenance, you’ll find suitable accessories in our range, including durable hoses.
Special challenges when setting up a pool on a slope
A slope creates specific risks that you need to consider.
Sideways movement: A raised platform can erode along the sides. Secure the edge with a small retaining wall made from gabions, concrete lawn edging stones or sturdy wooden posts.
Water drainage: Plan where splash water and rainwater will drain. It must not wash away the slope below. A well-draining crushed stone base or a small trench with pipes or hoses can help.
On sloping ground, the structural forces caused by water pressure are more complex. The lowest point of the pool must be completely stable. If in doubt, I always recommend consulting a structural engineer or experienced landscape contractor. The cost is small compared with damage to the pool or property.
Which accessories can help you set up your pool?
Along with the basic materials, you’ll need the right tools and equipment to prepare the site.
A long spirit level (at least 1 m) is essential. A straightedge or straight aluminum rail makes it easier to smooth the surface. For larger areas, consider renting a plate compactor.
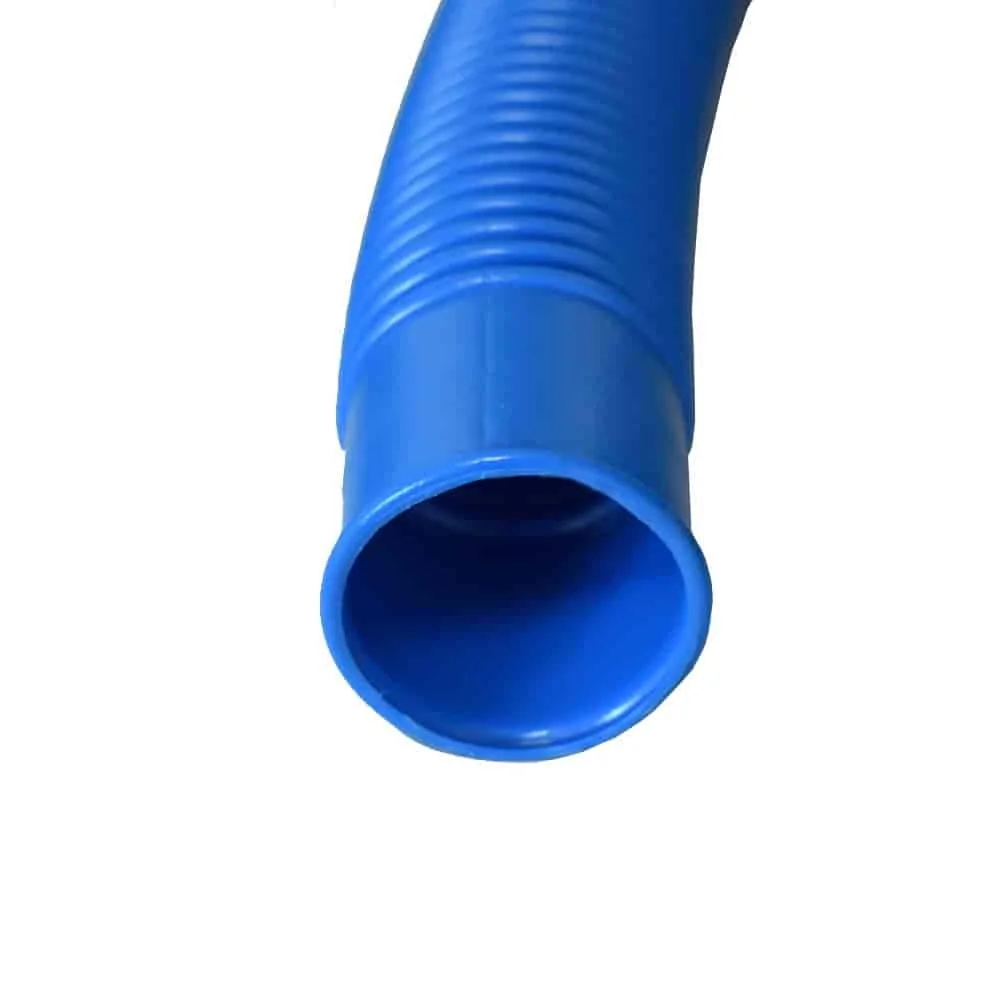
Plan ahead for pool maintenance and covering the water. A perfectly fitting protects the water from dirt and reduces evaporation. A high-quality is useful for changing the water or connecting the filter. For all your garden and outdoor needs, browse our Garden + Outdoor category.

Additional tip
First, fill the pool to about 10%. Then check that the pool is in contact with the ground all the way around and that no gaps have formed underneath. If needed, make adjustments from the outside by carefully packing sand underneath. Only then should you fill the pool completely.
What should you check after setting up the pool?
Your pool is level. To keep it that way, monitor the ground for the first few days after filling the pool. Is water leaking anywhere? Are uneven gaps forming between the pool wall and the ground?
Check regularly that the pool hasn’t shifted or sunk, even slightly. This can happen after heavy rain or frost damage to the ground.
You can create a stable, watertight connection for your pool pump or solar equipment with reliable connectors such as a .
Conclusion: Safety comes before speed
Setting up a pool on a slope is an achievable project for ambitious DIYers. Careful site preparation is the key to success.
Allow plenty of time to plan and level the ground. Invest in quality materials for the base, and check every detail with a spirit level.
The result is a safe, long-lasting swimming experience that will bring you joy for many summers. For your other home and garden projects, explore the wide range of materials and tools in our extensive Shop.
Frequently Asked Questions
- How much of a slope can a pool safely sit on?
- A slope of a few centimeters over several meters can often be compensated for with a carefully built base. For steep slopes of more than 5% or complex terrain, we recommend getting professional advice. The maximum acceptable slope depends on the pool’s type and size. If in doubt, level a larger area of ground first.
- Can I set up an above-ground pool on grass on a slope?
- No. Grass gives way and is never truly level. It rots beneath the liner, causing the ground to settle. This problem is even worse on a slope. Remove the turf completely and install a stable, compacted base layer of sand or gravel.
- What’s the best material for leveling the ground for a pool?
- Fine sand or gravel (0-5 mm) works well because it’s easy to compact and level. Building sand is inexpensive, while play sand holds its shape better. Rigid foam pool base panels are the cleanest and quickest solution for smaller uneven areas.
- Do I need a permit to build a pool on a slope?
- This depends on the pool’s size and local regulations. A permit may be required, especially for large in-ground pools or sloped sites at risk of landslides. Check with your local authorities before you buy.
- Why is level ground so important for an above-ground pool?
- Uneven ground puts uneven stress on the pool walls and frame. This can cause deformation and material fatigue, and in the worst case, seams can rupture or the frame can collapse. A perfectly level base is essential for stability and longevity.
You may also be interested in
- Setting Up a Garden Pool: Planning and Installation in 7 Steps
- Build Your Own Pool: A DIY Garden Pool Project
- Small Garden Pool: Create an Oasis in a Small Space
- Green Pool Water? Effective Solutions and Prevention
- Chlorine in Pools: Risks, Dosage, and Alternatives
- Planning and Maintaining a Garden Pool: Your Path to a Backyard Pool