
In brief: Sealing windows is an effective way to reduce energy loss. Identify draughty spots using a candle test or by feeling for cold air with your fingertips. Then choose the right sealing material, such as foam, rubber or silicone. Proper surface preparation and professional installation are essential for a durable seal and lower heating costs.
Seal Your Windows: Stop Draughts and Cut Heating Costs
Cold air flows through gaps and heat escapes. This costs energy and money. Sealing your windows is one of the simplest and most effective ways to make your home more energy efficient. No major renovation is required. With the right materials and a little DIY skill, you can seal your windows in just a few hours.
This guide takes you through the process step by step. You will learn how to find leaks, choose the right sealing material and install it correctly. The result is greater comfort, fewer draughts and noticeable relief for your heating system and your wallet.
Why should you seal draughty windows?
The physics are simple. Warm air is lighter than cold air. It rises and looks for ways to escape. At windows, it often finds these escape routes in the form of gaps and joints. At the same time, cold air flows in from outside. This uncontrolled air exchange is known as infiltration.
Your heating system has to keep working to make up for the loss. This drives up energy costs. Draughts are also uncomfortable. They can even have a negative effect on your health. Sealing your windows creates a controlled building envelope.
Even small gaps just one millimetre wide can add up to an area of several hundred square centimetres in a typical detached house. That is equivalent to leaving a window permanently open.
The benefits at a glance
You immediately save on heating costs. The investment in sealing materials often pays for itself in a single season. Draughts and the unpleasant chill you feel near a window become a thing of the past. Room temperatures stay more even.
Less outside noise gets in. This improves quality of life, especially in noisy environments. Moisture and dust have fewer opportunities to enter. This also helps protect the building fabric. Good seals extend the service life of window fittings because they are subjected to less stress.
How do you find draughty spots around your windows?
Before buying materials, you need to know where the problem is. Not every window leaks in the same place. The most common weak points are the junction between the opening sash and frame, the rebate and the connections to the wall.
Carry out a systematic inspection. Wait for a cool or windy day. Close all windows and doors in the room. Turn off all moving air sources, such as fans or the air conditioning.
Pro tip
Use a lit tealight candle. Move it slowly along all potential draughty spots. If the flame flickers noticeably, you have found a source of draughts. Alternatively, use a thin strip of paper and trap it in the closed joint. If you can pull it out easily while the window is closed, the seal is inadequate.
Typical problem areas to check
Check the entire perimeter of the movable window sash. The top edge and corners are particularly prone to leaks. Focus on the connection between the fixed frame and the wall. Cracks often develop in these joints. Do not forget the areas around the handle and lock. Air can also escape through the glazing seals themselves, although this requires a different type of repair.
Make a note of the areas you find. Roughly measure the width and depth of the gaps. This information is crucial when choosing materials. On a cold day, simply feeling around with your hand is often enough to identify where action is needed.
Which materials are suitable for sealing windows?
There is a wide range of sealing materials available. Your choice depends on the size of the gap, the level of wear and your DIY skills. In general, a distinction is made between adhesive seals, which are applied to the frame, and sealing profiles, which are clipped into the rebate.
For DIYers, self-adhesive versions are particularly practical. They are easy to use and require no special tools. For very uneven or wide gaps, other materials such as
can be used.
Foam sealing tape
This tape is made from soft, closed-cell foam with a self-adhesive backing. It is well suited to uneven surfaces and small to medium-sized gaps. Its main advantage is how easy it is to use. Cut it to length, peel off the backing film and press it into place.
Its service life is limited, especially when exposed to the weather or when the window is opened frequently. Over the years, it can become compressed and lose its elasticity. For indoor, low-stress joints, it is a good and affordable solution.
Rubber or silicone sealing profiles
These profiles are more durable and elastic. They are available in different thicknesses and hardnesses. Rubber seals often come as self-adhesive versions or as profiles that clip into the rebate. They are suitable for moving joints that need to remain permanently flexible.
Silicone is the material of choice for fixed, watertight connections. It is ideal for sealing the rigid junction between the window frame and masonry. Application requires some practice and a sealant cartridge with a suitable nozzle. The result, however, is highly durable and weather-resistant.
Choosing the right material is half the job. A profile that is too hard will not close properly, while one that is too soft will wear out quickly. Measure the gap accurately and ask for advice from a specialist retailer. Investing in a slightly higher-quality product is often worthwhile.
Specialist materials for large gaps
For very wide, irregular gaps, which are common in older windows, compressible plastic sealing cords or specialist sealants are suitable. Traditional sealing hemp can also be used for fixed, coarse gaps. It is important to cover this later with a flexible coating.
For outdoor use, materials must be UV-resistant and weatherproof. Indoors, appearance and skin-friendliness are often the main priorities. In the shop, you will find a carefully selected range of suitable products.
How do you prepare windows for sealing?
Thorough preparation is the key to a long-lasting seal. Dirt, grease or old, crumbly sealant residue will prevent the new material from adhering properly. Allow enough time for this step.
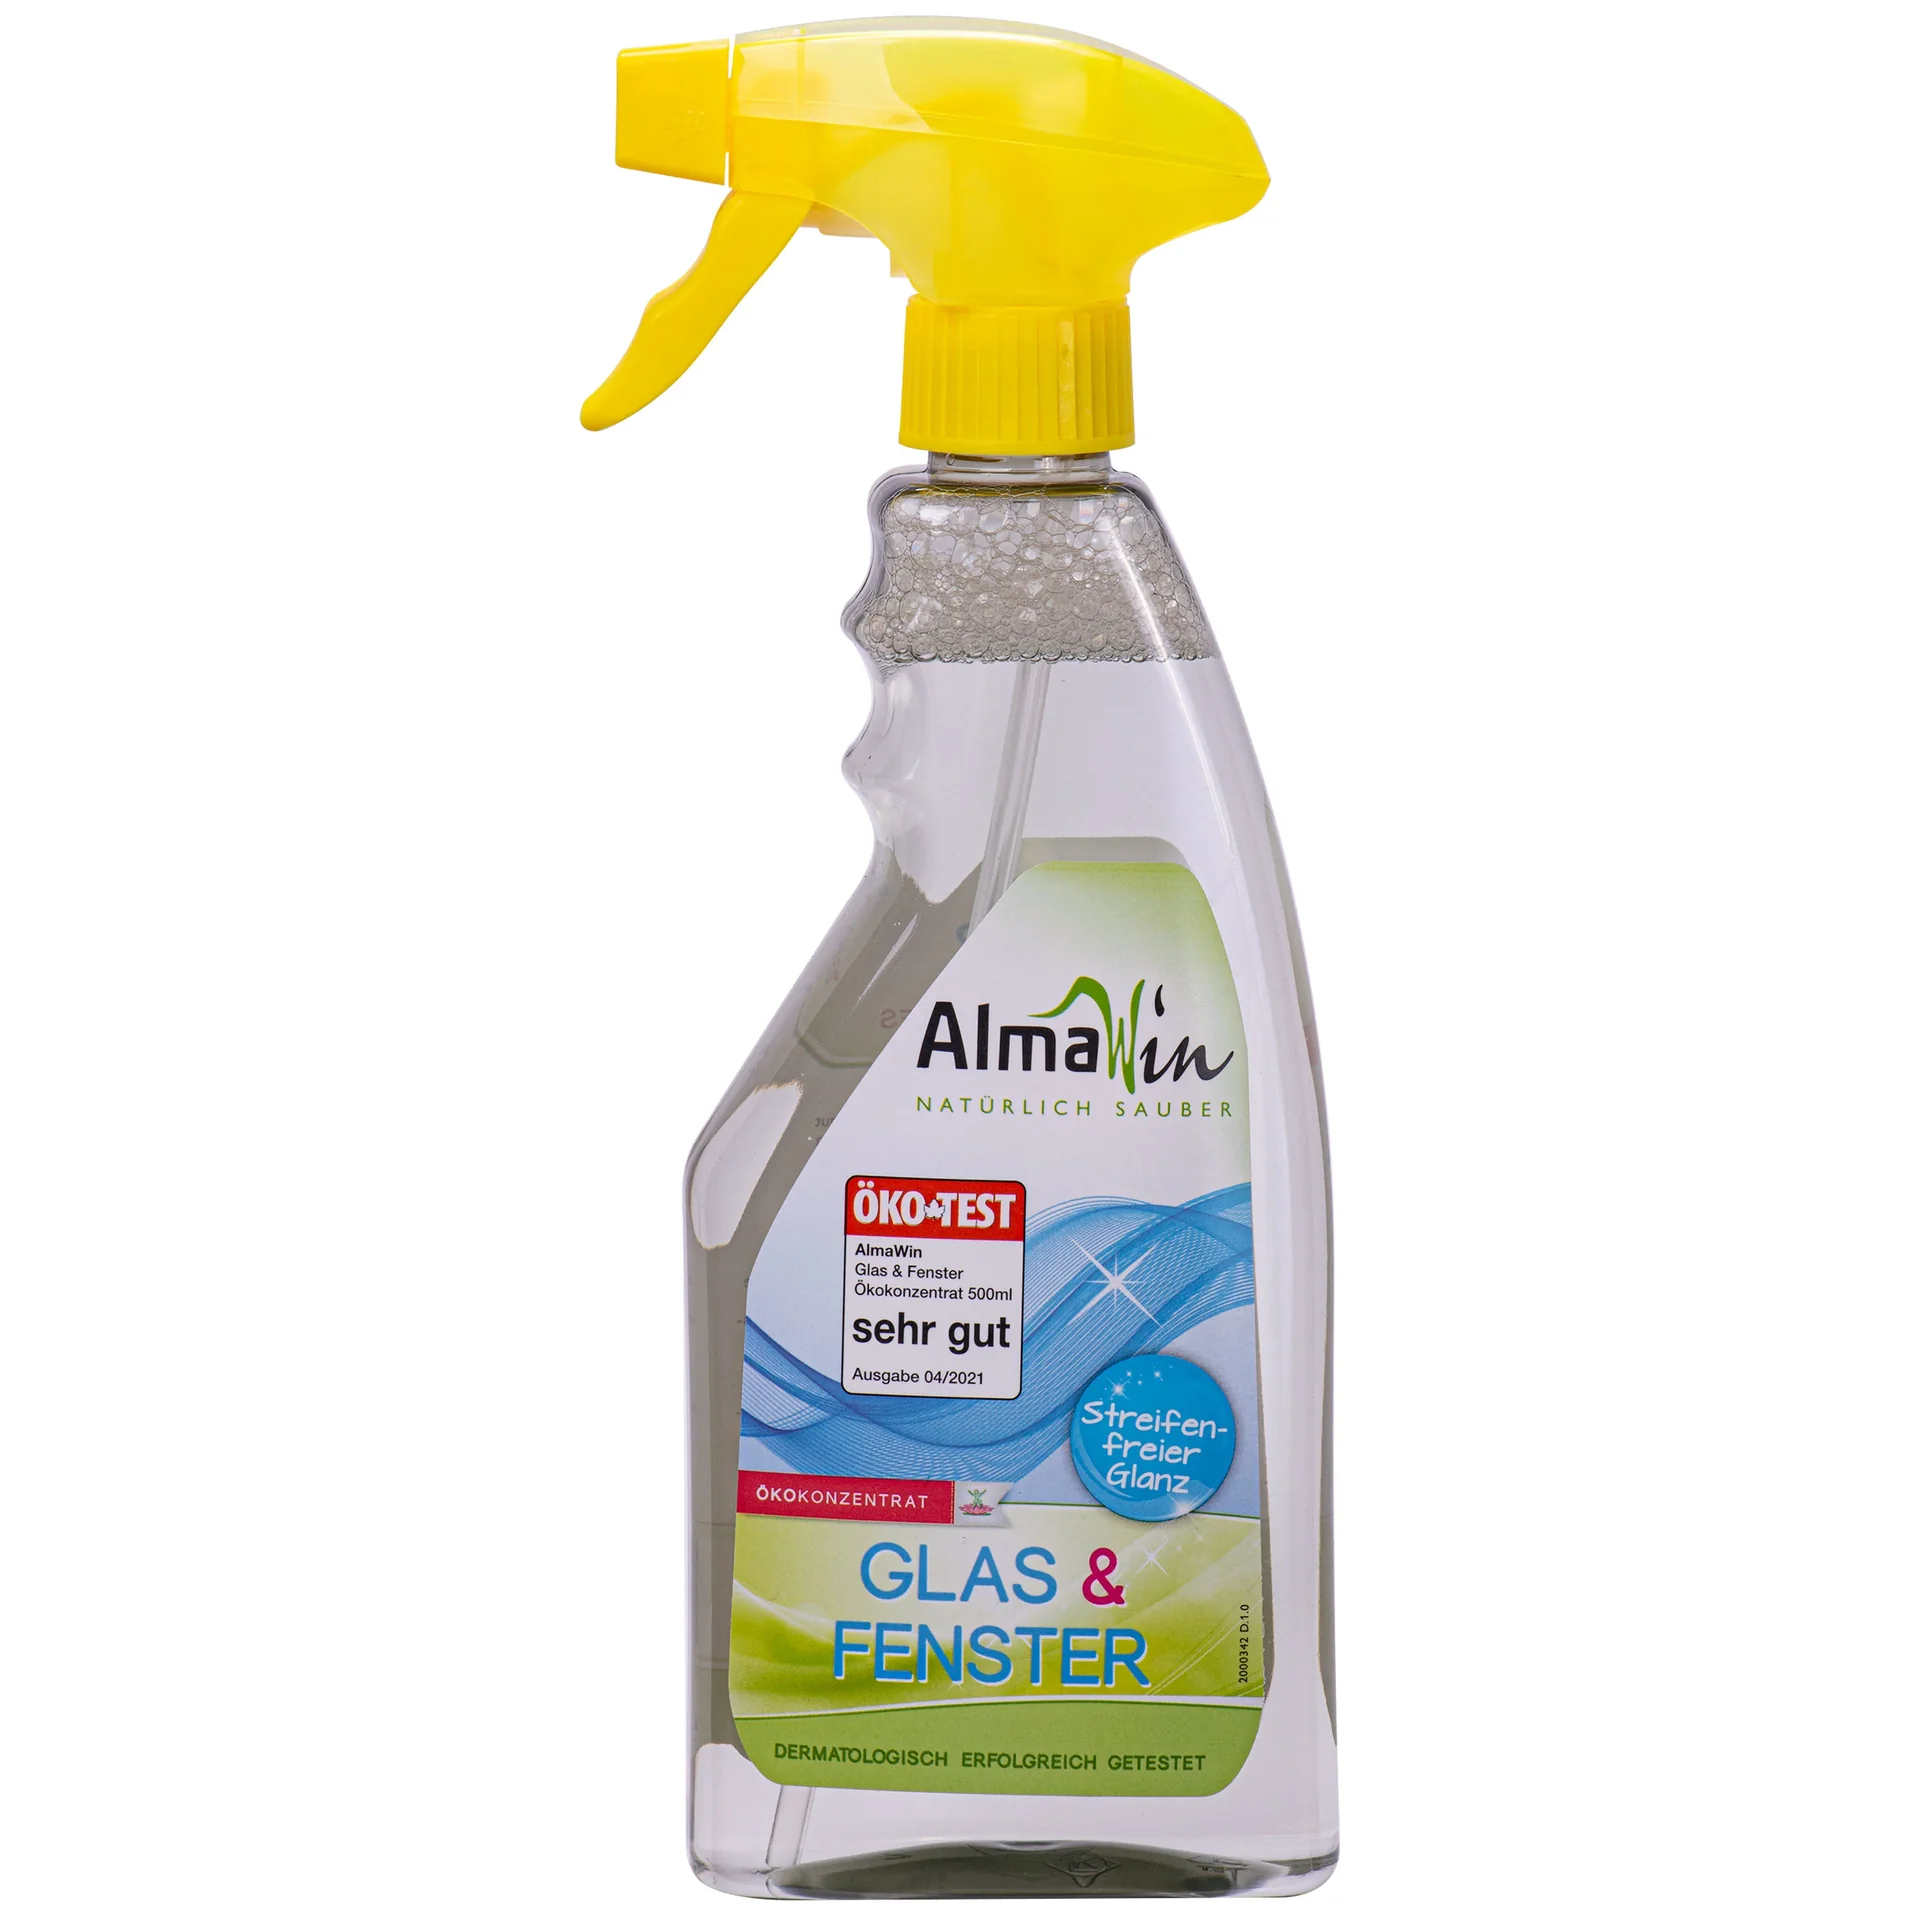
Thoroughly clean the entire surface where the seal will be applied. Remove old adhesive residue and flakes of paint. Degreasing is essential. Products such as
or are ideal for this. They leave a grease-free, dry surface.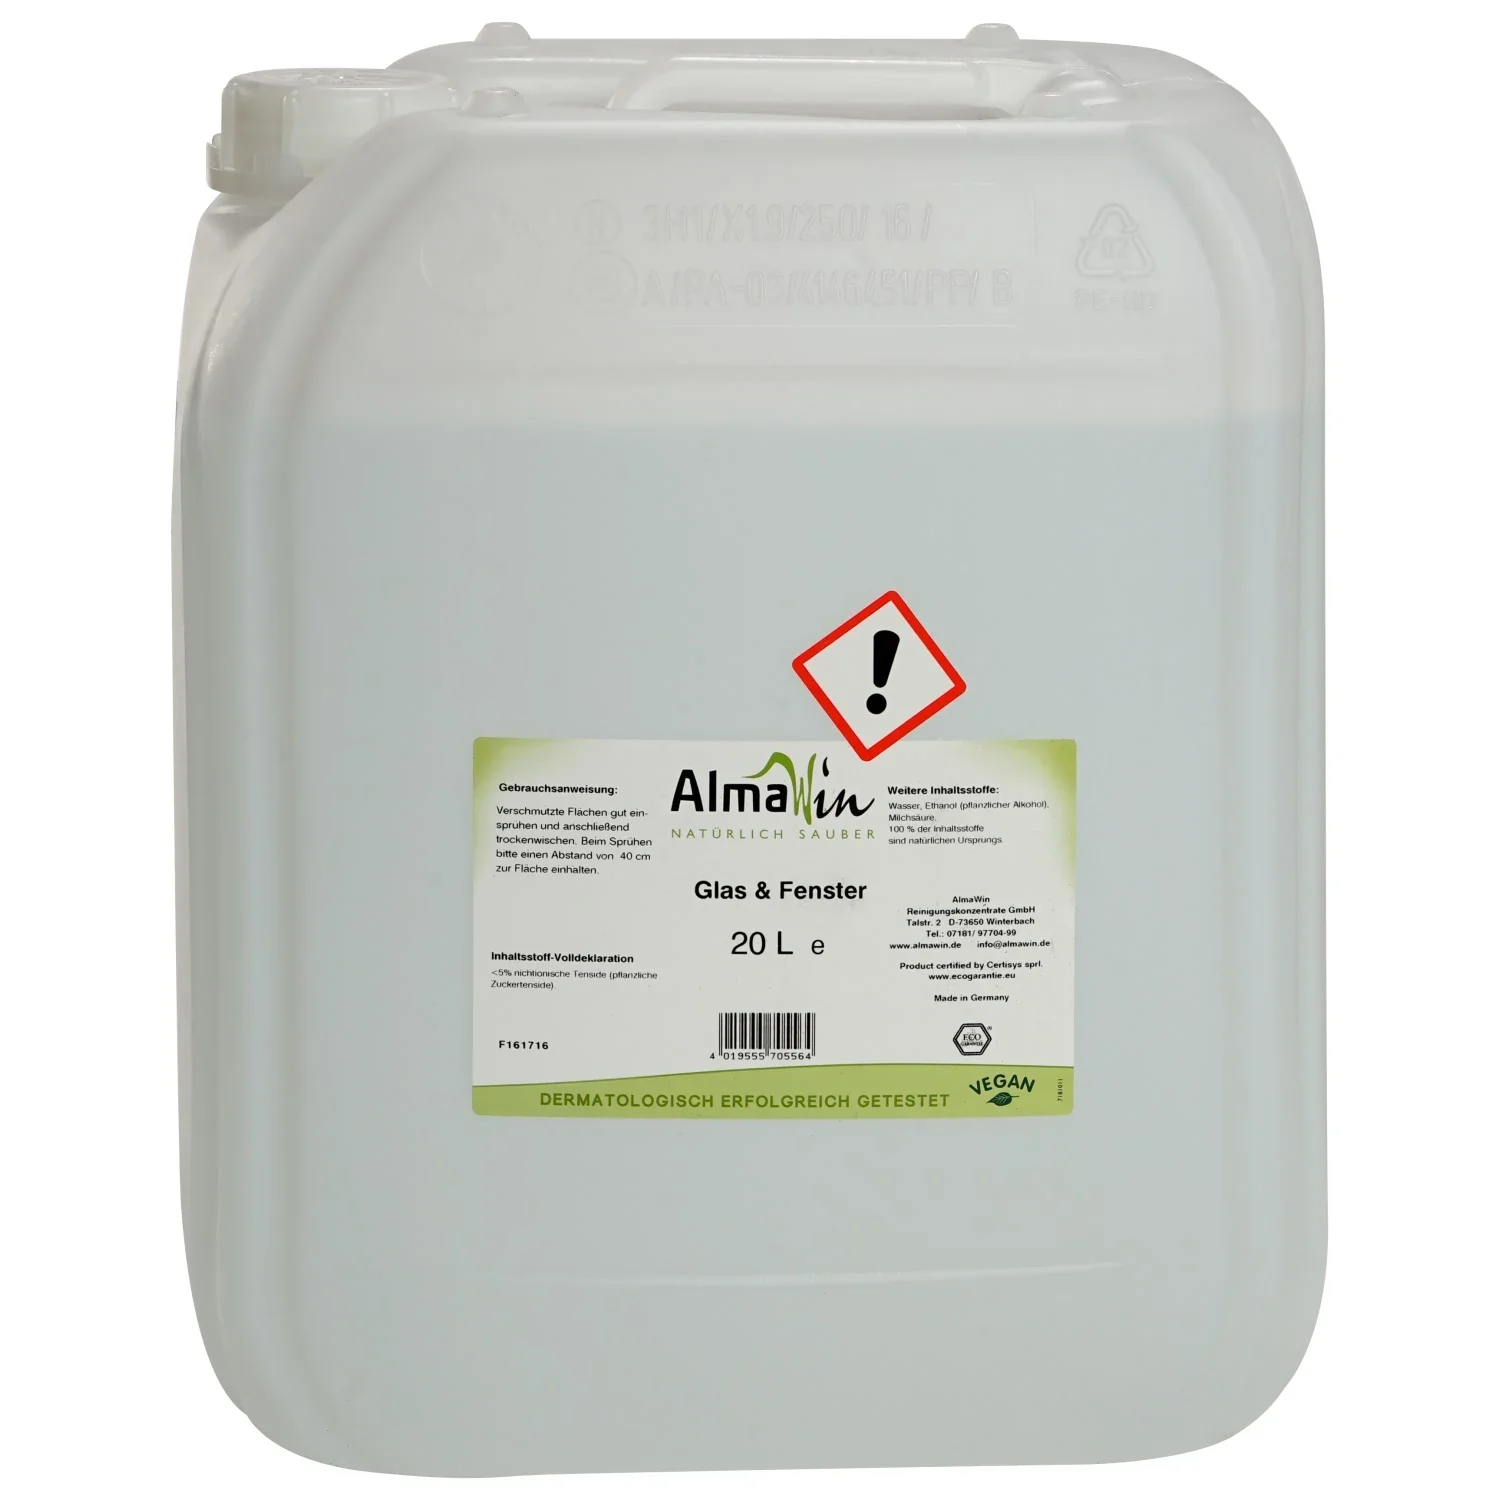
Important note
Dry the cleaned surfaces thoroughly before applying the seal. Even invisible moisture beneath the new seal can destroy its adhesion. After cleaning, wait at least one hour, preferably longer, with good ventilation.
Step-by-step guide to a clean surface
Start by mechanically removing old, loose seals. A utility knife or sharp scraper will help. Be careful not to damage the window frame. Vacuum or sweep away the loose dirt.
Then thoroughly wipe the surface with a cloth soaked in cleaner. Change the cloth frequently so that you do not simply spread the dirt around. A second wipe with clean water removes any cleaning residue. Finally, dry the surface with a lint-free cloth. Check the adhesion by touch. The surface should feel clean and dry.
How do you apply weatherstripping tape and silicone correctly?
Now comes the crucial moment. Work slowly and carefully. With self-adhesive tape, making corrections after pressing it down is hardly possible. With silicone, the key is to create a clean, even bead.
Start in an inconspicuous area or along a straight edge to get a feel for the material. Always cut the required lengths with sharp scissors or a utility knife. For silicone, you will need a caulking gun and a suitable nozzle cut at an angle.
Instructions for self-adhesive weatherstripping tape
Remove the backing film a little at a time as you position the tape. Press the tape down firmly and evenly, working from the centre towards the sides. Avoid pulling or stretching the tape as you apply it, otherwise it may shrink later.
At corners, cut the tape at a 45-degree angle and join the pieces without leaving a gap. Practise on a spare piece if you are unsure. Once the tape has been applied all the way around, close the window carefully and check the resistance. It should feel firm, but not impossible to overcome.
Additional advice
For the best fit, keep the window closed for around 24 hours after applying the tape. This allows the adhesive to bond fully with the surface and the tape to take its final shape under pressure. Avoid opening the window during this time.
Instructions for sealing with silicone
Hold the silicone nozzle at the ideal 45-degree angle to the joint. Apply consistent pressure and move the cartridge along the joint at a constant speed. The aim is to create a full, continuous bead that completely fills the joint.
Immediately after applying it, you can smooth the bead with a damp finger or a jointing tool. This seals the surface and provides a neat finish and long-lasting results. Remove excess silicone immediately with a damp cloth. Silicone cures through air humidity. It will not reach full strength until after 24 hours.
What should you do if sealing the windows is not enough?
Sometimes windows are so old or the gaps are so large that simple weatherstripping tape does not deliver the desired result. The draught may be coming from somewhere else. In that case, you need to assess the situation.
Check whether the window sash still sits correctly in the frame. The hinges may have shifted. It may be necessary to have the window sash readjusted. The seals around the glazing itself may also have become porous. Replacing these requires the services of a glazier.
Additional measures to improve energy efficiency
Do not forget the roller shutter boxes. They are often large, uninsulated cavities. Retrofitting them with insulation can make a significant difference. The radiator recesses beneath windows are also weak points. Reflective foil behind the radiator directs heat back into the room.
In summer, the opposite applies: effective shading prevents rooms from overheating. In the transparent garden furniture covers section, you can also find solutions for sun protection. A consistent combination of sealing, insulating and smart ventilation has the greatest effect on your energy-efficient home.
How do you maintain sealed windows?
The work is done, but the result will not last forever. Regular maintenance significantly extends the service life of new seals. Check their condition once a year, before the heating season begins.
Carefully clean the seals with water and a mild cleaner. Avoid harsh chemicals or abrasive sponges that can damage the material. Check the adhesive edges for signs of lifting. You can occasionally apply an extremely thin film of glycerine or silicone spray to rubber seals to keep them supple.
When is it time to replace the seals?
If the seal becomes visibly porous, develops cracks or loses its elasticity, it is time to replace it. Draughts returning despite an intact seal can also indicate another problem. At the latest, you should inspect the seals critically every five to ten years.
With this knowledge, you are well prepared. You can now inspect your windows systematically, choose the right material and apply it correctly. The way to less draught, greater comfort and lower energy bills starts with this simple but effective measure. Get started.
Frequently Asked Questions
- How can I tell if my windows are drafty?
- Hold a lit candle or a thin piece of paper against the closed window seal. If the flame flickers or the paper moves, air is getting in. Alternatively, run your hand along the window on cold days to feel for noticeable drafts. A damp feeling around the frame or dust buildup on the seals are also clear signs.
- What is the best window weatherstripping?
- The right choice depends on the size of the gap. Foam weatherstripping with an adhesive backing is suitable for small, uneven gaps. Rubber weather seals are more durable and flexible for moving joints. Silicone is suitable for permanent, watertight seals where the frame meets the wall. You can find a selection in our shop.
- Can I seal old windows myself, or do I need a professional?
- Sealing windows with adhesive weatherstripping or compression tape is a classic DIY project. You only need the right material, a utility knife and a clean, dry work area. However, professional help is recommended for very large gaps, damaged frames or if you are unsure what to do. Even simple measures can make a big difference.
- How long does self-installed window weatherstripping last?
- Durability varies. Foam weatherstripping lasts about three to five years, while rubber weather seals often last more than ten years. Silicone seals can also last a long time when properly installed. Weather exposure, frequent opening and closing, and the quality of the material all have a significant impact on service life.
- Does sealing windows really reduce heating costs?
- Yes. Drafty windows are one of the biggest weak points in a building's envelope. Sealing them eliminates uncontrolled air exchange and reduces heat loss. This saves energy directly. The cost of the materials often pays for itself within one heating season. It is one of the most cost-effective ways to improve energy efficiency at home.
Ergänzung: Fenster richtig abdichten: Energie sparen und Zugluft vermeiden
Prüfen Sie zunächst, an welchen Stellen Zugluft eintritt. Fahren Sie dazu an einem windigen Tag langsam mit der Hand am Fensterrahmen entlang oder verwenden Sie ein dünnes Stück Papier. Undichte Dichtungen lassen sich meist durch neue Gummiprofile ersetzen. Achten Sie dabei auf das passende Profil und eine saubere, trockene Klebefläche.
Auch der Fensterbeschlag beeinflusst die Dichtheit. Sitzt der Flügel nicht mehr fest im Rahmen, kann eine fachgerechte Einstellung Abhilfe schaffen. Dichtungen sollten regelmäßig gereinigt und mit einem geeigneten Pflegemittel behandelt werden, damit sie elastisch bleiben. Beschädigte oder spröde Dichtungen sollten Sie vollständig austauschen.
- Fensterfugen nicht dauerhaft mit ungeeigneten Klebebändern verschließen.
- Nach dem Abdichten weiterhin regelmäßig stoßlüften, um Feuchtigkeit und Schimmel zu vermeiden.
You may also be interested in
- Adjust your windows correctly: Stop drafts and save energy
- Seal drafty gaps before winter: Make your home frost-proof
- Replace your windows and save on heating costs: Your path to energy efficiency
- Mold on window seals: Causes & Removal
- Check your refrigerator door seal and save energy
- Home insulation: Insulate walls properly and save energy