
In brief: You can install PVC flooring in five steps: preparing the subfloor, acclimatizing the material, cutting and laying it out, gluing or clicking it into place, and sealing and finishing it. A dry, clean, solid and level subfloor is the most important requirement for a long-lasting result. Allow enough time for the material to acclimatize.
Installing PVC Flooring: A Detailed Guide to This Floor Covering
A new PVC floor can transform a room instantly. It is durable, easy to maintain and available in countless designs. Installation is a classic DIY project. With the right preparation and our guide, you can complete your flooring installation with confidence.
We guide you through every step, from checking the subfloor to fitting the final baseboard. You will learn the differences between glue-down and click systems. We also show you which tools are essential.
Why Is PVC Flooring Suitable for DIY Projects?
PVC flooring is comparatively easy to work with. It is flexible, easy to cut and available in formats ranging from rolls and planks to square tiles. Material thicknesses vary. Medium thicknesses are ideal for DIY projects. They provide stability while remaining easy to handle.
One major advantage is its tolerance for minor errors. Small cutting inaccuracies are later concealed by the baseboards. With click systems, you can even remove individual pieces again in an emergency. Nevertheless, plan carefully. Good preparation prevents problems.
Important note
The subfloor determines the success of your work. If it is not clean, dry, solid and level, even the best installation technique can lead to problems such as rippling, creaking or premature wear. Spend most of your time on this step.
How Do I Prepare the Subfloor for PVC Flooring?
This stage is critical. The existing floor must meet certain requirements. First, check the moisture level. On screed, you need residual moisture below 2% CM. A simple test is to tape a sheet of plastic firmly to the floor. If condensation forms underneath after 24 hours, the subfloor is too damp.
Remove all loose material, dust and grease. Vacuum and mop thoroughly. Check the levelness with a long spirit level. A maximum deviation of 2 mm over a length of one meter is acceptable. If the unevenness is greater, you must apply a self-leveling compound. You can find these products in our industrial supplies section.
A primer is required for absorbent subfloors such as cement screed. It prevents the adhesive from drying too quickly and losing its bonding strength. On old PVC floors, you may need to seal or sand the surface. Check the manufacturer's specifications for your chosen PVC flooring.
Subfloor preparation accounts for 70% of a professional installation. Anyone who cuts corners here will pay twice later—through repairs or a completely new floor covering.
Which Tools Do I Need to Install PVC Flooring?
The basic equipment is manageable. You need a sharp utility knife with plenty of replacement blades. A metal ruler or straightedge at least one meter long is essential for making clean cuts. A scribing compass helps you transfer precise contours for wall edges and radiators.
A rubber roller or hand roller is used to press down the flooring and remove air from the adhesive. For glue-down floors, you need a notched trowel with the notch size recommended by the adhesive manufacturer. Heavy equipment such as a
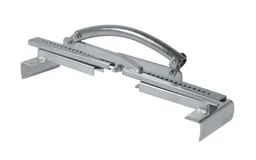
Do not forget about safety. Wear protective gloves when cutting. A dust mask is advisable during dusty preparation work. Keep a broom and dustpan ready for waste.
How Do I Install PVC Flooring with a Click System?
Click PVC, often referred to as installing vinyl flooring, is the most popular DIY option. The panels or tiles have a tongue-and-groove system. You install them as a floating floor, without gluing them to the subfloor. Underlay for impact sound insulation is essential.
Start in a corner of the room. Lay the first row with the groove side facing the wall. Observe the expansion gap specified by the manufacturer, usually 8-10 mm from the wall. Use spacers for this. Position the next piece at an angle and then fold it down until it clicks into place. For long-side connections, slide the panels together horizontally.
Pro tip
Mix panels from different packages. This distributes slight color differences between production batches evenly throughout the room. The result looks more professional and uniform.
For the last row, you will need to cut the panels to width. Measure the remaining space, subtract the expansion gap and transfer the measurements. Cut with the groove side facing up to achieve clean edges. For the final piece, you will often use a lever such as the one to hook it into the last row under tension.
How Do I Cut PVC Flooring Precisely?
Always cut from the wear-layer side. Place the material with the top side facing up. Hold the ruler firmly in place and make the first cut with the utility knife, scoring only lightly through the top layer. You can then bend the material along the cut and snap it through with a firm jerk.
For complex cutouts around radiator pipes or door frames, use a template. Make an exact copy from cardboard. Then transfer it onto the PVC flooring. For pipes, cut a keyhole shape: a small circle for the pipe plus a slit leading to it, allowing you to fit the panel around the pipe.
Cutting PVC rolls is more challenging. Unroll the sheet in the room and leave excess material at every wall. Weigh down the edges so they lie flat. Only then trim along the walls using the scribing compass.
How do I install glue-down PVC flooring?
Glue-down flooring is the durable solution. It is suitable for commercial spaces and high-traffic residential areas. The process is similar to installing a click system, but includes the gluing step. Always test the installation direction by dry-laying the sheets or tiles first.
Start in the centre of the room if you have a striking pattern. Otherwise, begin at the longest unobstructed wall. Fold the flooring back halfway. Apply the adhesive evenly and continuously to the prepared subfloor using a notched trowel. Observe the adhesive's open time.
Work in manageable sections of around one square metre. This gives you control over the adhesive and allows you to make corrections before it starts to set. Rushing is your biggest enemy here.
Roll the flooring slowly and steadily into the fresh adhesive. Work from the centre towards the edges to push out air bubbles. Use a roller to press it down thoroughly. Repeat the process with the second half. Make sure no adhesive residue gets onto the visible surface. Wipe it off immediately with a damp cloth.
Additional advice
For wet areas such as bathrooms or commercial kitchens, choose PVC flooring with a continuous welded seam. This requires specialist tools and experience. For home use, tightly bonded, water-resistant systems with raised skirting are usually sufficient.
How do I install PVC tiles in a brick pattern?
Install PVC tiles measuring 30x30 cm or 50x50 cm in a similar way to ceramic tiles. Start in the centre of the room and work outwards. Mark the centre lines of the room with chalk lines. This ensures even grout lines and equally sized edge pieces along all walls.
Apply the adhesive section by section and place the tiles. Twist them slightly so they adhere to the adhesive bed. Make sure the grout spacing is even. Use plastic tile spacers for this. Once the adhesive has cured, you can seal the joints with a suitable PVC grout paste. Remove excess paste immediately with a damp sponge.
How do I finish the PVC flooring installation properly?
After installation, the floor needs time to settle. With glue-down systems, this takes at least 24-48 hours before you can subject the floor to full use. Do not place heavy furniture on it during this time and avoid heavy foot traffic.
The final step is installing the skirting boards. They conceal the necessary expansion gap along the wall. Choose skirting boards made from the same material or compatible wood or plastic profiles. Attach them to the wall, never to the floor. This allows the PVC flooring to expand and contract freely.
Use suitable transition strips where the flooring meets other rooms or floor coverings. Flat transition profiles and higher door thresholds are available. For accessible transitions, recessed or extremely flat models are suitable. You can find the necessary accessories in our Plumbing + Irrigation category.
How do I care for and clean my new PVC floor?
Carry out the first deep clean after the floor has fully cured. Use a pH-neutral cleaning product suitable for PVC. A product such as the
RZ Grundreiniger Universal is designed for this purpose. It removes adhesive and dirt residues without damaging the surface.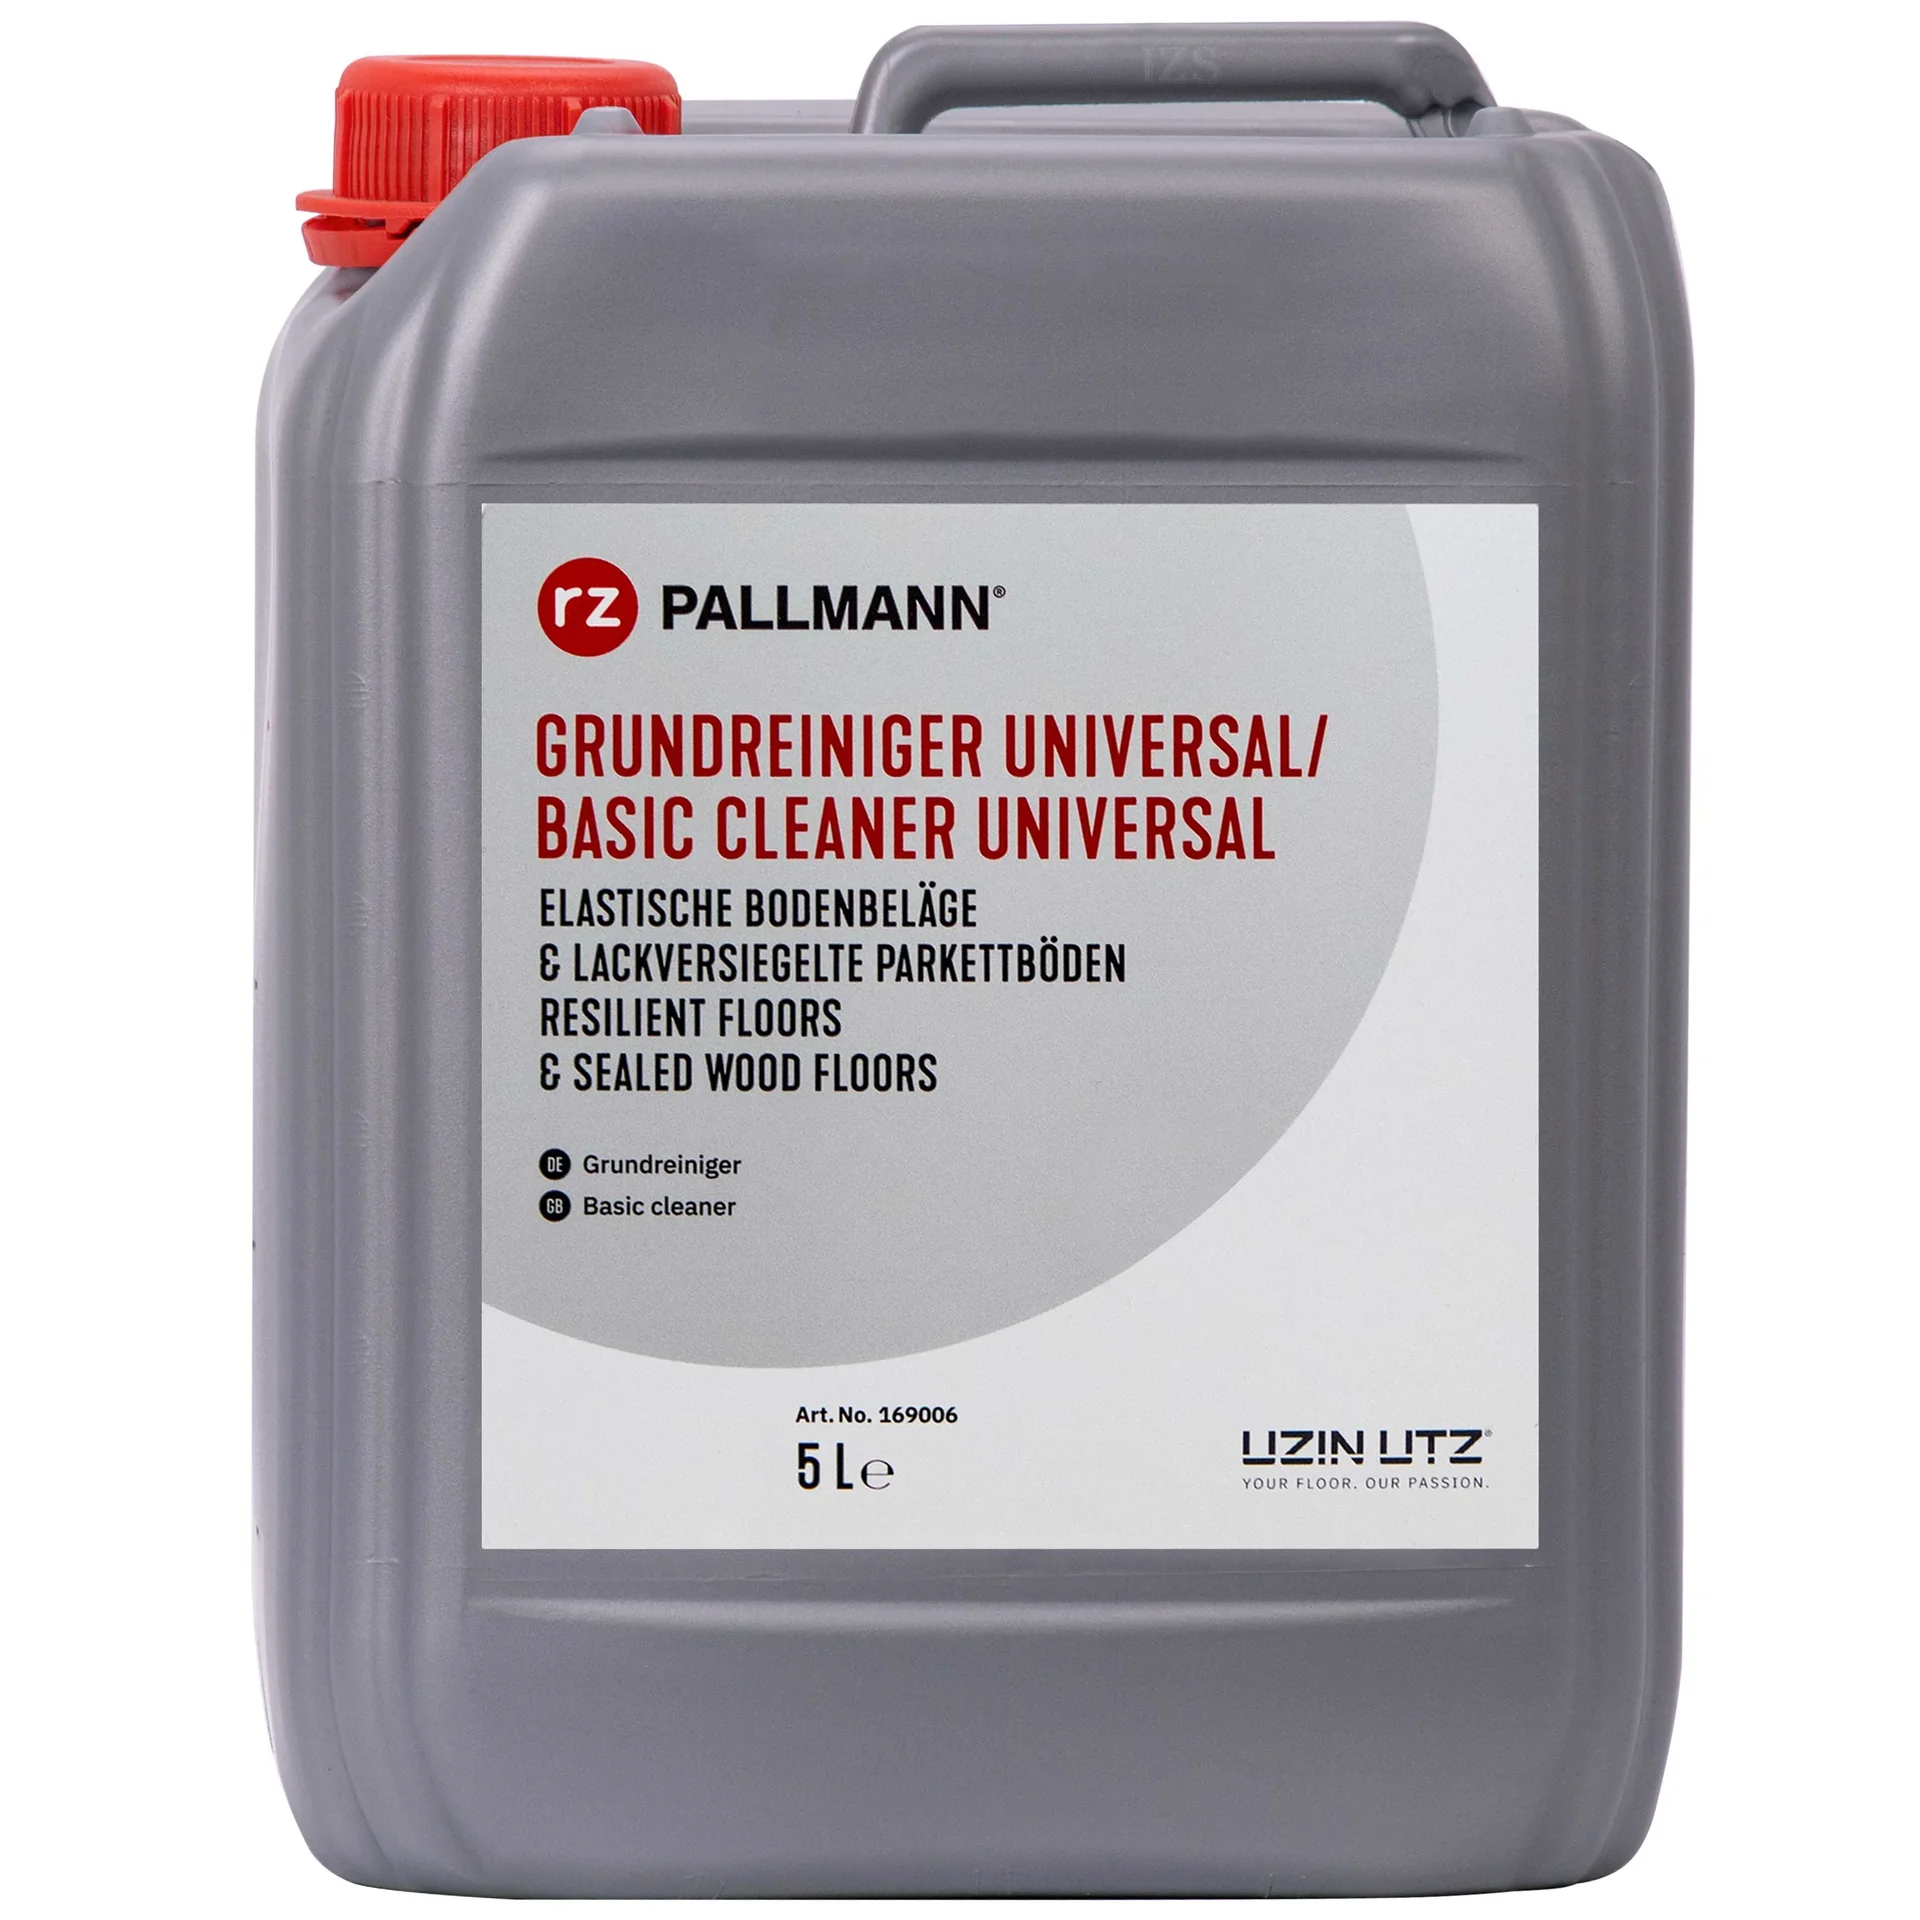
For daily care, lukewarm water and a soft mop are usually sufficient. Avoid abrasive cleaners or steel wool, as they can scratch the surface. For stubborn stains, always test the cleaner first in an inconspicuous area. A care set such as the
DR. SCHUTZ PVC design floor care kit provides everything needed to preserve the shine and protective layer over the long term.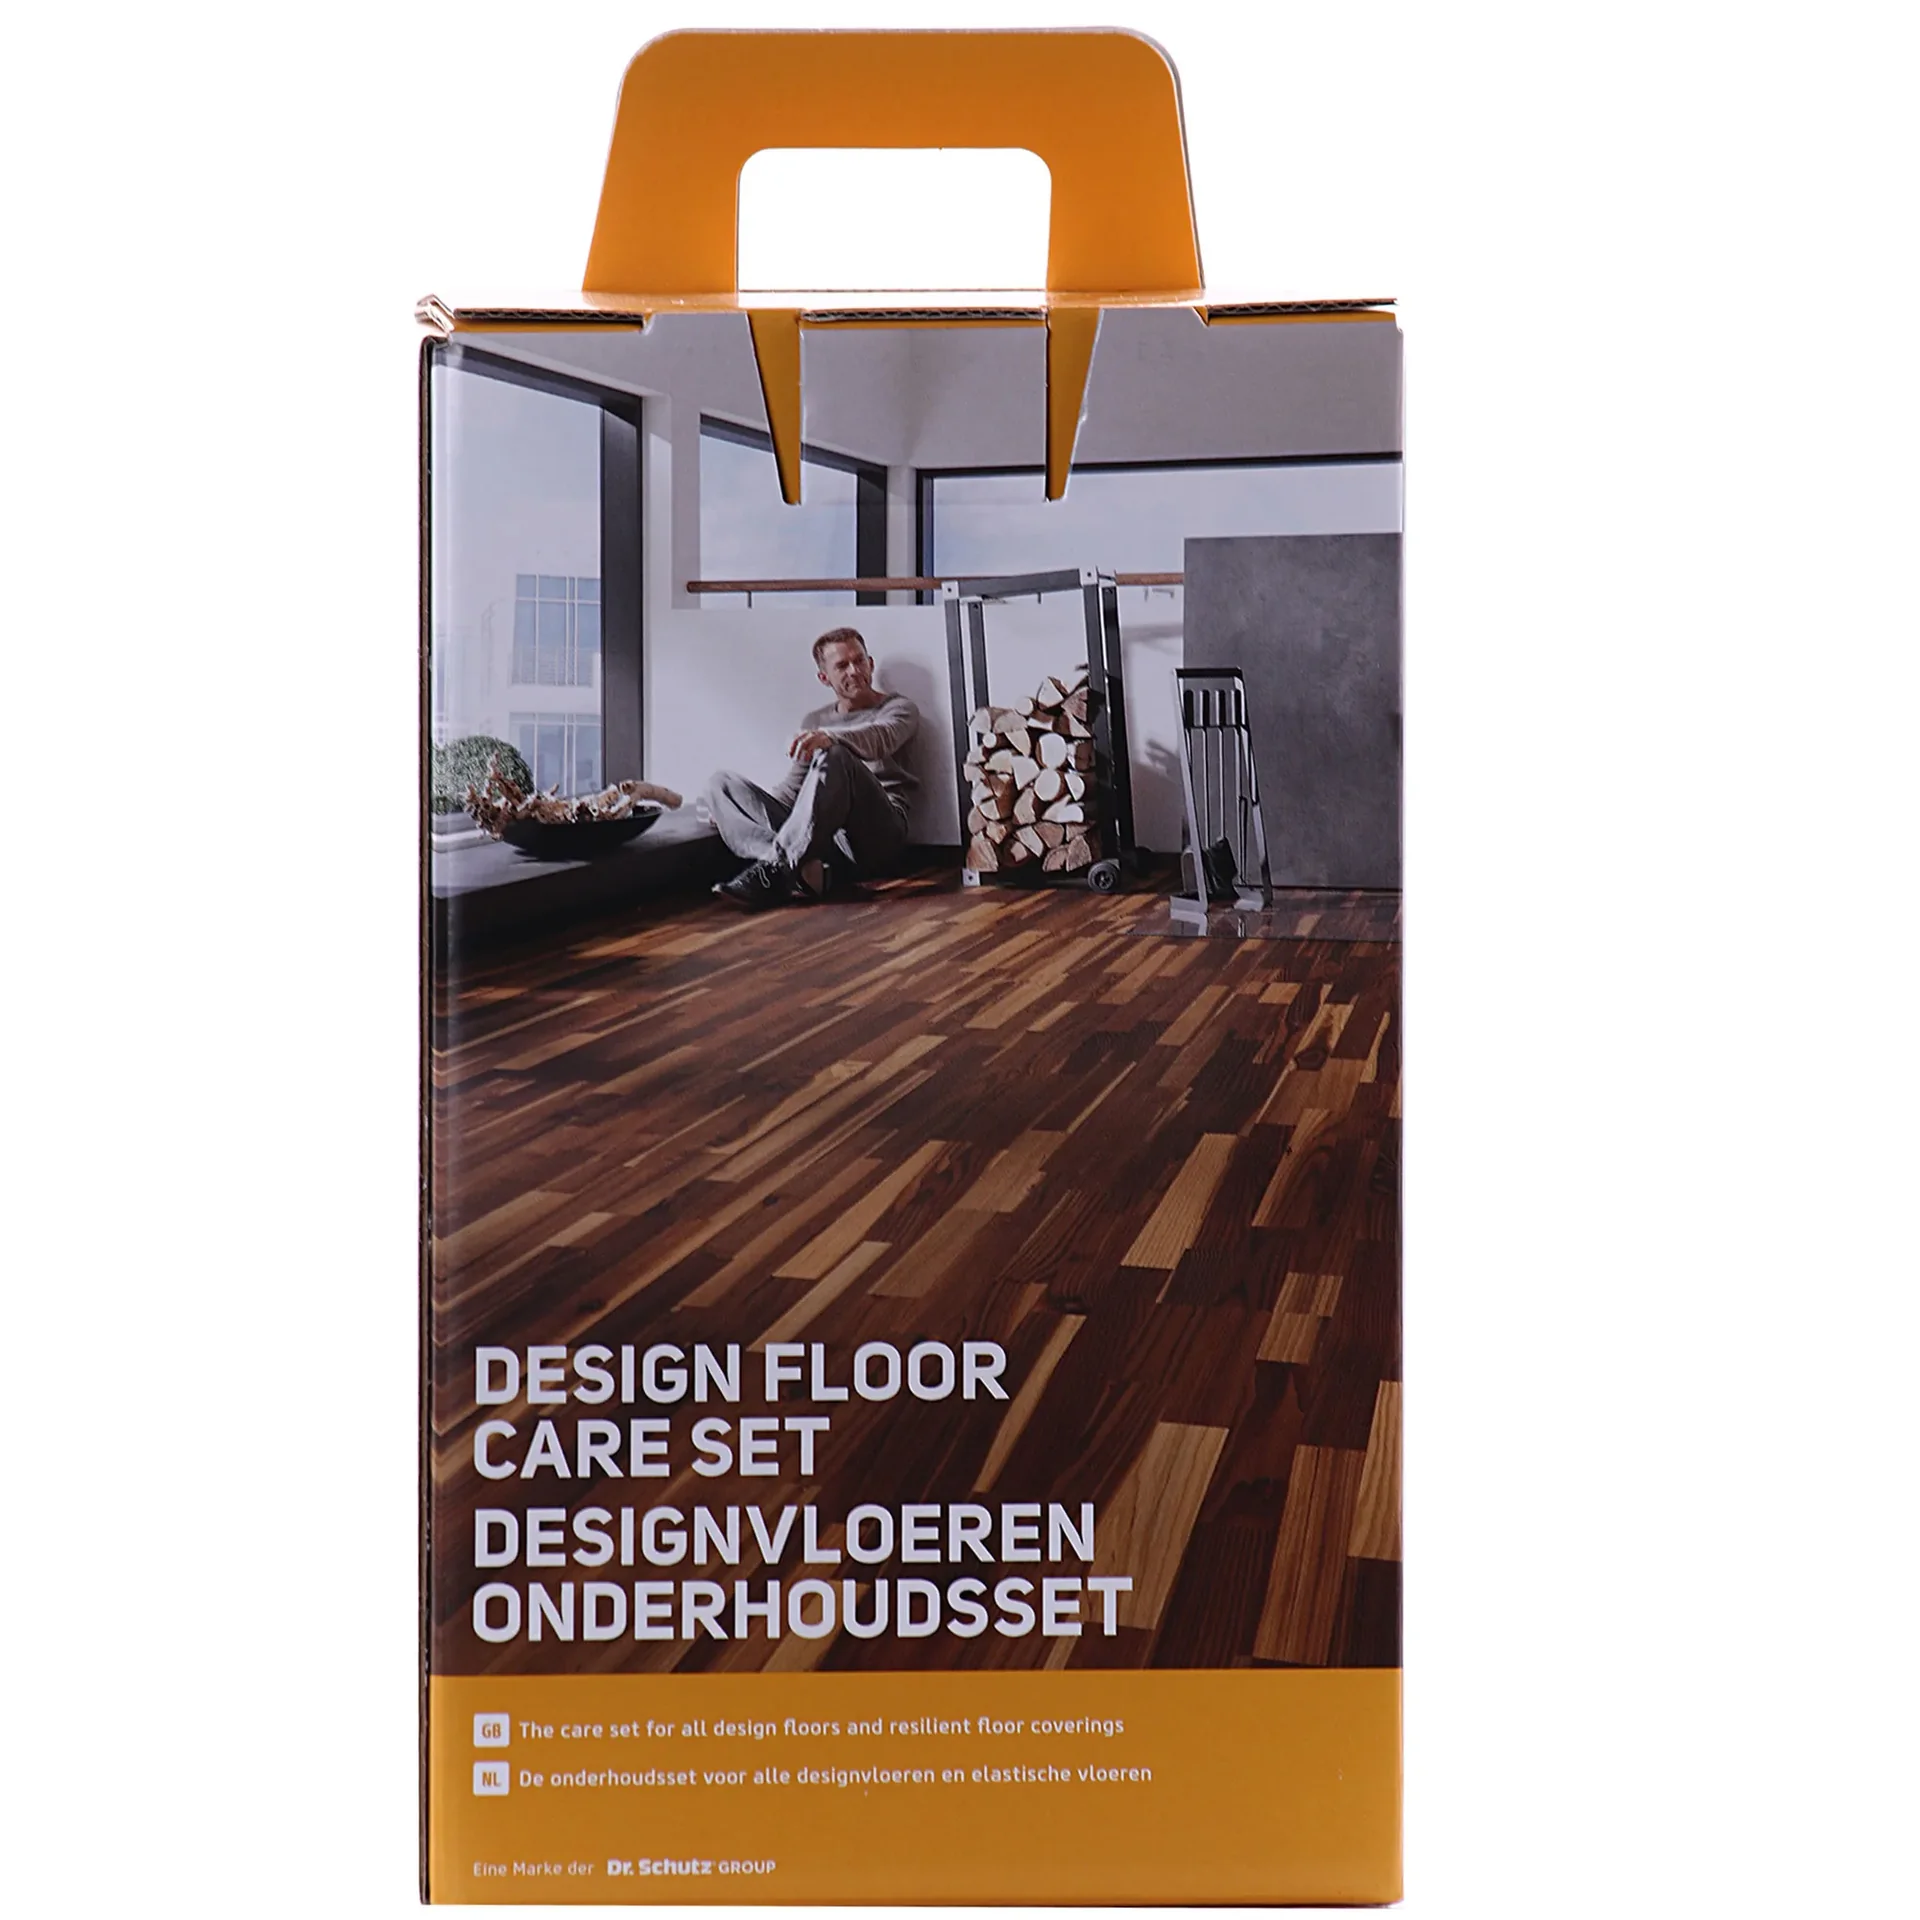
Protect the floor from direct, prolonged sunlight with curtains or blinds. Fit furniture with felt pads underneath. This prevents pressure marks and scratches. For temporary protection during DIY projects, use a durable grey PVC tarpaulin.
With patience, the right tools and this guide, you can install your own PVC flooring. The result is a new, durable and attractive floor that you can enjoy for years. For all your other home and garden projects, find inspiration and materials in our Garden + Outdoor and Shop categories.
Frequently asked questions
- Can I install PVC flooring over old tiles?
- Yes, you can. The old tiled floor must be completely intact, clean and free of grease. Any unevenness of more than 2 mm over one metre must be levelled with a levelling compound. Be sure to remove all loose grout residue and sand down highly glossy surfaces so the adhesive bonds properly.
- How long does PVC flooring need to acclimatise before installation?
- Leave the PVC flooring unpacked in the room where you intend to install it for at least 24 to 48 hours. The room temperature should remain consistently above 18 °C. This acclimatisation relieves material tension and prevents the flooring from shrinking or expanding after installation.
- Which is better: gluing or clicking PVC flooring into place?
- Glued PVC flooring is more firmly bonded to the subfloor, lasts longer and is ideal for high-traffic areas. Click systems are quicker to install, can be removed without leaving residue and are perfect for tenants. The right choice depends on how the floor will be used, the subfloor and your long-term plans.
- What tools do I need to install PVC flooring?
- You will need a utility knife with spare blades, a metal ruler or straightedge, a compass divider for accurately fitting the flooring around walls, a roller for pressing it down and, if necessary, a notched trowel for the adhesive. A PRODUCT_98124 professional panel lifter makes handling heavy sheets or panels much easier.
- How do I care for a newly installed PVC floor?
- Wait around 2-3 days after installation before subjecting the floor to full use. Carry out the initial deep clean with a specialist cleaner such as the PRODUCT_61889 RZ Universal Basic Cleaner. For long-term care, use a set such as the PRODUCT_61543 DR. SCHUTZ PVC Design Flooring Care Set.
You might also be interested in
- Installing vinyl flooring: Step by step to a fresh new look
- Repairing PVC and vinyl flooring: A step-by-step guide
- Gluing laminate flooring: When it makes sense and how to do it properly
- Installing laminate flooring: A step-by-step guide for DIYers
- Installing click parquet flooring: A step-by-step guide
- Installing cork flooring: A step-by-step guide for DIY enthusiasts