
In brief: 20mm pipe insulation is effective and often sufficient for heating pipes in heated areas under the 50% GEG rule. However, unheated basements and larger pipe diameters may require thicker insulation under the 100% rule to effectively reduce heat loss.
You hear your heating system start up in the basement. Hot water flows through the pipes to warm your living spaces. But much of that costly energy never reaches the radiators. It escapes along the way, especially in cool basements and unused attics. Exposed heating pipes are like open windows for your heating bills: they warm rooms that don’t need to be heated.
The good news is that you can reduce this heat loss easily and affordably. Quality pipe insulation is one of the most effective ways to lower your energy bills right away. The key is choosing the right insulation thickness. Is 20 mm enough, or do you need something thicker?
For many applications, a tried-and-true solution is a good choice. The CLIMAFLEX® 2m insulation tube with an internal diameter of 28 mm and an insulation thickness of 20 mm is an ideal starting point. It meets the 50% insulation requirements under Germany’s Building Energy Act (GEG), and its self-adhesive seam makes installation especially easy. This durable PE foam tube can reduce heat loss by up to 80% while protecting your pipes from condensation and mechanical damage.

Why does pipe insulation thickness matter?
Insulation thickness determines how well the material resists heat flow. The thicker the material, the less readily it conducts heat and the better it insulates. Think of it like winter clothing: a thin shirt offers little protection from the cold, while a thick wool sweater keeps you warm. The same principle applies to heating pipes.
An uninsulated pipe releases heat freely into the surrounding air. In an unheated basement at 10°C, a heating pipe with a flow temperature of 70°C constantly loses energy. The heating system has to make up for these losses and cycles more often, using more gas or oil. Thick pipe insulation acts as a protective layer around the pipe, keeping heat where it belongs: in the heating water on its way to the radiator.
Pipe insulation often pays for itself in the first winter. It’s one of the most effective ways homeowners can reduce energy use right away.
Insulation effectiveness increases with thickness, but not in a straight line. Basic insulation delivers the biggest reduction in energy loss. Doubling the insulation thickness won’t double the savings, but it can improve efficiency further—especially in very cold spaces.
The GEG rule: What does Germany’s Building Energy Act require?
Germany has legal requirements for insulating pipes that carry heat. The German Building Energy Act (GEG) sets minimum insulation thicknesses to improve building energy efficiency. Two rules are especially important for heating pipes: the 50% rule and the 100% rule.
The 50% rule
Under this rule, insulation must be at least 50% as thick as the pipe’s outside diameter. It applies to pipes installed in heated areas or in building components between heated rooms used by different occupants. For example, a copper pipe with an outside diameter of 22 mm needs at least 11 mm of insulation.
The 100% rule
Under this rule, insulation must be as thick as the pipe’s full outside diameter. This stricter requirement applies to heating and hot water pipes installed in unheated spaces (such as basements and attics) or underground. For example, a 22-mm pipe in a cold basement needs insulation at least 22 mm thick. Find products that meet these requirements in our pipe insulation category.
Important note
Never fully insulate the pipes around the safety valve or expansion vessel. These components must remain accessible, and their function must not be impaired. Leave enough space around them.
20mm pipe insulation: Is it a good all-around choice?
With an insulation thickness of 20 mm, you get a good balance that works for many household applications. For the most common pipe diameters, from 22 mm to 28 mm, 20-mm insulation meets the 100% rule in unheated areas or comes close. In heated areas, it comfortably exceeds the 50% requirement and delivers excellent energy savings.
For DIYers, 20-mm material is also easy to handle. It’s flexible enough to follow gentle bends, yet firm enough to stay securely in place on the pipe. The CLIMAFLEX® insulation tube mentioned above is a great example of a user-friendly, highly effective solution.
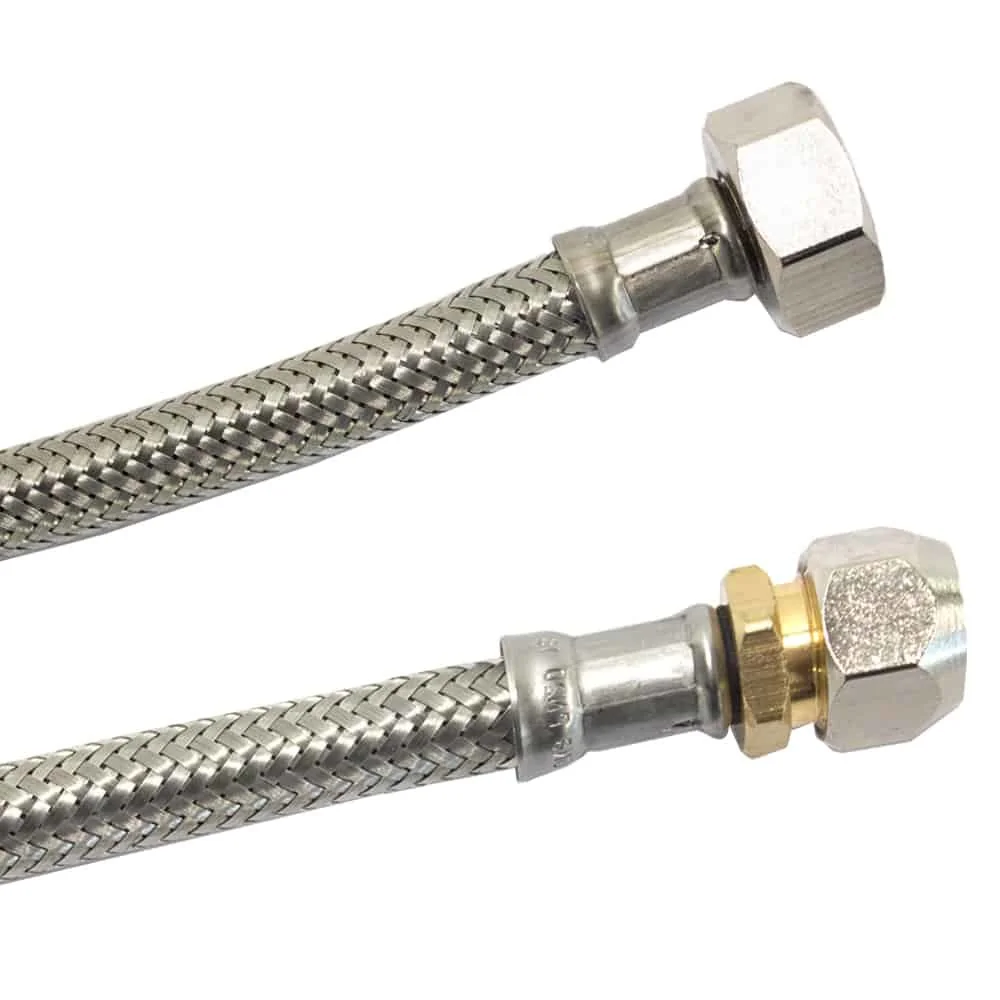
Complex installations often include valves and branches, or require flexible connections. That’s where specialized components such as the
How do I choose the right insulation thickness for my heating pipes?
Choosing the right insulation is straightforward. Follow these four steps to find the best solution for your home.
- Check where the pipes are located: Walk through your home and note where the heating pipes run. Identify any that pass through a cold basement, an unheated attic, or heated living areas and hallways. This determines whether the 50% or 100% rule under the GEG applies.
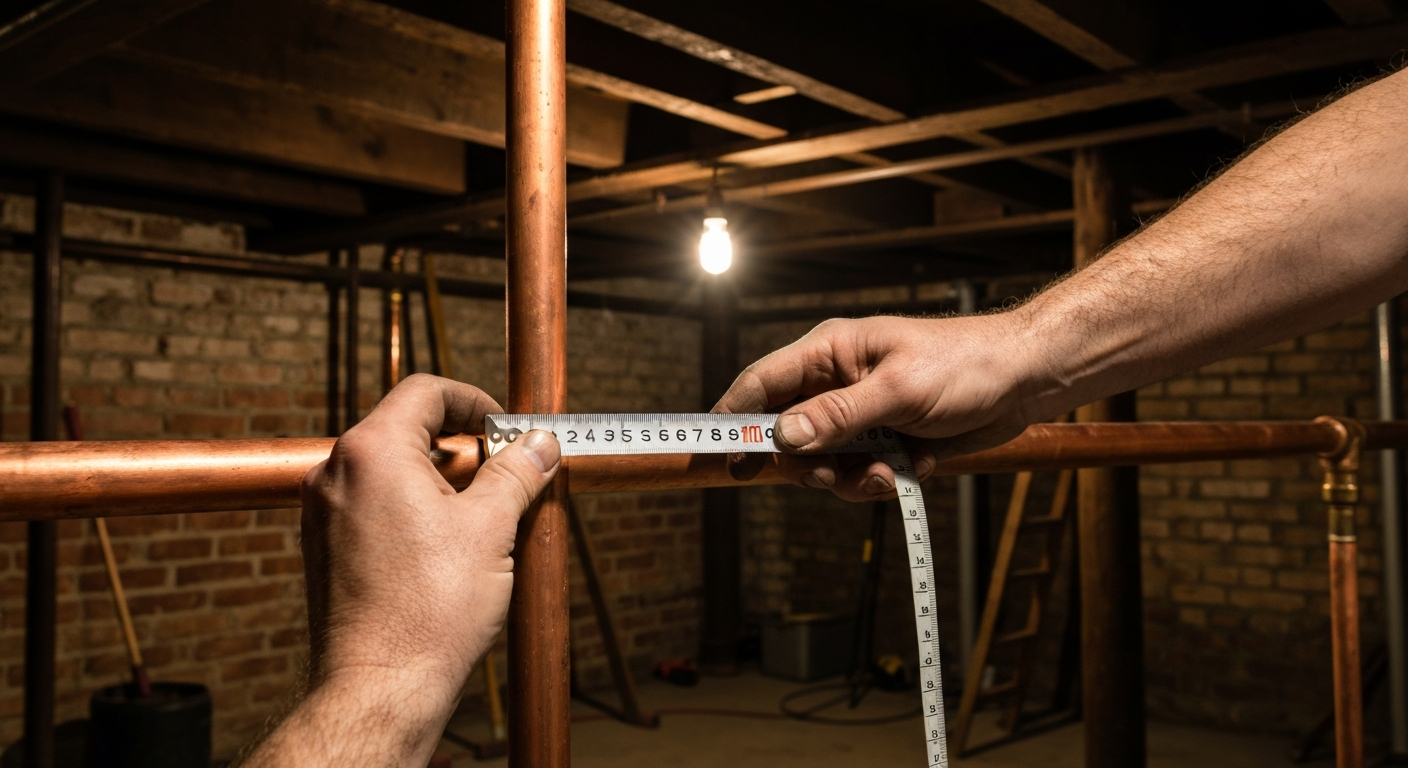
- Measure the pipe diameter: Use calipers or a flexible tape measure to find the outside diameter of your heating pipes. Common copper pipe sizes are 15 mm, 18 mm, 22 mm and 28 mm. Steel pipe sizes are often given in inches. The inside diameter of the insulation sleeve must match the pipe's outside diameter exactly.
- Apply the GEG rule and calculate the insulation thickness: For pipes in a cold basement (100% rule), the insulation should be at least as thick as the pipe's diameter. For a 28-mm pipe, that means at least 28 mm of insulation. For pipes running between heated rooms (50% rule), 14 mm is enough for a 28-mm pipe. In both cases, 20-mm insulation is a good choice and may even exceed the requirements.
- Choose the material: For DIY projects, insulation sleeves made from PE foam (polyethylene) are the standard choice. They are affordable, durable and easy to install. Rubber insulation is used for higher temperatures or special applications, such as solar thermal systems. Browse the full range in our Insulation category.
Pro tip
For neat 90-degree corners, cut the ends of two insulation sleeves at a 45-degree angle. Use a mitre box to make a precise cut. The angled ends will fit together neatly and can be joined securely with tape.
Step-by-step guide: How to insulate heating pipes
With the right materials, insulating your pipes is a straightforward weekend project that can make a big difference. Follow these steps for a neat, effective result.
Step 1: Prepare the pipes
Make sure the heating system has cooled down. The pipes should be cool, dry and free of dust. Wipe them with a damp cloth if needed. Gather your materials: insulation sleeves, a sharp utility knife, a tape measure and PVC tape for sealing the joints.
Step 2: Cut the sleeves to size
Measure the straight sections of pipe and cut the insulation sleeves to length. For best results, make one long, smooth cut with a sharp knife. Avoid compressing the foam; guide the blade through the material with gentle pressure.
Every uninsulated metre of heating pipe in the basement acts like a small radiator that runs constantly and cannot be turned down. The money literally disappears into the cold basement air.
Step 3: Fit the insulation
Most insulation sleeves come pre-slit. Open the sleeve along the slit and fit it over the pipe. For self-adhesive versions such as CLIMAFLEX®, remove the protective film and press the adhesive edges firmly together. Make sure the sleeve fits snugly around the pipe.
Step 4: Seal joints and branches
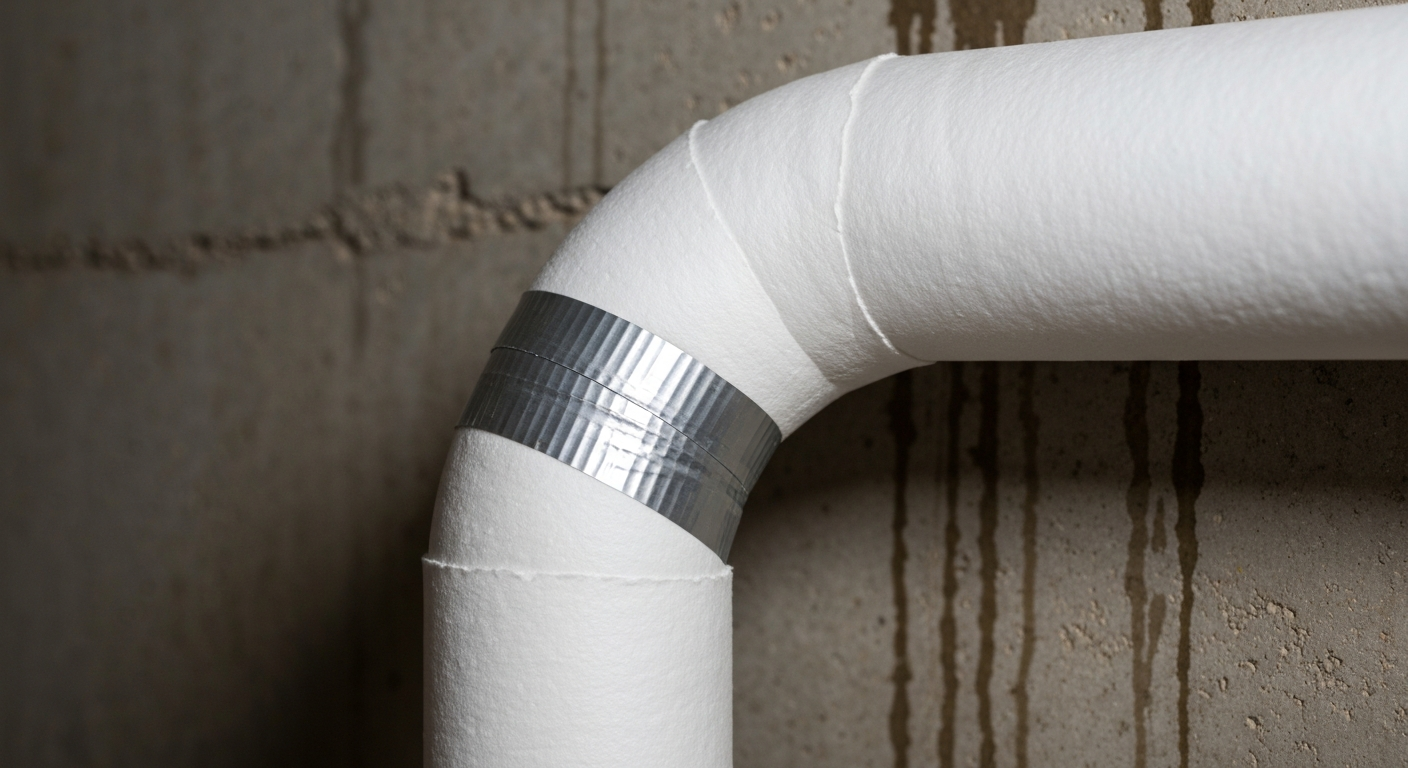
Make sure there are no gaps. Carefully seal the joints between insulation sleeves with PVC tape to prevent thermal bridges. For T-junctions and valves, cut suitable pieces from an insulation sleeve and fit them precisely. Use tape to seal these areas, too.
Remember to follow safety precautions when working in the boiler room. A clearly visible surface-mounted wet-room heating emergency switch should always be readily accessible so the system can be disconnected from the power supply quickly in an emergency.
Additional tip
Remember to insulate your hot water pipes, too. Energy is lost as hot water travels to the tap, which can mean longer waits and unnecessary water use. The same insulation principle applies.
Insulating your heating pipes is a small investment that can have a big impact. You can lower your heating costs, save money and reduce your CO2 emissions. Whether 20 mm of insulation is enough depends on the location and diameter of your pipes. In many cases, though, it is an excellent choice that meets the requirements and significantly reduces heat loss from your heating system. Get started and turn your boiler room into an energy-saving space.
Frequently Asked Questions
- Do I need to insulate all the heating pipes in my home?
- Insulate pipes that run through unheated areas, especially basements, attics, and garages. These areas are where the greatest heat loss occurs. Insulation is less critical in heated living spaces, but it can still help ensure heat reaches your radiators efficiently.
- What is the best insulation for heating pipes?
- For DIY projects, flexible insulation sleeves made from polyethylene (PE) or rubber are ideal. They’re easy to install, affordable, and provide good insulation. PE sleeves such as CLIMAFLEX® are durable and a great choice for most applications around the home.
- What does "50% Cu GEG" mean on pipe insulation?
- This label means the insulation meets the German Building Energy Act (GEG) requirement for an insulation thickness equal to 50% of the pipe’s outside diameter. This is the minimum requirement for many installations in heated areas. "Cu" stands for copper pipe.
- Can I insulate heating pipes myself?
- Yes, insulating pipes is an ideal DIY project. Most insulation sleeves come pre-slit and are often self-adhesive. You’ll need a sharp knife to cut them and, in some cases, tape to seal the joints neatly. No specialized tools are required.
- How much can I save by insulating pipes?
- The potential savings are considerable. Depending on the system and surrounding temperatures, you can save up to 20 euros per year for every metre of uninsulated pipe. Insulation material often pays for itself after the first heating season.
You may also be interested in
- Inspecting Pipe Insulation: How to Spot Damage and Save Energy
- Buying Pipe Insulation: The Complete Guide to CLIMAFLEX & Co.
- Save on Heating Costs and Prevent Frozen Pipes: Why to Insulate Your Pipes Now
- Save on Heating Costs with the Right Insulation: Your CLIMAFLEX Guide
- Reduce CO2 Emissions from Heating: Tips for Greater Efficiency
- GEG Pipe Insulation: 50% Cu Explained Simply