
In brief: Clean your dustpan and brush set regularly for better hygiene and performance. Knock and comb coarse dirt out of the bristles. Wash the broom and dustpan in mild soapy water, rinse with clean water and let everything air-dry completely, ideally hanging up, to protect the bristles.
Table of contents
A broom and dustpan are among the hardest-working tools in the home. They sweep up dust, crumbs, hair and everyday dirt. But what happens to the tools themselves? They get dirty. A neglected dustpan and brush set not only sweeps poorly, it can also become a breeding ground for germs. With the right cleaning and care, you can improve performance and double the service life of your cleaning tools.
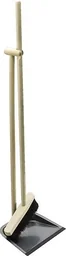
Before you start, make sure you have a tool that makes the job easier. No more bending down. A long-handled dustpan and brush set protects your back and makes cleaning more comfortable. The long-handled dustpan and brush set "Faule Grete" () has a comfortable total height of 97 cm, making it ideal for this purpose. The long handles on the broom and dustpan allow you to stand upright, while the integrated scraper edge on the dustpan helps clean the bristles straight away.
Why you should clean your dustpan and brush set regularly
You may be wondering why you should clean a cleaning tool. The reasons are practical and hygienic. A clean dustpan and brush set is an effective dustpan and brush set.
Better cleaning performance: A broom with matted, dusty or hair-wrapped bristles can no longer pick up dirt properly. Instead, it simply spreads the dirt around or leaves streaks behind. A clean dustpan with a smooth rubber lip also picks up the finest dust without leaving a line behind.
Hygiene: The bristles and dustpan collect more than just visible dirt—they can also harbor bacteria, allergens and germs. This is especially true when you sweep up kitchen waste or damp dirt, creating a breeding ground for unwanted microorganisms. Regular disinfection is part of basic cleaning tool maintenance.
Longer service life: Dirt and moisture damage the materials. Bristles break more quickly, wooden handles become rotten and metal parts can rust. Targeted care protects your investment and means you need to buy replacements less often.
A clean tool is half the job. This applies to a painter's brush just as much as to a household broom. Looking after your tools not only helps you work more cleanly, but also makes the job more enjoyable.
How to clean a broom: A step-by-step guide
Broom care is easier than you might think. Distinguish between a quick dry clean after every use and a thorough wet clean when needed.
1. Remove coarse dirt and hair
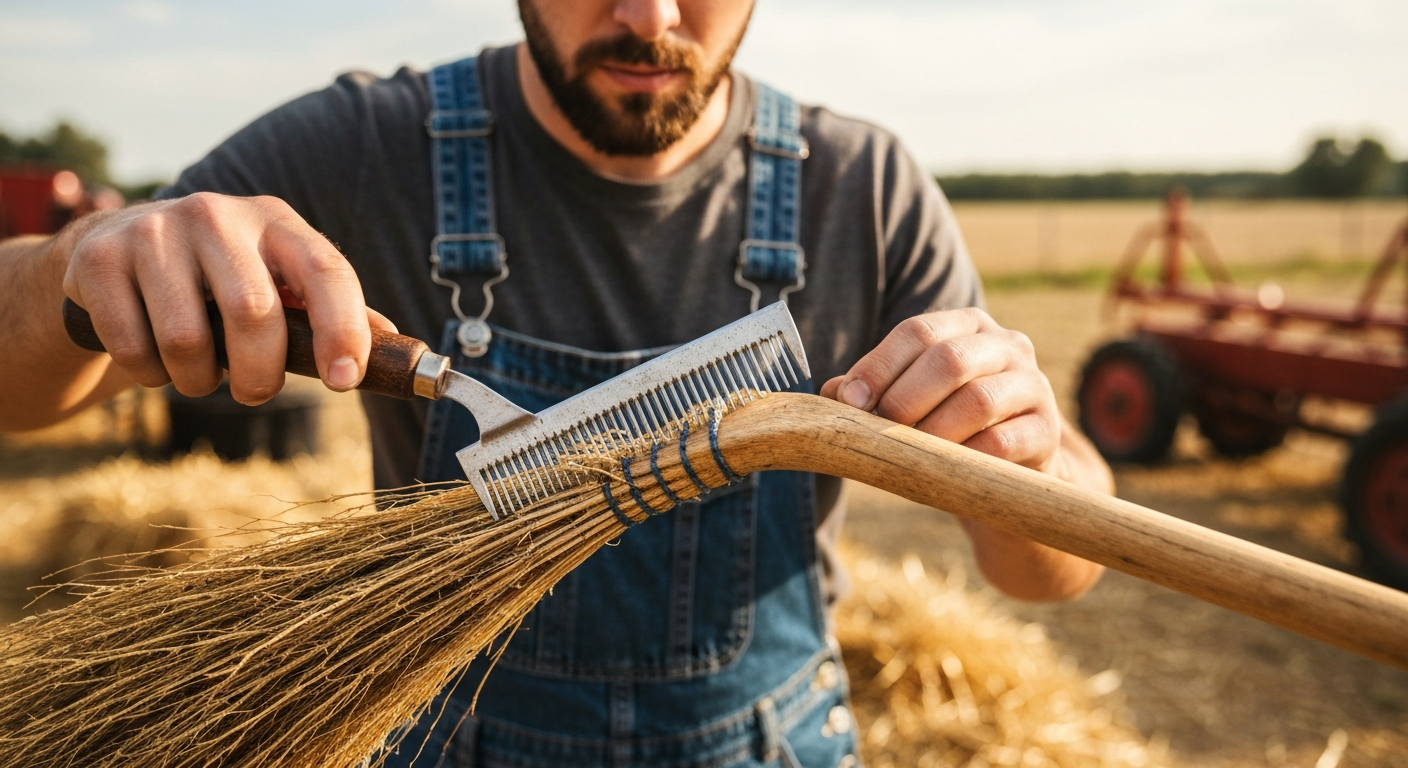
This is the most important first step. It is best to do this outdoors. Knock the broom head firmly against a wall or the ground to remove loose dust and dirt. Stubborn hair, threads and lint are the biggest enemies of every bristle.
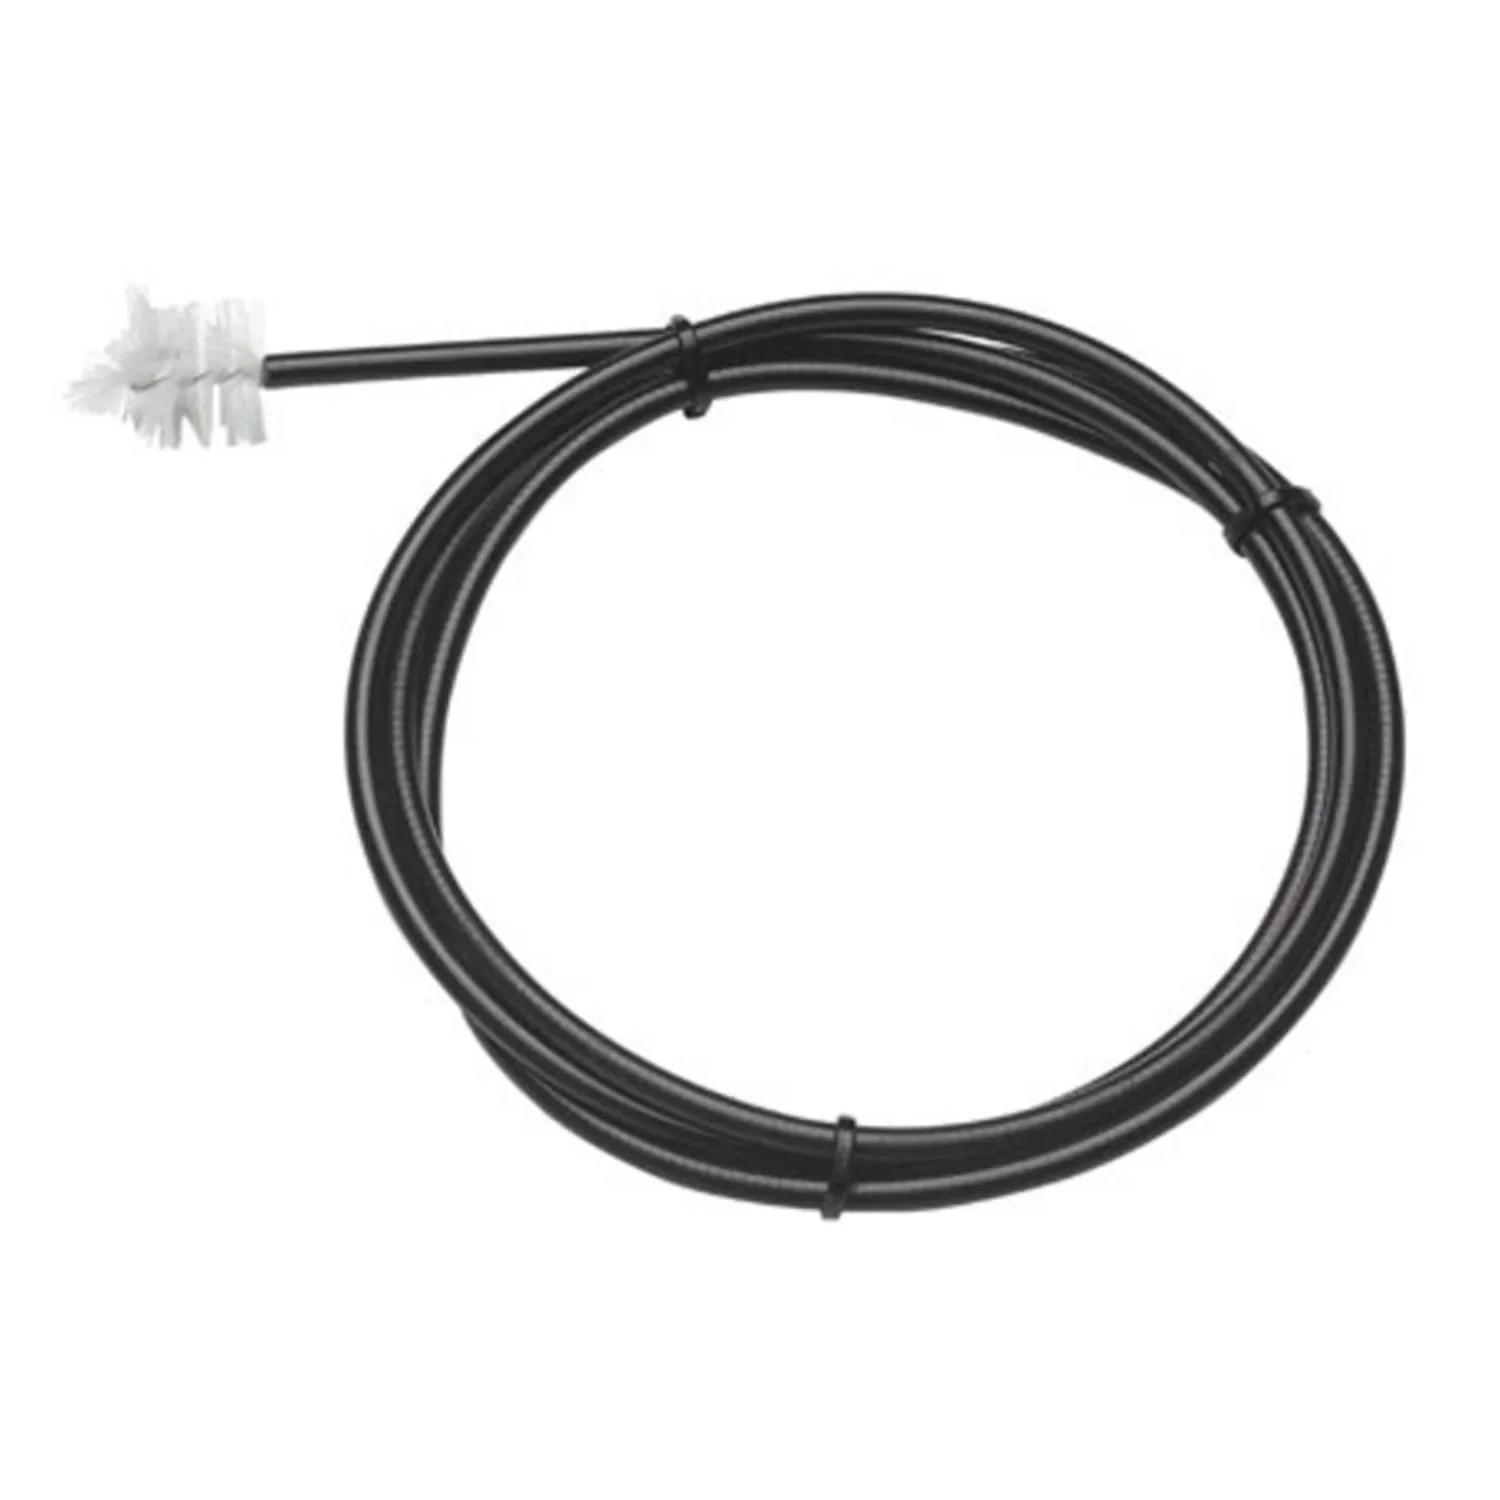
Comb out the bristles thoroughly. Start at the base and work your way toward the tips. An old hair comb, a sturdy brush or even an old fork can do a good job here. For narrow corners of the dustpan or for scraping out the bristle holder, a special brush such as the drip tray cleaning brush () is ideal, thanks to its slim shape, which is perfect for this type of detailed work.
Pro tip
A pet-hair comb or a so-called "wonder brush" with rubber bristles is extremely effective at removing stubborn pet hair and human hair from broom bristles. The rubber's static charge practically attracts the hair.
2. Deep wet cleaning for sparkling results
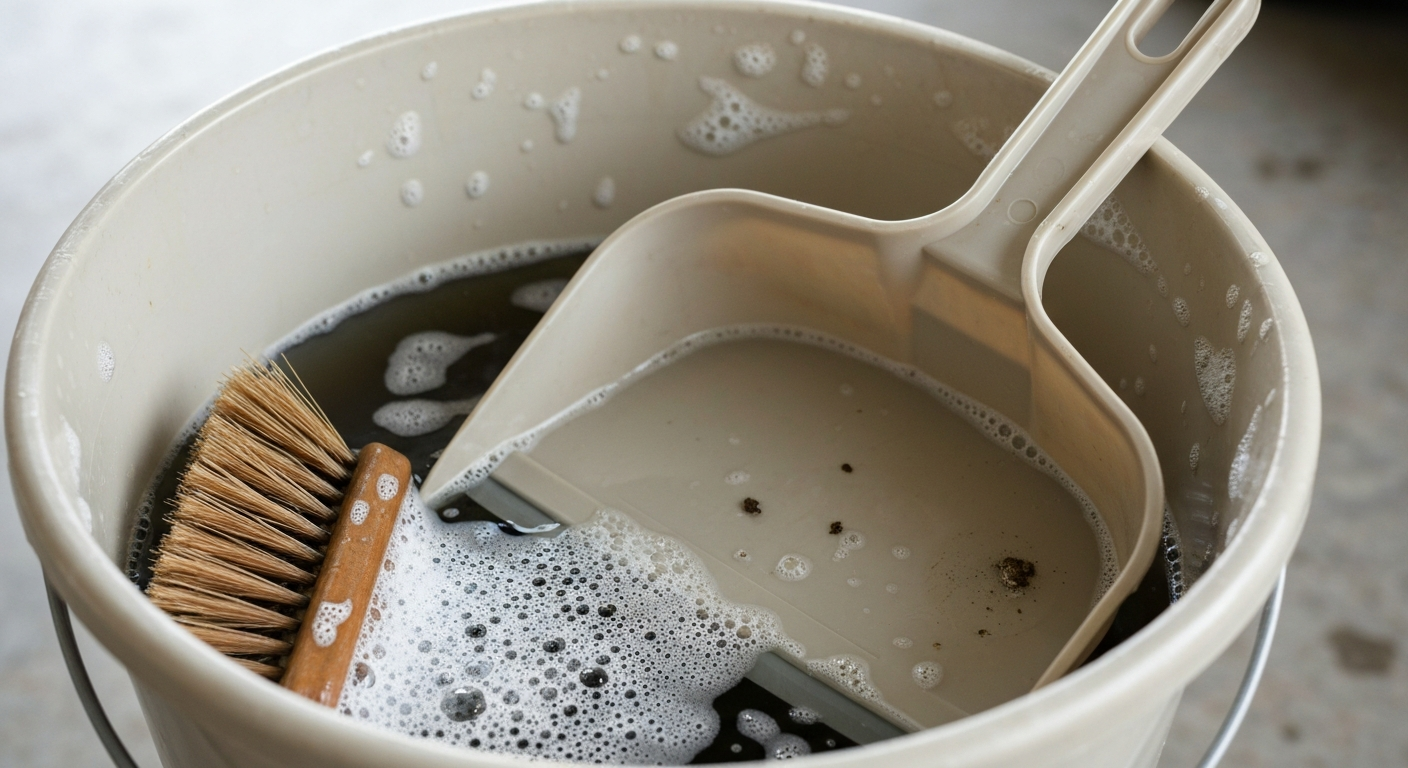
For a hygienic deep clean, wash the broom head. Fill a bucket with warm water and add a few drops of mild dish soap or all-purpose cleaner. Avoid harsh chemicals, which could damage plastic bristles or the adhesive holding them in place.
Dip only the bristles into the soapy water and move the broom back and forth vigorously. For heavy soiling, leave it to soak for 15-20 minutes. Make sure not to leave a wooden handle or wooden body in the water for longer than necessary.
Important note
Never use boiling water for cleaning. Excessive heat can permanently deform plastic bristles or dissolve the glue anchoring the bristles in the broom head. Lukewarm water is more than sufficient.
3. Remove stubborn and sticky dirt
Have sticky substances such as resin from the garden + outdoor area or grease become embedded in the bristles? A cloth with a little rubbing alcohol or methylated spirits often helps. However, test it on an inconspicuous area first to rule out material discoloration. Rub the affected area specifically and then wash the broom as described above.
4. Dry it properly: The key to broom care
Proper drying is essential to prevent mold and preserve the shape of the bristles. Shake the broom vigorously after rinsing to remove excess water. Never place it on a radiator or in direct sunlight to dry.
Ideally, hang the broom with the bristles facing downward. This allows the water to drain away properly without seeping into the broom head or handle. Gravity also helps keep the bristles straight. A dry basement, garage or storage room with good air circulation are ideal locations.
How do I clean a dustpan properly?
The dustpan works alongside the brush and deserves the same care. A dirty, greasy dustpan won't pick up dirt properly. The most important part is the rubber lip along the front edge.
Daily cleaning: After emptying it, simply tap out the dustpan or wipe it with a dry cloth. That's enough for everyday use.
Deep cleaning: For a deeper clean, wash the dustpan in the sink or a bucket using the same soapy water as for the brush. Use a sponge or brush to remove stuck-on dirt. Pay special attention to the rubber lip. Clean both the top and underside until they're spotless. To clean with water, it's best to use a connection from the Plumbing + Irrigation range, such as a handheld spray nozzle at the sink.
Dry the dustpan thoroughly after cleaning, especially if it's made of metal, to prevent rust. A clean rubber lip lies flat against the floor again, so no crumbs or dust are left behind.
Care tips for a long-lasting dustpan and brush set
With just a few simple steps beyond cleaning, you can keep your dustpan and brush set working reliably for years.
Proper storage
Never store your dustpan and brush set with the bristles on the floor. Over time, the brush's weight will permanently bend the bristles and significantly reduce its sweeping performance. The best option is to hang it on a wall hook. Most brushes and dustpans already have a hole in the handle for this purpose.
Additional advice
A simple tool rail with clamps in the utility room or garage is a worthwhile investment. You can hang your dustpan and brush set, mops, garden tools and other handled equipment on it to save space and protect them from damage.
Reshaping the bristles
If the plastic bristles become bent, try this simple trick: Place them in a bowl of hot (not boiling!) water for one to two minutes. The heat softens the plastic and makes it flexible. Remove the brush, comb the bristles straight, and hang it up to dry.
Caring for wooden and metal components
Does your dustpan and brush set have an untreated wooden handle? Rub it with a little linseed oil once or twice a year. The oil helps keep the wood from drying out and makes it more resistant to moisture. Keep metal parts dry and remove any early signs of surface rust right away with a little steel wool.
Care preserves value. A few minutes of attention each month can add years to the life of a simple household item like a dustpan and brush set. It's a sustainable choice that saves money.
How do I know when a dustpan and brush set needs replacing?
Even the best-maintained dustpan and brush set will eventually wear out. Instead of putting up with a tool that no longer works well, look for these clear signs that it's time for a replacement:
- Heavily worn bristles: If the bristles are badly frayed, shortened, or have large gaps, the brush won't sweep effectively.
- Permanently bent bristles: If the bristles won't straighten with the hot-water trick, it's time for a replacement.
- Damaged dustpan: Cracks in the plastic, a bent metal dustpan, or a split, hardened rubber lip make it impossible to sweep up cleanly.
- Broken handle: A loose or broken handle is frustrating and can also be a safety risk.
When it's time for a replacement, Westfalia has suitable options. For taller users, the Long-Handle Dustpan and Brush Set "Faule Grete", 107 cm high () is a good option. For heavy-duty use in workshops or food service, the Dustpan and Brush Set - Jumbo () from our Business Supplies range is an excellent choice.

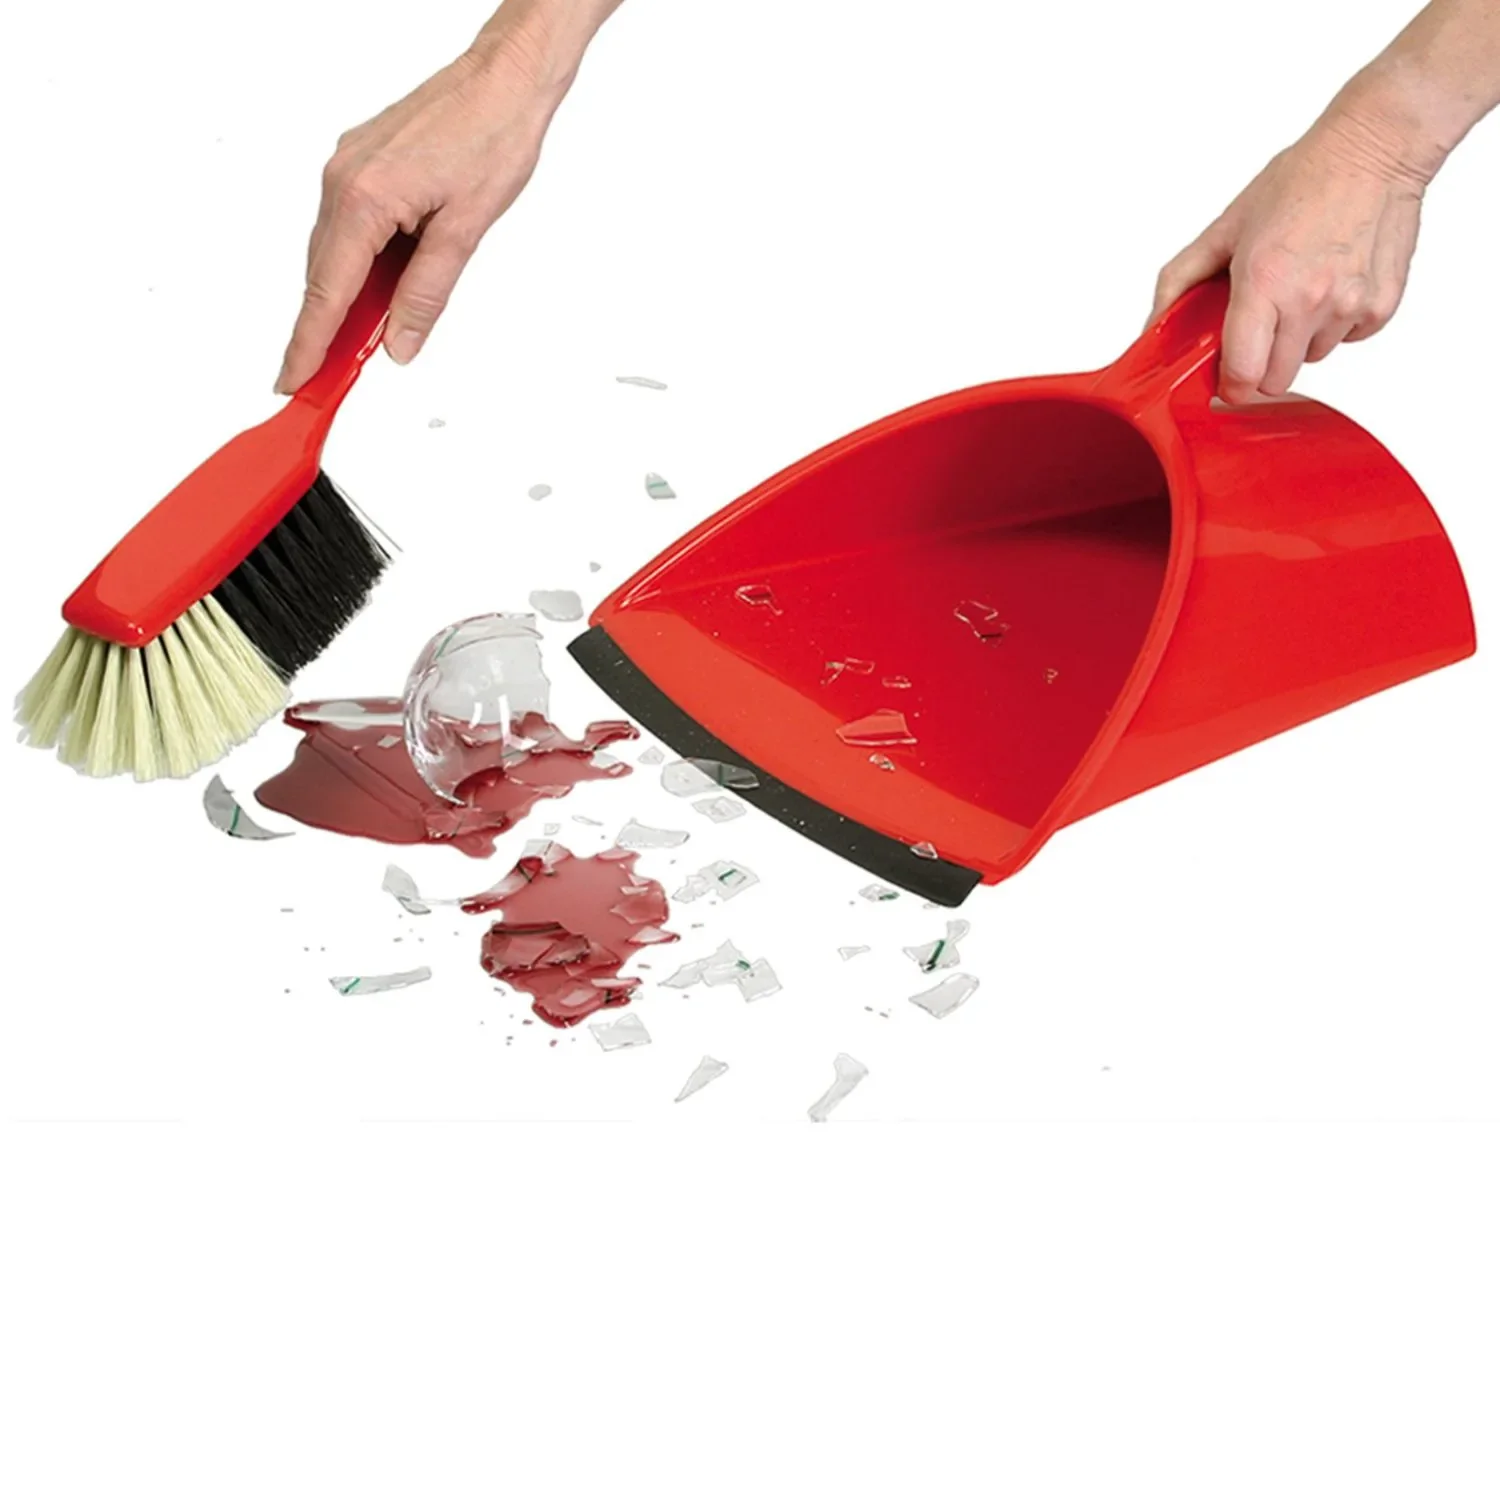
With just a little care, you can keep your home cleaner and your dustpan and brush set ready to use. A few minutes of maintenance pays off with better performance and a much longer service life.
Frequently Asked Questions
- How often should I clean my dustpan and brush set?
- A quick dry clean after every use is ideal. We recommend washing it thoroughly once a month or whenever it gets heavily soiled to prevent bacterial growth and maintain cleaning performance. More frequent cleaning may be necessary in commercial settings.
- Can I wash any brush with water?
- Brushes with plastic bristles can be washed with water without any problems. Natural bristles and wooden handles require more care. Don’t soak them for too long, and make sure they dry thoroughly to prevent mold or damage to the wood.
- My brush bristles are completely bent. Can I save them?
- Yes, this often works with plastic bristles. Dip the bristles in hot, but not boiling, water for a few minutes. The heat makes them pliable. You can then straighten the bristles and hang the brush up to dry so gravity can help.
- What is the best way to remove hair and lint from a brush?
- An old comb, a stiff brush, or even a fork is ideal for pulling embedded hair, pet hair, and lint out of the bristles. Work from the base of the bristles toward the tips. Some dustpans also have a toothed edge for this purpose.
- Why is it important to care for the rubber lip on a dustpan?
- The rubber lip is essential for clean sweeping. A clean, flexible lip lies flat on the floor and picks up even the finest dust. If it’s dirty, hard, or damaged, it leaves an unsightly line of dirt on the floor.
You might also be interested in
- Buy a stand-up dustpan and brush set: How to choose the right one
- How to use a stand-up dustpan and brush set correctly: The guide to effortless sweeping
- How to clean and care for your garden waste bag: Tips to make it last
- How to care for garden tools: Make your tools last longer
- How to care for a chainsaw guide bar: Tips for long-lasting performance
- How to care for Westfalia Clean: Keep it clean for longer