
In brief: A kitchen backsplash protects your wall from grease and food splashes. You plan the material, size and mounting method. To install it, clean the surface, cut the material to size and attach it without gaps. Glass, stainless steel and durable plastic panels are particularly suitable.
Your kitchen backsplash as an effective splash guard
When you cook and fry, droplets of grease and liquid can splash onto the wall. A dedicated kitchen backsplash catches these splashes. It protects your wall from stubborn dirt and lasting damage.
At the same time, the backsplash becomes a design feature. It adds an accent behind your cooktop. There is a wide range of materials and colors to choose from.
With good planning, you can install this backsplash yourself. The following guide shows you every step.
How do I plan a custom kitchen backsplash?
Thorough planning prevents mistakes when cutting and installing the backsplash. Start by carefully assessing your kitchen.
What do I need to measure and check before installation?
Measure the exact width of the exposed wall area between the wall cabinets or side walls. Note the height from the top of the countertop to the bottom of the wall cabinets or to the desired finishing height.
Check the wall for uneven areas. Use a level or a long, straight board for this. Mark all outlets, light switches and ventilation openings in the planned area precisely on the wall.
Pro tip
Take a photo of the wall and print it out. Mark the exact dimensions and the positions of utility connections on it. This sketch is the perfect basis for shopping and planning.
Take any existing power strips into account. Plan their integration or relocation as well. Also consider the thickness of the new material if it will extend beyond existing trim panels.
Which material is right for my kitchen?
Your choice of material determines the look, maintenance requirements and budget. Each material has specific properties.
Glass backsplashes are completely waterproof and easy to clean. They are available in clear, printed or satin-finished versions. Special glass backsplashes for cooktops are heat-resistant.
Stainless steel has an industrial, modern look. It is also easy to maintain and heat-resistant. Keep in mind that it can show fingerprints easily.
“For DIY installation, prefabricated panels made from high-density materials are often the easiest option. They can be cut precisely with a utility knife and are resistant to moisture.”
High-pressure laminates (HPL) offer a huge range of colors and designs. They are scratch-resistant and relatively affordable. Make sure the edges are sealed with a waterproof sealant.
Mirrors and mosaic tiles are other options. However, they require more skill when laying and grouting.
What tools and adhesive do I need?
The right equipment makes installation clean and safe. Get everything you need before starting work.
For preparation, you need a vacuum cleaner, degreaser, level, pencil and metal tape measure. A sanding block helps smooth away old paint residue or uneven areas.
You need different tools for cutting, depending on the material. For glass or stone, contact a specialist with the exact cutting dimensions. For laminate, acrylic or thin stainless steel, a jigsaw with a fine blade or a circular saw is often sufficient.
Important note
Before working on outlets or switches, always disconnect the relevant circuit at the breaker! Check that the circuit is de-energized with a two-pole voltage tester. Work on electrical installations should only be carried out by a qualified electrician.
The right adhesive is crucial for durability. For heavy panels such as glass, use a cartridge-mounted adhesive. Special construction adhesives or high-strength double-sided mounting tape are suitable for lighter panels.
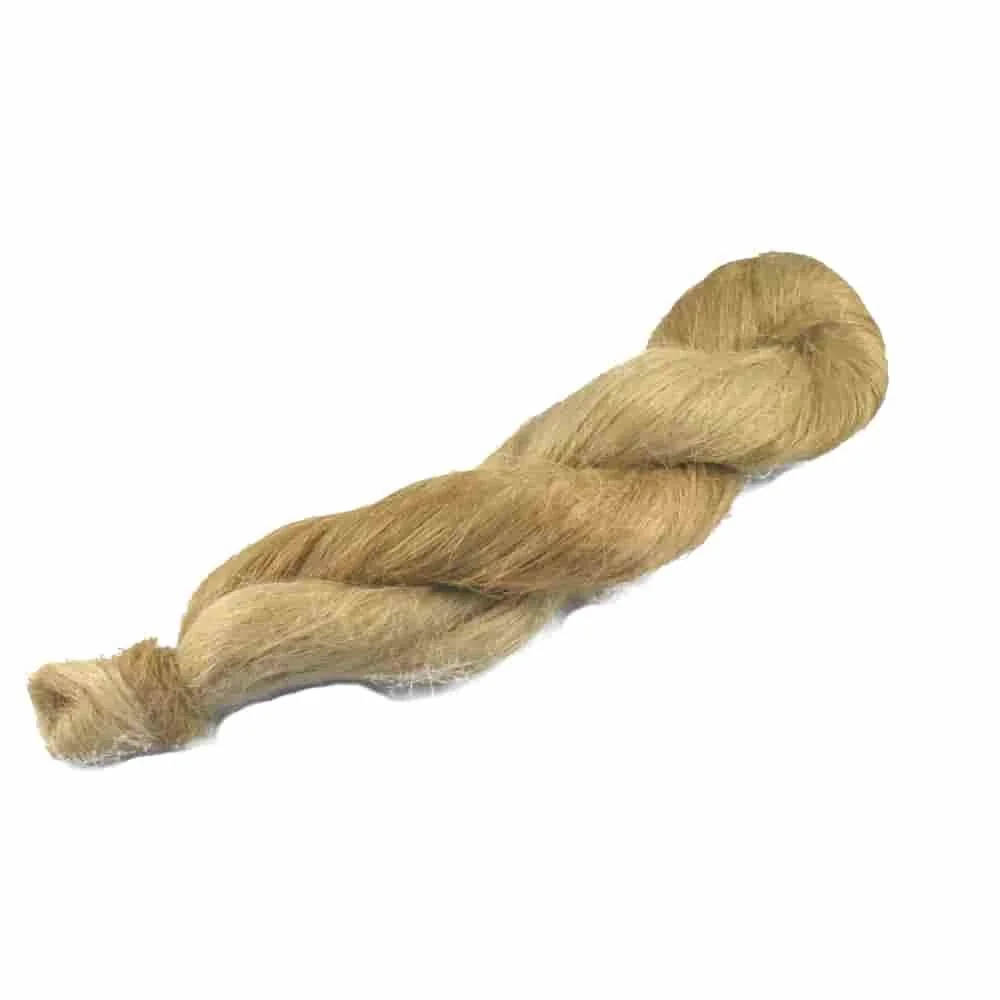
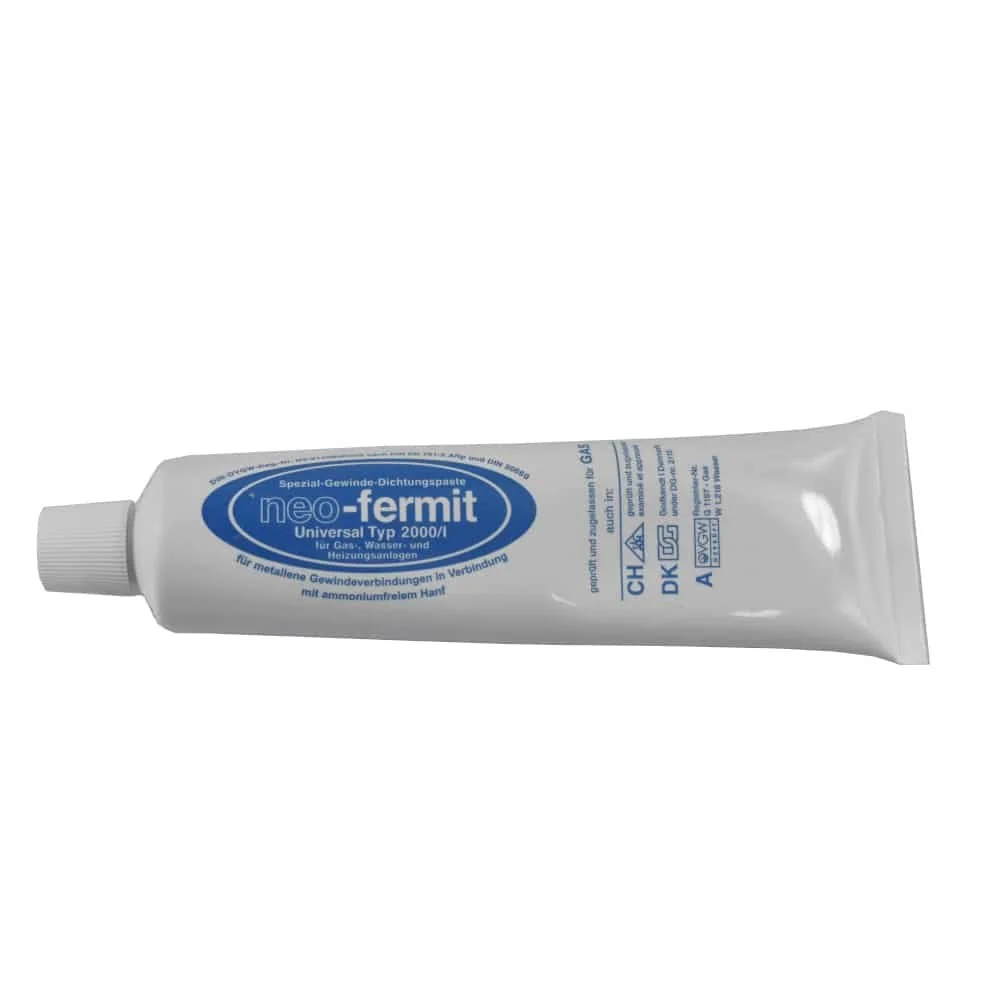
For connections to plumbing fixtures, you can find suitable sealing materials such as plumbing seals in our range. Products such as (hemp thread seal) or (universal thread sealant paste) ensure tight connections.
How do I install the backsplash step by step?
Follow a systematic sequence to avoid frustration and rework.
Preparing the wall surface
Remove everything from the worktop and cover the hob. Clean the wall thoroughly with a degreasing cleaner. All grease and dust residues must be removed.
Remove all old, loose wallpaper completely. Fill cracks in plaster or tiles with a suitable filler. Sand the entire surface smooth and remove all dust thoroughly.
Apply a primer to highly absorbent surfaces such as plasterboard or plaster. This improves the adhesive's grip and prevents it from setting too quickly.
Additional advice
If you mount the backsplash on a batten subframe rather than directly on the wall, you can route cables behind the cladding. This is ideal for adding lighting above the hob at a later date.
Cutting and adjusting the material
Transfer your measurements precisely to the backsplash panel. Mark the outlines with a waterproof pen. Take particular care when marking the positions of sockets and switches.
Cut the material carefully. Work from the back to avoid damaging the decorative surface. For cut-outs, first drill holes at the corners, then use a jigsaw to cut between them.
Before final installation, hold the cut panel in place as a check. Check the fit, height and cut-outs. If necessary, make minor adjustments with a file or sandpaper.
Installation and final fixing
Apply the adhesive according to the manufacturer's instructions. Either apply it in spots around the edges and in the centre, or spread it in ridges with a notched trowel. Make sure it is applied evenly.
“Never place the panel directly onto the glued wall and press it down with force. Tilt it into position from below, then press it on slowly from the centre outwards. This prevents air bubbles and ensures an even layer of adhesive.”
Position the panel precisely. Press it firmly into place. Stabilise it with adhesive tape or wedge-shaped spacers until the adhesive has cured. Remove any excess adhesive immediately with a damp cloth.
For a seamless finish at the sides and where the backsplash meets the worktop, use a suitable food-safe silicone sealant. Smooth the joint with a joint smoothing tool or a damp finger.
How do I care for and clean my new kitchen backsplash?
Regular care preserves its appearance and functionality. The best methods vary depending on the material.
For glass and stainless steel, a microfibre cloth with warm water and a little washing-up liquid is usually sufficient. For heavier grease deposits, use a specialist glass or stainless steel cleaner.
Avoid abrasive sponges, steel wool and harsh scouring agents on all surfaces. They can permanently scratch the surface. Strong chlorine- or ammonia-based cleaners can also damage certain materials.
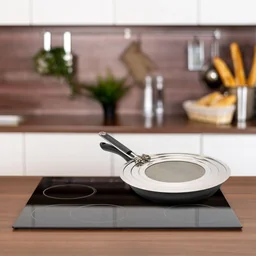
For temporary protection while cooking, practical or a can be used. They catch splashes directly from the rim of the pot.
Check the silicone joints regularly. They should remain flexible and clean. Replace yellowed or brittle joints in good time to prevent moisture damage. You can find materials for all plumbing and sealing work in the Threaded fittings & sealants category.
What alternatives are there to a fixed backsplash?
Not everyone wants or can install a fixed panel. There are flexible solutions.
Adhesive films with a splash-resistant coating are the simplest option. They are inexpensive and available in many designs. However, their durability and heat resistance are limited.
Magnetic or clip-in panels made of stainless steel or plastic offer modularity. They can be assembled individually and taken with you when you move. The joints between the modules must be cleaned regularly.
A classic tiled backsplash remains an excellent choice. It is durable, heat-resistant and offers endless design possibilities. Installation requires more time and DIY skill.
When planning your kitchen, remember the little ones too. In the Children's kitchens category, you will find toys that imitate their grown-up counterparts.
Whatever solution you choose, a well-planned kitchen backsplash provides splash protection, increases convenience, simplifies cleaning and enhances the look of your kitchen. With patience and the right preparation, installing it yourself is a rewarding project.
Frequently asked questions
- Which material is best for a kitchen backsplash?
- Glass is easy to clean and completely waterproof. Stainless steel has a modern look and is heat-resistant. High-quality, food-safe plastic panels (e.g. HPL) are an affordable, scratch-resistant alternative. Choose a material that suits your cooking style and the amount of cleaning required.
- How do I calculate the right size for my backsplash?
- Measure the width of your worktop between the cabinets. The height should be at least 60 cm, or preferably 70-80 cm, to fully cover the area above the hob. When using tiles, subtract the grout width from the measured height. If in doubt, plan for a slightly larger size and trim it to fit afterwards.
- Can I install a backsplash over existing tiles?
- Yes, this is possible. The tiles must be firmly fixed, clean, free of grease and able to support the new covering. Sand glazed tiles with coarse sandpaper to improve adhesion. Use a high-quality, flexible construction adhesive that is suitable for both materials and can withstand temperature fluctuations.
- How do I clean a glass backsplash behind the hob?
- Spray the cooled surface with a grease-cutting glass or kitchen cleaner. Leave it to work for a short time, then wipe it with a soft microfibre cloth. For stubborn baked-on residue, use a ceramic hob scraper with a new blade. Avoid abrasive sponges or harsh scouring agents.
- Do I need to remove sockets or light switches for a DIY installation?
- In most cases, yes. Make sure you safely switch off the circuit supplying these areas. Remove the cover plates and install the backsplash with precise cut-outs around the flush-mounted socket boxes. For a professional finish, fit extended frames or special covers afterwards.
You may also be interested in
- Planning a kitchen: From the initial idea to your dream kitchen
- Build your own wooden privacy screen: Instructions and ideas
- Installing mosaic tiles: DIY guide for your bathroom
- Renew kitchen cabinet doors for a fresh kitchen makeover
- How to install wall cabinets correctly: Here's how!
- Renovating your kitchen: Planning, DIY & smart equipment