
In brief: A laminate flooring cutter is a great tool for making precise cuts in laminate planks quietly and without dust. You save time on cleanup, keep sawdust from spreading through the room, and get clean cut edges. However, you will still need a jigsaw for detailed cuts around door frames or radiators.
Why a Laminate Flooring Cutter Can Transform Your DIY Project
You are laying laminate flooring yourself, but the thought of sawdust spreading into every corner is unpleasant. A circular saw is loud, and a jigsaw can leave ragged edges. That is where a laminate flooring cutter comes in.
This hand tool cuts laminate planks with pressure and a sharp roller. It works quietly and without dust, leaving a smooth cut edge. You spend less time tidying and cleaning, and get more precise results.
Whether you are working in the Garden + Outdoor area or renovating your home, keeping the work area clean matters. Dust is less likely to spread into other rooms.
The biggest advantage is how cleanly it works. No vacuuming, no cloud of dust, just a clean cut line. That makes the job much faster.
How Does a Laminate Flooring Cutter Work?
The principle is simple and robust. Place the laminate plank in the cutter with the decorative side facing up. A guide rail keeps the cut straight. Pull the lever to press a sharp steel roller firmly onto the plank.
The roller scores deep into the surface. You can then snap the plank cleanly along this score line. The resulting edge is usually smoother than a sawn edge.
Expert tip
Always cut with the decorative side facing up. This helps prevent tear-out on the visible surface. First, use a pencil to mark the cut line clearly on the decorative layer.
The cutting roller’s quality is crucial. Cheap rollers dull quickly and can leave rough, splintered edges. Choose a tool with a replaceable roller.
Know the Tool’s Limitations
A laminate flooring cutter is not an all-purpose tool. It makes straight cuts with ease. For cutouts around door frames or radiators, or for complex room shapes, you will still need a jigsaw or multitool.
Very thick or highly durable laminate flooring (HPL) may exceed the cutter’s maximum cutting thickness. Check the specifications before you buy.
How Do You Cut Laminate Flooring Correctly? Step by Step
Good tools are half the battle. The other half is using the right technique. Follow these steps for great results.
1. Measure and Mark
Measure the required plank length at the wall. Remember to allow for the expansion gap. Transfer the measurement accurately to the back of the new plank. Use a square to draw the line at a 90-degree angle to the edge.
2. Position and Secure
Place the plank in the cutter. The cut mark must line up exactly beneath the cutting roller guide. Make sure the plank sits firmly against the stop. This helps prevent misalignment.
3. Cut and Snap
Press the lever down firmly and evenly. You will hear a distinct crack. Release the lever, engage the breaking mechanism, and snap the plank cleanly.
Important note
Always wear work gloves when cutting and snapping planks. Cut edges can be very sharp and cause deep cuts. Safety comes first.
Check the edge after cutting. If you see small splinters, smooth them carefully with fine sandpaper. Test-fit the plank right away.
Buying a Laminate Flooring Cutter: What to Consider
Not all laminate flooring cutters are the same. These features can make the difference between a smooth project and a frustrating one.
Maximum cutting width: This is the most important specification. Standard laminate planks are often 190-200 mm wide. Choose a cutter with a cutting width of at least 210 mm, such as the . This gives you some extra room.
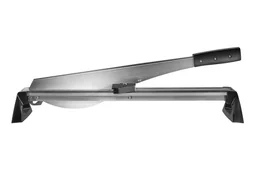
Maximum cutting thickness: Laminate is typically 6 to 12 mm thick. Your cutter should handle at least 12 mm, or preferably 14 mm. Check the total thickness, including any attached underlay.
Cutting roller quality: The roller should be made of hardened steel and be easy to replace. An ergonomic lever with good force transmission makes cutting easier.
A heavy, sturdy aluminum base frame is a sign of quality. Cheap plastic models can bend under pressure and leave crooked cuts.
Additional features: An integrated measuring gauge or an angle stop can be useful. A lever mechanism for safely snapping the plank is standard.
Caring for and Maintaining Your Cutter
Clean dust off the tool after use and store it in a dry place. Check the roller’s sharpness regularly and replace it as soon as it becomes dull. Apply a little light lubricating oil to the moving parts from time to time.
Other Essential Tools for Laying Laminate Flooring
A laminate flooring cutter is ideal for straight cuts. For a perfect result, you will also need a few other tools and materials.
Jigsaw or multitool: Essential for cutouts and curved cuts. Keep spare blades for fine cuts on hand.
Flooring installation kit: A pull bar and spacer wedges are essential for fitting the planks tightly while maintaining the correct expansion gap. Find suitable accessories in our Business Supplies category.
Underlay: Impact sound insulation is essential. It helps compensate for minor unevenness and improves walking comfort.
Additional advice
Do not glue laminate planks to the subfloor. The floor must be able to float on the underlay. This allows it to expand and contract as temperature and humidity change.
After installation: How to keep your laminate flooring looking its best
Your new floor is installed. To keep it looking great for years to come, it needs the right care. Dust and dirt can scratch the surface over time.
Wipe it regularly with a slightly damp microfibre cloth. Use a specialist for a deeper clean. Harsh all-purpose cleaners and scouring creams can damage the protective layer.

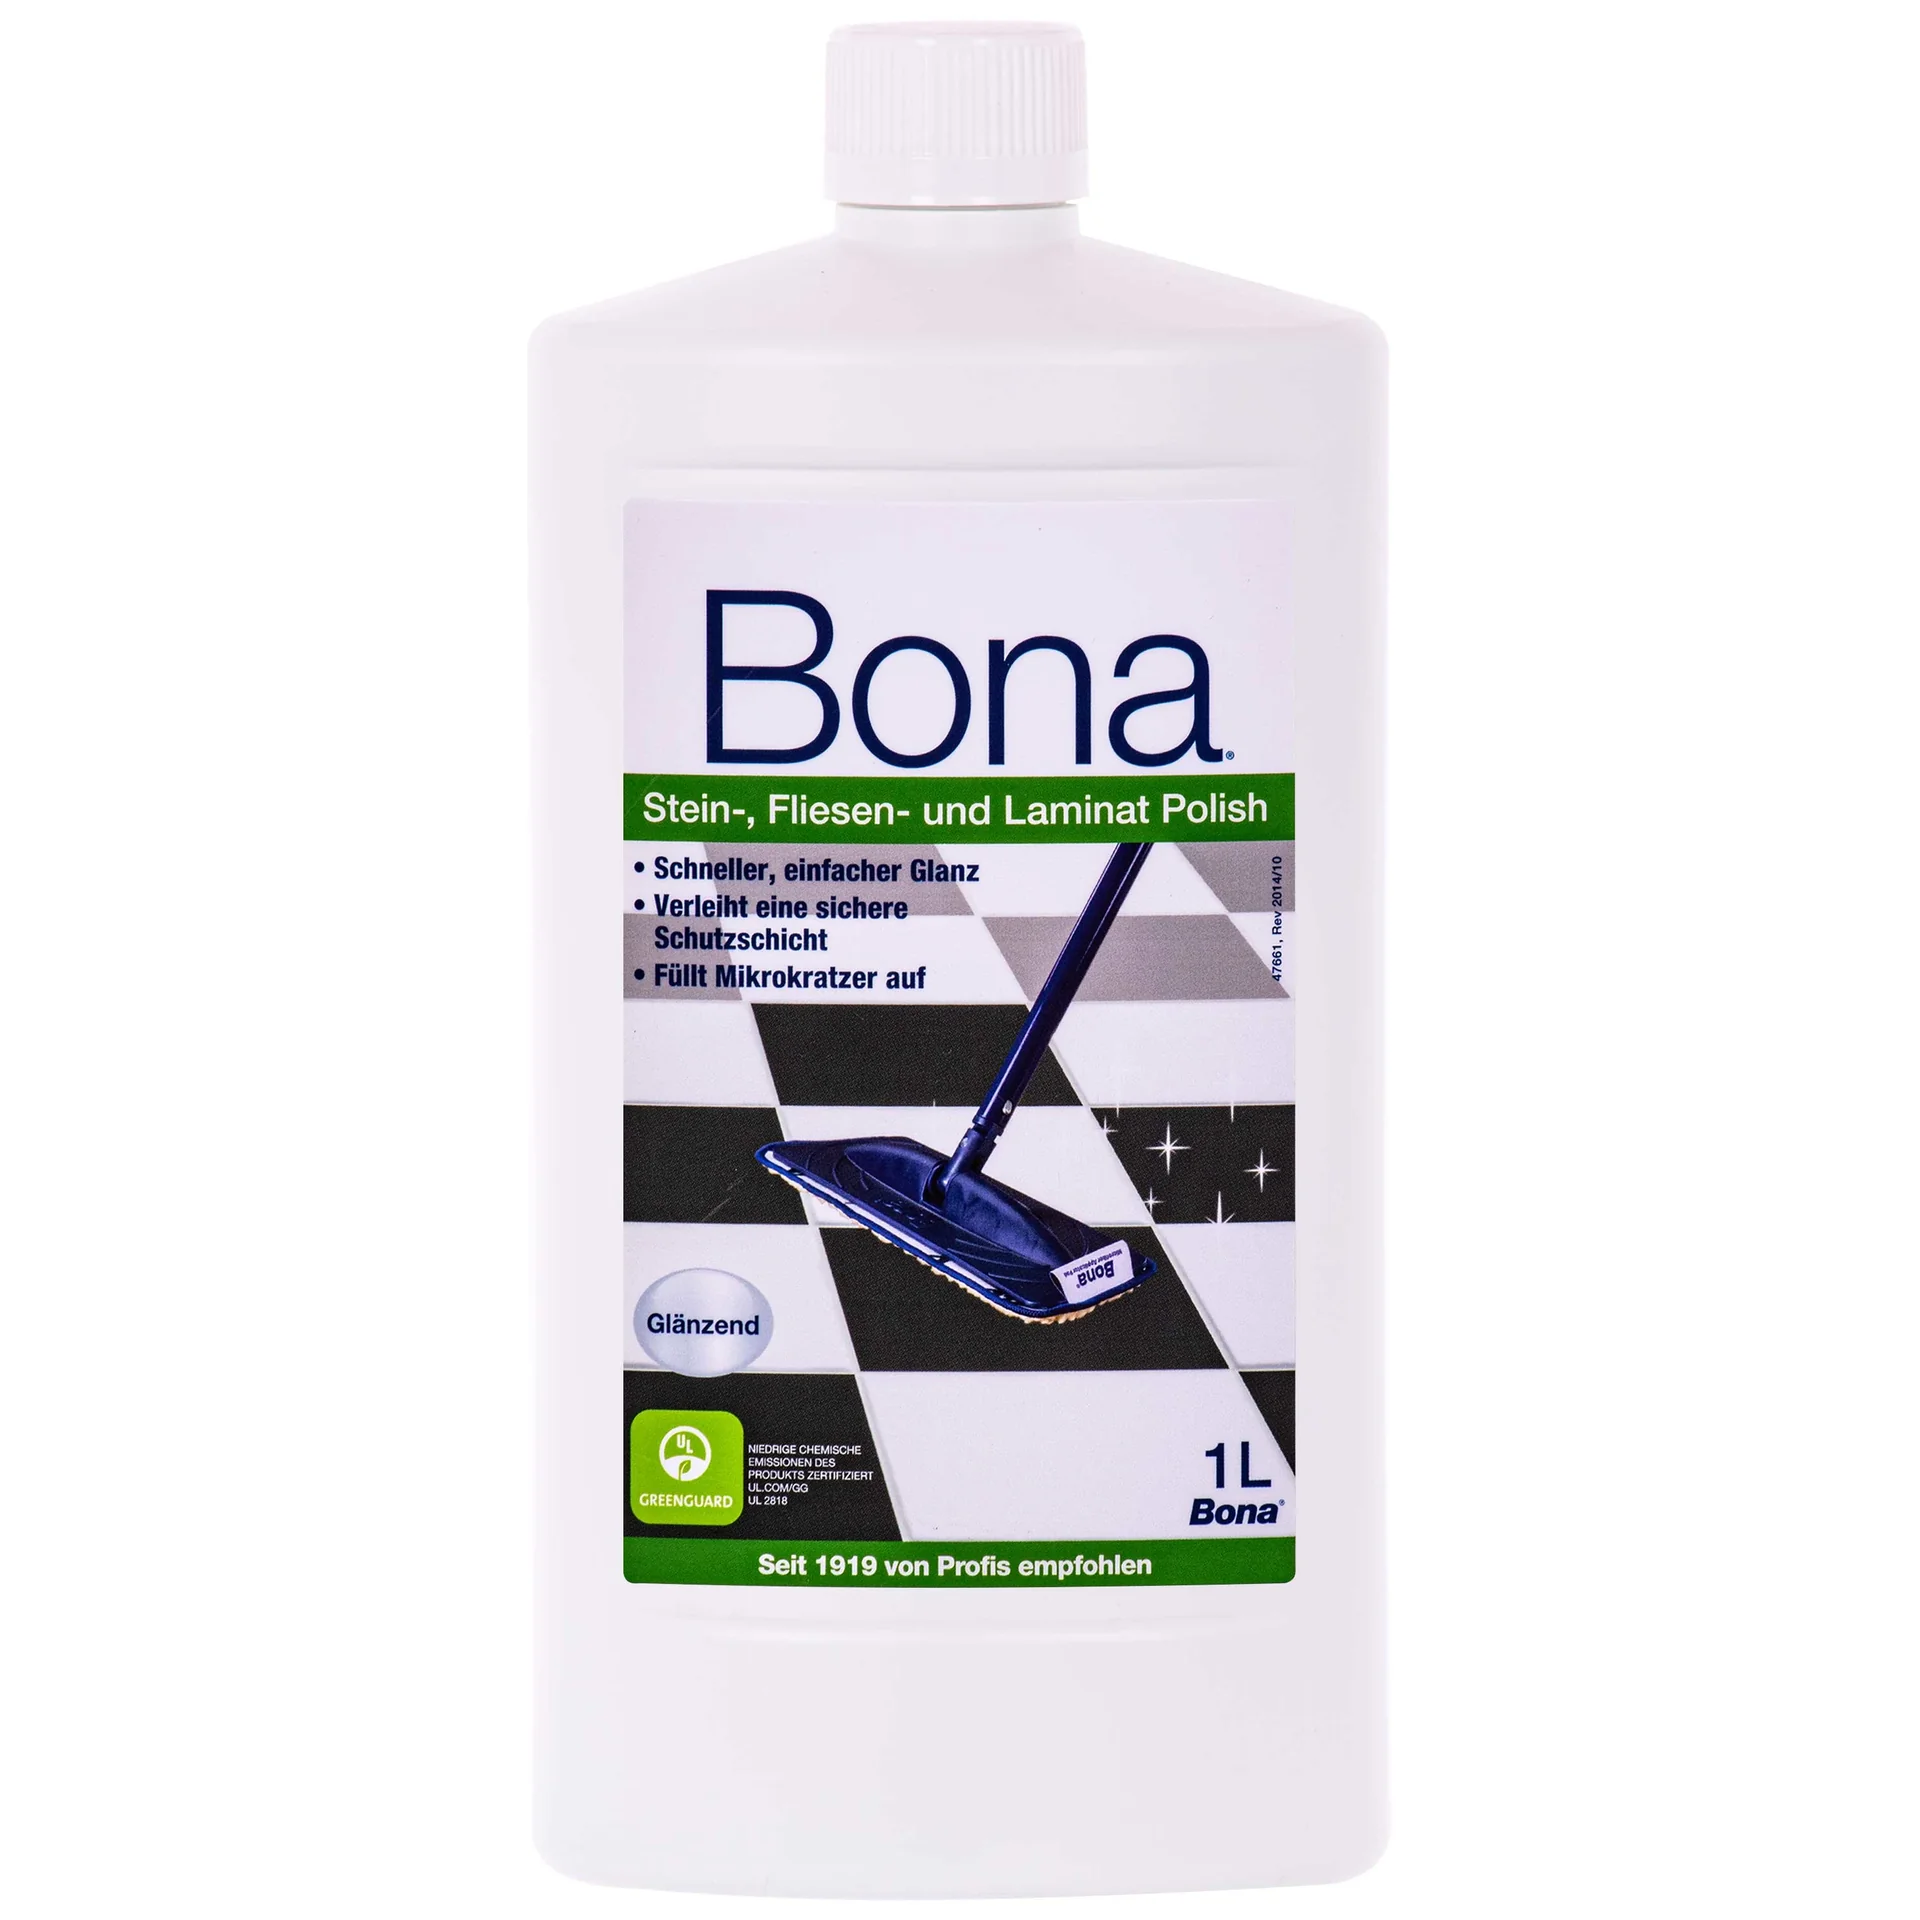
For a lasting shine and extra surface protection, use a specialist care product such as . It fills tiny scratches and helps protect the floor from damage.
Fit chair and wheelchair legs with soft felt pads. Place doormats outside frequently used doors.
Make minor repairs yourself
You can repair deep scratches with laminate repair wax or paste. For larger areas of damage, replace the plank. Since laminate is installed as a floating floor, you can do this by removing the surrounding planks, replacing the damaged one and putting the row back together.
A practical comes in handy for household tasks, repairs and other projects.
Avoid common mistakes when cutting laminate
Even with the right tools, things can go wrong. Here are some of the most common mistakes.
Angled cut: The plank wasn't held firmly against the guide or shifted during cutting. Check its position before applying pressure.
Chipped plank edge: The cutting wheel may be blunt, or you may have applied too little pressure and only scored the plank. The break then didn't follow the clean, weakened line.
Incomplete cut: With thick planks, the tool may not have enough power or cutting depth. Score the plank from both sides or use a saw for that plank.
Incorrect cut length: This is a classic mistake. Measure twice and cut once, remembering to allow for the expansion gap. A piece cut too short can't be fixed.
With patience, the right tools and this guide, you can tackle your laminate flooring project with confidence. A laminate flooring cutter can make the difference between a dusty worksite and a clean DIY success. Get your next project started with the right tool from our shop.
Frequently Asked Questions
- Can a laminate flooring cutter cut every type of laminate plank?
- No. A laminate cutter can cut cleanly through the wear layer and core board, but it may struggle with planks that have an integrated underlayment or particularly thick high-pressure laminate (HPL). Check the tool's maximum cutting thickness.
- Which is better for cutting laminate: a laminate cutter or a jigsaw?
- For most straight cuts, a laminate cutter is the better choice: it's dust-free, quiet and leaves no frayed edges. A jigsaw is essential for cutouts, curved cuts and cuts around obstacles such as radiators. The two tools work well together.
- How do I measure laminate flooring for a clean cut?
- Always measure at the wall where the plank will be installed. Allow for the required 8-12 mm expansion gap from the wall. Transfer the measurement to the plank and mark the cut line with a pencil on the wear layer. Check your measurement twice.
- Why does my laminate chip when I cut it with a utility knife?
- Chipping is often caused by a blunt cutting wheel or too much pressure. The wheel must be sharp and cut all the way through the plank. Always cut with the decorative layer facing up. Cheaper laminate with a thin melamine layer is more likely to chip.
- Can I use a laminate cutter for vinyl or SPC flooring?
- Use caution. Rigid click vinyl or SPC flooring (Stone Plastic Composite) is often too thick and flexible for a standard laminate cutter. The cutting wheel may break or the cut may be incomplete. Check the manufacturer's specifications or use a sharp utility knife.
You may also be interested in
- How to lay laminate flooring: Which direction is best?
- How to repair laminate flooring: Fix scratches and dents yourself
- How to lay and care for laminate flooring: The ultimate guide
- The utility knife: A precise tool for DIYers
- Laminate flooring test and comparison 2026: The best flooring reviewed
- Laminate or parquet: Which flooring is more sustainable?