
In brief: Proper care of your XXL LED garden thermometer ensures a long service life and accurate readings. Clean the housing and sensor regularly with a soft, damp cloth. Keep the solar panel clean for an optimal power supply and check the battery occasionally. A sheltered location and proper winter storage are also essential.
A large, illuminated garden thermometer is more than just a measuring instrument. It is an eye-catching feature, a mood indicator and a useful aid for every garden enthusiast. To enjoy its accurate display and attractive lighting for a long time, your outdoor thermometer needs a little attention. Proper care not only ensures reliable operation but also significantly extends its service life.
This guide shows you how to clean and maintain your LED garden thermometer and prepare it for every season. With a few simple steps, you can ensure consistently accurate temperature readings and a well-maintained appearance throughout your Garden + Outdoor oasis.
The centrepiece: the XXL LED garden thermometer
Before we go into the details of caring for it, let’s take a look at the device itself. The is an excellent example of functionality and design. Thanks to its impressive size and bright LED digits, you can see the temperature from a distance, both during the day and at night. Its integrated solar panel provides it with energy independently. These features are precisely why targeted care is so important for maintaining the performance of the solar cell, battery and temperature sensor.

A well-positioned and well-maintained thermometer provides the most reliable data for planning your garden. It helps you decide when to protect sensitive plants or water the lawn.
Why is regular care of your garden thermometer so important?
An outdoor thermometer is constantly exposed to the elements. Rain, wind, dust, pollen and UV radiation all leave their mark. Without regular care, these influences can cause problems that affect both its functionality and appearance.
Ensuring accurate readings
The temperature sensor is the most sensitive component. A layer of dust or pollen can insulate it and distort the measurement. The thermometer then reacts more slowly to temperature changes or displays incorrect values continuously. A clean sensor environment is the basic requirement for accurate data.
Maintaining solar performance
Solar-powered LED thermometers obtain their energy through a small photovoltaic module. If this module is dirty, energy output drops dramatically. The internal battery is no longer fully charged, which can result in weaker or failing LED illumination during the evening and at night. A clean solar cell is the key to a bright display.
Extending service life
Dirt and moisture can damage seals over time and penetrate the housing. In the worst case, this can cause corrosion of the electronics. Regularly wiping down and checking the housing helps prevent such damage and ensures that you can enjoy your device for many years.
Pro tip
Combine cleaning your thermometer with other routine gardening tasks. When you wipe down your garden furniture or clean the windows, take an extra two minutes to clean the thermometer. This turns maintenance into a habit.
How to clean your LED thermometer: a step-by-step guide
Cleaning is straightforward and requires no special tools. With the right steps, you can quickly make your thermometer shine again. Keep a few basic items to hand that you will usually already have around the house.

Materials required:
- Two soft microfibre cloths
- Lukewarm water
- A small amount of mild washing-up liquid (optional)
- Soft brush or paintbrush (e.g. an old paintbrush)
- Cotton buds
Step 1: Cleaning the outside of the housing
Start with the housing. Dampen a microfibre cloth with lukewarm water. If it is heavily soiled, you can add a drop of washing-up liquid to the water. Wring the cloth out thoroughly so that no water can run into the electronics. Carefully wipe the entire housing, including the stand or wall bracket. Then polish it with the second, dry cloth.
Step 2: Cleaning the solar panel
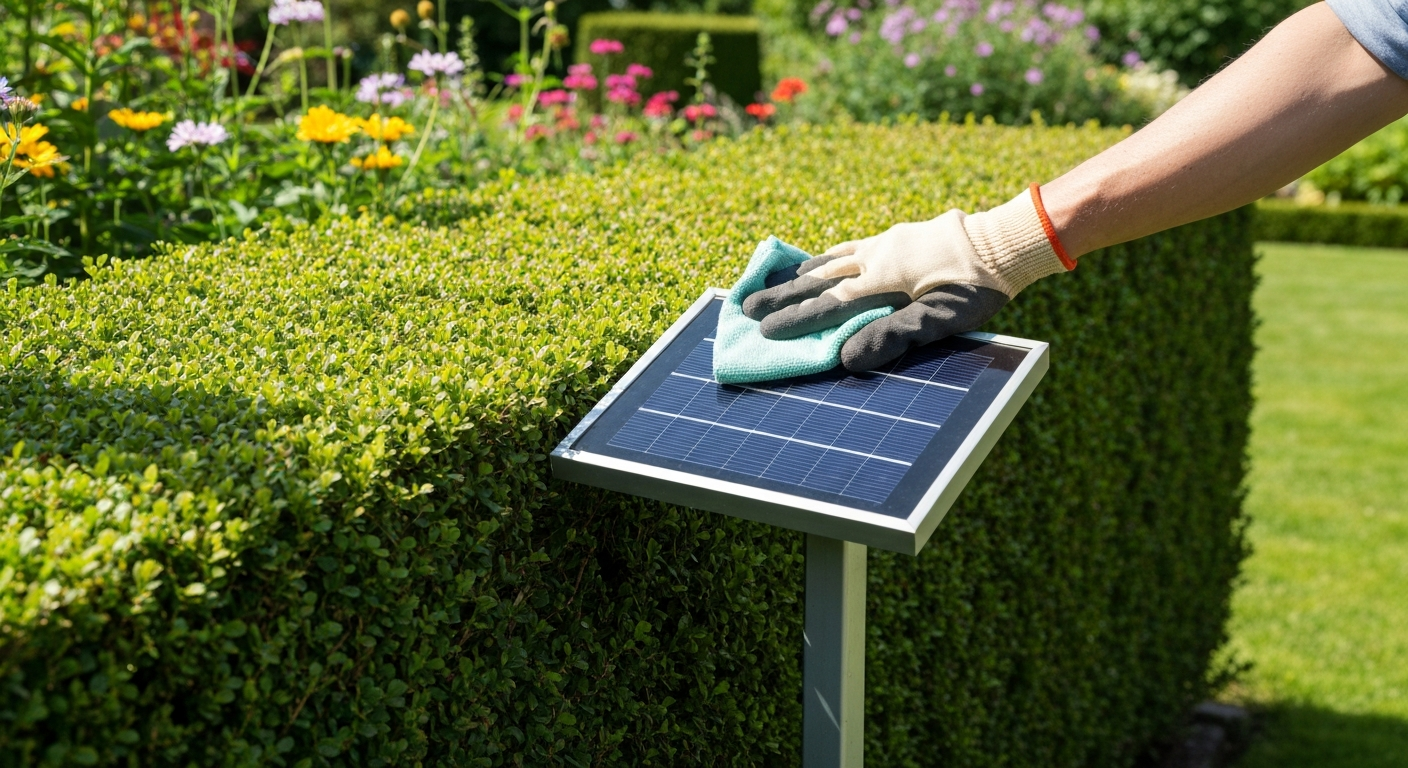
The solar panel requires special attention. Use the clean, damp cloth without any cleaning products. Gently wipe the surface to remove dust, pollen and water stains. Soak stubborn dirt such as bird droppings briefly with the damp cloth before carefully wiping it away. Avoid abrasive sponges or aggressive cleaners, as these can damage the surface.
Important note
Never submerge your garden thermometer in water and do not use a pressure washer. The high water pressure can penetrate the seals and destroy the electronics inside. A damp cloth is perfectly adequate.
Step 3: Exposing the temperature sensor
The sensor is often located in a small, ventilated housing to protect it from direct sunlight while still allowing airflow. Use a soft brush or paintbrush to remove cobwebs and loose dirt from the ventilation slots. A cotton bud will also help you reach narrower gaps. Proceed carefully to avoid damaging the delicate sensor.
Proper Maintenance: More Than Just Cleaning
In addition to cleaning, other maintenance tasks help keep your thermometer working properly over the long term. These tasks are needed less often, but they are just as important.
Choosing and Maintaining the Location
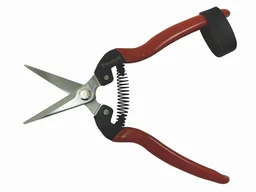
The right location is crucial for accurate readings. Do not place the thermometer in the blazing midday sun or directly against a heated exterior wall. A shaded, well-ventilated spot on a north- or east-facing side is ideal. Make sure that fast-growing plants do not block the display or solar panel. A practical pair of garden shears such as the makes it easy to keep the area clear. It can also be a nice idea to incorporate the thermometer into your patio design. For example, an attractive, low-maintenance backdrop could be provided by a .

Rechargeable Battery and Battery Maintenance
Most solar-powered thermometers use a rechargeable battery. Its lifespan is limited. If you notice that the LEDs stay lit for much less time despite a clean solar panel and sunny days, the battery may be reaching the end of its service life. Check the operating instructions to see whether and how the battery can be replaced. Only use the battery type recommended by the manufacturer.
Additional Advice
A reset can sometimes work wonders when there are display problems. If your thermometer freezes or shows nonsensical readings, remove the battery for about one minute and then reinsert it. This restarts the electronics and can resolve minor software errors.
How Do I Prepare My LED Garden Thermometer for Winter?
Winter poses the greatest challenge for the electronics. Ice, snow and major temperature fluctuations put stress on the materials. There are two ways to help your device get through the cold season safely.
Option 1: Leave It Outdoors with Protection
If your thermometer is rated for winter use, it can stay outdoors. However, choose a location that is as sheltered as possible, such as under a roof overhang or on a covered patio. This protects it from the direct weight of snow and freezing rain. Check regularly that the solar panel is free of snow. A suitable cover from our garden furniture covers range can provide additional protection.
Option 2: Store It Indoors for Winter
The safest method is to bring the thermometer indoors. Clean it thoroughly before storing it. Remove the battery if recommended by the manufacturer to prevent deep discharge. Store the device in a dry, frost-free place such as a cellar or garage. This way, you can start the new gardening season with a perfectly functioning device in spring.
Every tool, whether electronic or mechanical, rewards proper care with a longer service life and reliable performance. This applies just as much to a lawn mower as it does to a digital thermometer.
Caring for your LED garden thermometer is a small investment of time that pays off many times over. With clean components and a sheltered location, you not only ensure accurate performance but also preserve the attractive appearance of this useful part of your garden equipment. This way, you will always know exactly what the weather has in store for you and your plants.
Frequently Asked Questions
- How often should I clean my LED garden thermometer?
- Clean your thermometer approximately every two to three months or whenever it is visibly dirty from pollen, dust or bird droppings. Regular, gentle cleaning keeps the display readable and the solar module working properly.
- Can my LED garden thermometer stay outdoors all winter?
- Many models are winter-proof. Check the manufacturer's specifications. In severe frost or heavy snowfall, it is advisable to place the thermometer in a sheltered location, such as a covered patio, or bring it indoors to protect the electronics.
- What should I do if my thermometer shows the wrong temperature?
- First, check its location. Direct sunlight or being too close to exterior walls can distort the measurement. Clean the sensor and, if necessary, reset the device by briefly removing and reinserting the battery.
- What is the best way to clean my garden thermometer's solar panel?
- Use a soft, slightly damp microfibre cloth to wipe dust and dirt from the solar panel. Avoid harsh cleaning products or abrasive sponges, as these can damage the surface and reduce performance.
- Is direct sunlight a good location for a garden thermometer?
- No, direct sunlight heats up the housing and causes significantly distorted readings that are too high. The ideal location is in the shade, for example on a north-facing wall or under a canopy, so that the actual air temperature can be measured.
You May Also Be Interested In
- Buying an XXL garden thermometer: The ultimate guide
- Caring for a 5-in-1 solar weather station: How to clean the sensors
- Caring for a solar bird scarer: How to keep your device ready for use
- Caring for garden tools: How to make your tools last longer
- Caring for a tripod impulse sprinkler and preparing it for winter
- How to care for a rain barrel net properly: Maximise its service life