
In brief: Liquid vinyl is suitable for fine cracks and seams, creating a chemical weld. For deeper scratches, holes, or dents, a repair kit with hard wax is a better choice because it physically fills the damage and lets you match the floor’s color and texture precisely.
A moment of inattention, a dropped object, or a piece of furniture being moved—and suddenly there’s a scratch, dent, or even a small hole marring your vinyl floor. It’s frustrating, but there’s no need to panic. You don’t have to replace the entire plank right away. With the right method and tools, you can repair this kind of damage yourself and make it almost invisible. But which method is right? Choosing between liquid vinyl and a repair kit can make all the difference.
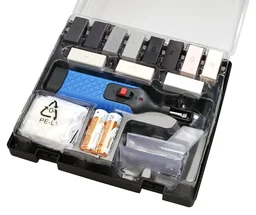
Both methods have their uses, but they’re designed for different types of damage. Liquid vinyl is a chemical solution for seams and very fine cracks, while repair kits provide a physical filler for deeper marks. For most everyday damage, from dents to deep scratches, a comprehensive kit offers a more flexible and convincing repair. A kit such as the PVC and vinyl repair kit contains everything you need for a professional repair.
- What is liquid vinyl, and when is it the right choice?
- What’s in a vinyl repair kit, and how does it work?
- Direct comparison: liquid vinyl vs. repair kit
- How do I know which repair method I need?
- Preventing vinyl floor damage: How to keep your floor looking great longer
- Expert tips for a flawless vinyl floor repair
What is liquid vinyl, and when is it the right choice?
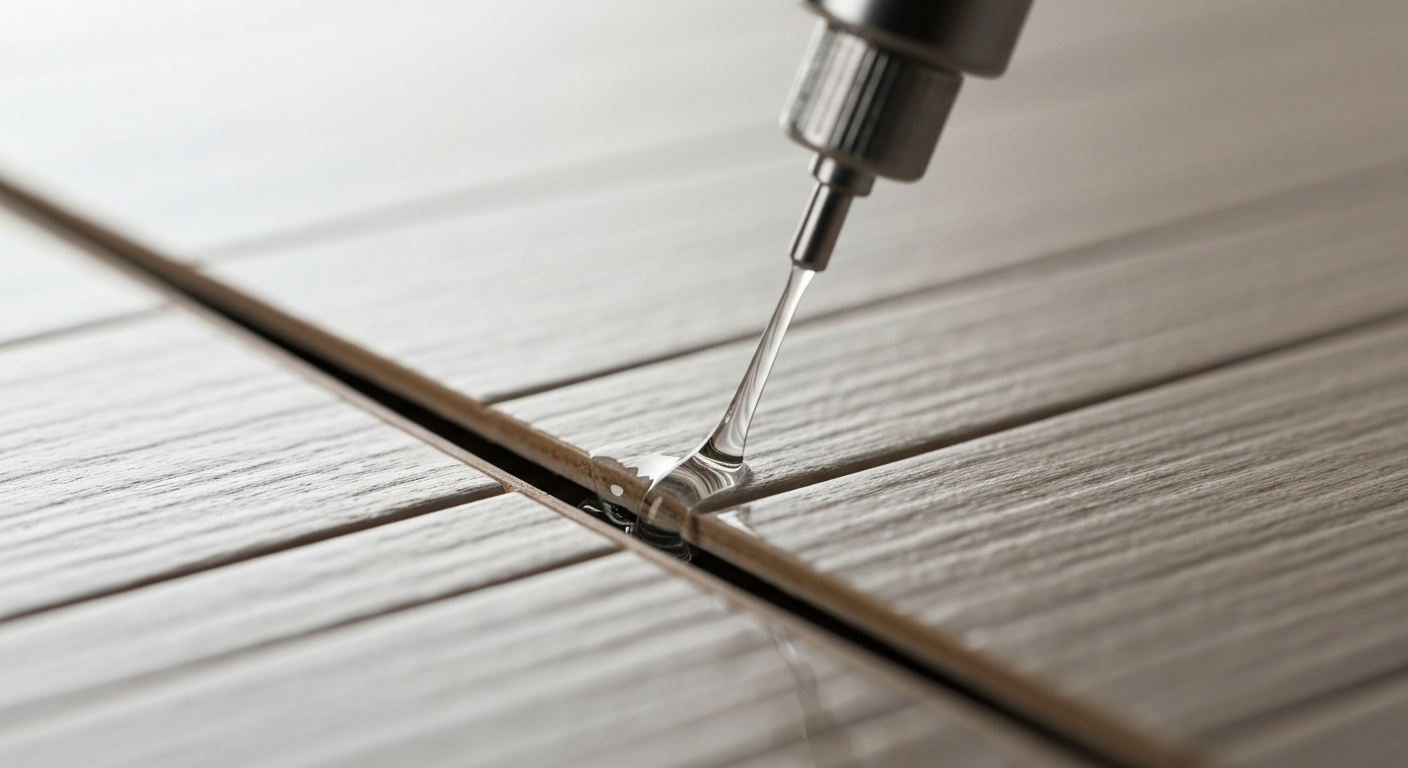
Liquid vinyl, also called cold-weld compound, is a solvent-based paste made from PVC. It doesn’t work like an adhesive. Instead, it chemically softens the surfaces of the vinyl pieces being joined. As the solvent evaporates, the softened PVC molecules fuse together to form a permanent, watertight seam. This process is known as cold welding.
What liquid vinyl does best
Liquid vinyl is mainly used to seal seams and cut edges, especially in glued PVC sheet flooring. When you install two sections of vinyl, liquid vinyl creates a seamless, watertight bond that keeps moisture from reaching the subfloor. It also works for very fine, surface-level hairline cracks where no material is missing. Application is simple: use the fine nozzle to apply the liquid directly to the seam or crack.
Limitations of liquid vinyl
Liquid vinyl isn’t a filler. It can’t fill holes, dents, or deep scratches because it doesn’t add volume. Using it to fill a deep scratch can leave an unattractive, shiny depression that makes the damage even more noticeable. Color choices are also very limited. Liquid vinyl is usually clear or available in just a few basic colors, so it can’t match patterned or textured floors.
Important note
Liquid vinyl contains solvents. Always work in a well-ventilated area. Open windows and doors, and avoid breathing in the fumes. Wear gloves to prevent skin contact.
What’s in a vinyl repair kit, and how does it work?
A hard-wax repair kit is a versatile tool for almost any type of physical damage to your vinyl floor. It’s a good alternative to PVC patches for holes, dents, and deep scratches. These kits replace missing material and help restore the floor’s original appearance in detail.
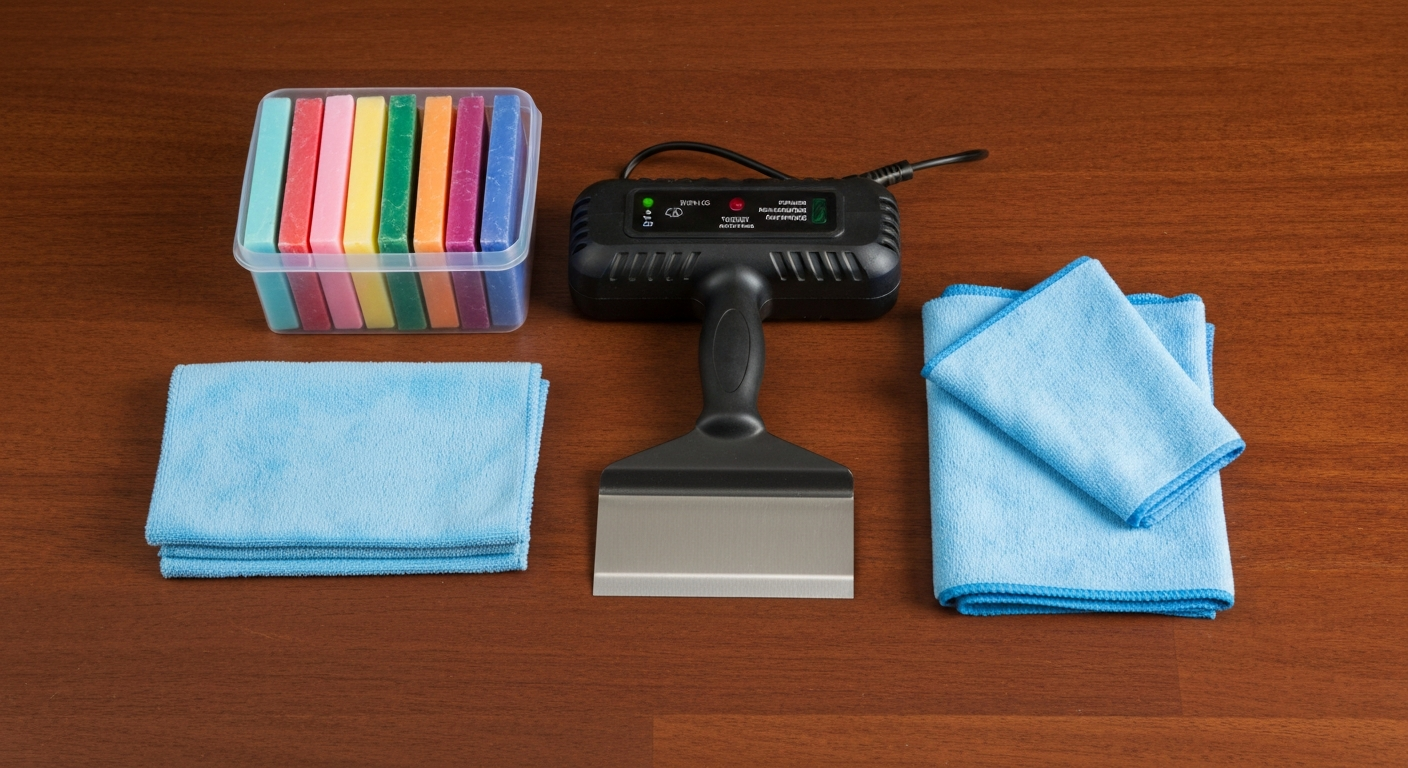
The centerpiece of the PVC and vinyl repair kit is a selection of colored hard-wax sticks and a battery-powered wax melter. The kit also includes tools such as a small scraper for smoothing, along with sanding and polishing cloths. This combination lets you match your floor’s color and recreate the texture and sheen of the damaged area.
How to repair vinyl flooring with hard wax
It takes a little practice, but the method can deliver professional-looking results. Follow these steps:
- Prepare the area: Clean the damaged spot thoroughly. It must be free of dust, grease, and moisture. Use the edge of the scraper to remove any loose particles.
- Mix the color: Choose hard-wax sticks that most closely match your floor’s base colors. Use the heated wax melter to melt small amounts of different colors, then mix them directly in the damaged area to recreate the grain and shading.
- Fill the damage: Fill the scratch or hole with the melted wax, working in layers. Slightly overfill the area because the wax shrinks a little as it cools.
- Let it cool: Wait a few seconds for the wax to harden completely.
- Smooth the surface: Carefully remove excess wax with the small plastic scraper until the repair is flush with the floor. The scraper’s grooves help collect the excess material.
- Finish the repair: Use the included abrasive fleece to clean the area and match its sheen. Polish it with a cloth to finish.
The ability to mix colors right in the damaged area is the key advantage of hard-wax kits. It’s the best way to make repairs to wood- or stone-look flooring blend in seamlessly.
Direct comparison: liquid vinyl vs. repair kit
To make the choice easier, here’s a direct comparison of the two methods. The right option depends almost entirely on the type of damage.
- Best for:
Liquid vinyl: Joints, seams, and very fine hairline cracks.
Repair kit: Deep scratches, holes, dents, edge damage, and burn marks. - Appearance after repair:
Liquid vinyl: Creates a seamless bond, but the repair may look glossy and differ from the surrounding surface texture.
Repair kit: Lets you match the color, grain, and gloss level precisely. When applied correctly, the repair is barely visible. - How it works:
Liquid vinyl: Chemically bonds existing material together.
Repair kit: Physically fills the damage, replacing missing material with durable hard wax. - Versatility:
Liquid vinyl: Designed for a specific purpose.
Repair kit: Works on a wide range of vinyl floor damage and can also be used on laminate, parquet, and furniture surfaces.
Additional advice
Check your flooring manufacturer’s installation and care instructions. They may include repair recommendations tailored to your floor’s properties. This can help you choose the right product with confidence.
How do I know which repair method I need?
Assessing the damage is the first step toward a seamless vinyl floor repair. Examine the damaged area closely and ask yourself the following questions:
How deep is the damage?
Run your fingernail over the scratch. If it catches noticeably, material has been removed. This is a clear case for a repair kit, since the indentation needs to be filled. If it is a fine crack with no noticeable depth, liquid vinyl could be an option, provided the floor is a solid color.
Where is the damage located?
If the damage is in the middle of a plank, appearance is crucial. This is where a repair kit excels, thanks to its ability to match colors. If a seam between two glued strips is opening up, liquid vinyl is ideal for sealing it securely and making it watertight again.
What texture does my floor have?
Modern vinyl flooring often has an embossed, textured surface that imitates wood or stone. Repairing it with liquid vinyl would flatten the texture and leave a smooth, unnatural-looking area. With hard wax from a repair kit and the right tools, you can even partially recreate fine textures and precisely match the gloss level.
Repairing something is not only cheaper than replacing it; it is also an active contribution to sustainability. Every floor that is saved conserves resources and prevents waste.
The versatility of PVC can be seen in many areas. The durability you know from your flooring can also be found in long-lasting PVC tarps, which provide valuable service in the garden or on construction sites. The material's chemical resistance is also crucial for PVC fittings + connectors used in water installations.
Preventing vinyl floor damage: how to keep your floor looking good longer
The best repair is the one you never need to make. With a few simple steps, you can effectively protect your vinyl flooring from the most common causes of scratches and dents. Prevention is key to keeping the surface flawless for years to come.
- Use furniture glides: Attach felt glides under all chair and table legs, as well as under heavy furniture. Replace them regularly, since they wear out over time and can collect dirt.
- Use doormats: Place high-quality doormats at your entrances. They trap small stones, sand, and dirt before these can scratch your floor.
- Use office chair mats: The hard casters on office chairs put enormous strain on any type of flooring. A clear polycarbonate mat under your desk reliably prevents scuffs and scratches.
- Lift items instead of pushing them: Always lift heavy items, such as beverage crates or furniture, instead of dragging or pushing them across the floor.
- Clean regularly: Sweep or vacuum your floor regularly with a soft brush to remove loose dirt. When mopping, use a suitable vinyl floor cleaner and avoid harsh or abrasive products.
If you ever need a multipurpose repair product for other materials around the home, for example, to fill a torn-out hole from a wall anchor, products such as the
Fill & Fix liquid wall plug and repair kit are good options. For delicate repairs to design flooring, however, a specialist product such as a hard wax repair kit is the clear first choice.
Expert tips for a perfect vinyl floor repair
With the right tools, you are already halfway there. The right technique will help you get a great result. Follow these tips for an invisible repair.
Practice makes perfect
If you have never used a hard wax repair kit before, practice first. If you still have a leftover plank from installation, it is the ideal place to start. Otherwise, practice in an inconspicuous spot, such as under a heavy cabinet. This will help you get a feel for melting, mixing, and removing the wax.
Expert tip
To recreate a complex grain pattern, use several colors. First, fill the scratch with the lightest base color. Then use the hot melting tool to apply fine lines or dots in darker shades on top, imitating the natural pattern of the design.
Careful preparation is essential
Take your time when cleaning. Any remaining grease or dirt can affect the wax's adhesion. Use a mild cleaner and make sure the area is completely dry before starting the repair. Masking the surrounding area can also help keep wax residue off the undamaged floor. For larger jobs, even a simple PVC sheet can keep the work area clean.
Getting the right level of shine
The repair will only be invisible if the shine matches, too. Most vinyl floors have a satin-matte finish. After smoothing the area with the planer, the wax may still look slightly shiny. Carefully buff the surface with the gray side of the included sanding fleece to make it matte. If necessary, you can bring back a little shine with the polishing cloth. Work slowly until you achieve the desired finish.
A small scratch in a vinyl floor is not the end of the world. Instead of being annoyed by it every day, repair it yourself. Liquid vinyl is a good choice for joints and seams. For most damage—scratches, holes, and dents—a versatile repair kit is clearly the better solution. It gives you control over the color, texture, and finish, helping your floor look as good as new.
Frequently Asked Questions
- Can I repair any scratch in vinyl flooring?
- Yes, almost every scratch can be repaired. Surface marks can often be polished out. For deeper scratches and holes, it is best to use a hard wax repair kit, which lets you create a durable, color-matched filler and restore the floor to its original appearance.
- How durable is a hard wax repair?
- A professionally completed hard wax repair is highly durable. The wax bonds firmly with the vinyl and withstands normal use, such as walking, vacuuming, and mopping. Once cured, the repaired area can be used normally again right away.
- Is liquid vinyl also suitable for click-lock vinyl flooring?
- Liquid vinyl is primarily used to seal joints in glued PVC flooring. With click-lock vinyl flooring, it can be used at the joints to create a watertight seal. For surface scratches on click-lock vinyl, a repair kit is the better choice.
- Do I need to match the color exactly when using a repair kit?
- Yes, an accurate color match is essential for an invisible result. Good repair kits include different wax colors that you can mix. Test the color mixture in an inconspicuous area before filling the actual damage.
- Can I repair burn damage in vinyl flooring?
- You can treat small burn marks or melted areas with a repair kit. Carefully remove the burnt material and fill the area with matching hard wax. However, extensive burn damage may require replacing the affected plank.
You might also be interested in
- Repairing PVC and vinyl flooring: Removing scratches, holes, and cracks
- Scratches, holes, and dents: When is a laminate repair kit worth it?
- Hard wax or repair pen: Fixing damage to laminate flooring
- Buying a laminate repair kit: The power of 11 colors
- Installing vinyl flooring: Step by step to a new look
- Floor damaged during a move? Repairing parquet and laminate flooring