
In brief: A handmade Easter nest combines creativity with natural materials. You can use simple materials such as willow branches, moss, blown-out eggs or felt. The base is often a small basket or bowl. Decorate it with spring flowers, colourful ribbons or personalised tags. This creates unique Easter decor that also makes a lovely gift.
Make an Easter Nest: Creative Ideas for Easter
Spring is on its way, bringing with it the urge to give your home a fresh look. A handmade Easter nest is more than just a container for sweets. It is a personal work of art that captures the anticipation of the season. You do not need expensive materials. Often, a walk through the garden or park is all it takes.
We show you practical ideas that you can put into action straight away. From classic willow baskets to modern upcycling projects, there is something for everyone. Find inspiration for your spring decorations.
Pro tip
Start your project with a clear idea of the size and style you want. Will the nest sit on a table or hang from a tree? This determines your choice of materials. Flexible willow rods are suitable for hanging nests, while sturdy bowls are better for tables.
How do I make a natural Easter nest from willow?
A classic nest made from willow rods has a rustic look and fits perfectly in the garden. Gather fresh, one-year-old willow branches. They are particularly flexible. Cut them to a length of around 50 to 80 centimetres.
Soak the branches in lukewarm water for an hour. This makes them pliable and prevents them from breaking. Start with the thickest rods. Form a circle and twist the ends together.
The art lies in applying even pressure while weaving. Pulling too tightly will distort the nest, while weaving too loosely will make it fall apart. Work gently and take regular breaks to assess the shape from a distance.
Now weave additional rods alternately from the inside to the outside through the base ring. After three to four layers, you will have created the base. Build up the sides by guiding the rods more steeply upwards. To finish, turn the ends inwards and hide them.
The perfect lining for your willow basket
A hard willow nest is not a cosy home for Easter eggs. Line it with something soft. Fresh moss is the first choice. It smells of the forest and retains moisture.
Pull the moss into manageable pieces. Press it firmly into the hollow of the nest. Make sure it is distributed evenly. Dried hay or straw offers a warm, golden alternative.
For an extra-soft finish, place a piece of soft fabric in the nest first. Then add the moss. This prevents small twigs from poking through.
Why are blown-out eggs the better choice?
Shop-bought plastic eggs are practical but not very sustainable. Real blown-out eggs add authenticity to your decorations. They are lightweight, can be painted and last for years.
Carefully blow out a raw egg. Use a thick needle to make a small hole in the top and bottom of the shell. Blow through the top hole until the contents flow out. Rinse the empty shell with water and leave it to dry.
Important note
Use only fresh, clean eggs. Wash your hands and the eggs thoroughly before and after blowing them out. Do not use eggs with cracks. The empty shells are fragile, so handle them with care.
Now the creative part begins. Paint the eggs with acrylic paint. Use natural dyes made from onion skins or turmeric for a delicate shade. Decorate them with small feathers or colourful gift ribbon.
For a special touch, make a tiny hole in the tip. Thread a thin piece of string through it and tie a knot. This allows you to hang the eggs from an Easter tree or place them in the nest.
What modern alternatives are there to the classic basket?
Not everyone has willow branches to hand. Fortunately, everyday objects offer plenty of potential. A flat cork coaster can become the base of a nest. Wrap it with craft wire and secure moss and twigs in place.
Old sieves or small wooden boxes can be transformed with little effort. Simply line them with fabric and fill them. Even half a coconut shell makes an exotic nest. Drill holes for hanging it.
Modern Easter nest crafting means looking at everyday objects differently. Do not see a flowerpot, tea tin or glass for what it is, but for what it could become. With paint, fabric and natural materials, you can create something completely new.
Upcycling saves resources and makes every nest unique. Look around your home for unused objects. A broken bowl, an old children's toy or wooden crates are ideal candidates.
The quick solution: a felt Easter nest
Felt is soft, colourful and easy to work with. You do not need a sewing machine. Cut a circle approximately 20 cm in diameter from felt. Cut a straight slit from the edge to the centre.
Now shape the circle into a cone by overlapping the cut edges. Tack or glue the edge in place with fabric glue. Keep the opening wide. Turn the cone inside out so that the seam is on the inside.
Fill the felt nest with colourful wool or cotton wool. Add painted eggs and small figures. This nest is especially suitable for children because it is soft and safe.
How do I incorporate an Easter nest into my garden decor?
Easter does not only take place indoors. Give your Garden + Outdoor area a spring makeover too. Hang handmade nests from the still-bare branches of shrubs or trees.
Place filled baskets on the garden table or an outdoor windowsill. Make sure you use weather-resistant materials. Do not use water-soluble paints or glue.
Additional advice
Combine your Easter nests with early spring flowers. Plant daffodils, primroses or pansies directly in larger baskets lined with foil. This combines your decorations with vibrant greenery. After Easter, simply plant the flowers in the garden bed.
For atmospheric evening decor, place a battery-powered LED light in the nest. This creates a magical atmosphere. Use special weatherproof lights from the Garden equipment range.
Remember the animals that live in your garden. Fill a nest with bird food or hang it in the hedge. This way, your Easter decoration also helps support local wildlife.
Which craft projects are suitable for children?
Children love getting involved. Choose projects with simple steps and safe materials. Painting blown-out eggs is a classic. Provide finger paints.
Children can easily make a nest from colourful paper themselves. Cut strips from sturdy construction paper. Weave them loosely over a small bowl. Secure the ends with adhesive dots.
Creative kits are ideal for long-lasting crafting fun. The
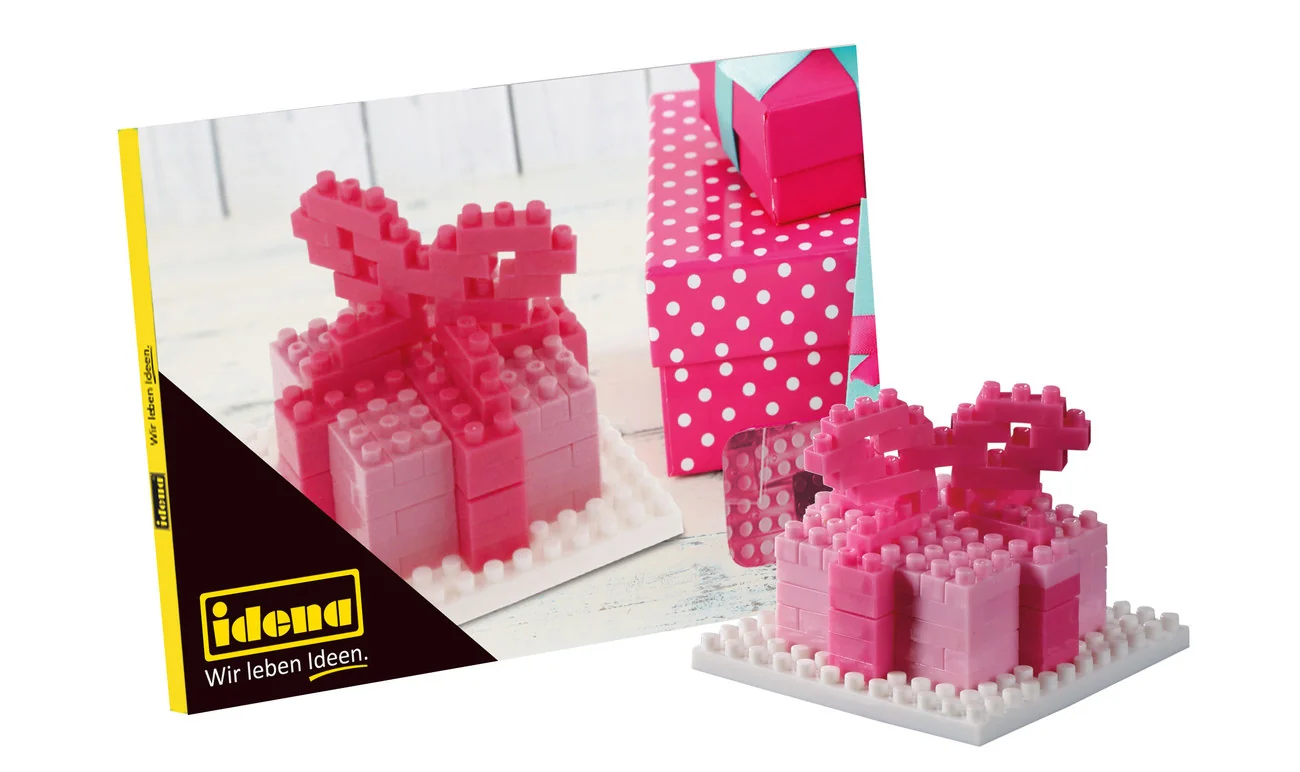
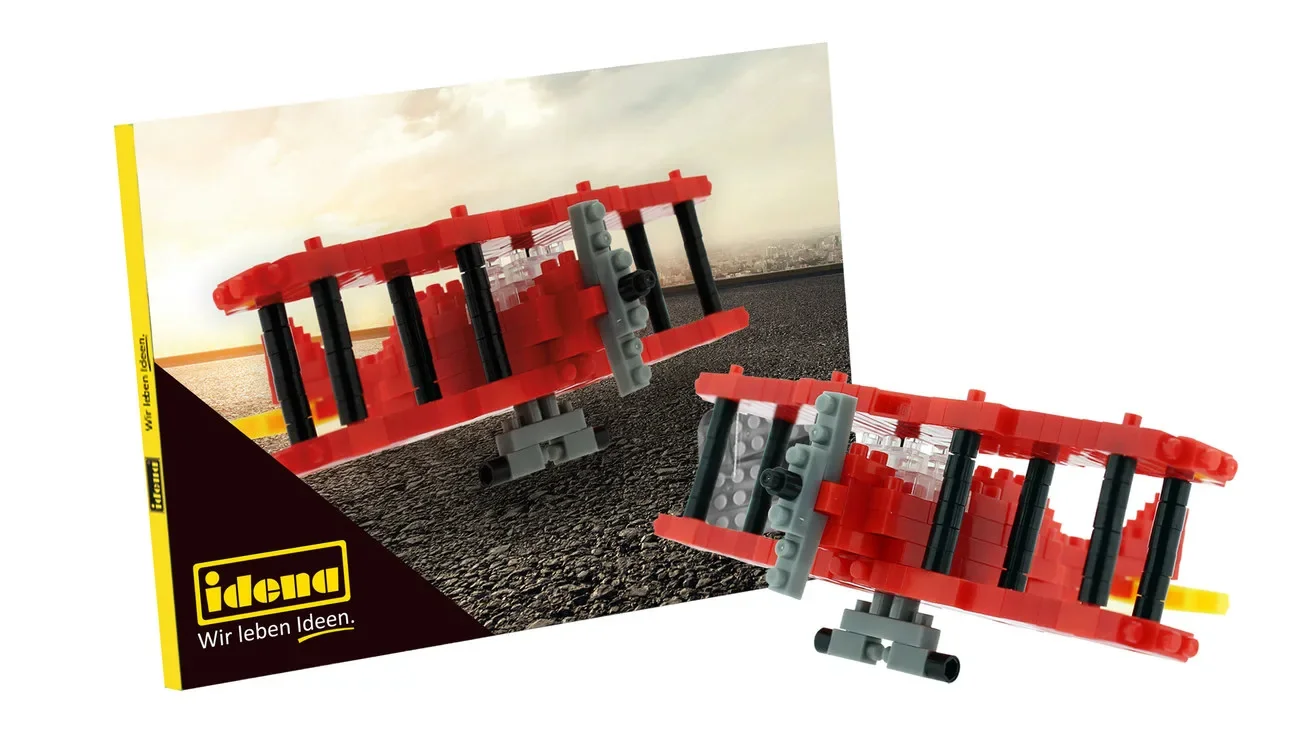
Let the children collect materials. Small stones, smooth sticks and feathers can be found everywhere. They can then proudly incorporate these treasures into their own nest.
Edible decoration: a nest made from chocolate and biscuits
This idea combines crafting with a sweet treat. Melt some couverture chocolate. Briefly dip thin butter biscuits or rice cakes in the chocolate. Immediately place them over an upturned small bowl to create a nest shape.
Chill the shape in the fridge. Carefully remove it. Fill the edible nest with small chocolate eggs, colourful sprinkles and marshmallows. This nest will be the centrepiece of your Easter table and is sure to be enjoyed.
For children's activities, it is best to use pre-formed wafers or ready-made shortcrust pastry cases. This avoids having to handle hot chocolate.
How do I care for my homemade Easter decorations?
Natural materials such as moss and willow need care to stay beautiful for a long time. Do not place fresh nests in direct sunlight. This dries them out and makes them brittle.
Occasionally mist moss lightly with water from a spray bottle. This helps it stay lush and green. However, avoid waterlogging, which encourages mould.
To store the nests until next year, clean them thoroughly. Remove all organic residue. Keep them in a dry, dark place, ideally in a cardboard box.
Products such as
can indirectly support your Easter decorations. A healthy, well-maintained garden with flowering plants provides the most beautiful materials for your crafts. A nourishing fertiliser such as this orchid fertiliser also helps other spring flowers in the home.
With these ideas and tips, you can create an Easter season that is personal, creative and full of life. Your homemade Easter nest will become the centrepiece of the celebrations.
Frequently Asked Questions
- Which natural materials are best for making an Easter nest?
- Flexible, sturdy materials from the garden are ideal. Use fresh willow branches, which are easy to bend. Moss provides soft padding for the nest. Dried grass or straw creates a natural base. Ivy or boxwood add fresh greenery. You can often find all these materials in your own garden or while out walking.
- How do I attach decorations to my Easter nest so they stay in place?
- Use the right adhesive for the material. Hot glue quickly secures feathers, beads or felt to willow and wicker. Craft wire safely wraps around branches and is invisible. Simply tie thin string or ribbons around the nest. For heavier items such as small figures, a small screw connection is a good option. Test the stability before filling the nest.
- Can I safely make an Easter nest with young children?
- Yes, choose child-friendly tools and materials. Blunt plastic craft scissors are safe. Use glue sticks instead of hot glue. Large beads or pieces of felt help prevent swallowing. Simple tasks such as adding moss or painting eggs are fun. Always supervise children. Find inspiration for more projects in our Baby Room Ideas category.
- What can I use if I do not have willow branches?
- Many everyday objects can be turned into a nest. A small paper plate makes a good base. Wrap jute twine or wool several times around a balloon, leave it to dry, then remove the balloon – your spherical nest is ready. Flexible branches from a hazel bush or cork bark are good alternatives. Even an old sieve or shallow bowl can become a nest when covered with moss.
- How do I store a homemade Easter nest for next year?
- First remove all perishable elements such as real eggs or fresh greenery. Carefully shake out the nest. Store it in a dry, ventilated box, preferably lined with some newspaper. Avoid damp cellars. This helps materials such as willow and moss retain their shape. Next spring, simply decorate it again.
You may also be interested in
- Make your own Easter decorations: creative ideas with natural materials
- Make your own Easter vase: creative decoration ideas
- Make your own Easter lanterns: creative DIY ideas
- Make delicate decorative eggs: creative Easter ideas for your home
- Crafting with children: creative DIY ideas for the family
- Decorate Easter branches: fresh ideas for your spring decorations