
In brief: A slug collar is a homemade, ring-shaped barrier placed around an individual young plant. Slugs have to get over a steep edge, which they usually cannot do. All you need is sturdy material such as sheet metal, plastic, or heavy-duty cardboard. This method provides targeted, long-lasting protection for especially vulnerable plants like lettuce and marigolds.
Why slug collars work
Slugs move on a film of slime. A smooth, tall, vertical edge is an insurmountable obstacle for them. Slug collars work on exactly this principle.
They create a protected space around your plant. When a slug reaches the barrier, it cannot get a foothold and turns back. This method works mechanically and requires no poison.
A collar protects the plant from all sides. Unlike a garden fence, it works exactly where it is needed, saving material and effort while giving the plant a chance to grow safely.
Which materials you need
Your choice of material determines how long the collar will last. It needs to be weather-resistant and sturdy.
Galvanized sheet metal is the classic choice. It does not rust and can last for many years. Cut it to size with tin snips, and always fold over the edges to reduce the risk of injury.
Heavy-duty plastic is a good alternative. Try old plastic buckets, sturdy pond liner, or PVC sheets. Make sure the material is thick enough to keep the collar from buckling.
The most effective barriers take advantage of how slugs naturally move. To a slug, a smooth, 10 cm-high wall is like a cliff.
For a quick solution, large cans or cut-off plastic bottles can also work. Remove the bottom and top. These materials usually last for one season.
Important note
Always smooth sharp metal edges. Wear gloves when working with sheet metal to help prevent cuts. Do not place materials with chemical coatings in your garden bed.
How to build a slug collar step by step
1. Cut the material to size
Measure the circumference you need. The ring should be large enough to give the plant room to grow. A diameter of 20-30 cm is ideal for young plants.
Cut a strip from your material. It should be at least 15 cm high, leaving 10 cm of barrier above ground after you push it into the soil.
If you are using sheet metal or sturdy plastic, join the ends with small metal clips or a heavy-duty staple. Make sure there are no gaps at the seam.
2. Position the collar correctly
Install the collar early, ideally right after planting or sowing. This helps keep slugs away from the start.
Push the ring about 3-5 cm into the soil. Firmly press down the soil around the outside. This underground wall blocks slugs from trying to get underneath.
Pro tip
If you are using plastic or fleece, cut a small notch into the top edge every 2-3 cm. This makes the edge sharper and harder for slugs to climb over. These “spikes” make the collar more effective.
Check regularly that the collar is still firmly in place. Heavy rain or watering can loosen the soil. Make sure no leaves or weeds grow over the edge and create a bridge.
Which plants especially need protection
Slugs are more attracted to some plants than others. Focus your efforts where they are needed most.
Young lettuce plants are a favorite. Kohlrabi, spinach, and Swiss chard are also high on the menu, making individual collars especially useful for these plants.
Among ornamental plants, marigolds, sunflowers, and dahlias are especially vulnerable. Protect young seedlings during the first few critical weeks.
You can initially protect pumpkin and zucchini plants with a collar. Remove it once the shoots start to grow long. By then, the plants will be more robust.
For more vegetables and seeds, you will find the right products in our range.
Limitations and combining with other methods
Slug collars are not a cure-all. On their own, they are not enough for large areas or gardens with heavy infestations.
Combine them with other strategies. Encourage natural predators such as hedgehogs and birds. A wildlife-friendly garden can help.
Slugs love moisture. Water in the morning, not in the evening. This leaves the soil drier at night and less appealing to slugs. Proper garden watering plays an important role.
The best plant protection always uses several approaches. Mechanical barriers like collars, dry soil in the evening, and a wildlife-friendly garden with beneficial organisms work well together.
For comprehensive pest and plant protection, you have a range of tools at your disposal. Look for sustainable solutions.
Additional advice
Check inside your slug collars in the morning and evening. A slug may occasionally be a “stowaway” inside the ring if you put the collar around a plant that is already infested. Remove it right away.
Maintaining and storing the barriers
High-quality slug collars made from sheet metal or thick plastic are an investment that can last for years.
At the end of the season, clean the collars with water and a brush. Remove any soil and slime residue to help prevent pathogens from taking hold.
Store them somewhere dry and out of direct sunlight. A shed or garage is ideal. Stack flat collars on top of one another to save space.
Check their condition before the new season. Repair bent sections or loose connections right away. An intact collar is an effective collar.
For all your projects in the garden and outdoor area, you will find the right accessories at Westfalia.
Products for a Slug-Protected Garden
Alongside DIY solutions, we offer products to help keep your garden healthy. The
helps keep flying pests away that could further weaken your plants.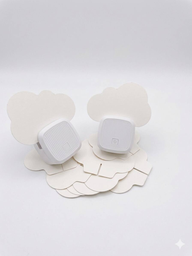
Safety comes first when working with sharp tools or potentially hazardous materials. A
belongs in every workshop and garden shed.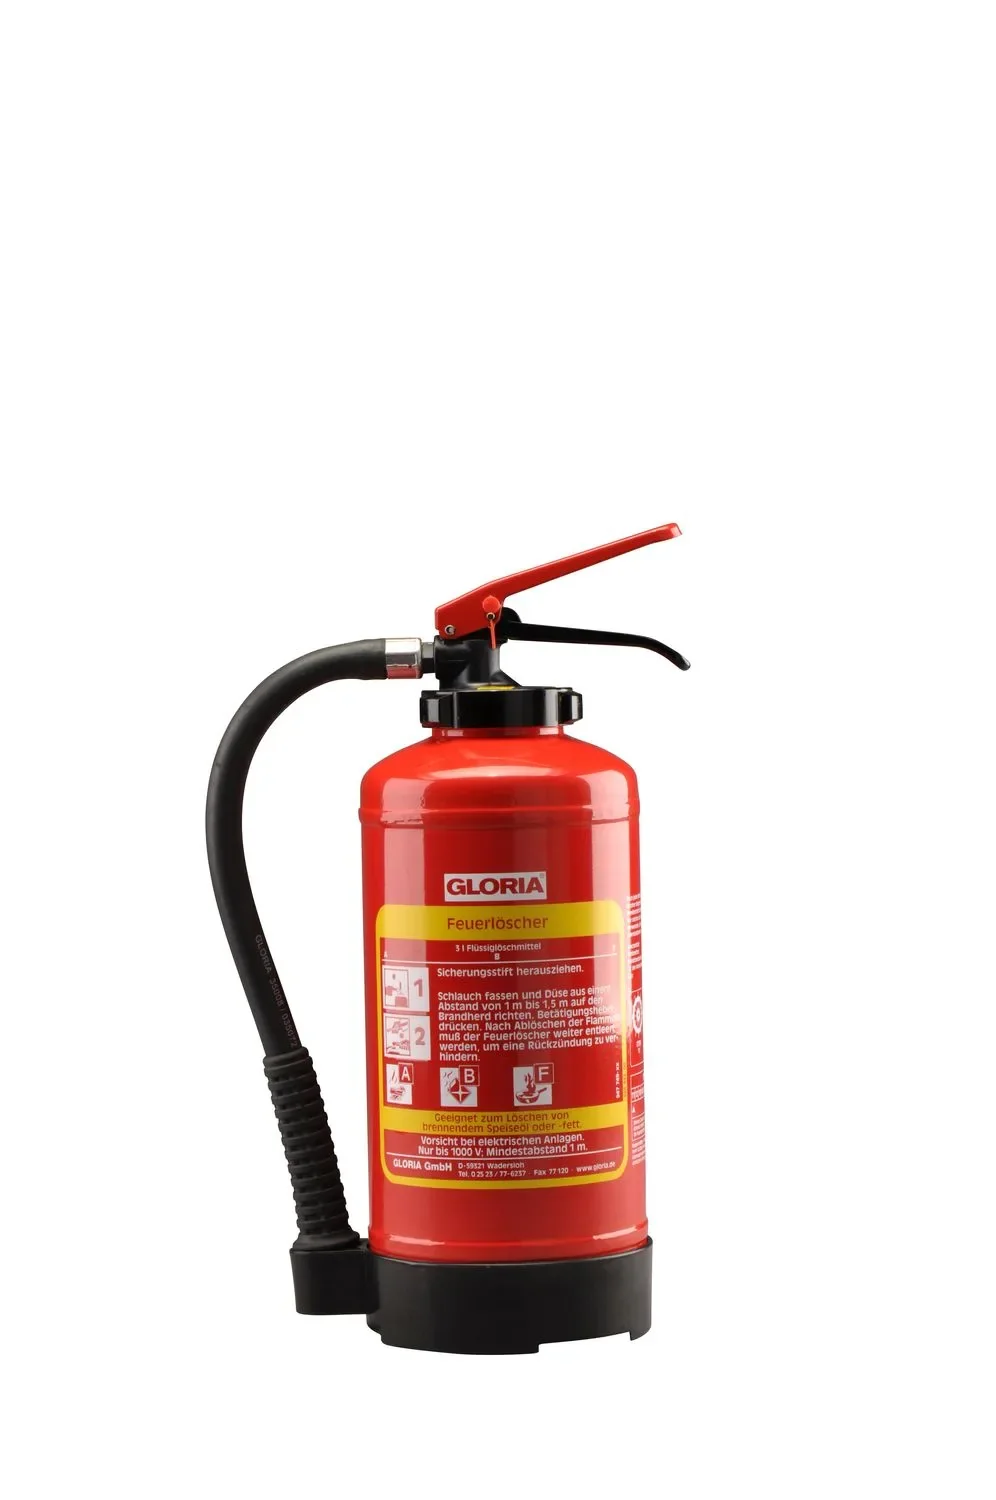
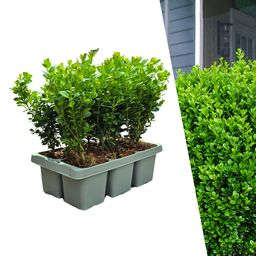
Hardy plants that slugs tend to avoid are another useful option. The
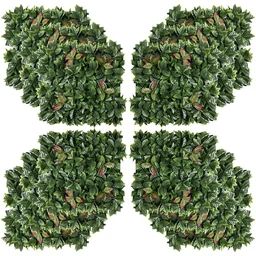
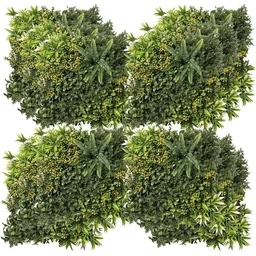
Artificial greenery is also a quick, low-maintenance way to add privacy or create a backdrop. The
Explore more in our garden and plant accessories section.
Frequently Asked Questions
- What materials work best for DIY slug collars?
- Choose rigid, weather-resistant materials such as galvanized sheet metal, sturdy plastic (for example, from old buckets), or heavy-duty pond liner. Make the collar at least 10 cm high, with a smooth edge. Avoid cardboard, which softens and collapses when wet.
- Do slug collars keep slugs out, too?
- Yes. Slug collars can be especially effective against slugs such as the Spanish slug. Their soft bodies struggle to cross a tall, sharp-edged barrier. Set the collar firmly into the soil with no gaps, and keep leaves from reaching over the edge and forming a bridge.
- Which plants should I protect with slug collars?
- Use collars around young plants that are especially vulnerable to slugs, such as lettuce, kohlrabi, sunflowers, marigolds, and young pumpkin plants. Protecting large crops like potatoes this way takes too much time, so focus on individual plants.
- How deep should a slug collar go into the soil?
- Push the collar about 3 to 5 centimetres into the soil to stop slugs crawling underneath. The top edge should still extend at least 7-10 cm above the soil. Press the soil firmly around the collar.
- Can I reuse slug collars?
- Yes. Collars made from sheet metal or sturdy plastic can last for several years. Clean them at the end of the season and store them somewhere dry. DIY collars made from drink cans or plastic bottles usually last one season, but they cost very little to make.