
In brief: The choice between a brush and a roller depends on the surface and the finish you want. A roller is much more efficient for large, smooth areas. It applies paint quickly and evenly. Use a brush for precision work around corners, edges, radiators, and window frames. A high-quality tool such as PRODUCT_21067 is ideal for these detailed jobs. In many cases, the best approach is to use both tools.
Painting Walls: Brush or Roller—Which Is Better?
The quality of your paint job depends on your tools. Choosing the wrong one can leave streaks, splatters, or uneven coverage. We compare brushes and rollers for different jobs and show you how to paint like a pro.
The Basics: Which Tool Is Best for Each Job?
A brush is a precision tool. Its bristles follow every detail of a surface. A roller is built for efficiency. It covers large, flat areas quickly. The key is knowing how to use both.
Start by assessing the areas you plan to paint. Smooth drywall, textured wallpaper, and narrow spaces around radiators each call for a different technique. Plan to use both tools from the start.
Pro tip
Pour the paint into a suitable paint tray. For larger projects, a tray trolley is well worth considering. It lets you move paint, tools, and drop cloths around the room safely without leaving drips behind.
The Brush: Precision for Details and Edges
A good paintbrush is indispensable. Its strengths are control and a clean finish.
What Types of Paint Brushes Are There?
Flat brushes are the standard choice for walls and ceilings. They hold plenty of paint and release it in a controlled way. A with a width of 75 mm is ideal for edges, corners, and smaller areas. Look for high-quality synthetic bristles when using latex paint.
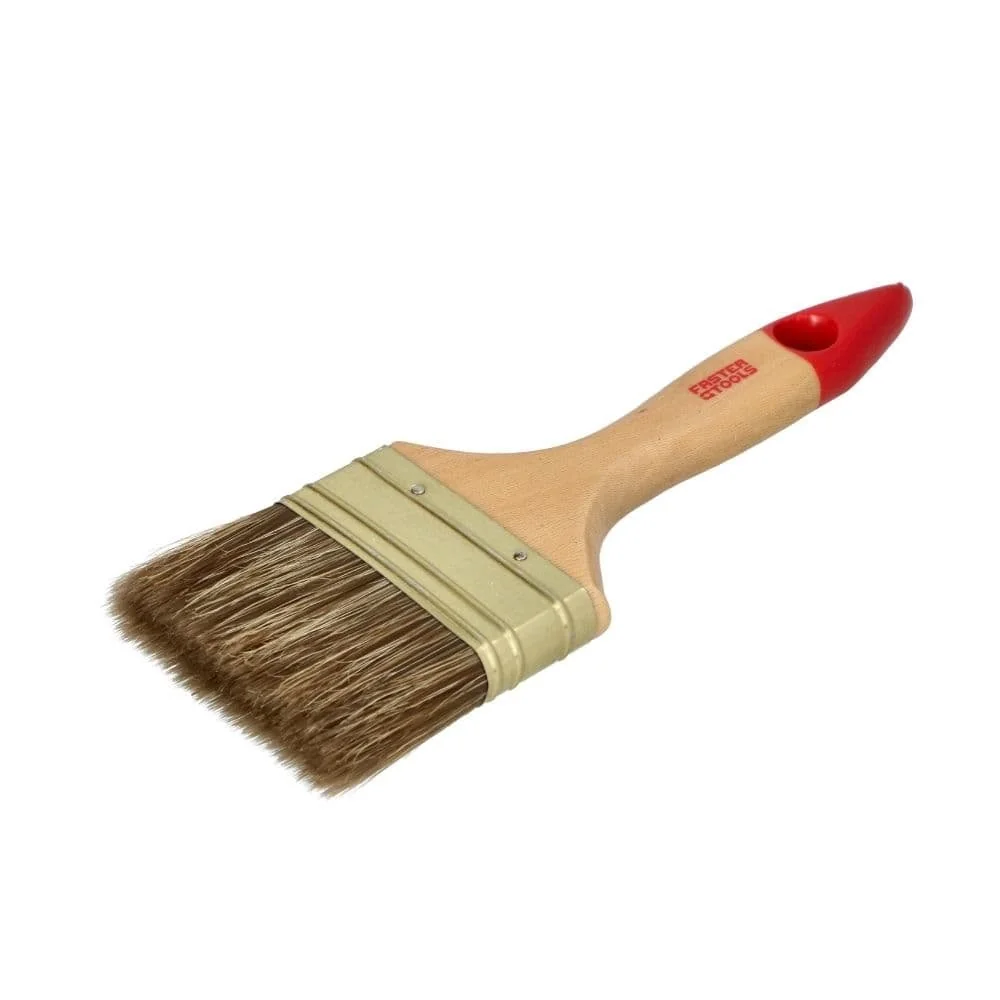
Round brushes work well in tight spaces or for touching up imperfections. They are less useful for painting large wall areas.
The brush head should be firmly attached to the handle, with no loose bristles. Invest in quality—it will pay off for years to come.
“When painting, a brush should feel like a natural extension of your hand. The balance between the head and handle is crucial for comfortable, fatigue-free work.”
The Right Brush Technique
Dip the brush into the paint no more than one-third of the bristle length. Wipe off excess paint on the edge of the tray. Apply the paint to the surface with even pressure.
Start at an edge and paint with the flat side of the brush, not the tip. Always make your final stroke toward the area you have already painted to avoid visible transitions.
The Roller: Speed and Even Coverage on Large Areas
For most walls, a roller is the tool of choice. It has a major impact on the final appearance.
Types of Rollers and How to Use Them
Choosing the right roller material and nap length is crucial:
- Short nap (6-8 mm): For very smooth surfaces such as drywall or smooth plaster. It creates an even finish with almost no splatter.
- Medium nap (10-12 mm): The all-purpose choice for most wall surfaces, including lightly textured walls.
- Long nap (18 mm and more): Designed for heavily textured surfaces such as textured wallpaper or plaster. The longer nap carries paint into deep recesses.
The roller needs a sturdy handle. An extension pole makes it easier to paint ceilings while standing.
Important note
New rollers often shed loose fibers. Before using one for the first time, wash it thoroughly with water, then roll it dry on an old piece of cardboard or plaster. This keeps fibers out of your fresh paint.
The Perfect Roller Technique
Load the roller evenly with paint and remove the excess in the ridges of the tray. Start by painting a large “M” or “W” on the wall. This spreads the paint without pressing down hard.
Fill in the gaps with horizontal and vertical strokes. Finish with even, slightly overlapping strokes in one direction. Always apply the final coat toward the window light.
The Direct Comparison: When Should You Use Each Tool?
This guide shows you which tool to choose for common wall-painting tasks.
For Corners, Edges, and Narrow Areas
A brush is the clear winner here. These areas include:
- Ceiling edges and baseboards
- Areas around windows and doors
- Narrow strips beside light switches and outlets
- Recesses around radiators and pipes
Paint these areas with a clean brush stroke before using the roller on larger surfaces. This helps keep the roller away from the edge and prevents smudging.
“The most common source of mistakes is the transition between areas painted with a brush and those painted with a roller. Paint the edge with a brush, let it dry slightly, then lightly go over it with the fresh roller. This hides the brush marks.”
For Large, Flat Walls and Ceilings
A roller is the better choice here. It can save up to 70 percent of the time compared with a brush. Choose the right nap length for your surface.
A good hand tool, such as a sturdy roller with a replaceable cover and telescoping pole, makes the job more comfortable. Keep paint and tools close at hand on a utility cart without a tray while you work.
Additional advice
For very high rooms or stairwells, an extension pole with a joint can be useful. It lets you work comfortably from the floor and protects your back. You can find these specialty tools in our construction tools category.
Tool Care: How to Make Brushes and Rollers Last
How long your painting tools last depends on proper care. Clean tools also help you get great results the next time you use them.
Cleaning Brushes and Rollers After Using Latex Paint
Rinse your tools under lukewarm running water immediately after use. For dried-on paint, use mild soap or a specialty brush cleaner.
Use your fingers to reshape the brush bristles into their original flat shape. Hang brushes to dry or lay them flat. Never set them on their bristles.
Wash out the roller, squeeze it thoroughly, and leave it to dry. Remove the roller from the handle so the frame can dry too.
Storing Tools for Your Next Project
Store completely dry brushes in their original packaging or wrapped in newspaper. This protects the bristles.
Store roller covers in a clean plastic bag or a container that protects them from dust. If you have leftover paint, label the tool with the color you last used.
Conclusion: The Right Combination Gets the Job Done
“Paintbrush or roller?” is the wrong question. The right question is: “When should I use each tool?” For professional results on your painting projects, you need both.
Start with a brush to paint neatly along all the edges. Then use the right roller for the large surfaces. Invest in quality tools such as the and take good care of them. That way, you’ll get a perfect finish and enjoy the work, too.
You can find all the tools and practical helpers you need for transport and organization in our extensive shop. Good luck with your next painting project!
Frequently Asked Questions
- Can I use a roller to paint corners and edges?
- No. A roller isn’t suitable for corners and edges because it can’t reach them precisely and may leave messy edges or splatter paint. Always use a flat brush in the right width for these areas. Paint the corners with a brush first, then use a roller on the large surfaces.
- What type of roller should I use on textured wallpaper?
- For textured wallpaper, you need a roller with a long nap, at least 18 mm. The long nap reaches into the recesses of the textured surface and applies paint evenly. Short-nap rollers cover only the raised parts, which can leave the finish uneven.
- How often should I clean a paintbrush?
- Clean a quality brush such as PRODUCT_21067 thoroughly as soon as you finish using it. Use soap and water for acrylic paint, or a suitable thinner for other types of paint. Don’t let paint dry on the bristles. A well-cleaned, reshaped brush will last through many projects and deliver great results every time.
- Why does my roller leave streaks on the wall?
- Streaks are usually caused by too much paint on the roller. Don’t dip the roller too deeply into the paint, and roll off the excess thoroughly on the paint tray. Work in even, slightly overlapping strips, then finish by rolling in one direction, ideally toward the window light.
- Should I use painter’s tape before painting with a roller?
- Yes. Masking baseboards, window frames, and outlets is essential for clean edges. Even when you’re careful, a roller can splatter or slip. High-quality painter’s tape protects nearby surfaces and saves time on touch-ups. Remove the tape as soon as the paint has dried.
You may also be interested in
- Painting Walls: How to Choose the Best Paint Roller
- How to Paint Walls Like a Pro: Tips for Perfect Results
- How to Use Latex Paint Correctly: Tips for Interior Painting
- Painting Walls: How to Mask Corners and Edges Cleanly
- Wall Paint: The Complete Guide to Choosing and Applying It
- Painting Walls Before Moving Out: Tips for a Smooth Handover