
In brief: Plan a DIY project in four steps: define the goal and measurements, determine quantities with a material calculator, note costs and time, and divide the process into individual steps. For garden planning, a sketch, scale and site data are helpful. Checklists, digital calculators and a materials list prevent extra purchases and keep your budget under control.
Short answer: Plan a DIY project in four steps: define the goal and measurements, determine quantities with a material calculator, note costs and time, and divide the process into individual steps. For garden planning, a sketch, scale and site data are helpful. Checklists, digital calculators and a materials list prevent extra purchases and keep your budget under control.
Are you planning a raised bed, a bench, a bicycle shelter or a small renovation? Then the project does not begin with shopping. First, you need a clear result, reliable measurements and an order of tasks that you can complete within the time available to you.
Digital calculators handle the math. Your job is to enter the right data and check the result. Good planning reduces waste, prevents missing screws and shows early on whether your budget, space and time are compatible.
The following steps combine project planning with practical DIY tips. They apply to work inside the home as well as garden planning and outdoor projects.
How do you define a project before calculating materials?
A specific plan describes more than what you want to create. It also defines how you will use the result, which measurements apply and which limitations you accept. Without these decisions, even the best material calculator will only provide a precise figure for the wrong project.
What should the finished result look like?
Write down the goal in one sentence. “I want to make the garden look nicer” could become “I am creating a three-meter-long herb bed next to the patio and supplying it with water from the existing pipe”. The second sentence already contains important planning data.
- Result: Which structure or area should be completed?
- Measurements: How long, wide, high or deep can the project be?
- Use: Who will use the result and what load must it withstand?
- Constraints: How much money, space, time and DIY effort are available?
For a garden bench, consider the number of seats, length, load capacity and location. For a bed, consider the area, depth, plant spacing and watering. For a wall makeover, consider the surface, area to be painted, drying time and number of coats.
Which conditions do you need to measure?
Check the surface before calculating quantities. Uneven floors, damp walls and loose paving stones change the amount of work involved. Inside the home, also measure doors, outlets, radiators, baseboards and the route from the storage area to the place of use.
In the garden, record slopes, shade, wind, water connections and existing plants. Mark trees, walls, paths and pipes on the sketch. Distinguish existing elements that will remain from parts you want to remove or relocate.
Record every measurement with its unit and date. A value of 240 could mean centimeters or millimeters. This simple mix-up leads to costly mistakes when cutting materials, ordering soil or calculating paving areas.
Pro tip
Photograph the original condition from several angles and write the measurements directly onto a copy of the sketch. This will help you check later whether a component really fits on site and which pipes or obstacles you need to take into account.
What does a useful sketch look like?
A hand-drawn sketch is sufficient if it shows the scale, viewing direction and fixed points. For larger projects, draw a top view and add a side view. The top view shows areas and distances, while the side view shows heights, slopes and connections.
Mark north, doors, paths and water points. Write each measurement next to the relevant line instead of keeping it only in a separate list. For a garden project, notes about sunlight, soil and existing plants are also helpful.
„Plans are nothing; planning is everything.“
Eisenhower’s sentence also applies to small DIY projects. The plan does not need to look elaborate. It needs to make decisions visible before you cut materials, order soil or break up a surface.
What information does a material calculator need?
A material calculator only works with the information you enter. So first check whether you need area, volume, quantity or running metres. Then select the appropriate coverage, pack size and allowance.
How do you calculate area and volume?
For a rectangular area, use Area = length × width. For a body or fill material, use Volume = length × width × height. Convert centimetres to metres before entering the figures so that the result is shown in square metres or cubic metres.
A bed measuring 2.40 metres long and 1.20 metres wide has an area of 2.88 square metres. With a fill height of 25 centimetres, you need 0.72 cubic metres of material. With a ten per cent allowance, plan for around 0.79 cubic metres. Then buy the quantity in whole bags or Big Bags.
For paint, calculate the wall area, subtract large openings and multiply the coverage by the number of coats. For tiles and paving, also allow for cuts, patterns and edge areas. For timber strips, calculate the required running metres and divide by the length of one individual piece.
| Project element | Calculation | Additional check |
|---|---|---|
| Planting bed | Length × width × fill height | Settlement and allowance |
| Wall paint | Area ÷ coverage | Number of coats |
| Paved area | Area ÷ paver area | Allowance for cuts and breakages |
| Timber strips | Total length ÷ piece length | Cutting and ends |
How do you account for packs and waste?
Divide the calculated result by the product coverage. Always round up to whole packs. Add the allowance only once, either before calculating the number of packs or directly to the required number of packs.
For straight cuts, an allowance of five to ten per cent is often sufficient. Numerous angles, diagonal patterns or delicate materials increase the requirement to ten to fifteen per cent. The manufacturer's information remains decisive, particularly for soil, mortar, paint and adhesive.
Create a materials list with the columns Item, Quantity, Unit, Price, Allowance and Supplier. Also include screws, wall plugs, abrasives, protective materials and disposal. Otherwise, small consumables are often missing from the budget plan.
Protection is also part of the planning for renovation and outdoor work. A transparent, heavy-duty tarpaulin measuring 2 x 3 metres such as
can protect floors, furniture or materials from paint, dust and light splashes. Check the area, fixing method and weather conditions beforehand. The tarpaulin is not a substitute for a safe roof or shelter.
Important note
For load-bearing structures, electrical work, gas, roof surfaces and work involving pipes or cables, do not rely on a calculator alone. Check load-bearing capacity, safety measures and any permits that may be required. If you are unsure, a qualified professional should carry out the necessary checks.
How do you plan a garden using a sketch and site data?
Garden planning starts with the plot you have, not with a planting list. First mark the boundaries, buildings, paths, water connections and large trees or shrubs. Then divide the area according to how it will be used and its site conditions.
Which site data should be included in a garden plan?
Observe the sun on several days and mark areas of full sun, partial shade and permanent shade. Also note the prevailing wind direction, slopes, waterlogged areas and dry spots. A plant in the wrong location will need more care later and develop less successfully.
Check the soil in several places. Sandy soil drains water quickly, while clay soil retains more moisture. When choosing soil, fertiliser and plants, the actual soil on site matters more than the size of the plot alone.
Plan paths so that you can reach beds, compost, tools and water. A wheelbarrow requires more width than a narrow stepping path. In the Garden + Outdoor category, you will find suitable applications for your further materials search.
How do you divide the garden into zones?
Arrange the seating area, play area, vegetable bed, storage area and paths according to their function. Leave enough space for movement between the zones. An entirely planted area may look attractive on the sketch, but it makes maintenance, harvesting and repairs more difficult.
A scale of 1:50 is suitable for smaller plots. One centimetre on the paper then corresponds to 50 centimetres in reality. For larger areas, a scale of 1:100 is often sufficient. Start by drawing in pencil and move the zones around before transferring the final measurements.
For beds, trellises and planters, you can use the Garden + Plant Accessories category as a guide. Assign seating areas, storage and mobile elements to Garden Equipment. This keeps the plan organised by function.
How do you calculate paths, beds and fixings?
For a bed edging, calculate the perimeter. For a path, multiply the length by the width and add an allowance for waste from edge pieces. For raised beds, calculate the fill material by layer if you are adding coarse material, compost and topsoil separately.
When planning a temporary cover, include not only the tarpaulin but also the fixing points. Five 3-hole tarpaulin hooks such as
should be listed as a separate item. The eyelet spacing, surface and safe distribution of the load are crucial.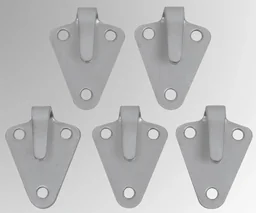
Tools such as spades, saws, drills and spirit levels should also be included in the plan. The Garden Tools category helps you check for missing equipment by work step instead of shopping without a clear plan.
„Right plant, right place.“
The Royal Horticultural Society's principle can be applied directly to garden planning. Choose plants according to their light, soil and water requirements. Only then calculate the quantity, planting distances and soil required.
How do you allocate time, costs and work steps?
A good project consists of clearly defined work packages. Arrange them according to dependencies. The groundwork comes before construction, construction before finishing, and finishing before planting or use.
Which sequence works in practice?
- Prepare: Clear the area, check the ground, gather tools and store materials in a dry place.
- Measure: Transfer measurements, mark cut lines and check the position of the component.
- Prepare the foundation: Level the ground, set posts, clean the area or install the substructure.
- Build: Cut and join parts, checking with a spirit level and tape measure after each stage.
- Finish: Protect edges, treat the surface, plant vegetation or fit hardware.
- Inspect: Test functionality, stability, water drainage, safety and ease of cleaning.
Plan a visible result for each work package. After measuring, the markings must be in place. After preparing the foundation, the ground must be ready. These milestones show early on whether the project is staying within the planned timeframe.
Record setup time, cutting, drying, delivery and tidying up as well as working time. Allow extra time for outdoor work in case of bad weather. Wood stain, concrete foundations and adhesive cannot always be worked on again immediately.
How can you keep the budget reliable?
| Cost item | Examples | Planning rule |
|---|---|---|
| Main materials | Wood, soil, paint, paving | Calculate quantities with a reserve |
| Consumables | Screws, wall plugs, abrasives | Count by work stage |
| Tools | Drill bits, saw, measuring device | Separate items you have from those you need |
| Transport | Delivery, trailer, travel | Enter costs before ordering |
| Contingency | Price changes, breakage, additional purchases | Allow for around ten to twenty per cent |
Note prices together with pack sizes. A low unit price can become more expensive than a larger pack when you need many small packs. Also compare whether delivery would save a trip to the shop and the transport of heavy materials.
When is it worth making a small model or test piece?
For a small craft or decorating idea, first test the shape, colours and amount of work with a model.
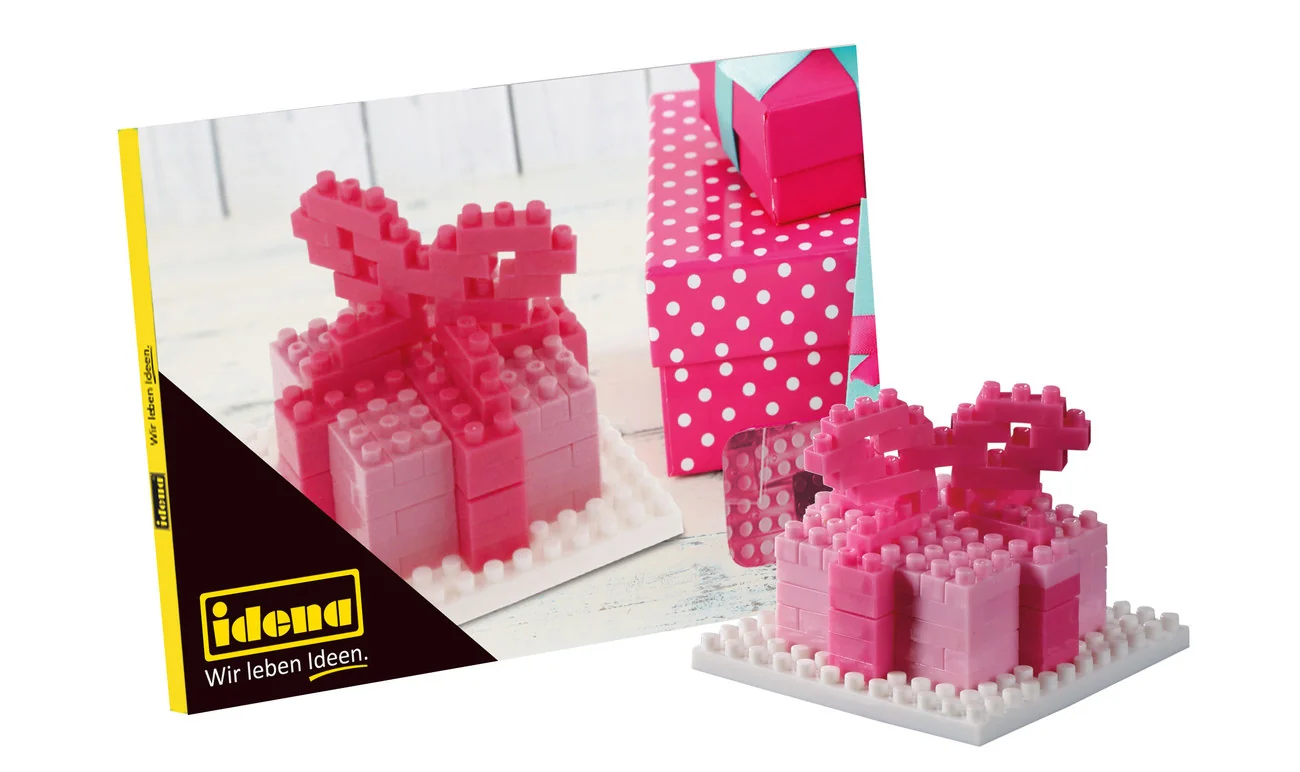
A test piece is also worthwhile for paint, wood stain, grout patterns and plant combinations. It shows how the surface, colour or arrangement changes in real lighting conditions. A small amount of material can therefore prevent a costly mistake.
“Nothing is particularly hard if you divide it into small jobs.”
Dividing the work into small packages makes progress measurable. You can postpone individual steps without losing sight of the overall plan. Mark completed tasks and record deviations in quantities, costs or time as soon as they occur.
Which planning aids should you check before starting?
Planning aids should make decisions faster and more reliable. A calculator does not replace checking the input. A sketch does not replace measuring. Use each tool for the task it is actually designed to solve.
Which digital tools are useful?
A materials calculator is useful for areas, volumes, coverage and pack quantities. A spreadsheet links quantities to prices and adds up the total. A drawing or floor plan app helps with scale, spacing and different options.
Save the values used alongside the result. Note whether the stated coverage applies to one or two coats and whether the reserve is already included. Check the manufacturer's current specifications before ordering.
For garden planning, you can also record site data, planting distances and harvest times in the spreadsheet. For home projects, add the room, wall area, substrate and drying times. This keeps the calculation traceable if you change the project later.
Which traditional aids remain essential?
A measured sketch, tape measure, pencil, spirit level and printed checklist still work when the battery is flat. Keep the list at your workstation and tick off each work step only after checking it.
Label stacks of materials and opened packs. Keep receipts, product data and mixing ratios together. For covers and fixings, include the Tarpaulins + Nets category in your research if you are planning protection from dust, paint or weather.
What should you check immediately before starting?
- Do the objective, dimensions and location match the sketch?
- Can the quantity, pack size and reserve be calculated and verified?
- Are all main materials and consumables ready?
- Do you have the tools, protective clothing and a safe work area?
- Do the weather, drying time and delivery date fit the schedule?
- Have you decided how to dispose of offcuts, packaging and leftover materials?
Additional advice
Save the final plan with the date and version number. If you change dimensions, quantities or products, update the sketch, costs and schedule together. This ensures you always work with a complete materials list and avoid conflicting notes.
Good project planning stays clear and manageable. Define the result, measure what you have, calculate quantities and arrange the work steps. With the right planning aids, you can start with greater control and spot early when a project needs more time, materials or professional support.
Frequently Asked Questions
- How do I start planning a DIY project?
- First, define the desired result in one sentence and note the dimensions, location, budget and target completion date. Then break the project down into individual steps. Once the scope and sequence are clear, calculate the required materials and check which tools and supplies you already have.
- How do I calculate the right amount of materials?
- Measure the length, width and height using the same unit. Calculate the area or volume, divide the result by the coverage or pack size, and add an appropriate allowance for waste. For straight cuts, a five to ten percent reserve is often sufficient; projects with many angles or patterns require more.
- Which material calculator is suitable for garden projects?
- For flower beds and planting areas, you need an area or volume calculator; for paths, use a paving and waste calculator. Also use a plant spacing planner and note the soil type, light conditions and water requirements. Check every result against the product packaging, as coverage and fill depth vary from one product to another.
- How much time should I allow for a home improvement project?
- Estimate the actual working time for each step and add time for setup, cutting, drying, cleaning up and possible waiting periods. Plan dependencies first: wood stain needs a dry surface, while a flower bed needs prepared soil. Break large projects into daily goals that you can realistically complete.
- Which planning tools do I really need?
- A scale drawing, materials list, calculator or spreadsheet and a step-by-step checklist are sufficient for many projects. Depending on the task, add a laser measure, spirit level, site information or a material calculator. Only buy specialist tools once the work step has been defined and they are genuinely required for safe completion.
You might also be interested in
- DIY Made Easy: Your Guide to Successful DIY Projects
- The 3 Golden Rules for Every Successful DIY Project
- How to Plan a Renovation: The Ultimate Guide for Your Project
- Clever DIY Tips and Tricks for Your Home Improvement Project
- Woodworking Tools: The Essential Equipment for Your DIY Project
- Garden Planner Software: Digital Help for Garden Design