
In brief: With its 90-degree attachment, the Innotec Easy Gasket angle tip helps you apply precise, even beads of sealant in hard-to-reach corners and along edges. It reduces material waste, saves time on finishing, and gives you a clean, professional result.
If you’ve ever replaced a silicone joint in the bathroom or resealed a window, you know the challenge: the joint needs to be even and smooth, especially in the corners. The job can end with sticky fingers, smeared tiles, and a result that looks more like a quick fix than professional work. It doesn’t have to be that way. The answer isn’t a steadier hand; it’s the right tool.
You can see the quality of a job in the details. A clean joint isn’t just a seal; it’s a tradesperson’s calling card.
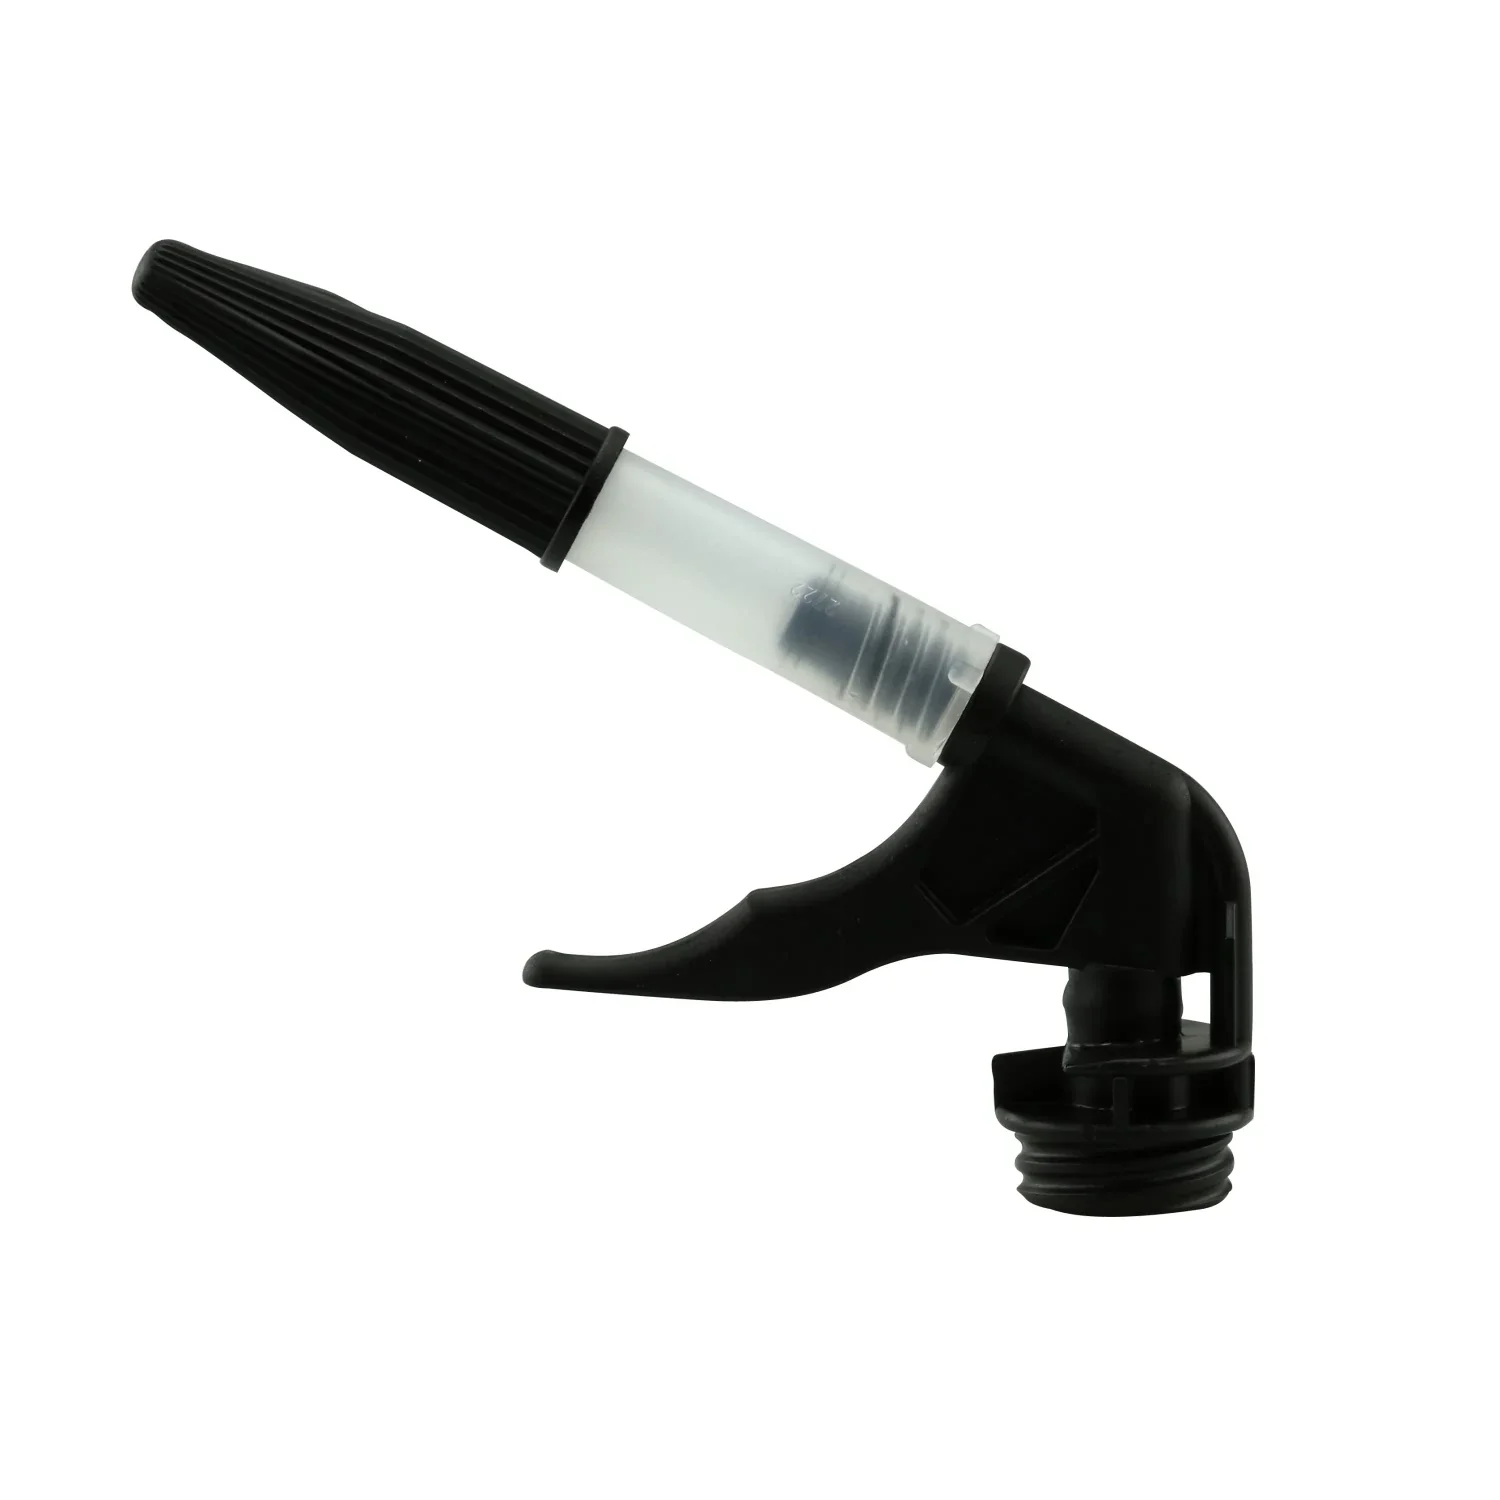
The key to professional sealing work is often an inconspicuous but cleverly designed accessory. The INNOTEC Easy Gasket tip is just such a tool. It consists of a standard tip, a protective cap, and the essential angle piece. This 90-degree attachment turns a standard caulk gun into a precision tool that makes even challenging sealing jobs easier.
Why is a clean sealant joint so important?
A sealant joint does much more than create a neat finish between two surfaces. It also serves important practical purposes. In the bathroom, it keeps water from getting behind tiles or the shower pan, where it can cause mold and structural damage. Around windows, it creates an airtight seal that helps lower heating bills and prevent drafts. In the workshop, it protects components from moisture, dust, and vibration.
A poorly applied joint can’t do its job. Cracks, air pockets, or poor adhesion along the edges create weak spots. Bacteria and mold can grow, moisture can get in, and the joint loses its protective effect. A messy joint also detracts from the look of a room and can make even high-quality materials look cheap. A neat, precise joint, on the other hand, shows care and professionalism.
How does the Innotec Easy Gasket angle tip work?
The angle tip works on a simple but effective principle. Instead of squeezing sealant straight out of the cartridge and then laboriously shaping it into the corner, the angle tip applies the material directly to both sides of the joint at the ideal 45-degree angle. Hold the caulk gun parallel to the joint and pull it along in one smooth motion.
The angle piece presses the sealant deep into the joint so it bonds properly to the surfaces. The tip gives you fine control, helping you apply a consistent bead without using too much material. The result is an almost perfect joint that needs only a little smoothing with a joint finishing tool. The included protective cap seals the tip airtight, so you can store an opened cartridge for your next project without the sealant drying out.
Additional tip
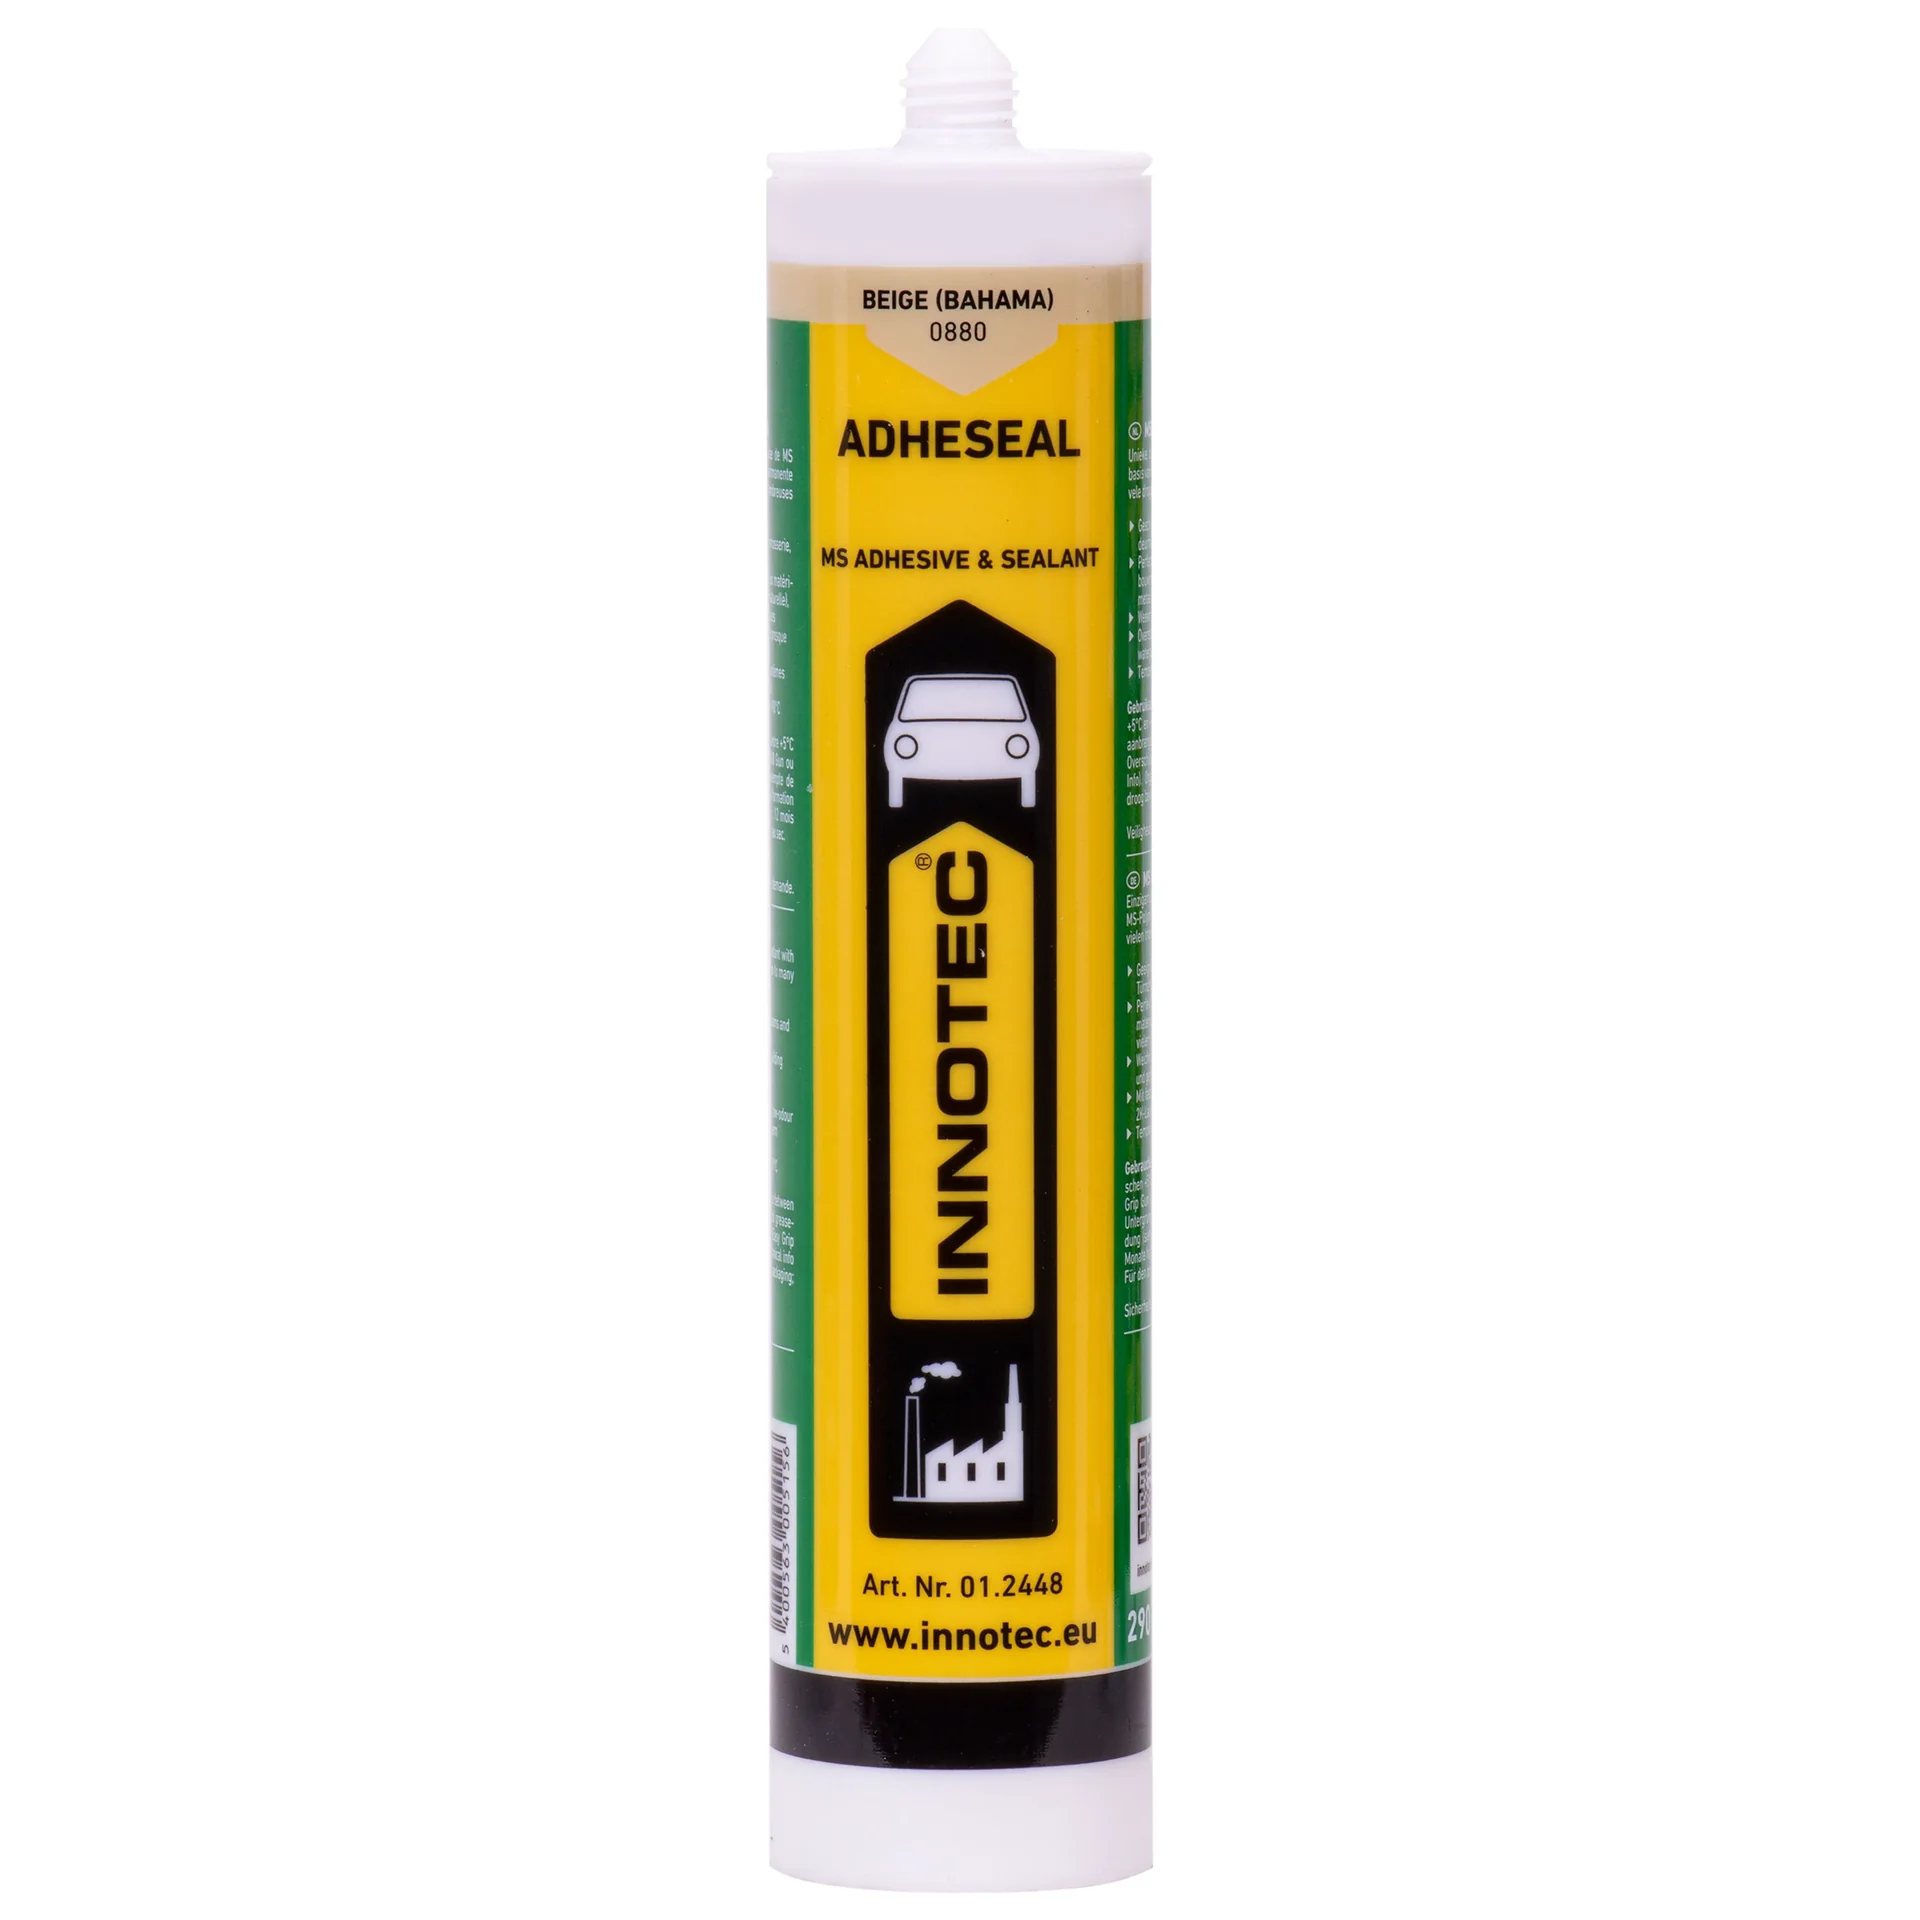
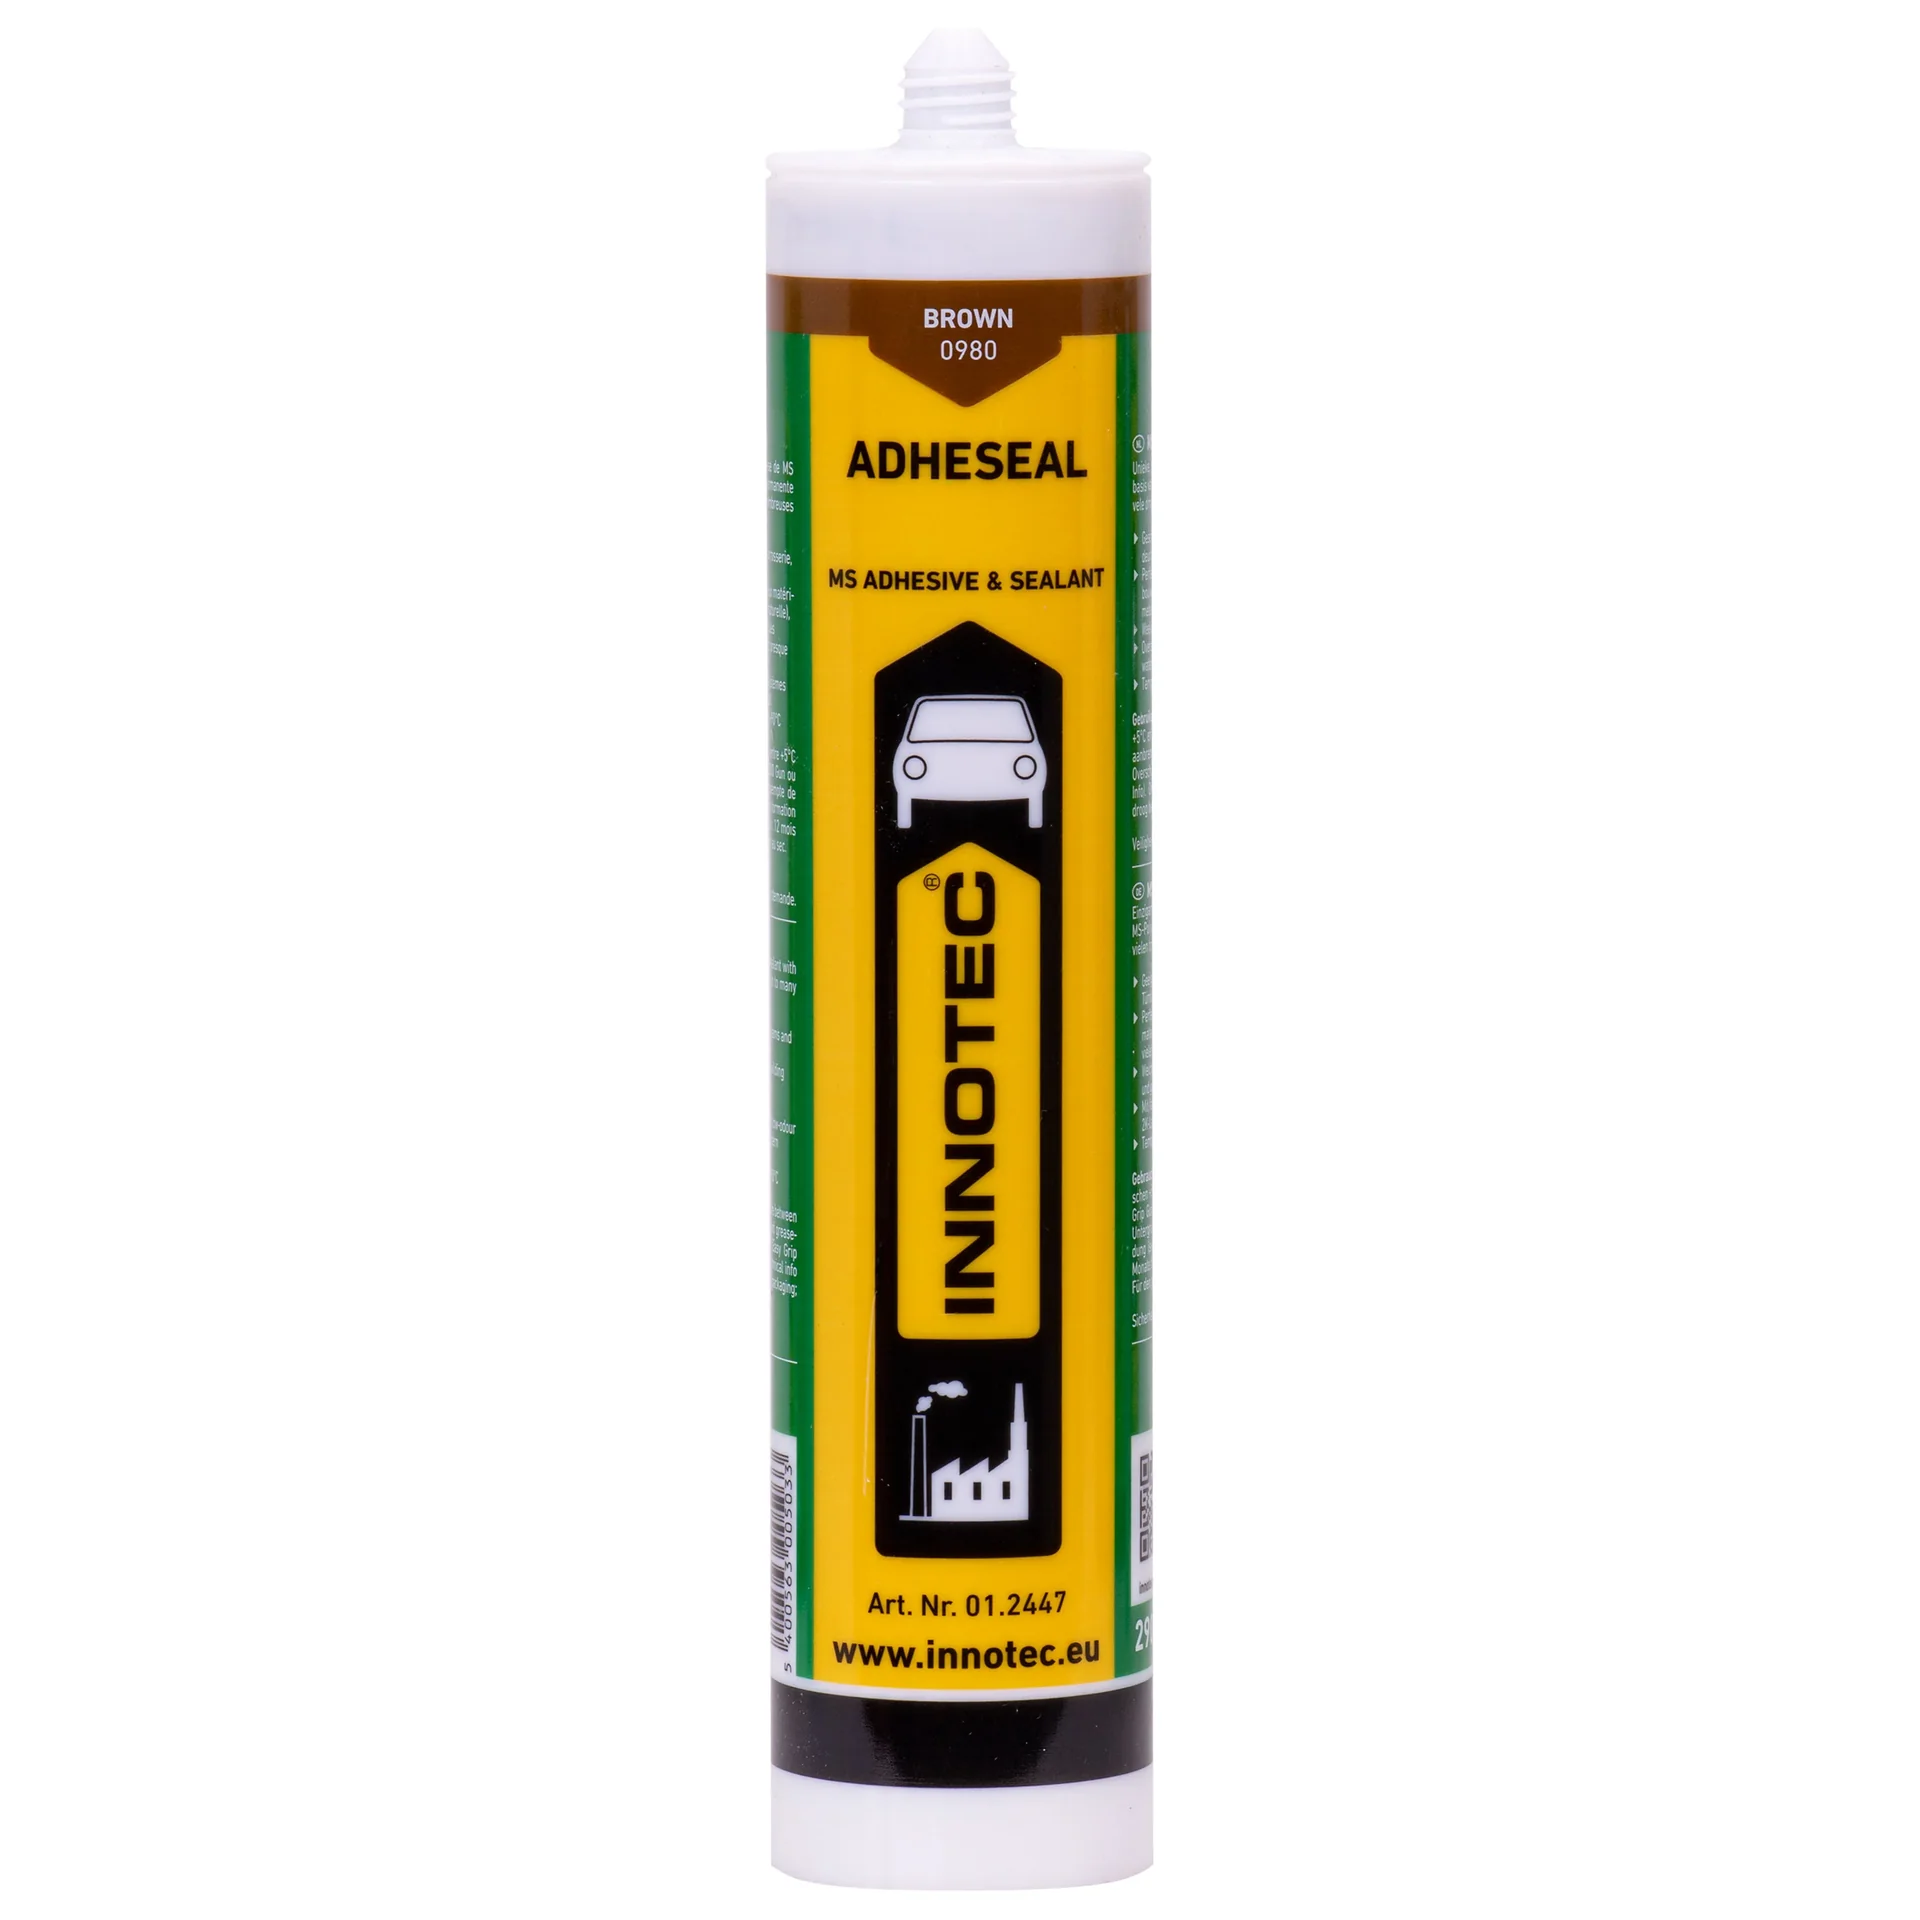
The angle tip works with many sealants and adhesives, including silicone, acrylic, and MS polymers. For the best results, pair it with high-quality sealants such as INNOTEC Adheseal in Beige or INNOTEC Adheseal in Brown.
What are the advantages of an angle tip over conventional methods?
Switching from a standard tip to the Innotec angle tip can make a noticeable difference to your work. You’ll see the benefits right away and with every project.
Key benefits at a glance:
- Precision in corners and along edges: The 90-degree angle is ideal for hard-to-reach areas. You can create clean lines where a straight tip might leave a mess.
- Even application: The tip guides the bead for controlled application. The result is a joint with consistent width and height, without unsightly thick or thin spots.
- Less material waste: Apply only as much sealant as you need. You’ll use less excess material that would otherwise have to be removed later.
- Save time: Finishing and cleanup take much less time. In many cases, one pass with a joint finishing tool is all it takes to get a smooth finish.
- Professional results for everyone: Even if you’re new to the job, the angle tip can help you get results you’ll be proud of. It guides your hand and helps compensate for small wobbles.
- Better adhesion: Because the sealant is pressed into the joint, it bonds more effectively along the edges. This is essential for a durable, watertight seal, especially in areas such as plumbing and irrigation.
How can I tell if a sealant joint is professionally applied?
A professionally applied sealant joint has several telltale features. It’s more than just filler; it’s a carefully shaped part of the finish. Look for an even width that suits the size of the joint. The surface should be smooth and free of air pockets, cracks, and depressions. A slight concave shape helps water drain away and keeps residue from collecting.
The edge where the joint meets nearby surfaces, such as tiles or window frames, should be clean and sharp. Sealant shouldn’t be smeared across the surrounding surfaces. Corners and transitions, such as where a vertical joint meets a horizontal one, should be seamless and neatly finished. The Innotec angle tip helps you achieve all these results by making it easier to apply sealant cleanly.
Important note
Even the best technique won’t work on a poorly prepared surface. Make sure the joint edges are completely clean, dry, and free of grease. Remove all old sealant using mechanical and chemical methods; otherwise, the new sealant may not bond properly.
Step-by-step guide: Applying precise sealant joints with the angled nozzle
With the right preparation and technique, you can create the perfect joint. Follow these steps for a professional result.
1. Preparation is crucial
Take your time with the preparation. Remove all old joint residue using a joint scraper and silicone remover. Clean the joint and surrounding areas thoroughly with a degreaser such as isopropanol. The substrate must be completely dry before you begin. To achieve especially sharp edges, mask the joint edges with high-quality painter’s tape. The distance between the strips defines the final joint width.
2. Prepare the cartridge and nozzle
Cut off the tip of the cartridge above the thread using a utility knife. Screw on the Innotec nozzle and cut it at a 45-degree angle to the desired joint width. A narrow cut produces a fine bead, while a wider cut produces a larger one. Now fit the angled attachment firmly onto the nozzle. Insert the cartridge into a sturdy cartridge gun.
Pro tip
Dispense a small amount of sealant onto a piece of cardboard to test the material flow. This helps you get a feel for the pressure and speed required before starting on the actual joint.
3. Applying the sealant
Position the angled nozzle at the start of the joint. The angled attachment should rest evenly against both joint edges. Apply consistent pressure to the trigger of the cartridge gun and pull the cartridge along the joint in one smooth movement. Keep your speed constant to create an even bead. Always work “wet on wet” and do not stop halfway along the joint.
4. Finishing and smoothing
Lightly spray the freshly applied sealant and the surrounding surfaces with a smoothing solution (water with a drop of washing-up liquid). Then smooth the joint in one clean movement using a suitable joint finishing tool. Remove excess material from the tool. Carefully remove the painter’s tape immediately after smoothing, pulling it diagonally away from the joint. Then allow the joint to cure completely according to the manufacturer’s instructions.
Thinking beyond the basics: Where else can I use Innotec technology?
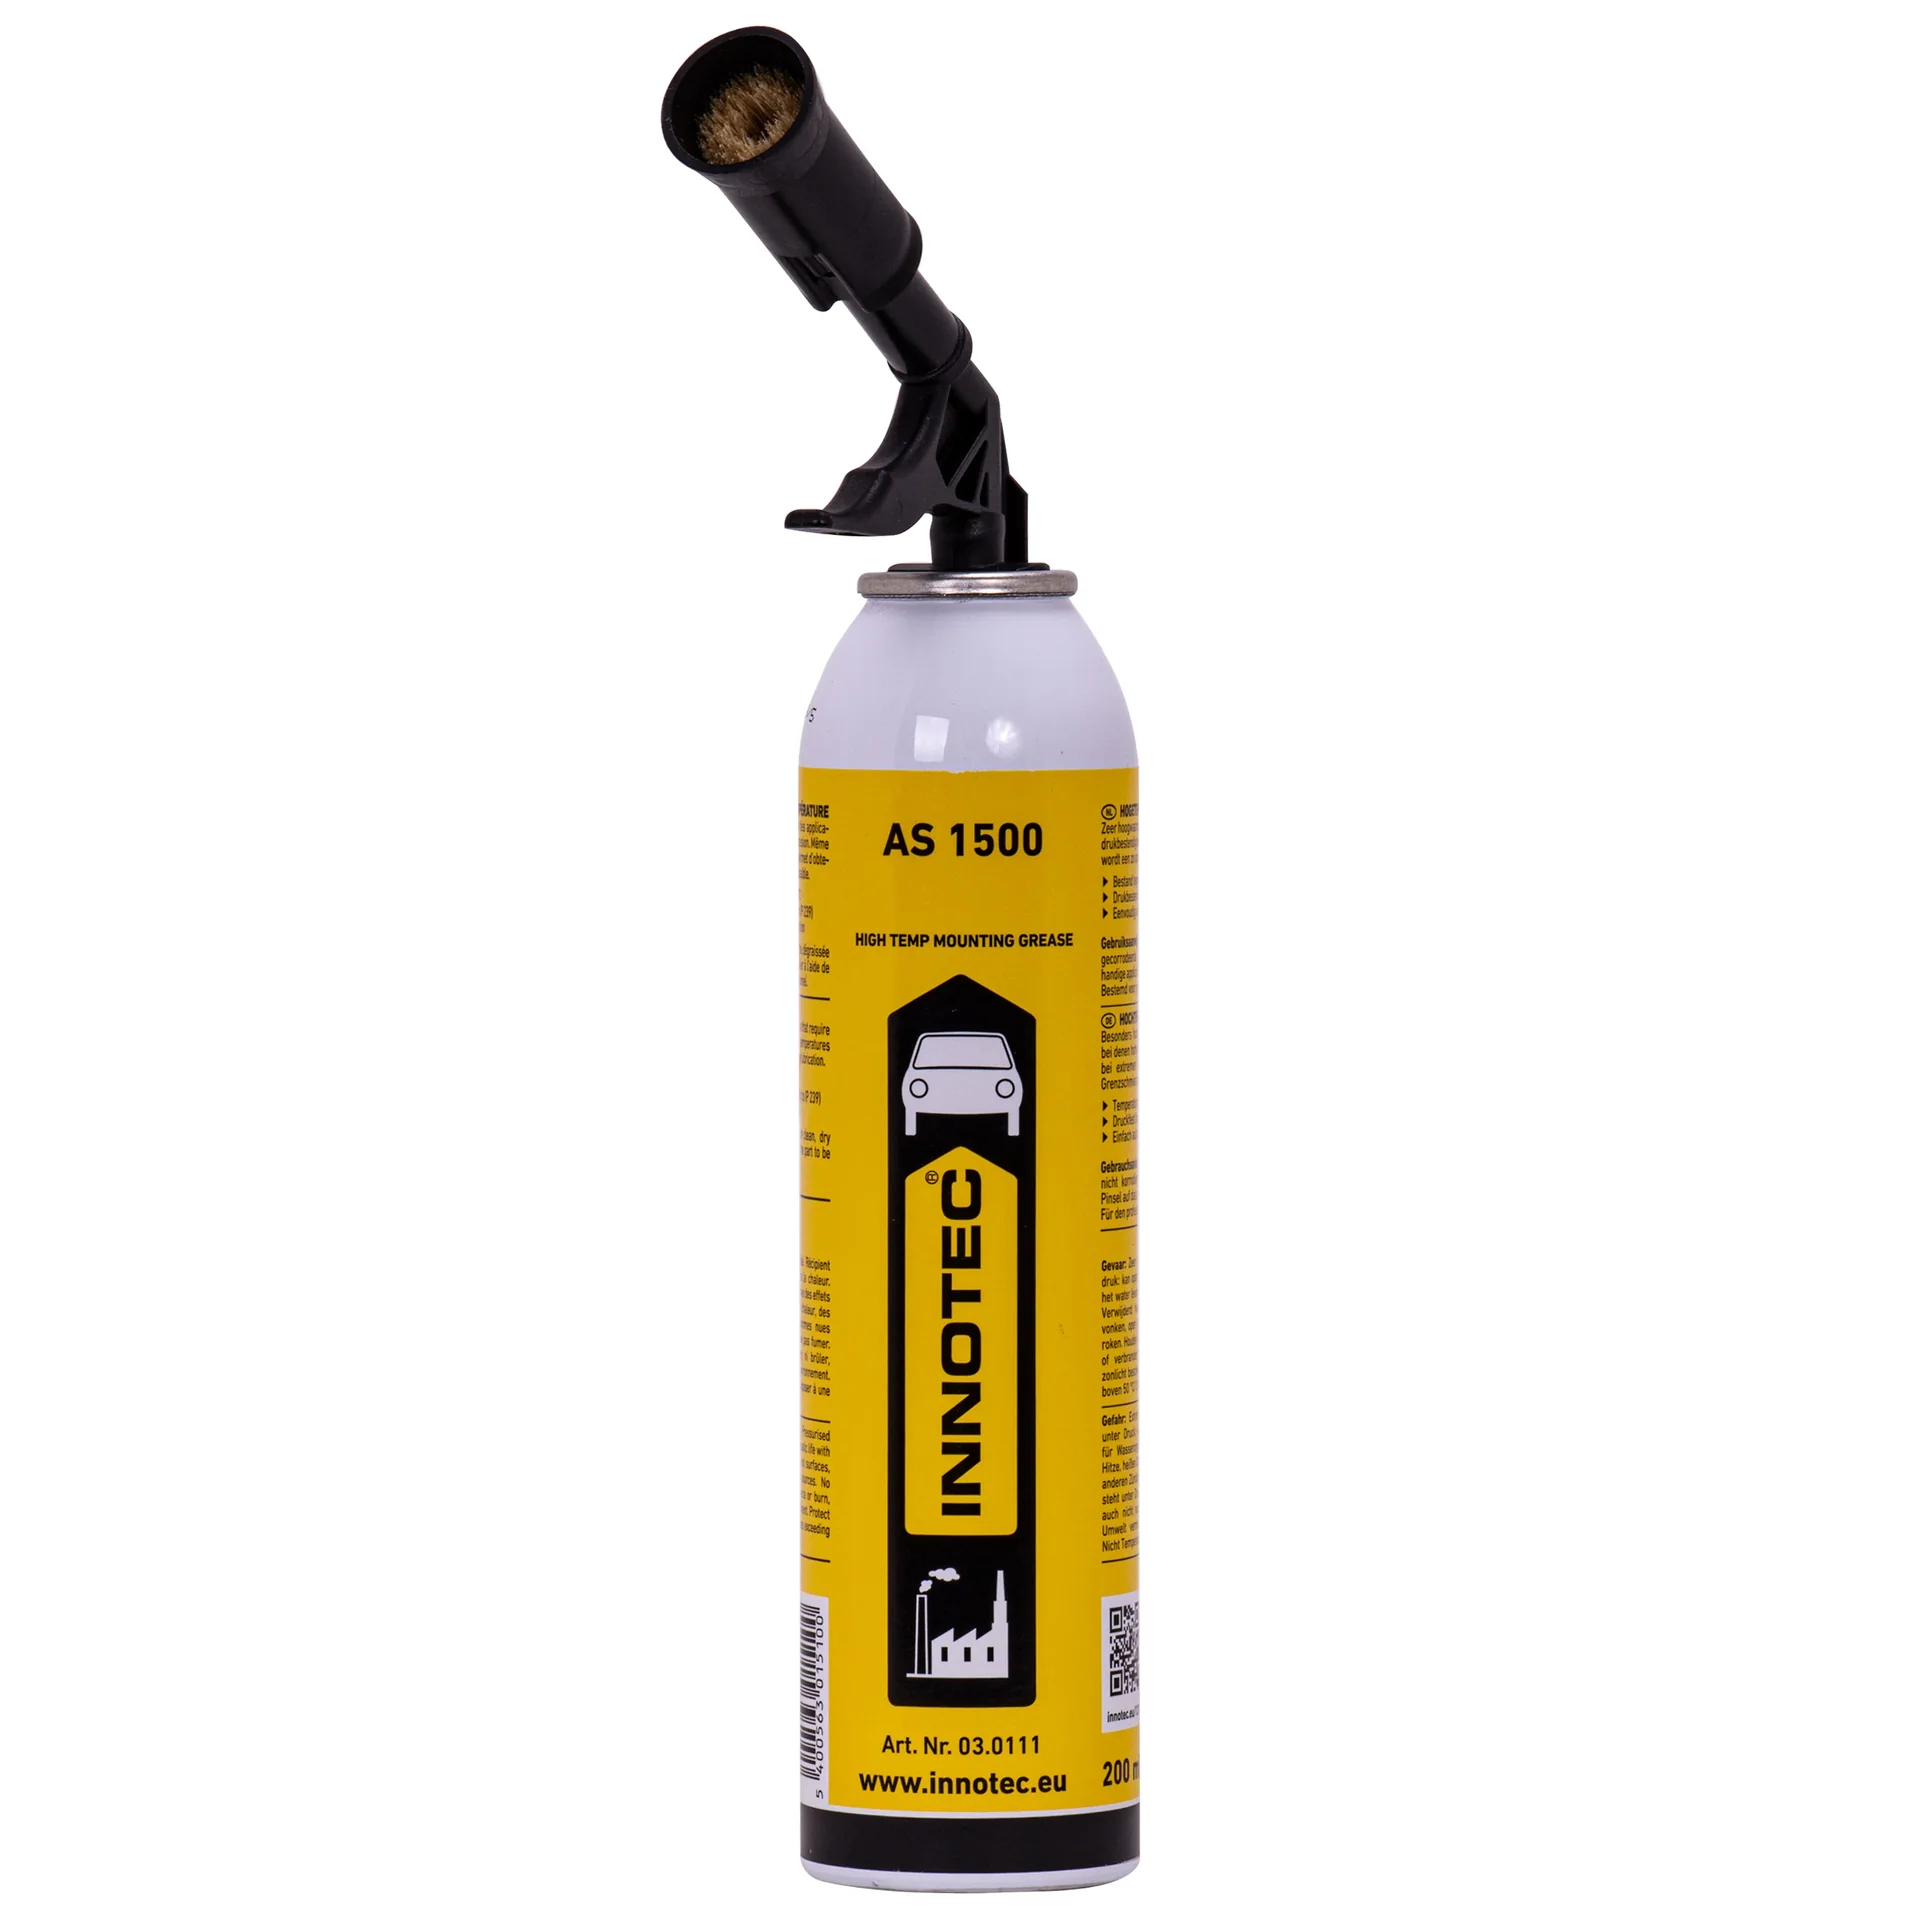
The principle of precise application is important not only when sealing joints. Innotec applies this idea to other workshop and maintenance products too. A good example is the INNOTEC AS 1500 Grease. Here too, a special attachment with a brush and angled nozzle ensures that the high-performance lubricant reaches exactly where it is needed – without spills or waste. Intelligent solutions like these are a hallmark of professional industrial supplies.
Whether you are sealing complex pipe connections or creating flexible transitions on hoses, controlling the material is the key to success. Precision tools such as the Easy Gasket angled nozzle not only save time and money, but also significantly improve the quality and durability of your work.
Invest in tools that make your work easier, not harder. A small, smart tool can often achieve more than the most expensive machine.
Stop putting up with untidy joints. With the Innotec angled nozzle, you can take control of the result and work precisely, cleanly and efficiently from the start. It is a small investment that makes a big difference to your sealing work.
Frequently Asked Questions
- Does the Innotec angle nozzle fit every cartridge?
- The nozzle is designed for the Innotec Easy Gasket System, but it also fits many standard cartridges with a screw thread. To be safe, check compatibility with your sealant, especially with Innotec products such as Adheseal, to ensure the best results.
- Can I reuse the angle nozzle?
- Yes, you can reuse the angle nozzle several times if you clean it carefully immediately after use. The supplied protective cap also prevents the sealant from drying out in the nozzle, making it easier to reuse during short interruptions.
- Which materials is the angle nozzle suitable for?
- You can use the nozzle with a wide range of sealants and adhesives, including silicone, acrylic and MS polymers. It is ideal for any application requiring a precise, even bead, from bathroom joints to vehicle body sealing.
- How do I achieve the best joint width?
- Before attaching the angled piece, cut the main nozzle at an angle to the desired width. A sharp utility knife or a dedicated cartridge cutter ensures a clean cut, resulting in an even flow of material and a defined joint width.
- What is the main advantage over smoothing the joint with your finger?
- The angle nozzle applies the material at the correct angle and in the right amount. Smoothing with your finger is unhygienic and imprecise, and often presses too little sealant into the joint. The nozzle provides better adhesion to the sides and a professional finish.
You may also be interested in
- Apply sealant like a pro: 5 mistakes to avoid
- Allesdichter spray vs. sealant: The right solution for every joint
- How to seal properly: Maximise durability
- Fix cracks and leaks quickly: Allesdichter spray in action
- Buy sealing spray: The ultimate guide to perfect sealing
- Checklist: Reliably seal leaks before winter