
In brief: Precise drilling and milling start with the right tools, including a quality drill and sharp bits. Mark and center-punch the workpiece, choose the right speed and clamp it securely. When using a router, guides and multiple shallow passes help you get clean results.
Precision is what takes a project from good to great. An accurately drilled hole or a cleanly milled edge can make all the difference to your work’s strength, function and appearance. Whether you’re building furniture, working with metal or drilling into a water pipe in the garden, accuracy comes from using the right technique and tools.
This guide covers the essential techniques for confident drilling and milling. Learn how to guide drill bits and cutters, avoid common mistakes and prepare your workpieces properly. Improve the quality of your work and get results you can be proud of.
The basics: Which tools do you need for precise results?
A reliable set of tools is the foundation of precise work. Invest in quality equipment that will serve you well for years. The best choice depends on the projects you have in mind.
Choosing the right drill
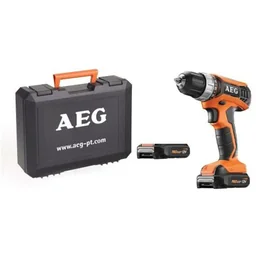
A basic cordless screwdriver is fine for an occasional hole in a wall. More demanding jobs call for a more capable tool. A powerful cordless drill driver like the provides the flexibility and power you need for most jobs in wood and metal. Look for a sturdy chuck that holds the bit securely and on center, along with precise speed control.
For maximum precision, use a drill press. It makes perfectly vertical holes, and the feed handle gives you precise control over the drilling process. A drill press is ideal for drilling multiple holes and working with smaller workpieces.
Advanced milling: Routers and milling machines
A router is one of the most versatile power tools for woodworking. Use it to cut grooves, shape edges, follow templates and create freeform shapes. It takes practice, but the results can look professional.
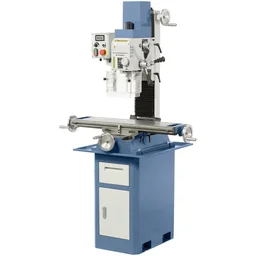
For ambitious DIYers who want to work precisely with metal, a combination drilling and milling machine is the ultimate solution. A model such as the Bernardo BF 30 Super turns your workshop into a small production shop. It lets you drill and mill with a level of repeatability and precision that handheld machines can’t match.
The essentials: High-quality drill bits and milling cutters
Even the best machine won’t perform well with dull accessories. Invest in quality drill bit and milling cutter sets. For wood, HSS brad-point bits are ideal because they help prevent the bit from wandering. For metal, choose sturdy HSS bits, often with a titanium or cobalt alloy for added hardness and heat resistance.
There are milling cutters for all kinds of jobs. Start with a basic set that includes straight cutters, round-over cutters and a flush-trim bit. Look for carbide-tipped cutting edges (HW or HM): they stay sharp longer and produce clean cuts. Find suitable accessories in our power tools category.
Additional advice
Learn how to sharpen your own drill bits. A simple bench grinder with a suitable attachment can significantly extend the life of your HSS bits. A sharp bit cuts more cleanly, generates less heat and needs less pressure.
How do you drill accurate holes in different materials?
Accurate drilling comes down to preparation and technique. A few simple steps can improve your results right away and over time.
Preparation is everything: Marking and center-punching
Take your time when marking the workpiece. Use a sharp pencil and an accurate ruler or square. Center-punching is especially important on smooth surfaces such as metal or coated panels. Use a center punch and hammer to make a small indentation at the exact center of your mark. It guides the bit and keeps it from wandering when you start drilling.
Measure twice, cut once.
The right speed and feed rate
Choosing the right speed helps you drill a clean hole and extend the life of your bit. This rule of thumb is a good starting point:
- Soft materials (e.g. wood, plastic): high speed
- Hard materials (e.g. steel, stainless steel): low speed
- Large drill bit diameter: low speed
- Small drill bit diameter: high speed
Feed the bit into the material with steady, moderate pressure. Let the bit do the work. When drilling deep holes, pull the bit out briefly several times to clear chips from the hole.
Special case: Cooling and lubricating metal
Drilling metal creates considerable friction and heat. Too much heat can overheat the bit and ruin it, so always use a suitable cutting oil or drilling fluid. It cools the drilling area, reduces friction and helps remove chips. The result is a clean hole and a longer-lasting bit.
Pro tip
To prevent tear-out on the surface of delicate or veneered wood, place quality masking tape over the drilling point. Drill straight through the tape. It supports the top wood fibers and helps create a clean hole edge.
Route Like a Pro: How to Create Clean Edges and Grooves
A router opens up a whole new world of woodworking. With the right technique and accessories, you can get impressive results in no time.
Safety First: How to Use a Router Correctly
A router is a powerful tool. Always wear safety glasses and hearing protection. Hold the router with both hands and maintain a stable stance. Switch it on before the bit touches the workpiece, and switch it off only after lifting it away.
Always guide the router against the direction the bit is turning (conventional routing). This gives you the most control. When routing an outside edge, move the router counterclockwise around the workpiece.
Set the Routing Depth in Stages
Never try to rout a deep groove or profile in a single pass. This can overload the router, leave burn marks, and produce a rough finish. Set the depth so you remove only a few millimeters of material with each pass. Most routers have a turret stop that makes it easy to set different depths for successive passes.
A sharp tool is not only more efficient, it is also safer. A dull tool requires more force, increasing the risk of slipping and injury.
Use Guides and Templates for Precise Results
Freehand routing takes plenty of practice. For precise results, use guides. A parallel fence, usually included with the router, lets you rout straight grooves parallel to an edge. For curved shapes or cutouts, use templates and a guide bushing.
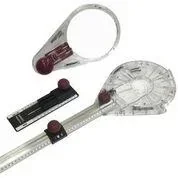
With a router circle guide, you can create perfect circles and arcs with ease. The "CircleGuideKit" is an accessory that turns your router into a precision tool for cutting round shapes. Attach it to your router to set and follow the radius accurately.
Why Is It So Important to Secure the Workpiece?
The best technique and the most expensive tool are useless if the workpiece is not firmly secured. Even slight movement during machining can cause inaccuracies and create a safety hazard. A shifting workpiece can catch on the drill bit or router bit and be thrown across the workshop.
Use sturdy screw clamps or a machine vise to secure the workpiece to the workbench or in the drill stand. Make sure the clamps do not block the work area, and plan their positions before you start. Our wide range of hand tools has the right solution for every job.
Important note
Never hold small workpieces by hand while drilling or routing. The forces involved can be unpredictable, and the risk of serious injury is extremely high. Always use suitable clamps or holding devices.
Special Applications and Helpful Accessories
Beyond the basics, a range of handy accessories and specialized techniques can make your work easier and improve precision.
Drill Stand: Turn a Hand Drill into a Precision Tool
A drill stand is a cost-effective alternative to a drill press. Clamp your regular hand drill into the stand to drill perfectly vertical holes. The lever gives you much finer control over the feed, which is especially useful when working with delicate materials or small drill bits.
Dowel Jigs and Depth Stops
Precise alignment is essential when making furniture joints with wooden dowels. A dowel jig ensures the holes are drilled at the right spacing and angle. A depth stop fitted to the drill bit ensures every hole is the same depth. These simple accessories help create perfectly fitting joints.
Drilling into Pipes: A Practical Solution
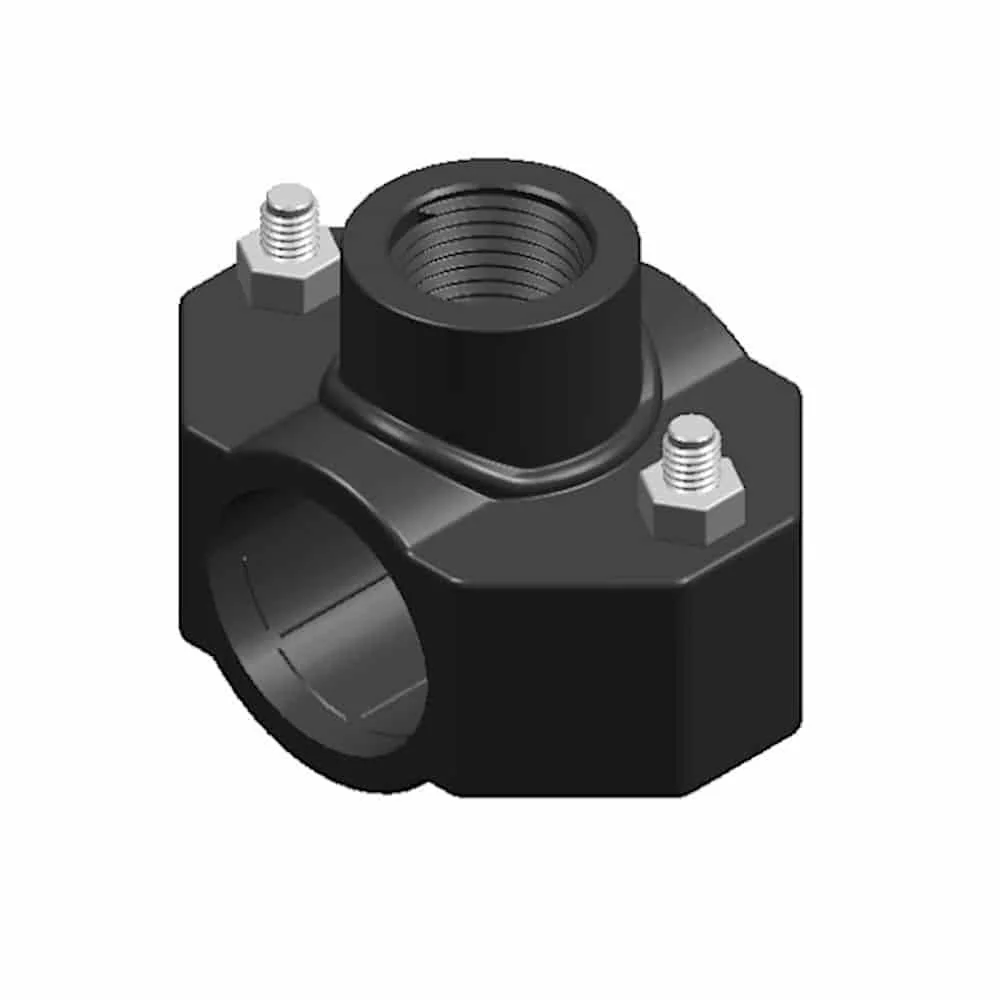
Drilling into pipes can be tricky, for example when installing a garden irrigation system. Making a hole freehand is almost impossible. A 32mm tapping saddle offers a simple solution. It clamps securely around the pipe and guides the drill bit into the center at a right angle. Once the hole is drilled, the integrated seal creates an instant, watertight branch connection. Find specialist solutions like this in our Plumbing + Irrigation department.
Mastering drilling and routing techniques can take your DIY projects to the next level. With patience, good preparation, and high-quality tools from Westfalia, you can bring your ideas to life. Start with simple projects, progress gradually, and always put safety first.
Frequently Asked Questions
- How can I prevent the drill bit from slipping when starting a hole?
- Mark the drilling point precisely and use a center punch to make a small indentation. This recess guides the drill bit and prevents it from wandering on smooth surfaces. This allows you to start every hole exactly where you want it and achieve a clean result.
- What is the correct drilling speed?
- As a rule of thumb, the harder the material and the larger the drill bit diameter, the lower the speed should be. For softwood with a small drill bit, choose a high speed. When drilling steel with a large drill bit, you need a low speed and possibly cutting fluid to prevent overheating.
- What is the difference between conventional and climb milling?
- With conventional milling (the standard for handheld routers), the cutting edge moves against the feed direction. This provides greater control. With climb milling, it moves in the same direction as the feed, which can produce cleaner cuts but tends to pull the router along, making it more suitable for stationary machines.
- Why does wood splinter on the underside when drilling?
- Breakout, also known as tear-out, occurs when the wood fibres are not supported where the drill bit exits. Clamp a piece of scrap wood firmly underneath your workpiece. This supports the fibres and produces a clean hole without unsightly splinters on the reverse side.
- Do I always need cutting fluid when drilling metal?
- Yes, cooling is essential for most metals, especially steel and stainless steel. Cutting oil or drilling emulsion reduces friction and dissipates heat. This protects the drill bit from overheating, extends its service life and produces better drilling results.
You might also be interested in
- How to Drill Correctly: Tips and Techniques for DIY Projects
- Drill and Milling Machines: How to Choose the Right Precision Tool
- Learn How to Mill Wood: Techniques and Tips for DIYers
- Diamond Drill Bits: How to Drill Correctly into Tiles and Stone
- How to Drill and Use Wall Plugs in Perforated Brickwork
- Drill Safety: Essential Tips for Using a Drill