
In brief: Build a stable raised garden bed on a slope by terracing the ground or leveling the bed carefully. Use pressure-treated timber or durable alternatives, and secure the structure with sturdy posts driven into the ground. A drainage layer of coarse material helps prevent waterlogging. This creates a level, stable base for healthy plant growth.
Raised Garden Bed on a Slope: Build It to Last
A sloped garden offers panoramic views, but it can also present challenges. A raised garden bed doesn’t have to be one of them. With the right construction, you can create a level, productive growing area and control the soil quality and drainage.
This guide shows you how to plan, build, and plant a DIY raised garden bed on a slope so it stays stable and useful. You’ll learn how to work with the grade instead of against it.
Why is a raised garden bed especially useful on a slope?
The benefits of a raised garden bed are even greater on difficult terrain. You can make use of areas that might otherwise be unusable. The comfortable working height also helps protect your back while gardening on a slope.
You control the entire soil composition. This is ideal when the natural soil on the slope is rocky, compacted, or low in nutrients. Better drainage in the raised bed helps prevent waterlogging caused by water seeping across the slope.
Soil warms up earlier in spring, extending your growing season. The bed’s microclimate encourages plant growth.
Pro tip
Use the slope as a natural back wall. Build the bed so that the wall on the uphill side is made from strong, pressure-resistant materials such as concrete blocks or pressure-treated boards. This wall bears the sideways pressure of the soil.
How do I plan a raised garden bed for a specific slope?
Start with a careful assessment. Measure the grade with a level and a long board. Choose a basic shape: rectangle, square, or terraced steps.
Orientation is crucial. For the best sunlight, align the long side of the bed from north to south. Account for water runoff on the slope. Never place the bed in a natural drainage channel.
Plan enough working space around the bed. On the downhill side, you need at least 80 cm of space to work comfortably. Remember to allow access for bringing in soil and materials.
Choosing materials: durability and stability
The material must withstand damp soil and mechanical stress. Pressure-treated timber (KDI) in use class 4 is a solid choice. It is suitable for permanent contact with the ground.
Larch or black locust are natural alternatives, but they require thicker boards. Metal beds, such as those made from galvanized steel, or stone walls offer excellent stability and longevity, but are more complex to build.
Use hot-dip galvanized or stainless steel screws for the fasteners. They won’t rust. Avoid basic black steel screws.
“The structural demands of a slope are often underestimated. A cubic meter of damp soil can quickly weigh more than a ton. The uphill wall must be able to withstand this pressure over time. Robust materials are not a luxury here, but a necessity.”
How do I build a raised garden bed step by step so it stays stable?
Preparing the ground is the most important step. You need to create a stable, level base. This is the foundation for everything that follows.
Step 1: Dig out and level the area
Mark the outline with stakes and string. Remove the sod. Dig down until you reach a flat surface. Use a long level.
On a steep slope, build a small retaining wall or terrace from paving slabs to create a foundation. This platform must be completely level. It will support the weight of the entire bed.
Important note
Don’t skip leveling. A raised bed that sits at an angle is subjected to uneven stress. The fill shifts toward the lower side, and the structure can break. The harvest may suffer because water and nutrients are distributed unevenly.
Step 2: Build and secure the frame
Build the frame from your chosen materials. For wooden beds, join the boards securely at the corners, for example with corner posts or half-lap joints. Place the finished frame on the prepared surface.
The crucial step is to anchor the frame in the ground. Drive corner posts at least 50 cm long, made from treated wood or metal, through the frame from the inside and into the ground. This prevents the frame from sliding sideways.
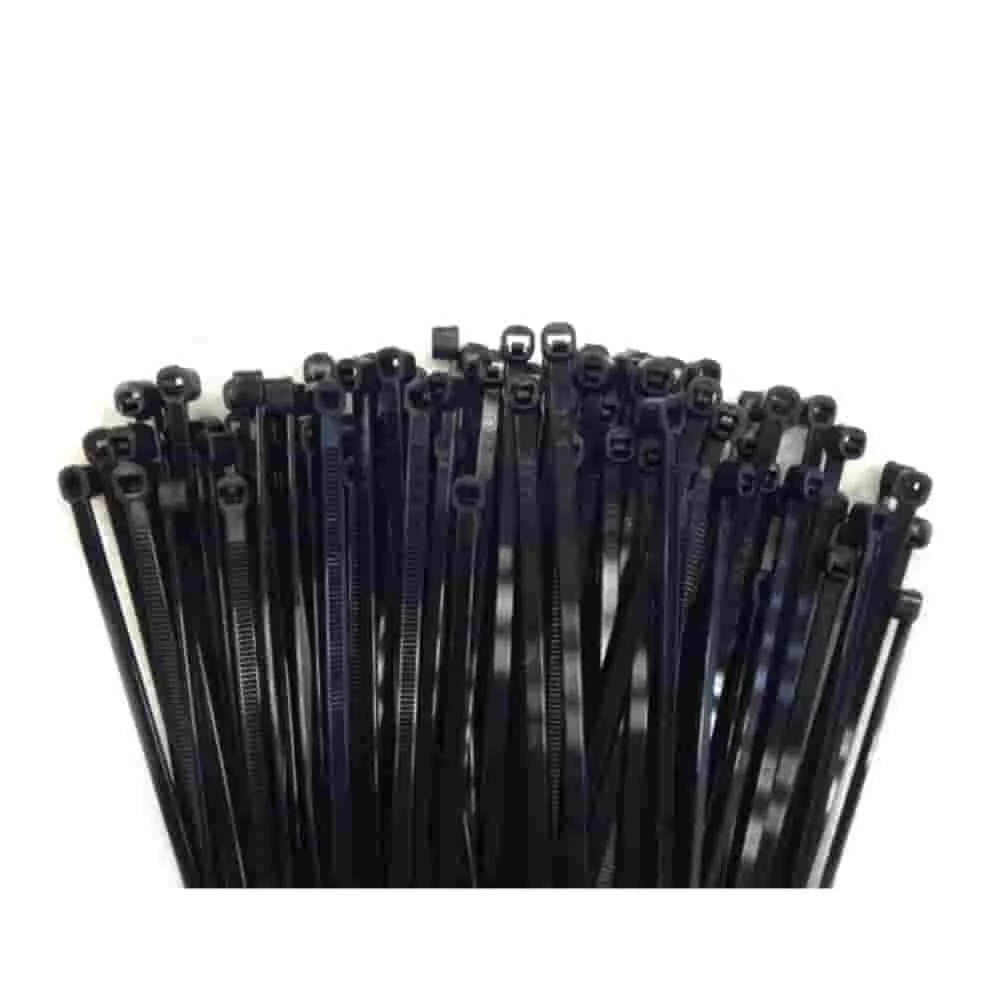
For extra stability, you can find suitable fastening accessories such as strong cable ties in our range.
and These UV-stabilized cable ties are ideal for securing wire mesh to the inside wall or providing temporary reinforcement.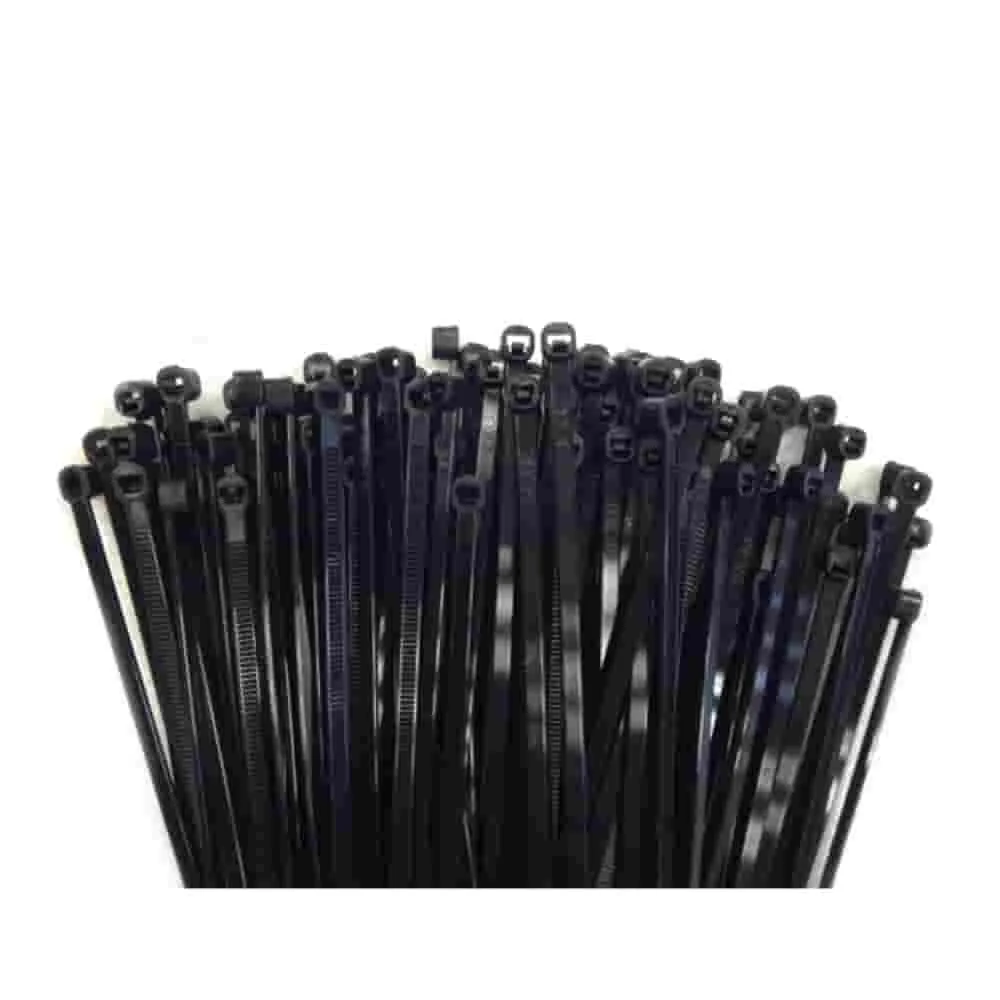
Step 3: The interior: protection and drainage
Before filling the bed with soil, install the inner lining. It protects the wood and retains moisture. Dimpled membrane or thick pond liner works well. Staple it securely to the inside walls.
Next comes the drainage layer. Fill it with coarse material such as branches, wood chips, or rubble. This layer should be 20-30 cm high. It provides ventilation and drains away excess water.
Place a layer of landscape fabric on top. This prevents soil from seeping into the drainage layer. High-quality landscape fabric does the job reliably.
“Drainage on a slope is twice as important. It must not only direct water downward, but also let it drain sideways out of the bed. A core of coarse gravel along the uphill wall acts like a drainage pipe and relieves pressure on the structure.”
How do I fill and plant a raised garden bed on a slope for the best results?
The classic layered filling method works here, too. Place a layer of upside-down sod or coarse compost on top of the landscape fabric. Then add layers of finer compost, garden soil, and ready-to-use raised bed soil.
Stop filling about 10 cm below the rim. This helps keep water from spilling over when you water. Press the soil down lightly, but do not compact it.
Choosing the right plants for a sunny slope
Make the most of the slope. Plant taller crops such as tomatoes, climbing beans, or peppers on the north or uphill side. This keeps them from shading shorter plants.
Plant trailing crops such as pumpkins or zucchini along the downhill edge so they can grow over the side. Plant medium-height crops such as lettuce, kohlrabi, or bush beans in the middle.
Follow crop rotation. In the first year, start with heavy feeders such as cabbage, tomatoes, or zucchini. In the second year, plant moderate feeders such as lettuce, and in the third year, light feeders such as beans or herbs.
Additional advice
A protective net such as our
protects your seeds and young plants from birds and heavy downpours, which can quickly wash soil away on a slope. If needed, drape it loosely over the bed.
How do I maintain a raised garden bed on a slope over the long term?
Watering is key. Soil in raised beds dries out faster, and a sunny slope makes this even more pronounced. Water deeply rather than giving the bed a light watering every day. An irrigation system with soaker hoses can save time and water.
Check the structure's stability regularly. After winter, make sure the anchors are still secure. Check the inner lining for cracks.
After a few years, the soil will settle. In spring, top it off with a layer of finished compost or fresh raised bed soil to keep nutrient levels high.
Winter care and changing seasons
Remove spent plants. Do not cover bare soil with plastic sheeting, as it can encourage fungal growth. A thick layer of leaf or straw mulch is a better choice.
Alternatively, sow a cover crop such as winter rye or phacelia. These plants root through the soil, protect it from erosion, and add nutrients. Simply work them into the soil in spring.
With careful planning and maintenance, you can turn a challenging slope into a productive garden oasis. Your sturdy raised bed will provide years of enjoyment and harvests.
Frequently Asked Questions
- What is the best wood for a raised bed on a slope?
- Use pressure-treated lumber rated for ground contact, such as Class 4 timber. It stands up to constant soil moisture and rot. Naturally durable woods such as larch or black locust are good alternatives. Avoid using untreated spruce where it will touch the soil, as it rots quickly.
- How can I level a raised bed on a slope without major excavation?
- Build the bed as a series of stepped boxes that follow the slope. Each frame should sit level on its own flat terrace. This creates several level growing areas at different heights, which you can fill and plant separately.
- Does a raised bed on a slope need special drainage?
- Yes. Water can collect beneath a raised bed on a slope. Under the soil, create a drainage layer at least 20 cm deep using coarse gravel, rubble, or branches. This layer directs excess water to the side and helps prevent root rot.
- Can I install a prebuilt raised bed on a slope?
- Yes, as long as you create a completely level base. Dig out a level area or build a terraced base from pavers or beams. The prebuilt bed must rest evenly all the way around; otherwise, the weight of the soil may cause it to warp.
- Which plants are especially well suited to a raised bed on a slope?
- Choose deep-rooted plants such as carrots, parsnips, or tomatoes to help anchor the soil. Vegetables that need plenty of water benefit from improved drainage. Avoid placing shallow-rooted, heavy crops such as cabbage against the uphill wall, where they add to the load.
You might also be interested in
- Build your own raised bed: Step-by-step guide
- How to create a hugelkultur bed: Increase harvests with ease
- Setting up a pool on a slope: How to do it safely and correctly
- Growing vegetables in a raised bed: Top tips and tricks
- How to layer a raised bed: The perfect setup for a bountiful harvest
- Build a raised bed from shuttering boards: A robust construction guide